Docker swarm是集群下docker容器编排工具,本文讲解了安装swarm的步骤和swarm界面管理工具Portainer的安装。
本文使用的操作是CentOS7;三台主机,一台作为管理节点,另外两台作为工作节点。
1.安装swarm
- 编辑三台机器的
/etc/hosts文件,内容修改为:192.168.1.130 manager.wisely.com manager 192.168.1.131 node1.wisely.com node1 192.168.1.132 node2.wisely.com node2 - 每台机器安装docker,顺序执行下面命令
yum update -y yum install docker systemctl start docker systemctl enable docker - 每台机器开放下面防火墙端口,顺序执行下面命令:
firewall-cmd --permanent --add-port=2376/tcp firewall-cmd --permanent --add-port=2377/tcp firewall-cmd --permanent --add-port=7946/tcp firewall-cmd --permanent --add-port=7946/udp firewall-cmd --permanent --add-port=4789/udp firewall-cmd --permanent --add-port=80/tcp firewall-cmd --reload systemctl restart docker - 在manager节点初始化集群:
docker swarm init --advertise-addr 192.168.1.130执行后,得到下面结果:
Swarm initialized: current node (b0389cuqtk1h2v5vhj3a3xurz) is now a manager. To add a worker to this swarm, run the following command: docker swarm join \ --token SWMTKN-1-2xinda2i8kc8is6eob7hhyqyntxal1688ixzep2dqpmkyktnio-4xub9o40ilq326yi6b0hnjx9f \ 192.168.1.130:2377 To add a manager to this swarm, run 'docker swarm join-token manager' and follow the instructions. - 在另外两个工作节点执行:
docker swarm join \
  --token SWMTKN-1-2xinda2i8kc8is6eob7hhyqyntxal1688ixzep2dqpmkyktnio-4xub9o40ilq326yi6b0hnjx9f \
  192.168.1.130:2377
输出为:
[root@localhost ~]# docker swarm join \ > --token SWMTKN-1-2xinda2i8kc8is6eob7hhyqyntxal1688ixzep2dqpmkyktnio-4xub9o40ilq326yi6b0hnjx9f \ > 192.168.1.130:2377 This node joined a swarm as a worker. - 执行
docker node ls查看集群信息:ID HOSTNAME STATUS AVAILABILITY MANAGER STATUS 0bd7q219yihhkrlbj2prhlmxu node1.wisely.com Ready Active 0qm0up69sjld7rwofso506oml node2.wisely.com Ready Active b0389cuqtk1h2v5vhj3a3xurz * manager.wisely.com Ready Active Leader - 使用阿里云docker镜像加速,按顺序执行,请去阿里云申请:
sudo mkdir -p /etc/docker sudo tee /etc/docker/daemon.json <<-'EOF' { "registry-mirrors": ["https://*.mirror.aliyuncs.com"] } EOF sudo systemctl daemon-reload sudo systemctl restart docker - 部署测试,在管理节点执行:
docker service create -p 80:80 --name webserver --replicas 5 httpd查看集群中的service
docker service ls:ID NAME REPLICAS IMAGE COMMAND 7wk5kekwkyjd webserver 5/5 httpd查看集群中的webserver服务
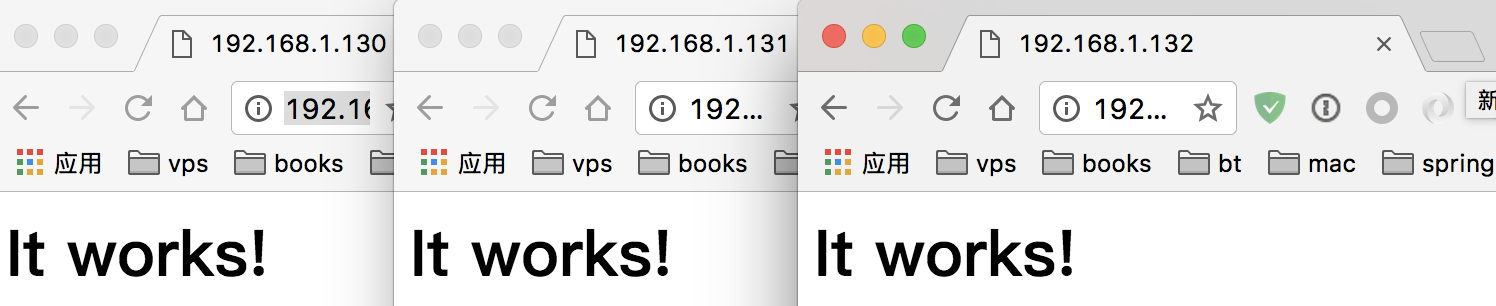
docker service ps webserver:ID NAME IMAGE NODE DESIRED STATE CURRENT STATE ERROR 5jq6c649y7kfdofhc8t4od7jc webserver.1 httpd node1.wisely.com Running Preparing 38 seconds ago 80ijfnq17p2h8dvipaabq3j4l webserver.2 httpd node1.wisely.com Running Preparing 38 seconds ago 94yrknng8y9e4h9l80ractm2r webserver.3 httpd manager.wisely.com Running Preparing 38 seconds ago 3ctowh4uctuh8q5u7lr930e9p webserver.4 httpd node2.wisely.com Running Preparing 38 seconds ago du0eoe5nn9dpcvqik0z4m2ros webserver.5 httpd node2.wisely.com Running Preparing 38 seconds ago访问http://192.168.1.130、http://192.168.1.131或http://192.168.1.132,结果为:
2.安装Portainer
-
首先关闭selinux,
setenforce 0 -
在manager节点执行:
docker service create \
--name portainer \
--publish 9000:9000 \
--constraint 'node.role == manager' \
--mount type=bind,src=/var/run/docker.sock,dst=/var/run/docker.sock \
portainer/portainer \
-H unix:///var/run/docker.sock
-
访问http://192.168.1.130:9000

格式正常地址:http://www.wisely.top/2017/05/18/docker-swarm-portainer/