merge_range(first_row, first_col, last_row, last_col, data[, cell_format])
Merge a range of cells.
Parameters:
first_row (int) – The first row of the range. (All zero indexed.)
first_col (int) – The first column of the range.
last_row (int) – The last row of the range.
last_col (int) – The last col of the range.
data – Cell data to write. Variable types.
cell_format (Format) – Optional Format object.
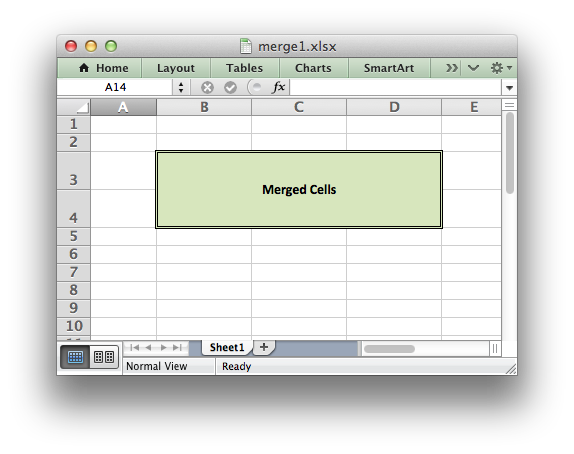
一般使用merger功能的时候我们需要同时对合并后的单元格应用一些样式,如:
merge_format = workbook.add_format({
    'bold':     True,
    'border':   6,
    'align':    'center',#水平居中
    'valign':   'vcenter',#垂直居中
    'fg_color': '#D7E4BC',#颜色填充
})
然后调用我们的merge方法并且添加样式:
worksheet.merge_range('B3:D4', 'Merged Cells', merge_format)
再进一步,我们队合并的单元格进行高度设置:
worksheet.set_column('B:D', 12)#设置B-D的单元格宽度为12
worksheet.set_row(3, 30)#设置第4行的高度为30
worksheet.set_row(6, 30)#设置第7行的高度为30
worksheet.set_row(7, 30)#设置第8行的高度为30
我们调用方法来看一下效果:
worksheet.merge_range('B4:D4', 'Merged Range', merge_format)

# Merge 3 cells over two rows.
worksheet.merge_range('B7:D8', 'Merged Range', merge_format)
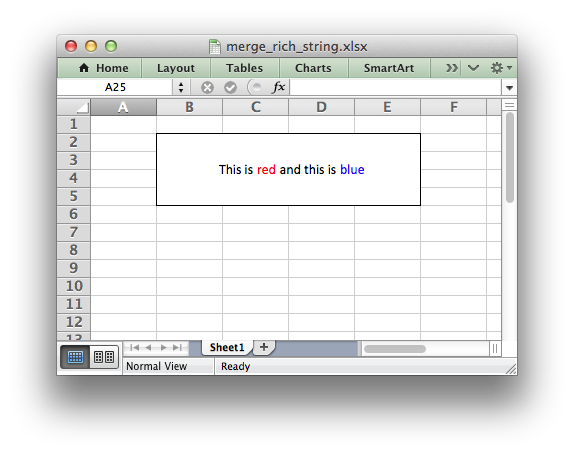
更进一步,合并并且填充富文本的内容:
# Set up some formats to use.
red = workbook.add_format({'color': 'red'})
blue = workbook.add_format({'color': 'blue'})
cell_format = workbook.add_format({'align': 'center',
                                   'valign': 'vcenter',
'border': 1})worksheet.merge_range('B2:E5', "", cell_format)
# We then overwrite the first merged cell with a rich string. Note that we
# must also pass the cell format used in the merged cells format at the end.
worksheet.write_rich_string('B2',
'This is ',
red, 'red',
' and this is ',
blue, 'blue',
cell_format)
最终的效果如下: