jupyter notebook的使用初体验,这里简单的介绍一下jupyter notebook的基本使用方法。
平台:win7+64位+anaconda
1 打开jupyter notebook
启动jupyter notebook的方法有很多:
- 在浏览器中输入地址: http://localhost:8888/tree
- 在anaconda中双击jupyter notebook图标
- 在cmd中输入命令jupyter notebook

正常启动了jupyter notebook后,浏览器会自动跳转到 http://localhost:8888/tree地址,一般界面如下:
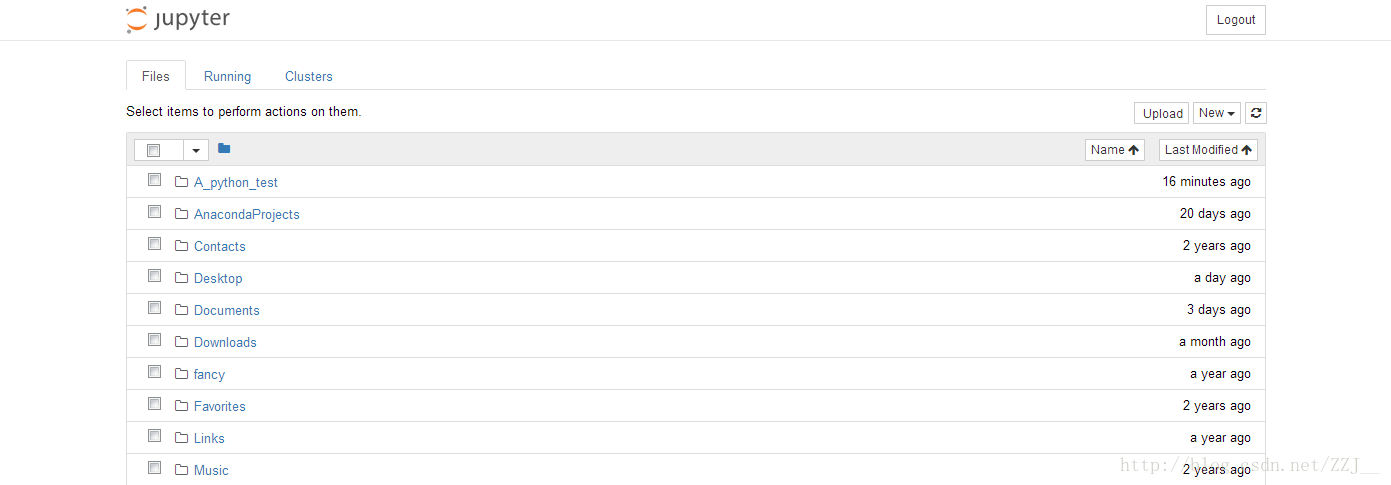
这里显示的文件是jupyter notebook中local目录下的文件,我的目录地址为C:\Users\ Administrator,所以显示的就是这个路径下的内容,这个初始目录也是可以更改的。在这个目录下新建一个文件夹A_python_test,再新建一个ipynb文件,将其命名为helloworld_test.ipython,就可以在这个文件里编辑代码啦。
2 运行简单代码
在空白的ipynb文件中,我们会看到下面用来输入代码的提示框

- 首先是运行我们的hello world了,输入以上代码,并同时按住shift+enter,就可以得到运行结果。
print('hello world!') 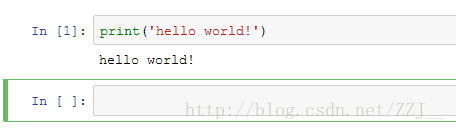
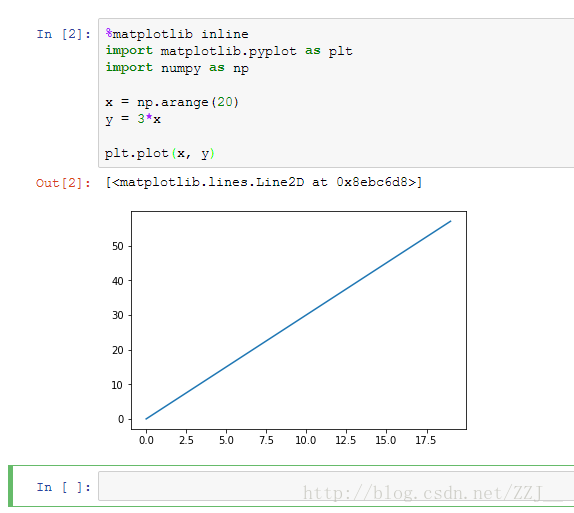
- jupyter notebook中具有丰富的绘图功能,主要是要引入matplotlib包,但是这里注意的是一定要在代码最前面加入一行%matplotlib inline,才能得到正确的绘图结果。
%matplotlib inline
import matplotlib.pyplot as plt
import numpy as np

x = np.arange(20)
y = 3*x

plt.plot(x, y)