Getting Started With Angular 4.3+ HttpClient
将已有的项目添加到github
创建RESTAPI神器-JsonServer
- Angular-cli新建httpClientExample项目
ng new httpClientExample - ngModule中导入HttpClientModule
typescript
 ....
 import { HttpClientModule } from '@angular/common/http';
 ....
 @NgModule({
 declarations: [
 AppComponent
 ],
 imports: [
 BrowserModule,
 HttpClientModule
 ],
 providers: [],
 bootstrap: [AppComponent]
 })
 export class AppModule { }
npm安装json-server,代替api server提供API服务。(windows命令行提示符(管理员))
npm install -g json-server新建一各 JSON 文件,扮演我们的服务器上的数据库。
{ "customers": [ { "id": 1, "name": "Customer001", "email": "[email protected]", "tel": "0526252525" }, { "id": 2, "name": "Customer002", "email": "[email protected]", "tel": "0527252525" }, { "id": 3, "name": "Customer003", "email": "[email protected]", "tel": "0528252525" } ] }- 启动服务。现在可像用Rest service进行查询, json-server更多使用点击这里.
json-server --watch E:\db.json
HttpClient Get请求。
- 导入HttpClient , @angular/common/http
- component 构造函数中注入HttpClient
- 使用.get(端点)方法创建HTTP GET请求
订阅(Subscribe )返回的observable并显示结果
import { Component,OnInit } from '@angular/core';//OnInit 接口,要求实现OnInit方法。
import { Observable } from "rxjs/Observable";//add
import { HttpClient, } from "@angular/common/http";/add
class Customer {
id : number;
name: string;
email: string;
tel: string;
}
@Component({
selector: 'customers',
template: `
  <ul *ngIf="customersObservable | async as customers else empty">
      <li *ngFor="let customer of customers">
      {{customer|json}}
      </li>
  </ul>
`})
export class AppComponent implements OnInit {
customersObservable : Observable<Customer[]>;
title = 'app';
constructor(private httpClient:HttpClient) {
}
ngOnInit() {//初始化时就开始get请求数据
this.customersObservable = this.httpClient
    .get<Customer[]>("127.0.0.1:3000/customers");
}
}
- HTTP GET 请求参数: HttpParams
- 请求第1页,最大条数2:
- url方式
http://127.0.0.1:3000/customers?_page=1&_limit=1 - 使用httpClient实现
- 导入HttpParams
import {HttpParams} from "@angular/common/http"; - 构建一个 HttpParams 对象
const params = new HttpParams().set('_page', "1").set('_limit', "1"); - 呼叫 .get() 方法并携带参数,然后将返回的 Observable 对象分配给customersObservable。(params 要与get在同一个方法中)
this.customersObservable = this.httpClient.get("http://127.0.0.1:3000/customers", {params}); - 使用更简单的方法新建HttpParams对象:【fromString】
const params = new HttpParams({fromString: '_page=1&_limit=1'});
- 导入HttpParams
- 带参Get请求(记url QueryString)
 const params = new HttpParams({fromString: '_page=1&_limit=1'});
 this.customersObservable = this.http
 .request("GET","http://127.0.0.1:3000/customers",
 {
 responseType:"json",
 params
 });
- url方式
- 请求第1页,最大条数2:
- 添加 HTTP Headers
- 导入HttpHeaders
import { HttpHeaders } from '@angular/common/http'; - 新建客制的HttpHeader对象
const headers = new HttpHeaders().set("X-CustomHttpHeader", "CUSTOM_VALUE"); - 发送带httpHeader的请求
 const headers = new HttpHeaders().set("X-CustomHttpHeader", "CUSTOM_VALUE");
 this.customersObservable = this.httpClient.get("http://127.0.0.1:3000/customers", {headers});
- 携带httpHeader,会出现重复请求的状况,第一次Option请求 204状态(Firefox 为Option请求方法),第二次为返回的结果。
- 导入HttpHeaders
- 发送HTTP PUT 请求
HTTP PUT 方法用来完全替换 API server上的资源。用HttpClient 发送PUT 请求替换Customers上id为1的资源:
 this.httpClient.put("http://127.0.0.1:3000/customers/1",
 {
 "name": "NewCustomer001",
 "email": "[email protected]",
 "tel": "0000252525"
 })
 .subscribe(
 data => {
 console.log("PUT Request is successful ", data);
 },
 error => {
 console.log("Rrror", error);
 }
 );
- 发送HTTP PATCH 请求
HTTP PATCH 用来更新API server上的资源。
this.httpClient.patch("http://127.0.0.1:3000/customers/1",
 {
 "email": "[email protected]"
 })
 .subscribe(
 data => {
 console.log("PUT Request is successful ", data);
 },
 error => {
 console.log("Error", error);
 }
 );
- 发送HTTP DELETE 请求
HTTP DELETE 用来删除 API server上的资源
this.httpClient.delete("http://127.0.0.1:3000/customers/1")
 .subscribe(
 data => {
 console.log("DELETE Request is successful ", data);
 },
 error => {
 console.log("Error", error);
 }
 );
- 发送 HTTP POST 请求
HTTP POST 方法有很多用途,大多数是用来在API server上新增一笔数据。
this.httpClient.post("http://127.0.0.1:3000/customers",
 {
 "name": "Customer004",
 "email": "[email protected]",
 "tel": "0000252525"
 })
 .subscribe(
 data => {
 console.log("POST Request is successful ", data);
 },
 error => {
 console.log("Error", error);
 }
 );
本地项目上传到GitHub
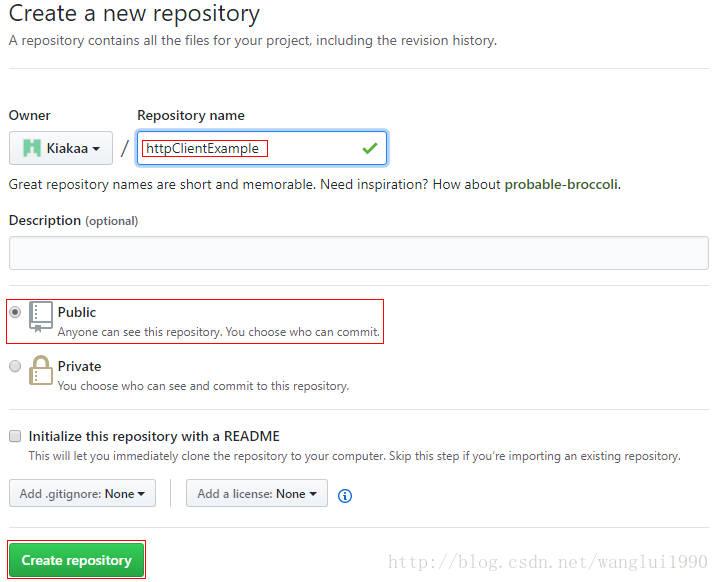
- 先从github创建一个空的仓库
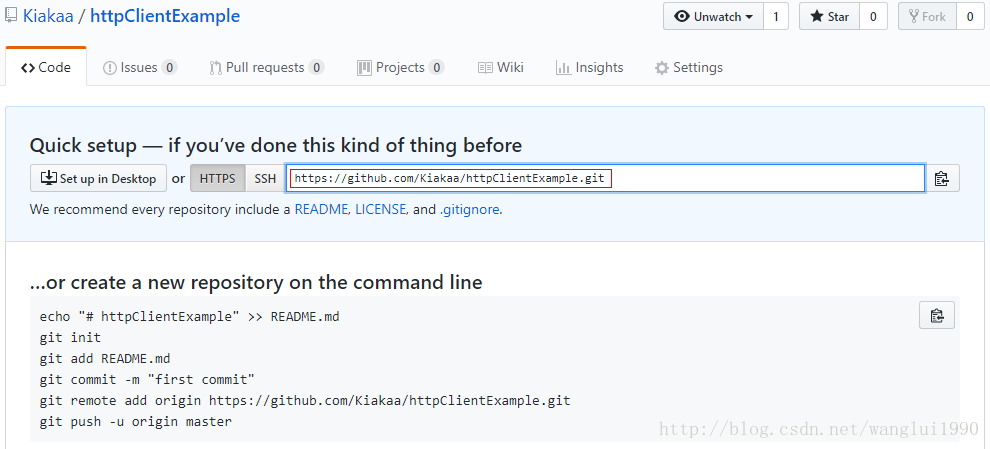
先从github创建一个空的仓库,并复制链接地址
复制repo链接
- 初始化本地仓库,并提交内容到本地
- 如果没说明文档,如需,新建
touch README.md - 本地项目若未初始化,则初始化
git init - 添加全部已经修改的文件。
git add .等同git add -A - 提交到本地
git commit -m "提交说明"
- 如果没说明文档,如需,新建
- 连接到远程仓库,并将代码同步到远程仓库
- git remote add origin 远程仓库地址。Git-基础
git remote add origin https://github.com/Kiakaa/httpClientExample.git - 推送到远程仓库
git push -u origin master
- git remote add origin 远程仓库地址。Git-基础