今天就不扯别的了,直接喝酒
平台:windows
IDE :Android Studio
下载好ndk:下载地址 https://developer.android.com/ndk/downloads/index.html
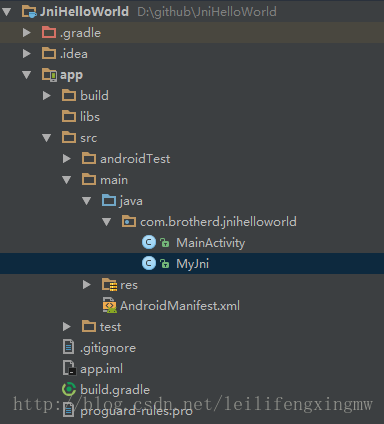
第1步:新建一个Android Studio 工程 JniHelloWorld。新建一个MyJni.java文件。
MyJni.java
public class MyJni {

    static {
        System.loadLibrary("MyJni");
    }

    public native static String getString();
}
- 1
- 2
- 3
- 4
- 5
- 6
- 7
- 8
- 9
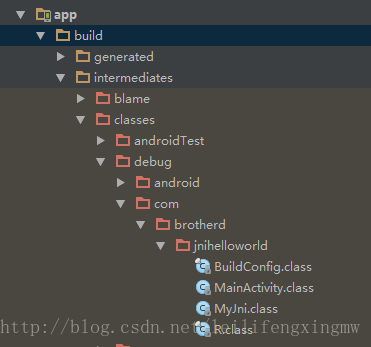
第2步:然后点击一下 make project 会在app的build目录下面生成.class文件。
第3步,在app/src/main文件夹下新建一个jni文件夹,然后打开Android Studio的终端,cd到这个目录,然后输入下面的指令
javah -jni -classpath D:\github\JniHelloWorld\app\build\intermediates\classes\debug com.brotherd.jnihelloworld.MyJni
- 1
- 2
就会在这个jni文件夹下生成一个.h文件,com_brotherd_jnihelloworld_MyJni.h,文件内容如下。
/* DO NOT EDIT THIS FILE - it is machine generated */
#include <jni.h>
/* Header for class com_brotherd_jnihelloworld_MyJni */

#ifndef _Included_com_brotherd_jnihelloworld_MyJni
#define _Included_com_brotherd_jnihelloworld_MyJni
#ifdef __cplusplus
extern "C" {
#endif
/*
 * Class:     com_brotherd_jnihelloworld_MyJni
 * Method:    getString
 * Signature: ()Ljava/lang/String;
 */
JNIEXPORT jstring JNICALL Java_com_brotherd_jnihelloworld_MyJni_getString
  (JNIEnv *, jclass);

#ifdef __cplusplus
}
#endif
#endif
- 1
- 2
- 3
- 4
- 5
- 6
- 7
- 8
- 9
- 10
- 11
- 12
- 13
- 14
- 15
- 16
- 17
- 18
- 19
- 20
- 21
- 22
在jni目录下新建一个c/c++source file ,取名test.c 实现上面.h文件中的方法。
#include "jni.h"
#include "com_brotherd_jnihelloworld_MyJni.h"

JNIEXPORT jstring JNICALL Java_com_brotherd_jnihelloworld_MyJni_getString
  (JNIEnv *env, jclass jz){

  return (*env)->NewStringUTF(env,"this is the first time for me to use jni");

}- 1
- 2
- 3
- 4
- 5
- 6
- 7
- 8
- 9
接着在jni文件夹下新建Android.mk和Application.mk文件。
Android.mk
LOCAL_PATH := $(call my-dir)
include $(CLEAR_VARS)

LOCAL_MODULE := MyJni
LOCAL_SRC_FILES := Test.c
include $(BUILD_SHARED_LIBRARY)- 1
- 2
- 3
- 4
- 5
- 6
Application.mk
APP_ABI := all- 1
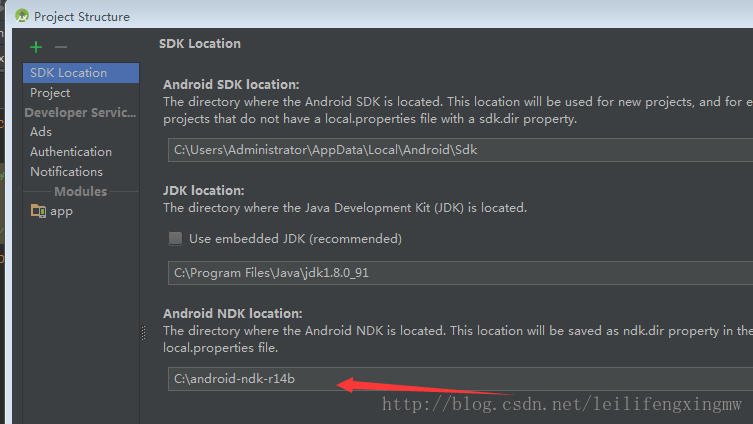
第4步,关联下载好的ndk包,我的解压好的路径是C:\android-ndk-r14b
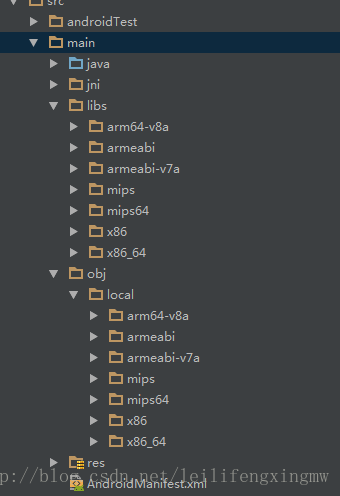
然后在终端进入到jni目录,输入指令 ndk-build,就会生成相应的so文件。
第5步,调用so文件。
在app的bulid文件中加入如下代码,然后build project
android {
    ...
    sourceSets {
        main() {
            jniLibs.srcDirs = ['src/main/libs']
            jni.srcDirs = [] //屏蔽掉默认的jni编译生成过程
        }
    }
}- 1
- 2
- 3
- 4
- 5
- 6
- 7
- 8
- 9
在MainActivity中调用
public class MainActivity extends AppCompatActivity {

    private TextView textView;

    @Override
    protected void onCreate(Bundle savedInstanceState) {
        super.onCreate(savedInstanceState);
        setContentView(R.layout.activity_main);
        textView = (TextView) findViewById(R.id.textView);
        textView.setText(MyJni.getString());
    }
}
- 1
- 2
- 3
- 4
- 5
- 6
- 7
- 8
- 9
- 10
- 11
- 12
- 13
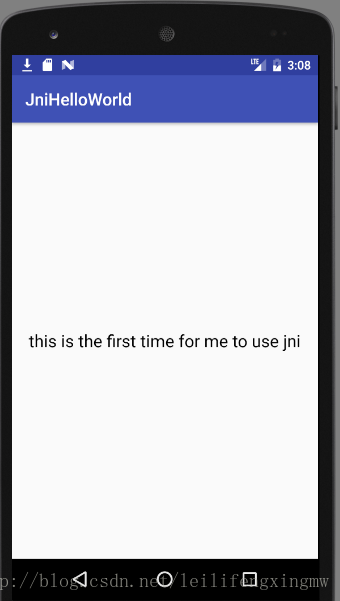
运行效果图
结尾:现在对JNI还是一窍不通,有时间再看看,先记录一下。
参考链接:
[1]http://blog.csdn.net/qq_35071078/article/details/70502481