主要按照官网上的提示:https://caffe2.ai/docs/getting-started.html?platform=ubuntu&configuration=prebuilt
首先是安装cuda,cudnn,nccl
cuda和cudnn教程较多
--------------------------------------------------------------------------------------------------------------------------------------------------------------
cuda教程:https://docs.nvidia.com/cuda/cuda-installation-guide-linux/index.html
----------------------------------------------------------------------------------------------------------------------------------------------------
cudnn教程:https://docs.nvidia.com/deeplearning/sdk/cudnn-install/index.html#overview
2.3. Installing cuDNN on Linux
The following steps describe how to build a cuDNN dependent program. Choose the installation method that meets your environment needs. For example, the tar file installation applies to all Linux platforms. The debian installation package applies to Ubuntu 14.04 and 16.04.
Installing from a Tar File
- Navigate to your <cudnnpath> directory containing the cuDNN Tar file.
- Unzip the cuDNN package.
$ tar -xzvf cudnn-9.0-linux-x64-v7.tgz
- Copy the following files into the CUDA Toolkit directory.
$ sudo cp cuda/include/cudnn.h /usr/local/cuda/include
$ sudo cp cuda/lib64/libcudnn* /usr/local/cuda/lib64
$ sudo chmod a+r /usr/local/cuda/include/cudnn.h
/usr/local/cuda/lib64/libcudnn*
nccl教程参考官网:https://docs.nvidia.com/deeplearning/sdk/nccl-install-guide/index.html
Ubuntu 14.04 LTS And Ubuntu 16.04 LTS
- Install the repository.
- For the local NCCL repository:
sudo dpkg -i nccl-repo-<version>.deb
- For the network repository:
sudo dpkg -i nvidia-machine-learning-repo-<version>.deb
- For the local NCCL repository:
- Update the APT database:
sudo apt update
- Install the libnccl2 package with APT. Additionally, if you need to compile applications with NCCL, you can install the libnccl-dev package as well:
Note: If you are using the network repository, the following command will upgrade CUDA to the latest version.
sudo apt install libnccl2 libnccl-dev
If you prefer to keep an older version of CUDA, specify a specific version, for example:sudo apt-get install libnccl2=2.0.0-1+cuda8.0 libnccl-dev=2.0.0-1+cuda8.0
Refer to the download page for exact package versions.
---------------------------------------------------------------------------------------------------------------------------------------------------
接下来开始安装
If you do not have a GPU:
conda install -c caffe2 caffe2
For GPU support you will need CUDA, CuDNN, and NCCL. These must be installed from Nvidia’s website.
For Caffe2 with CUDA 9 and CuDNN 7 support:
conda install -c caffe2 caffe2-cuda9.0-cudnn7
For Caffe2 with CUDA 8 and CuDNN 7 support:
conda install -c caffe2 caffe2-cuda8.0-cudnn7
按照官网上的建议:
安装caffe2之前最好新建一个anaconda环境
参考网页:https://conda.io/docs/user-guide/tasks/manage-environments.html
Use the Terminal or an Anaconda Prompt for the following steps.

    To create an environment:

    conda create --name myenv

    NOTE: Replace myenv with the environment name.

    When conda asks you to proceed, type y:

    proceed ([y]/n)?

This creates the myenv environment in /envs/. This environment uses the same version of Python that you are currently using, because you did not specify a version.
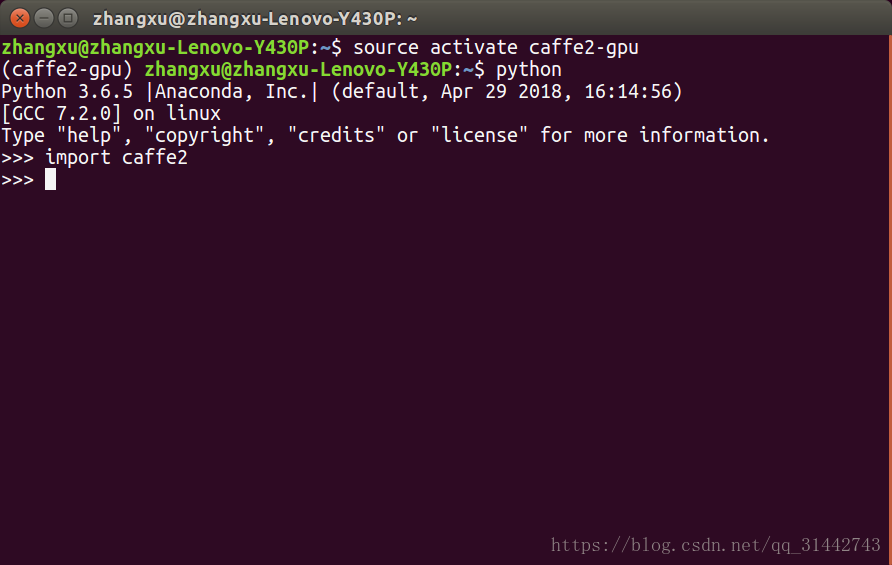
完成后,进入打开caffe2的方法是:
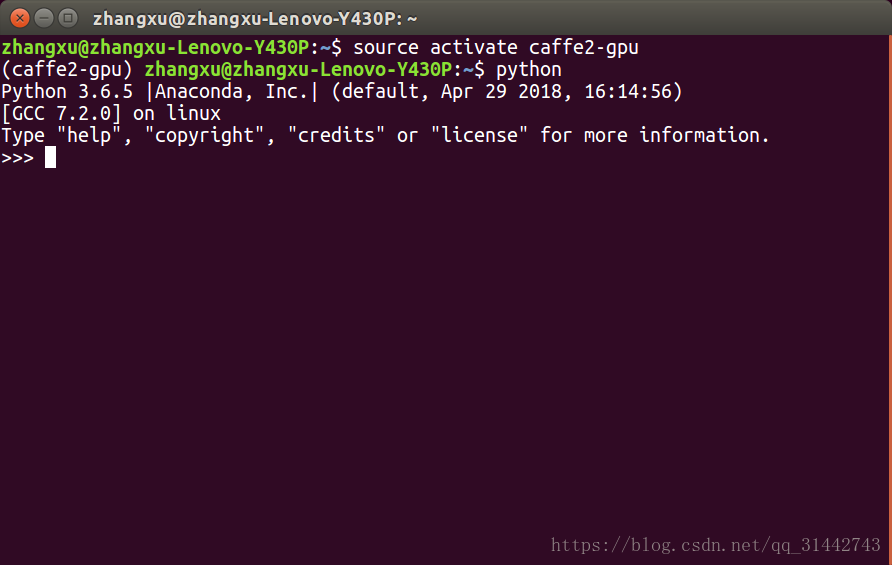
首先激活caffe2的环境
比如我的:

然后进入python:
最后import caffe2以测试是否成功