1 .常见表单验证注解
| 限制 | 说明 |
|---|---|
| @Null | 限制只能为null |
| @NotNull | 限制必须不为null |
| @AssertFalse | 限制必须为false |
| @AssertTrue | 限制必须为true |
| @DecimalMax(value) | 限制必须为一个不大于指定值的数字 |
| @DecimalMin(value) | 限制必须为一个不小于指定值的数字 |
| @Digits(integer,fraction) | 限制必须为一个小数,且整数部分的位数不能超过integer,小数部分的位数不能超过fraction |
| @Future | 限制必须是一个将来的日期 |
| @Max(value) | 限制必须为一个不大于指定值的数字 |
| @Min(value) | 限制必须为一个不小于指定值的数字 |
| @Past | 限制必须是一个过去的日期 |
| @Pattern(value) | 限制必须符合指定的正则表达式 |
| @Size(max,min) | 限制字符长度必须在min到max之间 |
| @Past | 验证注解的元素值(日期类型)比当前时间早 |
| @NotEmpty | 验证注解的元素值不为null且不为空(字符串长度不为0、集合大小不为0) |
| @NotBlank | 验证注解的元素值不为空(不为null、去除首位空格后长度为0),不同于@NotEmpty,@NotBlank只应用于字符串且在比较时会去除字符串的空格 |
| 验证注解的元素值是Email,也可以通过正则表达式和flag指定自定义的email格式 |
2 .编码
要求姓名不能为空,年龄必须是不小于18 ;
我们先新建一个Student实体,这里只用了两个注解
package com.jd.entity; import javax.persistence.*; import javax.validation.constraints.Min; import javax.validation.constraints.NotEmpty; import javax.validation.constraints.NotNull; (name="t_student") public class Student { private Integer id; (message="姓名不能为空!") (length=50) private String name; (message="年龄不能为空!") (value=18,message="年龄必须大于18岁!") (length=50) private Integer age; public Integer getId() { return id; } public void setId(Integer id) { this.id = id; } public String getName() { return name; } public void setName(String name) { this.name = name; } public Integer getAge() { return age; } public void setAge(Integer age) { this.age = age; } }
2.dao接口
package com.jd.dao; import com.jd.entity.Student; import org.springframework.data.jpa.repository.JpaRepository; /** * Created by ${HeJD} on 2018/6/27. */ public interface StudentDao extends JpaRepository<Student, Integer> { }
3.service接口
package com.jd.service;
public interface StudentService {
    /**
     * 添加学生
     */
    public void add(Student student);
}
4.service业务实现类
package com.jd.service.serviceImp; import com.jd.dao.StudentDao; import com.jd.entity.Student; import com.jd.service.StudentService; import org.springframework.stereotype.Service; import org.springframework.transaction.annotation.Transactional; import javax.annotation.Resource; /** * Created by ${HeJD} on 2018/6/27. */ public class StudentServiceImpl implements StudentService { private StudentDao studentDao; public void add(Student student) { studentDao.save(student); } }
5.controller
package com.jd.controller; import com.jd.entity.Student; import com.jd.service.StudentService; import org.springframework.validation.BindingResult; import org.springframework.web.bind.annotation.PostMapping; import org.springframework.web.bind.annotation.RequestMapping; import org.springframework.web.bind.annotation.ResponseBody; import org.springframework.web.bind.annotation.RestController; import javax.annotation.Resource; import javax.validation.Valid; /** * Created by ${HeJD} on 2018/6/27. */ ("/student") public class StudentController { private StudentService studentService; /** * 添加学生 * * add方法里 实体前要加@Valid 假如字段验证不通过,信息绑定到后面定义的BindingResult; * @param student * @param bindingResult * @return */ (value="/add") public String add( Student student, BindingResult bindingResult){ if(bindingResult.hasErrors()){ return bindingResult.getFieldError().getDefaultMessage(); }else{ studentService.add(student); return "添加成功!"; } } }
6.student添加页面studentAdd.html
<!DOCTYPE html>
<html>
<head>
    <meta charset="UTF-8">
    <title>学生信息添加页面</title>
    <script src="jquery.js"></script>
    <script type="text/javascript">
        function submitData(){
            $.post("/student/add",{name:$("#name").val(),age:$("#age").val()},
                function(result){
                    alert(result);
                }
            );
        }
    </script>
</head>
<body>
姓名:<input type="text" id="name" name="name"/>
年龄:<input type="text" id="age" name="age"/>
<input type="button" value="提交" onclick="submitData()"/>
</body>
</html>
浏览器请求:
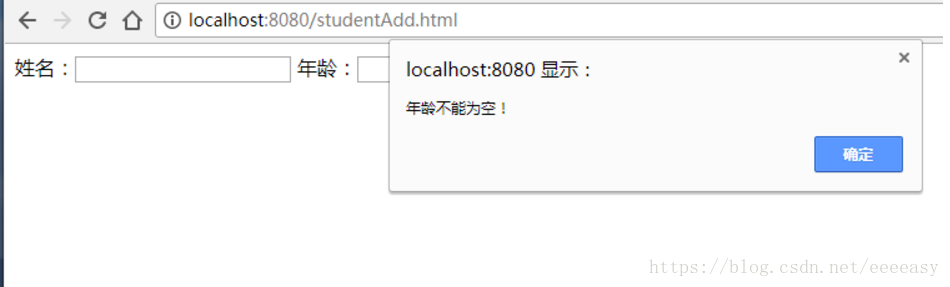
输入年龄小于18岁直接点击提交

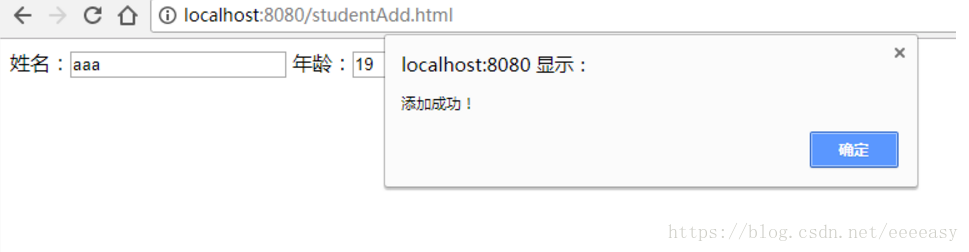
输入都符合条件的数据
3 .表单验证总结
对于这种数据验证,我们一般会先在前端验证,比如js先验证信息,再提交到后台验证。如果不使用spring boot的话,springmvc没有类似springboot的表单验证功能,我一般使用JSR303通过正则表达式来做为后台数据验证,也可达到同样的目的。