本教程中的步骤要求用户拥有root权限
第一步 - 添加Nginx存储库
要添加CentOS 7 EPEL仓库,请打开终端并使用以下命令:
sudo yum install epel-release第二步 - 安装Nginx
现在Nginx存储库已经安装在您的服务器上,使用以下yum命令安装Nginx :
sudo yum install nginx
在对提示回答yes后,Nginx将在服务器上完成安装。
第三步 - 启动Nginx
Nginx不会自行启动。要运行Nginx,请输入:
sudo systemctl start nginx如果启动nginx不成功,可能是你的httpd的服务器正在运行中,因为两个服务器默认都是80端口号,所有有两个解决方案
第一是将httpd.service的服务器关闭:
sudo systemctl stop httpd.service
第二是将安装上来的nginx的端口号从80改成81(随便修改一下端口号即可)找一下nginx配置文件在什么地方
whereis nginx.conf
[root@localhost nginx]# whereis nginx.conf
nginx: /usr/sbin/nginx /usr/lib64/nginx /etc/nginx /usr/share/nginx /usr/share/man/man3/nginx.3pm.gz /usr/share/man/man8/nginx.8.gz
现在我们去/etc/nginx/下找nginx.conf
修改端口号为81
server {
listen 81 default_server;
listen [::]:80 default_server;
server_name _;
root /usr/share/nginx/html;
# Load configuration files for the default server block.
include /etc/nginx/default.d/*.conf;
location / {
}
error_page 404 /404.html;
location = /40x.html {
}
error_page 500 502 503 504 /50x.html;
location = /50x.html {
}
}
如果您正在运行防火墙,请运行以下命令以允许HTTP和HTTPS通信:
sudo firewall-cmd --permanent --zone=public --add-service=http
sudo firewall-cmd --permanent --zone=public --add-service=https
sudo firewall-cmd --reload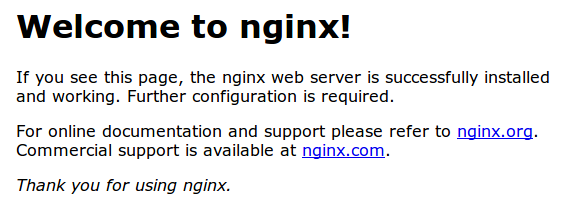
如果看到这个页面,或者是下面这个页面:

那么你的服务器现在已经正确安装了。
如果想在系统启动时启用Nginx。请输入以下命令:
sudo systemctl enable nginx
恭喜!Nginx现在已经安装并运行了!