本篇主要演示在Linux上基于Hadoop安装Hive。
一 安装环境
- 操作系统:Oracle Linux Server release 6.5;
- Java版本:java-1.7.0-openjdk-1.7.0.45;
- Hadoop版本:hadoop-2.7.6;
- Hive版本:hive-2.3.3;
- MySQL版本:5.7.22;
二 安装前准备
1 安装Hadoop
具体安装过程参考:
Hadoop 2.7.6安装_伪分布式集群
2 安装MySQL
具体安装过程参考:
MySQL基于二进制文件安装
3 下载Hive以及MySQL-jdbc
三 安装配置Hive
1 解压缩Hive
[root@strong ~]# cd /usr/local/
[root@strong local]# tar zxvf apache-hive-2.3.3-bin.tar.gz
[root@strong local]# chown -R hadoop:hadoop apache-hive-2.3.3-bin
2 配置hive-site.xml
[hadoop@strong local]$ cd apache-hive-2.3.3-bin/conf/
[hadoop@strong conf]$ ls
beeline-log4j2.properties.template  hive-exec-log4j2.properties.template  llap-cli-log4j2.properties.template
hive-default.xml.template           hive-log4j2.properties.template       llap-daemon-log4j2.properties.template
hive-env.sh.template                ivysettings.xml                       parquet-logging.properties
[hadoop@strong conf]$ cp hive-default.xml.template hive-site.xml
[hadoop@strong conf]$ cat hive-site.xml
<?xml version="1.0" encoding="UTF-8" standalone="no"?>
<?xml-stylesheet type="text/xsl" href="configuration.xsl"?>
<configuration>
 	<property>
    		 <name>javax.jdo.option.ConnectionURL</name>
        	 <value>jdbc:mysql://127.0.0.1:3306/hive?createDatabaseIfNotExist=true&useSSL=false</value>
  	 </property>

	<property>
                 <name>javax.jdo.option.ConnectionDriverName</name>
                 <value>com.mysql.jdbc.Driver</value>
        </property>

	<property>
		<name>javax.jdo.option.ConnectionUserName</name>
		<value>hadoop</value>
	</property>

	<property>
		<name>javax.jdo.option.ConnectionPassword</name>
		<value>hadoop</value>
	</property>
</configuration>
3 配置hive-env.sh
[hadoop@strong conf]$ cp hive-env.sh.template hive-env.sh
4 拷贝mysql-connector至lib目录
[root@strong local]# unzip mysql-connector-java-5.1.46.zip
[root@strong local]# cd mysql-connector-java-5.1.46
[root@strong mysql-connector-java-5.1.46]# ls
build.xml  CHANGES  COPYING  mysql-connector-java-5.1.46-bin.jar  mysql-connector-java-5.1.46.jar  README  README.txt  src
[root@strong mysql-connector-java-5.1.46]# cp mysql-connector-java-5.1.46.jar /usr/local/apache-hive-2.3.3-bin/lib/
5 设置环境变量
[hadoop@strong conf]$ cd ~
[hadoop@strong ~]$ vim .bash_profile --在该文件增加以下内容
export HIVE_HOME=/usr/local/apache-hive-2.3.3-bin
export PATH=$PATH:$HIVE_HOME/bin
[hadoop@strong ~]$ . .bash_profile
6 初始化元数据库
[hadoop@strong ~]$ schematool -initSchema -dbType mysql
SLF4J: Class path contains multiple SLF4J bindings.
SLF4J: Found binding in [jar:file:/usr/local/apache-hive-2.3.3-bin/lib/log4j-slf4j-impl-2.6.2.jar!/org/slf4j/impl/StaticLoggerBinder.class]
SLF4J: Found binding in [jar:file:/usr/local/hadoop-2.7.6/share/hadoop/common/lib/slf4j-log4j12-1.7.10.jar!/org/slf4j/impl/StaticLoggerBinder.class]
SLF4J: See http://www.slf4j.org/codes.html#multiple_bindings for an explanation.
SLF4J: Actual binding is of type [org.apache.logging.slf4j.Log4jLoggerFactory]
Metastore connection URL:	 jdbc:mysql://127.0.0.1:3306/hive?createDatabaseIfNotExist=true&useSSL=false
Metastore Connection Driver :	 com.mysql.jdbc.Driver
Metastore connection User:	 hadoop
Starting metastore schema initialization to 2.3.0
Initialization script hive-schema-2.3.0.mysql.sql
Initialization script completed
schemaTool completed
7 查看MySQL库
mysql> use hive;
Reading table information for completion of table and column names
You can turn off this feature to get a quicker startup with -A

Database changed
mysql> show tables;
+---------------------------+
| Tables_in_hive            |
+---------------------------+
| AUX_TABLE                 |
| BUCKETING_COLS            |
| CDS                       |
| COLUMNS_V2                |
| COMPACTION_QUEUE          |
| COMPLETED_COMPACTIONS     |
| COMPLETED_TXN_COMPONENTS  |
| DATABASE_PARAMS           |
| DBS                       |
| DB_PRIVS                  |
| DELEGATION_TOKENS         |
| FUNCS                     |
| FUNC_RU                   |
| GLOBAL_PRIVS              |
| HIVE_LOCKS                |
| IDXS                      |
| INDEX_PARAMS              |
| KEY_CONSTRAINTS           |
| MASTER_KEYS               |
| NEXT_COMPACTION_QUEUE_ID  |
| NEXT_LOCK_ID              |
| NEXT_TXN_ID               |
| NOTIFICATION_LOG          |
| NOTIFICATION_SEQUENCE     |
| NUCLEUS_TABLES            |
| PARTITIONS                |
| PARTITION_EVENTS          |
| PARTITION_KEYS            |
| PARTITION_KEY_VALS        |
| PARTITION_PARAMS          |
| PART_COL_PRIVS            |
| PART_COL_STATS            |
| PART_PRIVS                |
| ROLES                     |
| ROLE_MAP                  |
| SDS                       |
| SD_PARAMS                 |
| SEQUENCE_TABLE            |
| SERDES                    |
| SERDE_PARAMS              |
| SKEWED_COL_NAMES          |
| SKEWED_COL_VALUE_LOC_MAP  |
| SKEWED_STRING_LIST        |
| SKEWED_STRING_LIST_VALUES |
| SKEWED_VALUES             |
| SORT_COLS                 |
| TABLE_PARAMS              |
| TAB_COL_STATS             |
| TBLS                      |
| TBL_COL_PRIVS             |
| TBL_PRIVS                 |
| TXNS                      |
| TXN_COMPONENTS            |
| TYPES                     |
| TYPE_FIELDS               |
| VERSION                   |
| WRITE_SET                 |
+---------------------------+
57 rows in set (0.00 sec)
四 安装完成测试
1 启动Hive
[hadoop@strong ~]$ hive
hive> show databases;
OK
default
Time taken: 18.889 seconds, Fetched: 1 row(s)
2 创建Hive库
hive> create database hive;
OK
Time taken: 0.587 seconds
3 选择Hive库
hive> use hive;
OK
Time taken: 0.149 seconds
4 创建表
hive> create table emp(id int , name string);
OK
Time taken: 2.194 seconds
5 插入数据
hive> insert into emp values(1,'Alen');
WARNING: Hive-on-MR is deprecated in Hive 2 and may not be available in the future versions. Consider using a different execution engine (i.e. tez, spark) or using Hive 1.X releases.
Query ID = hadoop_20180620201653_360850eb-d2fc-4770-8158-7925e9a164fe
Total jobs = 3
Launching Job 1 out of 3
Number of reduce tasks is set to 0 since there's no reduce operator
Starting Job = job_1529492948371_0001, Tracking URL = http://strong.hadoop.com:8088/proxy/application_1529492948371_0001/
Kill Command = /usr/local/hadoop-2.7.6/bin/hadoop job  -kill job_1529492948371_0001
Hadoop job information for Stage-1: number of mappers: 1; number of reducers: 0
2018-06-20 20:17:44,258 Stage-1 map = 0%,  reduce = 0%
2018-06-20 20:18:10,611 Stage-1 map = 100%,  reduce = 0%, Cumulative CPU 4.12 sec
MapReduce Total cumulative CPU time: 4 seconds 120 msec
Ended Job = job_1529492948371_0001
Stage-4 is selected by condition resolver.
Stage-3 is filtered out by condition resolver.
Stage-5 is filtered out by condition resolver.
Moving data to directory hdfs://localhost:9000/user/hive/warehouse/hive.db/emp/.hive-staging_hive_2018-06-20_20-16-53_924_8133262428555512809-1/-ext-10000
Loading data to table hive.emp
MapReduce Jobs Launched:
Stage-Stage-1: Map: 1   Cumulative CPU: 4.12 sec   HDFS Read: 4159 HDFS Write: 71 SUCCESS
Total MapReduce CPU Time Spent: 4 seconds 120 msec
OK
Time taken: 81.628 seconds
6 查询数据
hive> select *from emp;
OK
1	Alen
Time taken: 0.533 seconds, Fetched: 1 row(s)
7 在HDFS页面查看刚才创建的数据
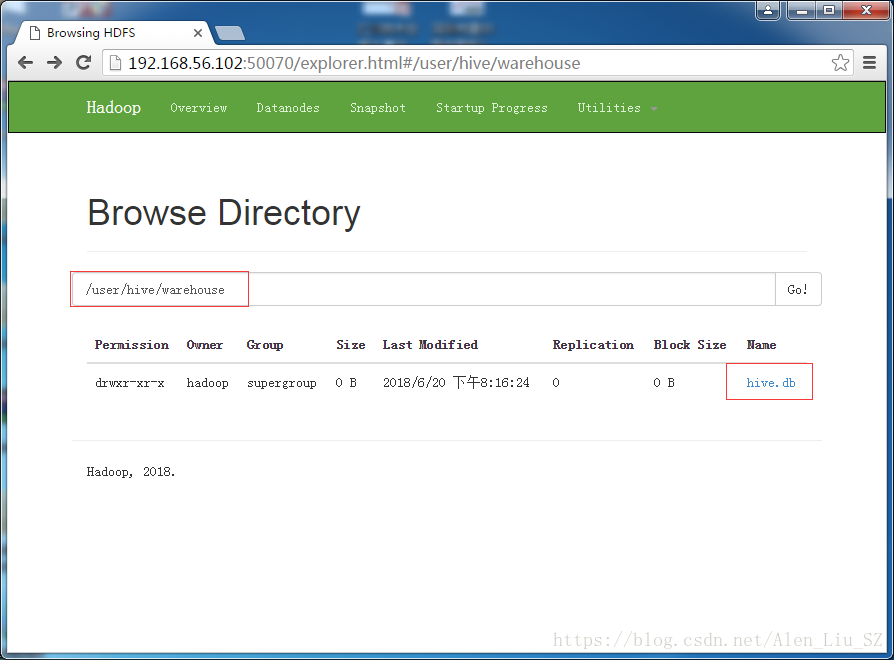
进入更里面的目录,可看到如下界面:
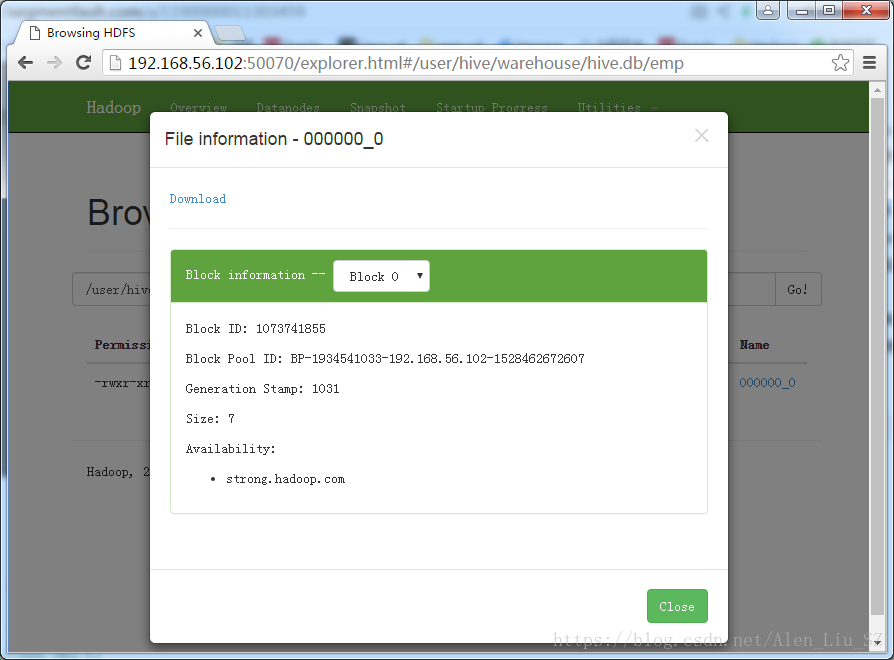
至此,整个Hive安装配置完成。