系统版本:CentOS Linux release 7.4.1708 (Core)
rsync版本:3.1.3
一:在服务器端设置
1、下载rsync,解压并编译
# mkdir /data/server/rsync
# cd /usr/local/src
# wget https://download.samba.org/pub/rsync/src/rsync-3.1.3.tar.gz
# tar -zxvf rsync-3.1.3.tar.gz
# cd rsync-3.1.3
# ./configure --prefix=/data/server/rsync
# make && make install
2、设置软连接
# ln -s /data/server/rsync/bin/rsync /usr/local/bin/rsync
3、配置/etc/rsyncd.conf ( 创建配置文件,默认安装好rsync程序后,并不会自动创建rsync的主配置文件,需要手工来创建,其主配置文件为“/etc/rsyncd.conf”,创建该文件并插入如下内容: )
# vim /etc/rsyncd.conf

uid = root
gid = root
use chroot = no
max connections = 4
exclude = lost+found/
transfer logging = yes
timeout = 900
ignore nonreadable = yes
dont compress = .gz .tgz .zip .z .Z .rpm .deb .bz2
[test]
path=/data/rsync_data/    # 设置同步的目录
comment=test
ignore errors
read only=yes
write only=no
list=no
auth user=root
secrets file=/etc/rsyncd.passwd
hosts allow=
4、启动rsync
# systemctl start rsyncd
二:在客户端设置rsync
1、编译安装和服务器端安装方式一样,记得设置软连接
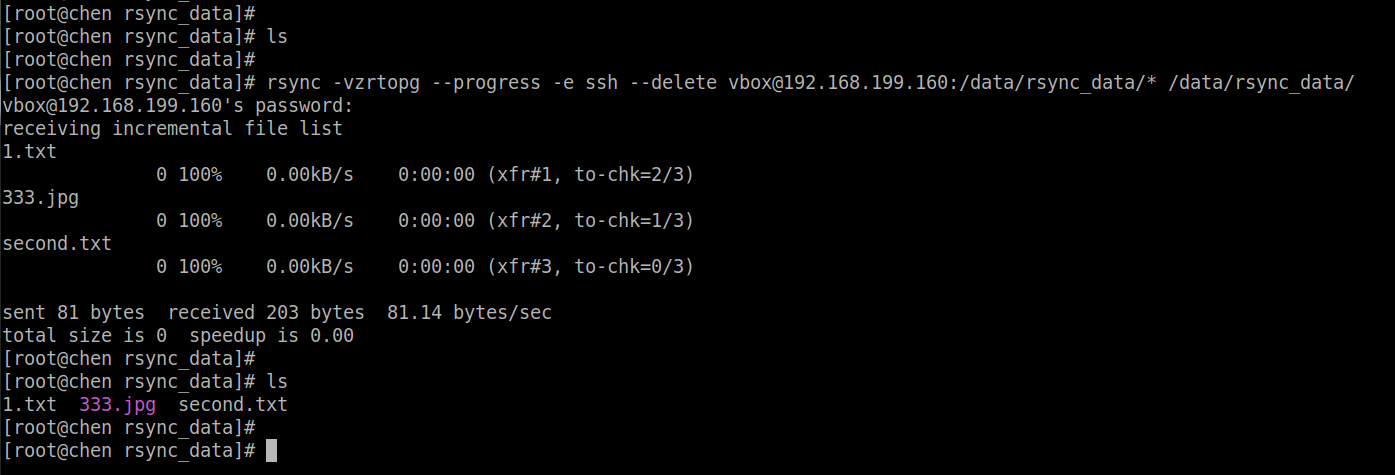
2、在客户端同步服务器端的数据( 使用服务器端的用户vbox来进行同步 )
# rsync -vzrtopg --progress -e ssh --delete vbox@192.168.199.160:/data/rsync_data/* /data/rsync_data/