目录
1.配置redis.conf文件
以配置文件启动redis
redis配置下载:Index of /releases/
镜像最好和配置文件版本对应 避免一些不必要的错误
修改文件中以下配置项:
1.将bind 127.0.0.1 -::1注释掉
# bind 127.0.0.1 -::1
2.将 appendonly no 设置成yes,开启redis数据持久化
 appendonly yes
3.将  requirepass foobared 解开注释,设置密码
 requirepass root
4.以下两项配置可选(如果不需要从外部连接,可不进行配置,以下配置有风险,请谨慎配置)
保护模式:如果设置为yes,那么只允许我们在本机的回环连接,其他机器无法连接,即外部无法连接,此处关闭
protected-mode no
将bind 127.0.0.1注释掉,此项配置的作用是服务绑定监听本机的哪个ip
# bind 127.0.0.1
修改完毕后的完整redis.conf文件如下:
# bind 192.168.1.100 10.0.0.1
# bind 127.0.0.1 ::1
#bind 127.0.0.1

protected-mode no

port 6379

tcp-backlog 511

requirepass root

timeout 0

tcp-keepalive 300

daemonize no

supervised no

pidfile /var/run/redis_6379.pid

loglevel notice

logfile ""

databases 30

always-show-logo yes

save 900 1
save 300 10
save 60 10000

stop-writes-on-bgsave-error yes

rdbcompression yes

rdbchecksum yes

dbfilename dump.rdb

dir ./

replica-serve-stale-data yes

replica-read-only yes

repl-diskless-sync no

repl-disable-tcp-nodelay no

replica-priority 100

lazyfree-lazy-eviction no
lazyfree-lazy-expire no
lazyfree-lazy-server-del no
replica-lazy-flush no

appendonly yes

appendfilename "appendonly.aof"

no-appendfsync-on-rewrite no

auto-aof-rewrite-percentage 100
auto-aof-rewrite-min-size 64mb

aof-load-truncated yes

aof-use-rdb-preamble yes

lua-time-limit 5000

slowlog-max-len 128

notify-keyspace-events ""

hash-max-ziplist-entries 512
hash-max-ziplist-value 64

list-max-ziplist-size -2

list-compress-depth 0

set-max-intset-entries 512

zset-max-ziplist-entries 128
zset-max-ziplist-value 64

hll-sparse-max-bytes 3000

stream-node-max-bytes 4096
stream-node-max-entries 100

activerehashing yes

hz 10

dynamic-hz yes

aof-rewrite-incremental-fsync yes

rdb-save-incremental-fsync yes
在linux上创建redis目录 并且把redis.conf上传到/usr/local/redis
mkdir /usr/local/redis/
2.下载镜像
docker pull redis
3.运行容器
这里注意如果用多行运行可能有点问题这里我们把命令缩成一行
docker run -p 6379:6379 --name redis --restart=always \
-v /usr/local/redis/redis.conf:/etc/redis/redis.conf \
-v /usr/local/redis/data:/data \
-d redis redis-server /etc/redis/redis.conf \
--appendonly yes --requirepass 123456
参数说明:
-restart=always 总是开机启动
-p 宿主机端口和容器端口映射
-v 挂载数据卷
-d 后台启动redis
- -appendonly yes 开启持久化
--requirepass 123456 设置密码
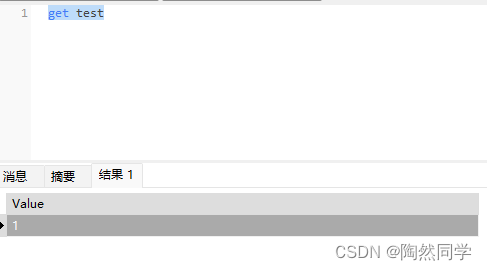
4.测试
进入redis容器
docker exec -it redis redis-cli
输入密码 登录
auth "123456"

最后使用navicat连接redis