对于爬虫,现在网上的教程也越来越多,方法也是五花八门,甚至出现了APP等爬虫软件。
下面我们将爬取著名的企查查

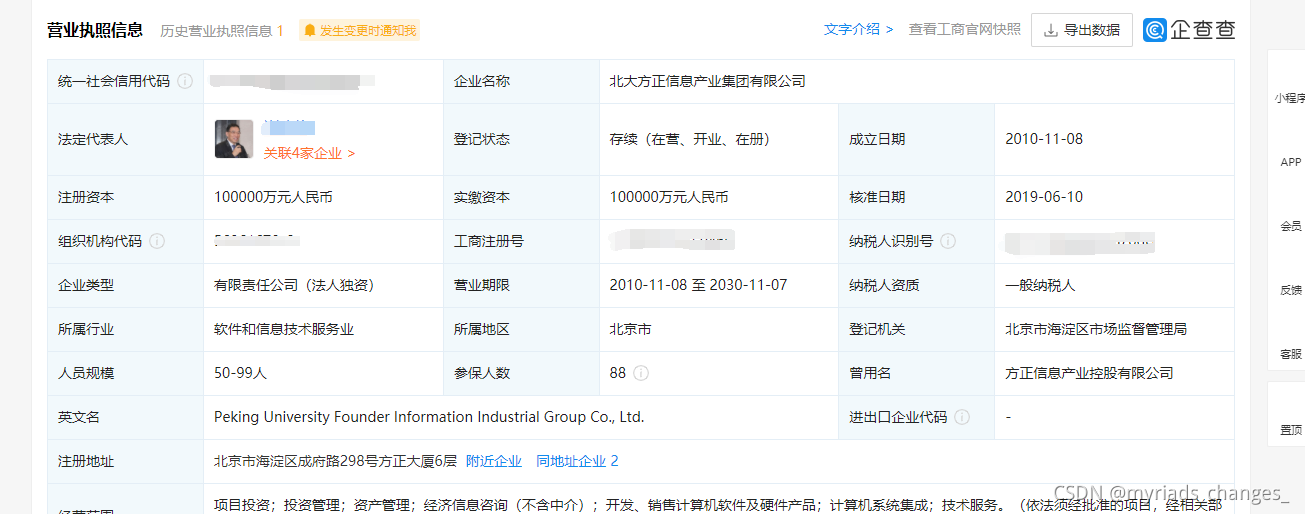
对于企查查网,我们需要做一些营业执照等信息的话,就需要公司的具体信息,例如公司名称,法定代表人,成立日期,注册金额等基础信息,如下图。
本文最最最要:
def main():
    while True:
        option = webdriver.ChromeOptions()
        option.add_experimental_option('excludeSwitches', ['enable-automation'])  # webdriver防检测

        option.add_argument("--disable-blink-features=AutomationControlled")
        option.add_argument("--no-sandbox")
        option.add_argument("--disable-dev-usage")
        option.add_experimental_option("prefs", {

    "profile.managed_default_content_settings.images": 2})
        driver = webdriver.Chrome(executable_path=r'D:\chromedriver.exe',options=option)
设置参数如下:
- ChromeOptions:是一个配置 chrome 启动是属性的类,就是初始化
- binary_location:设置 chrome 二进制文件位置
- add_argument:添加启动参数
- add_extension、add_encoded_extension:添加扩展应用
- add_experimental_option:添加实验性质的设置参数
- debugger_address:设置调试器地址
下载chromedriver.exe驱动
根据你的谷歌浏览器的版本下载chromedriver,注意这里我们下载的版本要与自己的谷歌浏览器的版本相对应,再引入他的路径

点击事件
针对事件点击的话,这个就需要定位到你要模拟点击的标签,不然会报错,或者找不到。
注意:
- 反应等待时间设置,不然再下一个事件点击之前,定位不了。
- 标签精准定位
driver.delete_all_cookies()
url = "https://www.qcc.com/weblogin?back=%2F" #https://www.qcc.com/weblogin?back=%2F
driver.get(url)
time.sleep(10)

# 点击密码登入
driver.find_element_by_xpath('/html/body/div[1]/div[3]/div/div[2]/div[1]/div[2]/a').click()
time.sleep(1)

# 输入账号密码
driver.find_element_by_xpath('/html/body/div[1]/div[3]/div/div[2]/div[3]/form/div[1]/input').send_keys(username)
driver.find_element_by_xpath('/html/body/div[1]/div[3]/div/div[2]/div[3]/form/div[2]/input').send_keys(password)
滑块验证
滑块验证,我们需要定位到滑块的具体标签,因为本人再学习的时候定位到了滑块所在的大盒子标签,这样就会导致验证失败
对于滑动距离这个一般是308
button = driver.find_element_by_xpath('/html/body/div[1]/div[3]/div/div[2]/div[3]/form/div[3]/div/div/div[1]/span')
#滑动滑块
ActionChains(driver).click_and_hold(button).perform()
ActionChains(driver).move_by_offset(xoffset=308, yoffset=0).perform()
ActionChains(driver).release().perform()
话不多说,上代码
完整代码
import time
import pandas as pd
from selenium import webdriver
from selenium.webdriver import ActionChains
a = []
def login(driver):
driver.delete_all_cookies()
url = "https://www.qcc.com/weblogin?back=%2F" #https://www.qcc.com/weblogin?back=%2F
driver.get(url)
time.sleep(10)
# 点击密码登入
driver.find_element_by_xpath('/html/body/div[1]/div[3]/div/div[2]/div[1]/div[2]/a').click()
time.sleep(1)
# 输入账号密码
#driver.find_element_by_id('nameNormal').send_keys(username) # /html/body/div[1]/div[3]/div/div[2]/div[3]/form/div[1]/input
driver.find_element_by_xpath('/html/body/div[1]/div[3]/div/div[2]/div[3]/form/div[1]/input').send_keys(username)
driver.find_element_by_xpath('/html/body/div[1]/div[3]/div/div[2]/div[3]/form/div[2]/input').send_keys(password)
button = driver.find_element_by_xpath('/html/body/div[1]/div[3]/div/div[2]/div[3]/form/div[3]/div/div/div[1]/span')
#滑动滑块
ActionChains(driver).click_and_hold(button).perform()
ActionChains(driver).move_by_offset(xoffset=308, yoffset=0).perform()
ActionChains(driver).release().perform()
time.sleep(2)
driver.find_element_by_xpath('/html/body/div[1]/div[3]/div/div[2]/div[3]/form/div[4]/button/strong').click()# 点击登录
time.sleep(0.5)
url_a = ['https://www.qcc.com/web/search?key=it&p={}&filter=%7B%22rchain%22%3A%5B%7B%22pr%22%3A%22GD%22%7D%5D%7D',
'https://www.qcc.com/web/search?key=it&p={}&filter=%7B%22rchain%22%3A%5B%7B%22pr%22%3A%22BJ%22%7D%5D%7D',
'https://www.qcc.com/web/search?key=it&p={}&filter=%7B%22rchain%22%3A%5B%7B%22pr%22%3A%22JS%22%7D%5D%7D',
'https://www.qcc.com/web/search?key=it&p={}&filter=%7B%22rchain%22%3A%5B%7B%22pr%22%3A%22SH%22%7D%5D%7D',
'https://www.qcc.com/web/search?key=it&p={}&filter=%7B%22rchain%22%3A%5B%7B%22pr%22%3A%22ZJ%22%7D%5D%7D',
'https://www.qcc.com/web/search?key=it&p={}&filter=%7B%22rchain%22%3A%5B%7B%22pr%22%3A%22SC%22%7D%5D%7D',
'https://www.qcc.com/web/search?key=it&p={}&filter=%7B%22rchain%22%3A%5B%7B%22pr%22%3A%22SD%22%7D%5D%7D',
'https://www.qcc.com/web/search?key=it&p={}&filter=%7B%22rchain%22%3A%5B%7B%22pr%22%3A%22HB%22%7D%5D%7D',
'https://www.qcc.com/web/search?key=it&p={}&searchIndex=%7B%22scope%22%3A%22it%22%7D']
num = 1
for r in url_a:
for j in range(1,6):
driver.get(r.format(j)) #https://www.qcc.com/web/search?key=it
for i in range(1,20):
d = driver.find_element_by_xpath('/html/body/div[1]/div[2]/div[2]/div[4]/div/div[2]/div/table/tr[{}]/td[3]/div/a[1]'.format(i))
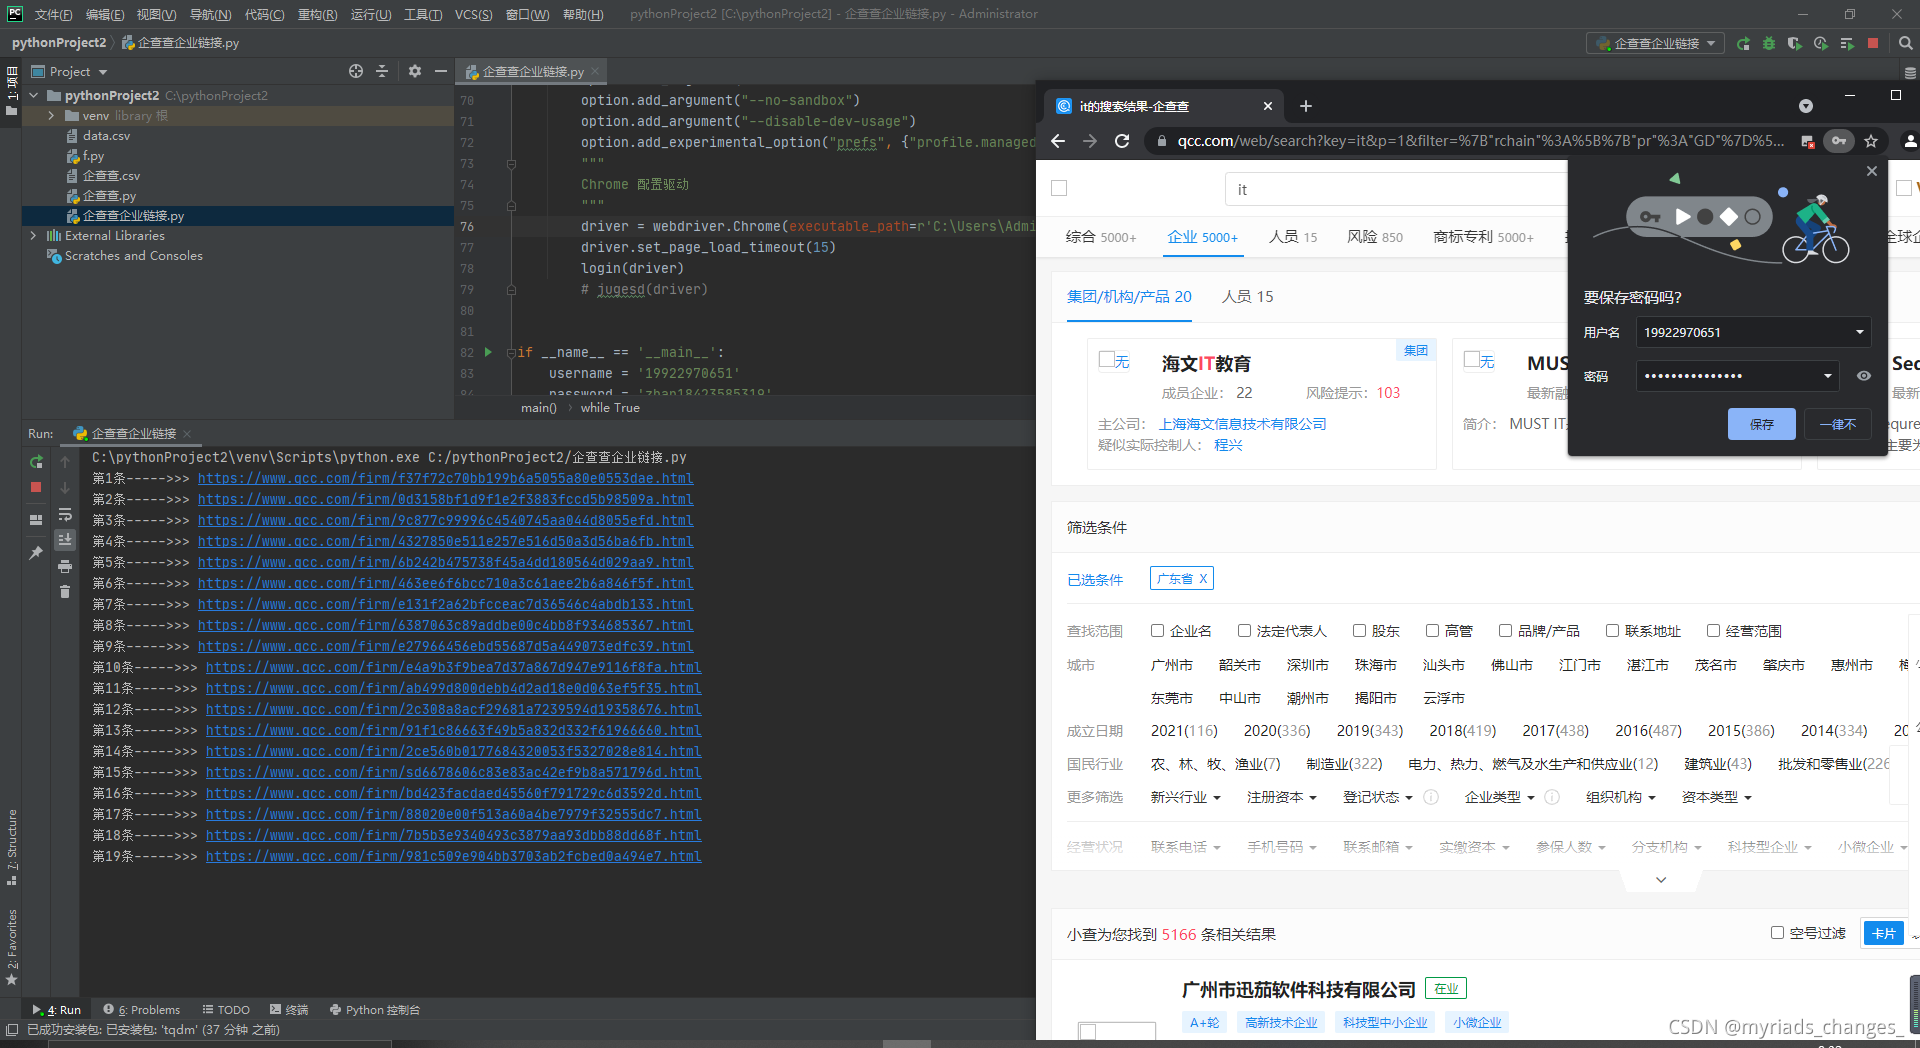
print('第{}条----->>>'.format(num),d.get_attribute("href"))
num += 1
a.append(d.get_attribute("href"))
time.sleep(5)
da = pd.DataFrame(a)
da.to_csv('./data.csv')
def main():
while True:
option = webdriver.ChromeOptions()
option.add_experimental_option('excludeSwitches', ['enable-automation']) # webdriver防检测
option.add_argument("--disable-blink-features=AutomationControlled")
option.add_argument("--no-sandbox")
option.add_argument("--disable-dev-usage")
option.add_experimental_option("prefs", {
"profile.managed_default_content_settings.images": 2})
driver = webdriver.Chrome(executable_path=r'根据你的谷歌浏览器的版本下载chromedriver,引入他的路径',options=option)
driver.set_page_load_timeout(15)
login(driver)
# jugesd(driver)
if __name__ == '__main__':
username = '账号'
password = '密码'
headers = {
'user-agent': 'Mozilla/5.0 (Windows NT 10.0; Win64; x64) AppleWebKit/537.36 (KHTML, like Gecko) Chrome/88.0.4324.182 Safari/537.36'}
main()
结果展示
希望这篇文章对你有用!
谢谢点赞评论!