摘要
随着信息技术的迅速发展,博客作为一种重要的信息传播和交流工具,逐渐在互联网上占据重要地位。为了满足用户对个性化博客管理的需求,本研究设计并实现了一种基于Spring Boot框架的博客管理系统。
本系统通过采用前后端分离的架构,使用Vue.js作为前端框架,Spring Boot作为后端框架,实现了博客的发布、编辑、评论、分类等基本功能。系统采用MySQL数据库存储数据,通过使用MyBatis进行数据持久化。
通过用户体验与界面设计的考虑,本系统实现了简洁直观的用户界面,提高了用户的使用体验。在性能优化与扩展方面,我们提出了一些可行的策略,并讨论了系统未来的发展方向。
本研究的博客管理系统为个人和团体提供了一个灵活、可定制的博客平台,通过技术创新和性能优化,能够更好地满足用户的需求。希望通过此研究,能够为类似系统的设计和实现提供有益的参考。
第1章:引言
- 背景介绍:博客管理系统的重要性和现有问题。
- 研究目的:设计和实现基于Spring Boot的博客系统。
- 论文结构:各章节的简要概述。
第2章:文献综述
- 回顾与博客系统相关的文献,包括博客系统的发展历史、现有的技术方案、和Spring Boot在Web应用开发中的优势。
第3章:系统设计
3.1 系统架构
- 描述博客管理系统的总体架构,包括前端和后端组件的设计。
3.2 数据库设计
- 介绍数据库设计,包括表结构、关系模型,以及使用的数据库技术(可能是MySQL、PostgreSQL等)。
数据库设计代码:
-- 创建用户表
CREATE TABLE user (
    user_id INT PRIMARY KEY AUTO_INCREMENT,
    username VARCHAR(50) NOT NULL UNIQUE,
    password VARCHAR(100) NOT NULL,
    email VARCHAR(100) NOT NULL
);

-- 创建博客文章表
CREATE TABLE blog_post (
    post_id INT PRIMARY KEY AUTO_INCREMENT,
    title VARCHAR(255) NOT NULL,
    content TEXT NOT NULL,
    creation_date TIMESTAMP DEFAULT CURRENT_TIMESTAMP,
    user_id INT,
    FOREIGN KEY (user_id) REFERENCES user(user_id)
);

-- 创建评论表
CREATE TABLE comment (
    comment_id INT PRIMARY KEY AUTO_INCREMENT,
    content TEXT NOT NULL,
    creation_date TIMESTAMP DEFAULT CURRENT_TIMESTAMP,
    user_id INT,
    post_id INT,
    FOREIGN KEY (user_id) REFERENCES user(user_id),
    FOREIGN KEY (post_id) REFERENCES blog_post(post_id)
);
3.3 后端设计
- 描述后端的实现,使用Spring Boot框架,包括控制器、服务层、数据访问层等。
后端设计部分代码:
// UserController.java - 用户管理控制器

@RestController
@RequestMapping("/api/users")
public class UserController {

    @Autowired
    private UserService userService;

    @GetMapping("/{userId}")
    public ResponseEntity<User> getUserById(@PathVariable Long userId) {
        User user = userService.getUserById(userId);
        return ResponseEntity.ok(user);
    }

    @PostMapping
    public ResponseEntity<User> createUser(@RequestBody User user) {
        User newUser = userService.createUser(user);
        return new ResponseEntity<>(newUser, HttpStatus.CREATED);
    }

    @PutMapping("/{userId}")
    public ResponseEntity<User> updateUser(@PathVariable Long userId, @RequestBody User user) {
        User updatedUser = userService.updateUser(userId, user);
        return ResponseEntity.ok(updatedUser);
    }

    @DeleteMapping("/{userId}")
    public ResponseEntity<Void> deleteUser(@PathVariable Long userId) {
        userService.deleteUser(userId);
        return ResponseEntity.noContent().build();
    }
}

// BlogPostController.java - 博客文章管理控制器

@RestController
@RequestMapping("/api/blog-posts")
public class BlogPostController {

    @Autowired
    private BlogPostService blogPostService;

    @GetMapping("/{postId}")
    public ResponseEntity<BlogPost> getBlogPostById(@PathVariable Long postId) {
        BlogPost blogPost = blogPostService.getBlogPostById(postId);
        return ResponseEntity.ok(blogPost);
    }

    @PostMapping
    public ResponseEntity<BlogPost> createBlogPost(@RequestBody BlogPost blogPost) {
        BlogPost newBlogPost = blogPostService.createBlogPost(blogPost);
        return new ResponseEntity<>(newBlogPost, HttpStatus.CREATED);
    }

    @PutMapping("/{postId}")
    public ResponseEntity<BlogPost> updateBlogPost(@PathVariable Long postId, @RequestBody BlogPost blogPost) {
        BlogPost updatedBlogPost = blogPostService.updateBlogPost(postId, blogPost);
        return ResponseEntity.ok(updatedBlogPost);
    }

    @DeleteMapping("/{postId}")
    public ResponseEntity<Void> deleteBlogPost(@PathVariable Long postId) {
        blogPostService.deleteBlogPost(postId);
        return ResponseEntity.noContent().build();
    }
}

// CommentController.java - 评论管理控制器

@RestController
@RequestMapping("/api/comments")
public class CommentController {

    @Autowired
    private CommentService commentService;

    @GetMapping("/{commentId}")
    public ResponseEntity<Comment> getCommentById(@PathVariable Long commentId) {
        Comment comment = commentService.getCommentById(commentId);
        return ResponseEntity.ok(comment);
    }

    @PostMapping
    public ResponseEntity<Comment> createComment(@RequestBody Comment comment) {
        Comment newComment = commentService.createComment(comment);
        return new ResponseEntity<>(newComment, HttpStatus.CREATED);
    }

    @PutMapping("/{commentId}")
    public ResponseEntity<Comment> updateComment(@PathVariable Long commentId, @RequestBody Comment comment) {
        Comment updatedComment = commentService.updateComment(commentId, comment);
        return ResponseEntity.ok(updatedComment);
    }

    @DeleteMapping("/{commentId}")
    public ResponseEntity<Void> deleteComment(@PathVariable Long commentId) {
        commentService.deleteComment(commentId);
        return ResponseEntity.noContent().build();
    }
}
3.4 前端设计
- 介绍前端设计,可能采用的是React、Vue.js等前端框架。
前端页面部分代码:
<template>
  <div class="login-container">
    <form @submit.prevent="login">
      <div class="form-group">
        <label for="username">Username:</label>
        <input type="text" id="username" v-model="username" required />
      </div>

      <div class="form-group">
        <label for="password">Password:</label>
        <input type="password" id="password" v-model="password" required />
      </div>

      <button type="submit">Login</button>
    </form>
  </div>
</template>

<script>
export default {
  data() {
    return {
      username: '',
      password: ''
    };
  },
  methods: {
    login() {
      // 在这里可以调用后端接口进行用户身份验证
      // 示例中直接在控制台输出用户名和密码
      console.log('Username:', this.username);
      console.log('Password:', this.password);

      // 实际项目中,应该通过 axios 或其他 HTTP 请求库发送登录请求
      // 示例:axios.post('/api/login', { username: this.username, password: this.password })
      // .then(response => {
      //   // 处理登录成功的逻辑
      // })
      // .catch(error => {
      //   // 处理登录失败的逻辑
      // });
    }
  }
};
</script>

<style scoped>
.login-container {
  max-width: 400px;
  margin: 0 auto;
}

.form-group {
  margin-bottom: 1em;
}

button {
  background-color: #007BFF;
  color: #fff;
  padding: 0.5em 1em;
  cursor: pointer;
  border: none;
}
</style>
3.5 安全性设计
- 讨论系统的安全性措施,包括用户认证、授权、防止SQL注入等。
第4章:系统实现
- 描述系统的具体实现细节,包括代码结构、关键模块的实现、以及实现过程中的挑战和解决方案。
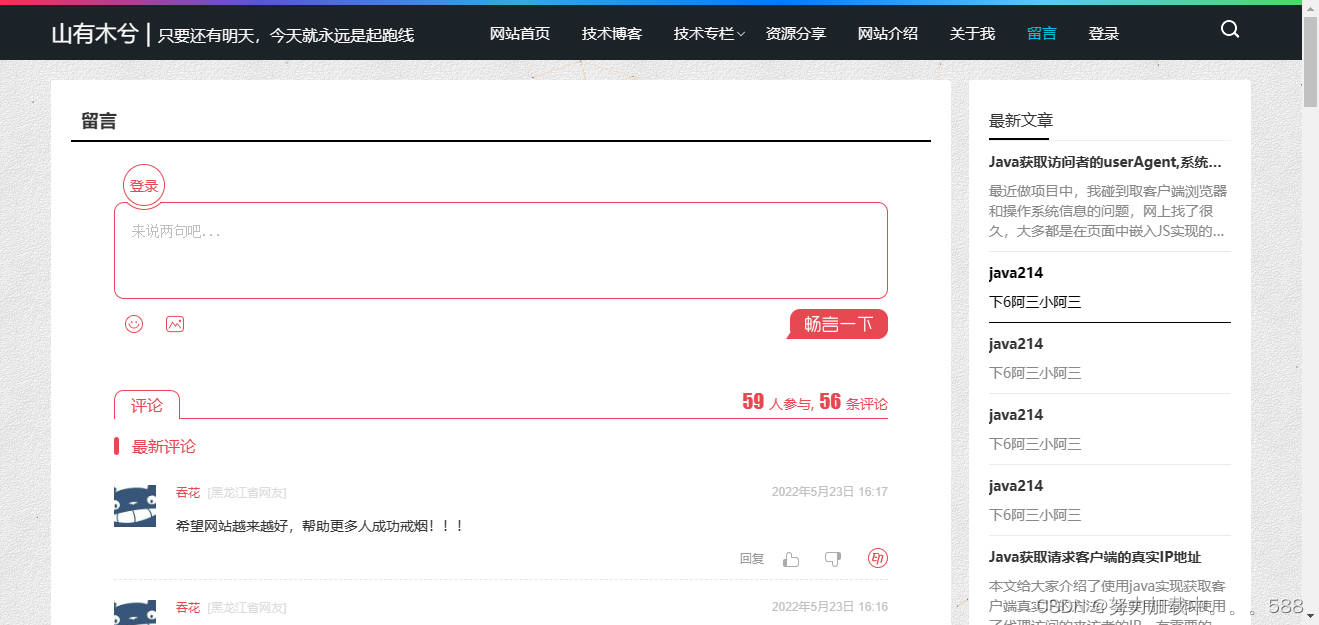
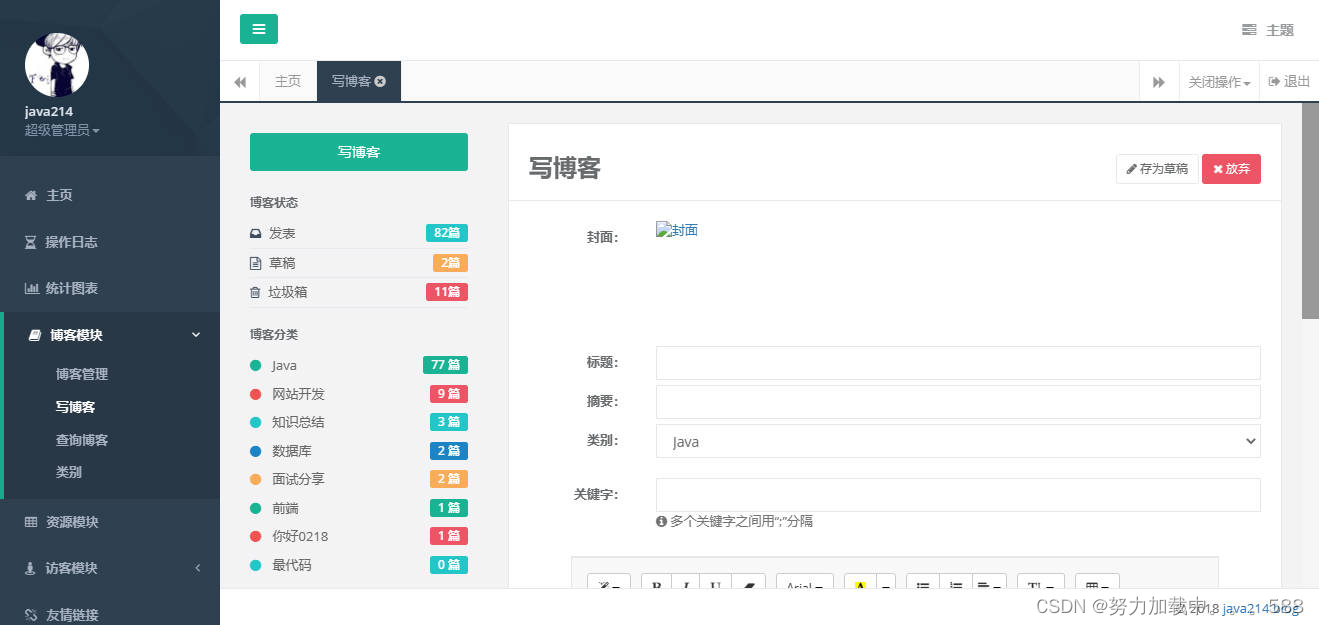
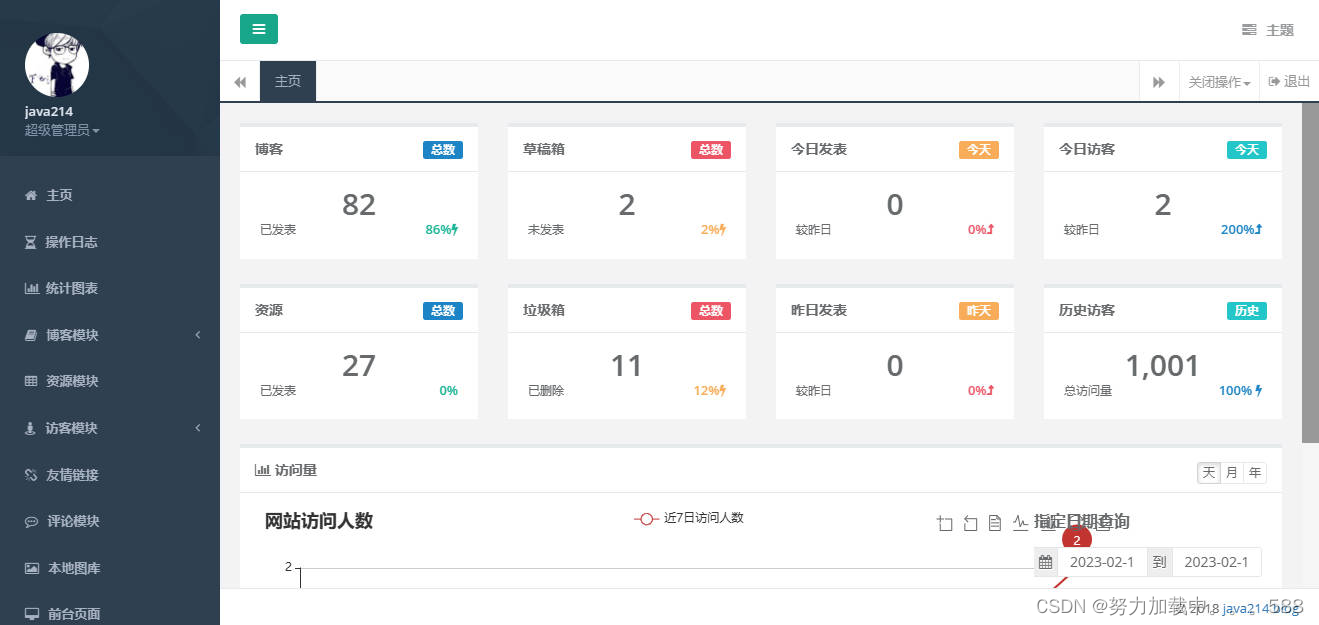
系统实现部分页面展示:

第5章:系统测试
- 讨论系统测试的策略和方法,包括单元测试、集成测试、系统测试等。
第6章:性能优化与扩展
- 描述对博客管理系统的性能优化策略,以及如何进行系统的扩展。
第7章:用户体验与界面设计
- 讨论博客系统的用户界面设计,用户体验的考虑以及界面优化的方法。
第8章:总结与展望
- 总结整个设计与实现过程,强调系统的创新点和亮点。
- 展望未来的发展方向,提出系统可能的改进和扩展。
参考文献
- 引用在文献综述中提到的相关文献以及在设计与实现中参考的技术文档。
附录
- 包括项目源代码、截图、测试用例等附加信息。
致谢
- 对协助完成该博客管理系统的人员和机构表示感谢。
关注看更多精彩内容!!