vue集成shell终端
shell终端需要依赖后台提供支持,下面整理一个完整的前后端自测试实现步骤。
对于不懂后端、不懂nodejs,跑起来有点困难。下面描述前端后跑起来的步骤。
前端
基于xterm.js 实现Vue版本终端terminal
先看效果
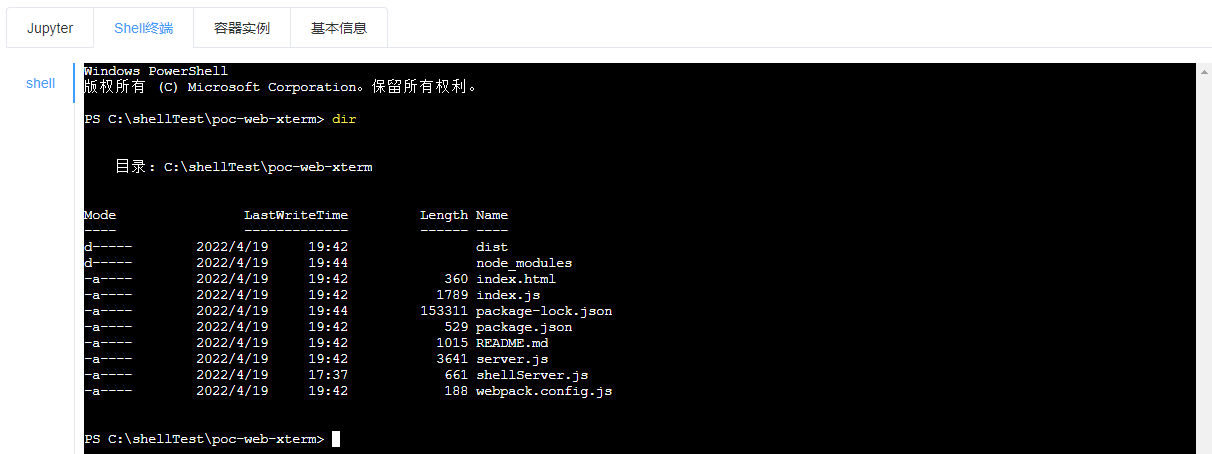
这是我本地跑的所以是windows的目录。
前端实现
xterm
npm install --save xterm
xterm-addon-fit
xterm.js的插件,使终端的尺寸适合包含元素。
npm install --save xterm-addon-fit
xterm-addon-attach
xterm.js的附加组件,用于附加到Web Socket
npm install --save xterm-addon-attach
<template>
    <div id="xterm" class="xterm" />
</template>
<script>
import 'xterm/css/xterm.css'
import {

       Terminal } from 'xterm'
import {

       FitAddon } from 'xterm-addon-fit'
import {

       AttachAddon } from 'xterm-addon-attach'

export default {


  name: 'Xterm',
  props: {


    socketURI: {


      type: String,
      default: ''
    },
  },
  mounted() {


    this.initSocket()
  },
  beforeDestroy() {


    this.socket.close()
    this.term.dispose()
  },
  methods: {


    initTerm() {


      const term = new Terminal({


        fontSize: 14,
        cursorBlink: true
      });
      const attachAddon = new AttachAddon(this.socket);
      const fitAddon = new FitAddon();
      term.loadAddon(attachAddon);
      term.loadAddon(fitAddon);
      term.open(document.getElementById('xterm'));
      fitAddon.fit();
      term.focus();
      this.term = term
    },
    initSocket() {


      this.socket = new WebSocket(this.socketURI);
      this.socketOnClose();
      this.socketOnOpen();
      this.socketOnError();
    },
    socketOnOpen() {


      this.socket.onopen = () => {


        // 链接成功后
        this.initTerm()
      }
    },
    socketOnClose() {


      this.socket.onclose = () => {


        // console.log('close socket')
      }
    },
    socketOnError() {


      this.socket.onerror = () => {


        // console.log('socket 链接失败')
      }
    }
  }
}
</script>
后端实现
拉取后台源码:
github: https://github.com/huyifan/poc-web-xterm
拉取(需要翻墙),已上传csdn:https://download.csdn.net/download/hezhenfei8/85185846
git clone https://github.com/huyifan/poc-web-xterm
安装
npm install
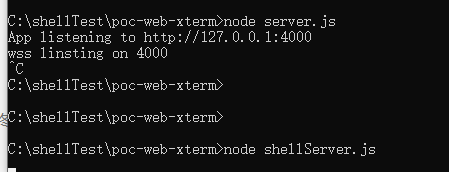
运行
node server.js

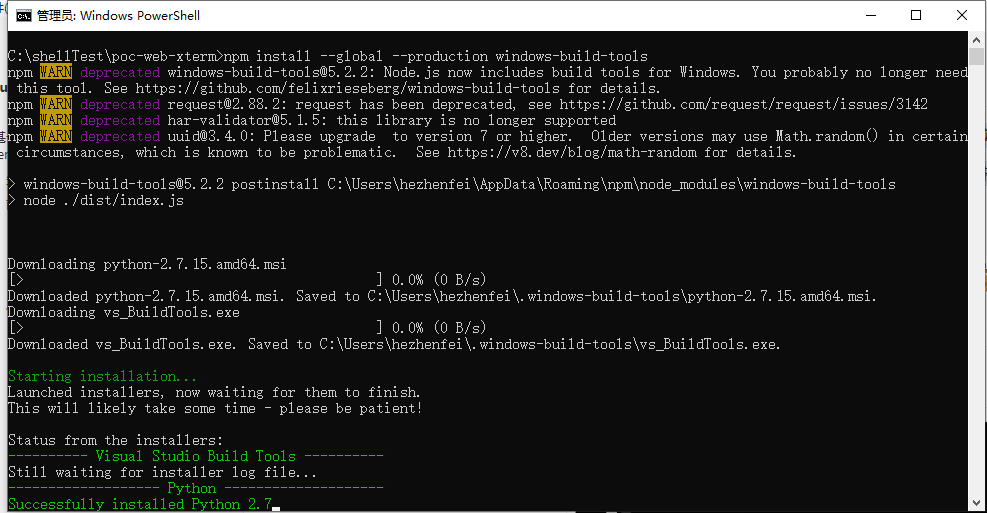
如果运行不起来,还需要这三个条件:
(1)npm安装windows-build-tools : npm install --global --production windows-build-tools
(2)安装windowsSDK
(3)nodeJs 10+
执行第一步就可以,再运行试试
npm install --global --production windows-build-tools
打开poc-web-xterm目录下的index.html看是否正常;

最后,把下面代码保存到poc-web-xterm目录下为shellServer.js:
代码
const pty = require('node-pty');
const os = require('os');
const WebSocket = require('ws');
const shell = os.platform() === 'win32' ? 'powershell.exe' : 'bash';

const wss = new WebSocket.Server({

    port: 4001});

wss.on('connection', (ws) => {


  console.log('socket connection success');
  const ptyProcess = pty.spawn(shell, [], {


    name: 'xterm-color',
    cols: 80,
    rows: 30,
    cwd: process.env.HOME,
    env: process.env
  });
  //接受数据
  ws.on('message', (res) => {


    ptyProcess.write(res)
  });
  //发送数据
  ptyProcess.on('data', function (data) {


    process.stdout.write(data);
    ws.send(data)
  });
});
再运行:node shellServer.js,端口4001
node shellServer.js
客户端地址
new WebSocket("ws://127.0.0.1:4001");
满屏显示
const term = new Terminal({


    fontSize: 14,
    cursorBlink: true,
    width:'100%',
    height:'100%',
});
参考:
www.jianshu.com/p/b895c22c85af
基于xterm.js 实现Vue版本终端terminal
www.cnblogs.com/sexintercourse/p/13711950.html
【前】xterm+node-pty打造前端环境下的terminal(附实例)
xieboke.net/article/361/
nodejs 启动后台服务(前端代码运行起来)
排查定位问题:
blog.csdn.net/LiLi_code/article/details/110875427
前端建立WebSocket(单纯new)