一、列表视图概述
1、继承关系图
列表视图(ListView)继承了抽象列表视图(AbsListView),而抽象列表视图又继承了适配器视图(AdapterView)。适配器视图具有共同的特征,就是利用适配器将数据源与展示控件绑定起来。
2、列表视图四要素
| 要素 | 说明 |
|---|---|
| 列表控件 | 显示多项供用户 |
| 适配器 | 数组适配器、简单适配器、游标适配器、基适配器…… |
| 数据源 | 数组、列表、游标…… |
| 列表项模板 | 平台资源、用户自定义 |
- 列表视图四要素:列表控件、适配器、列表项模板和数据源
3、四种适配器
- 列表视图(ListView),它是AdapterView的孙子类,要通过适配器作为梁桥来绑定数据源。
| 适配器 | 含义 |
|---|---|
| ArrayAdapter | 数组适配器 |
| SimpleAdapter | 简单适配器 |
| SimpleCursorAdapter | 简单游标适配器 |
| BaseAdapter | 基适配器 |
二、基于数组适配器使用列表视图案例 —— 阅读古诗
- 案例简述: 包含两个窗口,第一个窗口是古诗标题列表,供用户选择,用户单击了某一项,立即跳转到第二个窗口,显示用户所选古诗的内容(标题、作者、正文),第二个窗口有一个返回目录按钮,单击该按钮,返回显示古诗标题列表的第一个窗口。
1、涉及知识点
- 线性布局(LinearLayout)
- 标签(TextView)
- 按钮(Button)
- 列表视图(ListView)
- 数组适配器(ArrayAdapter)
- 数组或数组列表(Array | ArrayList)
2、实现步骤
(1)、创建安卓应用【ReadAncientPoetry】
- 基于
Empty Activity创建安卓应用ReadAncientPoetry

- 单击【finish】按钮
(2)、将背景图片拷贝到drawable目录
- 将背景图片拷贝到
drawable目录
(3)、字符串资源文件
- 字符串资源文件
strings.xml
- 查看完整代码
<resources>
    <string name="app_name">阅读古诗</string>

    <string-array name="titles">
        <item>静夜思</item>
        <item>登鹳雀楼</item>
        <item>相思</item>
        <item>听弹琴</item>
        <item>登乐游原</item>
        <item>朝发白帝城</item>
        <item>巴山夜雨</item>
        <item>渭城曲</item>
        <item>春夜喜雨</item>
        <item>离离原上草</item>
        <item>示儿</item>
    </string-array>

    <string-array name="authors">
        <item>唐·李白</item>
        <item>唐·王之涣</item>
        <item>唐·王维</item>
        <item>唐·刘长卿</item>
        <item>唐·李商隐</item>
        <item>唐·李白</item>
        <item>唐·杜牧</item>
        <item>唐·王维</item>
        <item>唐·杜甫</item>
        <item>唐·白居易</item>
        <item>宋·陆游</item>
    </string-array>

    <string-array name="contents">
        <item>床前明月光,\n疑是地上霜。\n举头望明月,\n低头思故乡。</item>
        <item>白日依山尽,\n黄河入海流。\n欲穷千里目,\n更上一层楼。</item>
        <item>红豆生南国,\n春来发几枝。\n愿君多采撷,\n此物最相思。</item>
        <item>泠泠七弦上,\n静听松风寒。\n古调虽自爱,\n今人多不弹。</item>
        <item>向晚意不适,\n驱车登古原。\n夕阳无限好,\n只是近黄昏。</item>
        <item>朝辞白帝彩云间,\n千里江陵一日还。\n两岸猿声啼不住,\n轻舟已过万重山。</item>
        <item>君问归期未有期,\n巴山夜雨涨秋池。\n何当共剪西窗烛,\n却话巴山夜雨时。</item>
        <item>渭城朝雨浥轻尘,\n客舍青青柳色新。\n劝君更尽一杯酒,\n西出阳关无故人。</item>
        <item>好雨知时节,当春乃发生。\n随风潜入夜,润物细无声。\n野径云俱黑,江船火独明。\n晓看红湿处,花重锦官城。</item>
        <item>离离原上草,一岁一枯荣。\n野火烧不尽,春风吹又生。\n远芳侵古道,晴翠接荒城。\n又送王孙去,萋萋满别情。</item>
        <item>死去元知万事空,\n但悲不见九州同。\n王师北定中原日,\n家祭无忘告乃翁。 </item>
    </string-array>
</resources>
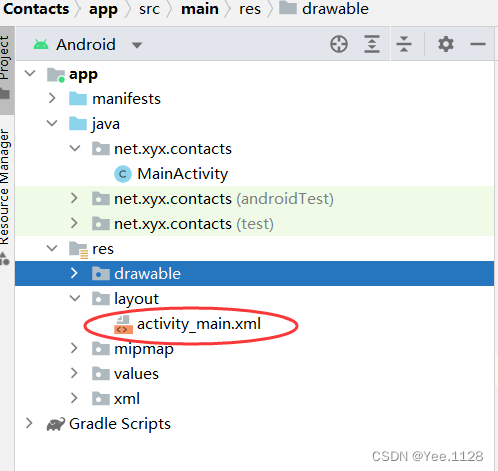
(4)、布局资源文件activity_main.xml
- 布局资源文件
activity_mian.xml
- 查看完整代码
<?xml version="1.0" encoding="utf-8"?>
<LinearLayout xmlns:android="http://schemas.android.com/apk/res/android"
xmlns:tools="http://schemas.android.com/tools"
android:layout_width="match_parent"
android:layout_height="match_parent"
android:background="@drawable/background"
android:padding="15dp"
tools:context=".MainActivity">
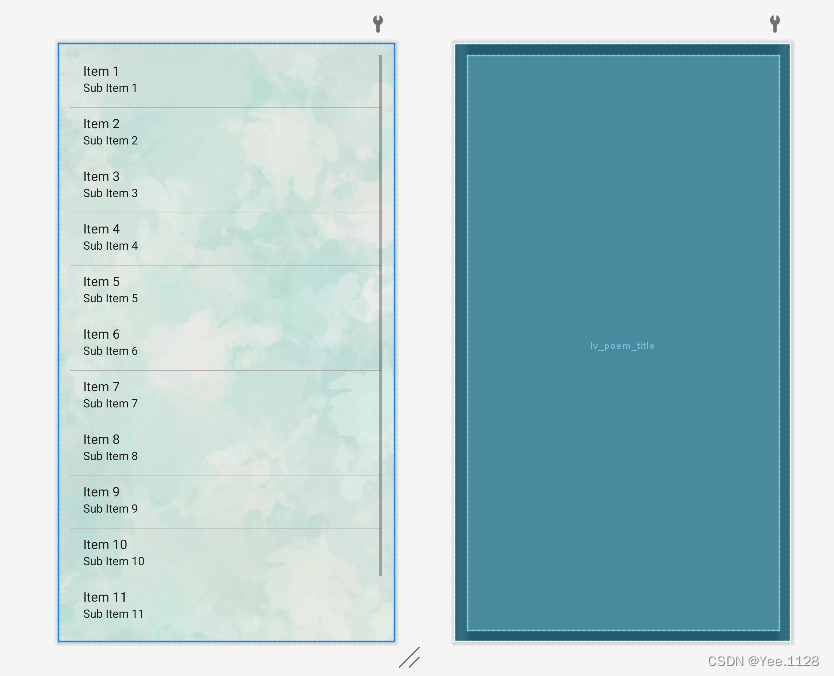
<ListView
android:id="@+id/lv_poem_title"
android:layout_width="match_parent"
android:layout_height="wrap_content"
android:divider="#aaaaaa"
android:dividerHeight="0.5dp"/>
</LinearLayout>
- 查看预览效果
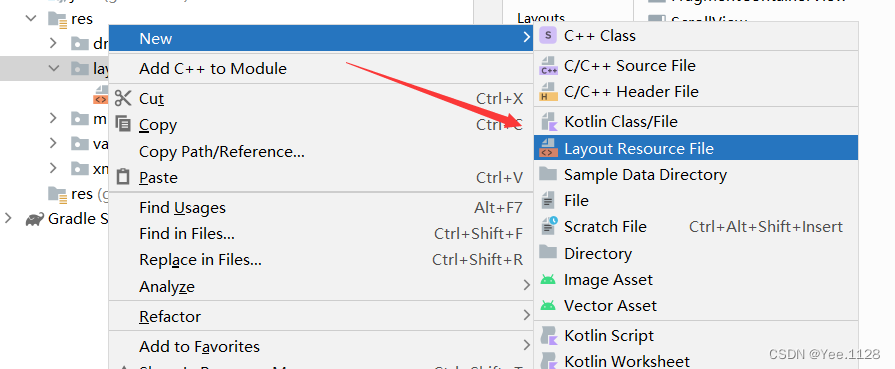
(5)、创建诗歌列表模板
- 创建诗歌列表模板
poem_list_item.xml

<?xml version="1.0" encoding="utf-8"?>
<TextView xmlns:android="http://schemas.android.com/apk/res/android"
    android:layout_width="match_parent"
    android:layout_height="wrap_content"
    android:id="@+id/tv_poem_title"
    android:gravity="center_vertical"
    android:minHeight="80dp"
    android:textColor="#0000ff"
    android:textSize="25sp">

</TextView>
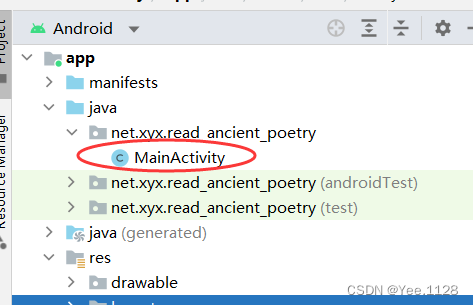
(6)、主界面类实现功能
-
主界面类 -
MainActivity
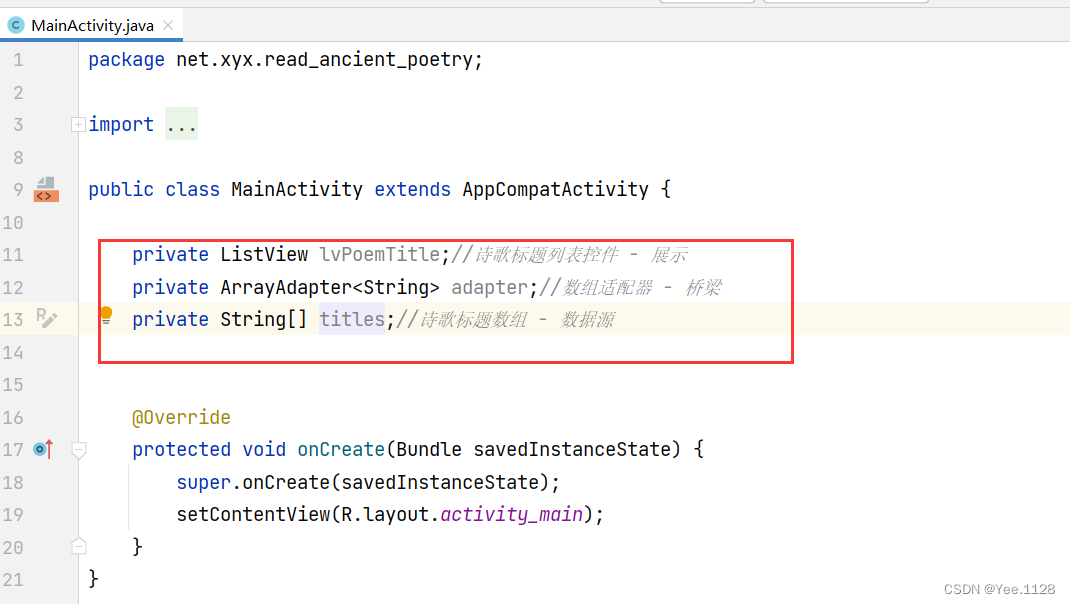
-
声明变量
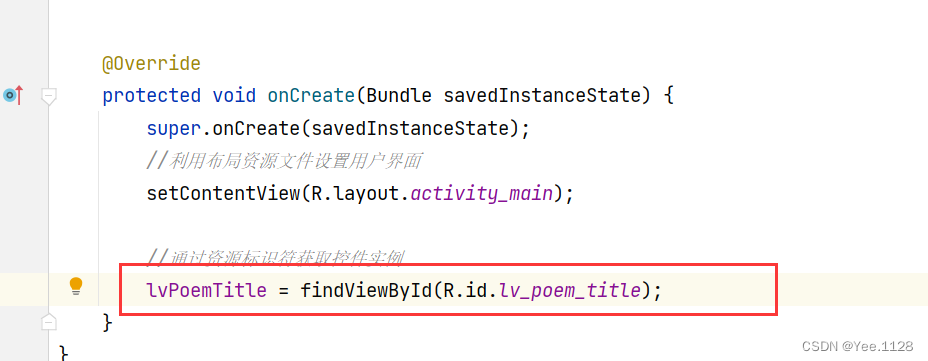
-
通过资源标识符获取控件实例
-
初始化古诗标题数组
-
建数组适配器,作为连接列表控件与数据源的桥梁
-
给列表设置适配器

-
修改滑动效果
-
修改主界面类,给列表控件注册项目单击监听器
 扫描二维码关注公众号,回复: 17202323 查看本文章
-
参数position是用户单击列表项的位置,从0开始的,比如用户单击了第3个列表项,那么position就等于2,也就是说,position要加1才是行号
-
参数id的值与参数position的值相等,两个参数只是类型不同而已
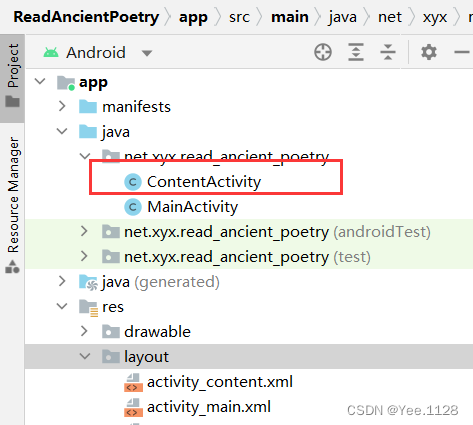
(7)、创建显示古诗内容的界面 - ContentActivity
- 内容界面布局资源文件 -
ContentActivity

(8)、字符串资源文件strings.xml

(9)、内容界面布局资源文件
- 打开内容布局资源文件 -
content_activity.xml
<?xml version="1.0" encoding="utf-8"?>
<LinearLayout xmlns:android="http://schemas.android.com/apk/res/android"
    xmlns:tools="http://schemas.android.com/tools"
    android:layout_width="match_parent"
    android:layout_height="match_parent"
    android:background="@drawable/background"
    android:gravity="center"
    android:orientation="vertical">

    <TextView
        android:id="@+id/tv_title"
        android:layout_width="wrap_content"
        android:layout_height="0dp"
        android:layout_marginTop="30dp"
        android:layout_marginBottom="20dp"
        android:layout_weight="1"
        android:gravity="center_vertical"
        android:textColor="#ff00ff"
        android:textSize="40sp" />

    <TextView
        android:id="@+id/tv_author"
        android:layout_width="wrap_content"
        android:layout_height="0dp"
        android:layout_marginBottom="20dp"
        android:layout_weight="1"
        android:gravity="center_vertical"
        android:textColor="#000000"
        android:textSize="25sp" />

    <TextView
        android:id="@+id/tv_content"
        android:layout_width="wrap_content"
        android:layout_height="0dp"
        android:layout_marginBottom="20dp"
        android:layout_weight="8"
        android:textColor="#0000ff"
        android:textSize="30sp" />

    <Button
        android:id="@+id/btn_back"
        android:layout_width="match_parent"
        android:layout_height="0dp"
        android:layout_weight="1"
        android:onClick="doBack"
        android:text="@string/back"
        android:textSize="20sp" />

</LinearLayout>
(10)、修改主界面类,实现窗口实例
(11)、修改内容界面,显示古诗
-
声明变量
-
通过资源标识符获取控件实例
-
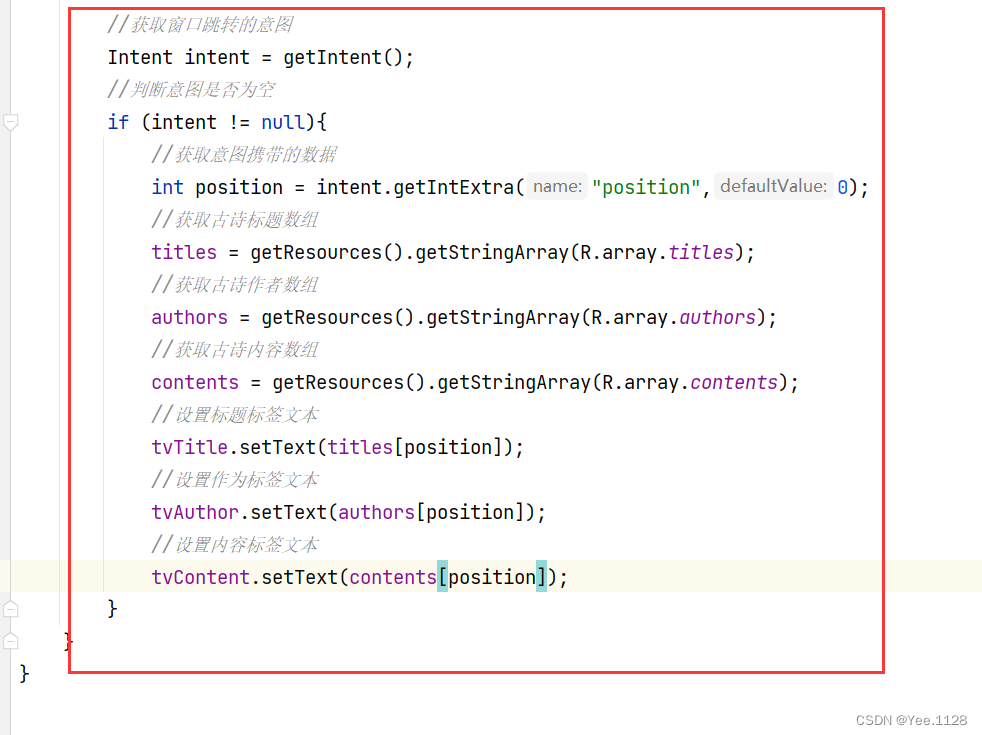
获取窗口跳转的意图,获取意图携带的位置,进行对应处理
-
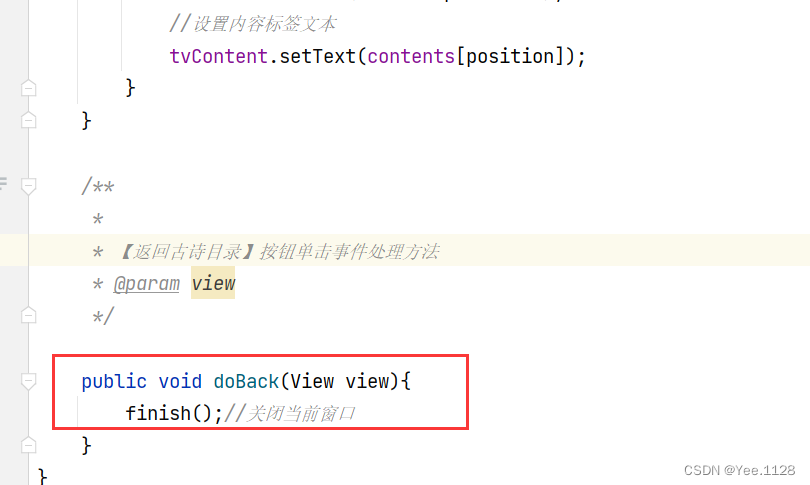
编写【返回古诗目录】按钮单击事件处理方法
-
查看效果
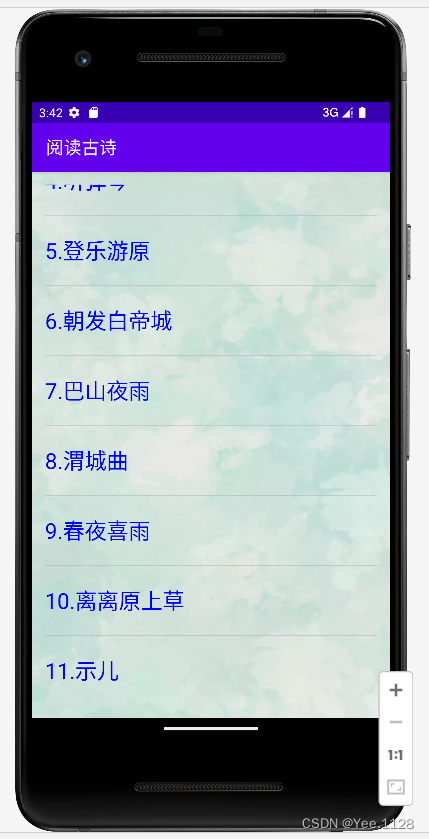
列表视图
(12)、查看最终代码
①主界面类 - MainActivity
package net.xyx.read_ancient_poetry;
import androidx.appcompat.app.AppCompatActivity;
import android.content.Intent;
import android.os.Bundle;
import android.view.View;
import android.widget.AdapterView;
import android.widget.ArrayAdapter;
import android.widget.ListView;
import android.widget.Toast;
public class MainActivity extends AppCompatActivity {
private ListView lvPoemTitle;//诗歌标题列表控件 - 展示
private ArrayAdapter<String> adapter;//数组适配器 - 桥梁
private String[] titles;//诗歌标题数组 - 数据源
@Override
protected void onCreate(Bundle savedInstanceState) {
super.onCreate(savedInstanceState);
//利用布局资源文件设置用户界面
setContentView(R.layout.activity_main);
//通过资源标识符获取控件实例
lvPoemTitle = findViewById(R.id.lv_poem_title);
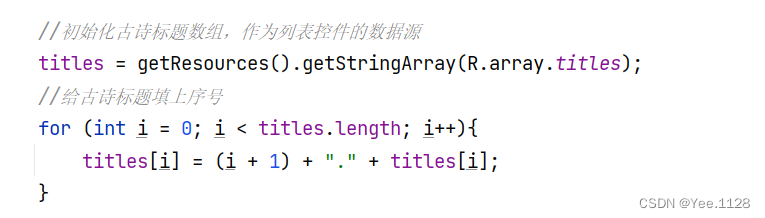
//初始化古诗标题数组,作为列表控件的数据源
titles = getResources().getStringArray(R.array.titles);
//给古诗标题填上序号
for (int i = 0; i < titles.length; i++){
titles[i] = (i + 1) + "." + titles[i];
}
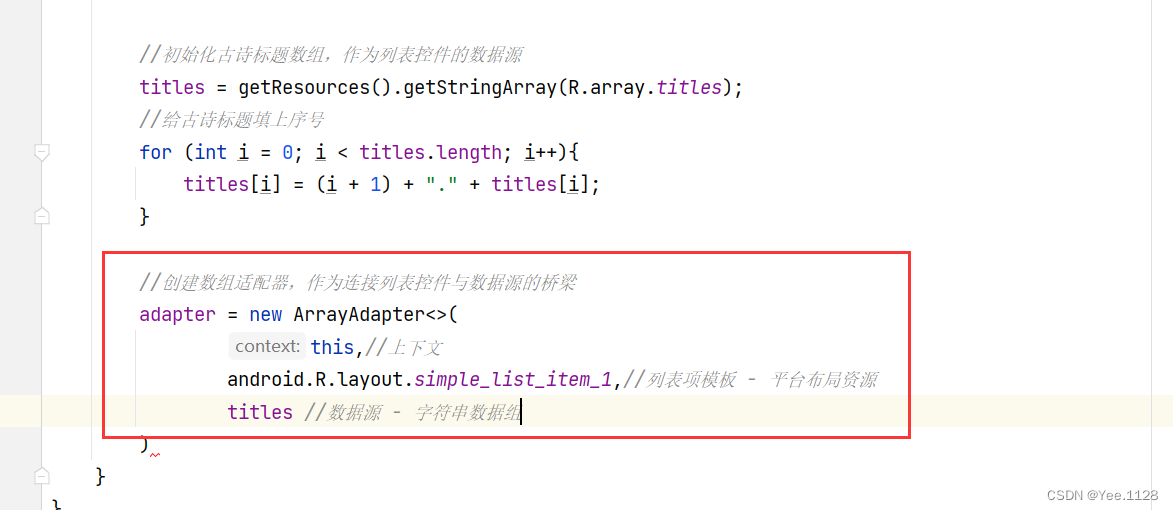
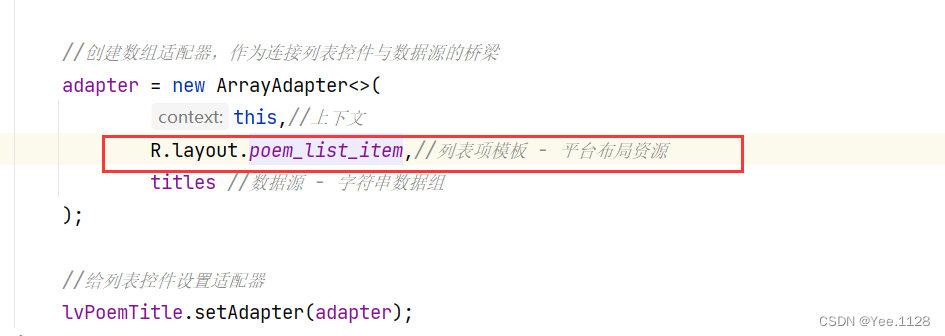
//创建数组适配器,作为连接列表控件与数据源的桥梁
adapter = new ArrayAdapter<>(
this,//上下文
R.layout.poem_list_item,//列表项模板 - 平台布局资源
titles //数据源 - 字符串数据组
);
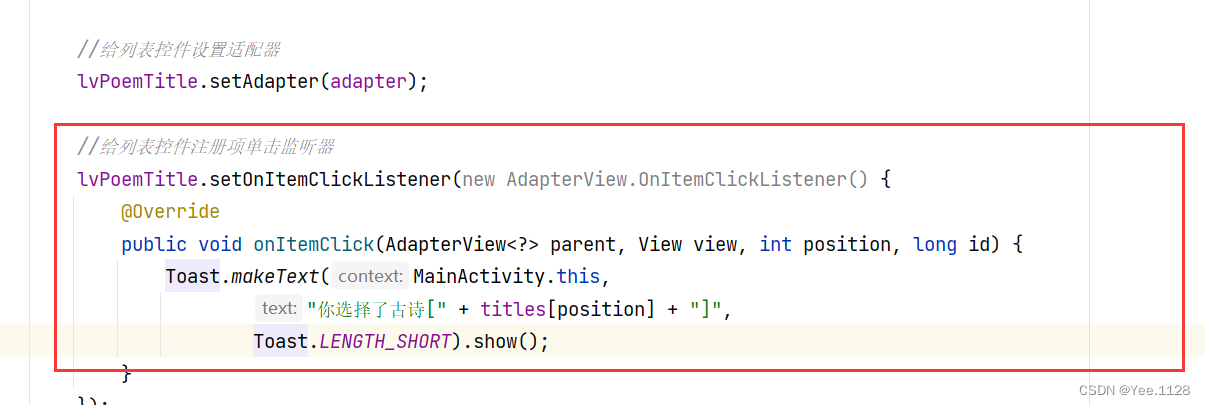
//给列表控件设置适配器
lvPoemTitle.setAdapter(adapter);
//给列表控件注册项单击监听器
lvPoemTitle.setOnItemClickListener(new AdapterView.OnItemClickListener() {
@Override
public void onItemClick(AdapterView<?> parent, View view, int position, long id) {
Toast.makeText(MainActivity.this,
"你选择了古诗[" + titles[position] + "]",
Toast.LENGTH_SHORT).show();
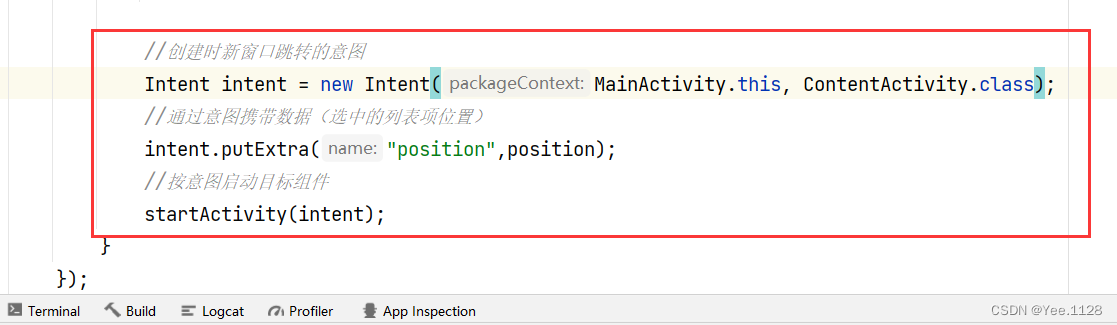
//创建时新窗口跳转的意图
Intent intent = new Intent(MainActivity.this, ContentActivity.class);
//通过意图携带数据(选中的列表项位置)
intent.putExtra("position",position);
//按意图启动目标组件
startActivity(intent);
}
});
}
}
②内容界面 - ContentActivity
package net.xyx.read_ancient_poetry;
import androidx.appcompat.app.AppCompatActivity;
import android.content.Intent;
import android.os.Bundle;
import android.view.View;
import android.widget.TextView;
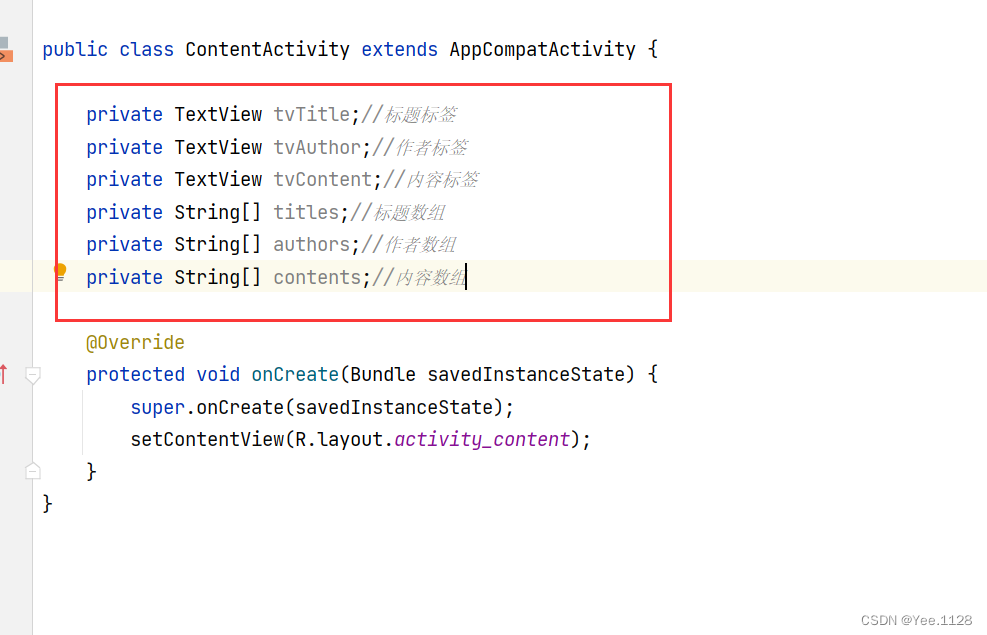
public class ContentActivity extends AppCompatActivity {
private TextView tvTitle;//标题标签
private TextView tvAuthor;//作者标签
private TextView tvContent;//内容标签
private String[] titles;//标题数组
private String[] authors;//作者数组
private String[] contents;//内容数组
@Override
protected void onCreate(Bundle savedInstanceState) {
super.onCreate(savedInstanceState);
//利用布局资源文件设置用户界面
setContentView(R.layout.activity_content);
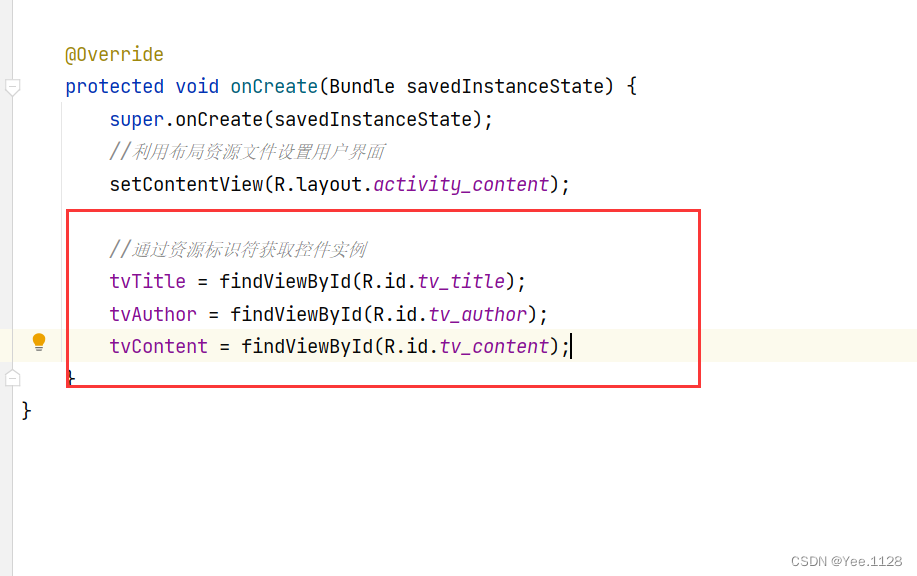
//通过资源标识符获取控件实例
tvTitle = findViewById(R.id.tv_title);
tvAuthor = findViewById(R.id.tv_author);
tvContent = findViewById(R.id.tv_content);
//获取窗口跳转的意图
Intent intent = getIntent();
//判断意图是否为空
if (intent != null){
//获取意图携带的数据
int position = intent.getIntExtra("position",0);
//获取古诗标题数组
titles = getResources().getStringArray(R.array.titles);
//获取古诗作者数组
authors = getResources().getStringArray(R.array.authors);
//获取古诗内容数组
contents = getResources().getStringArray(R.array.contents);
//设置标题标签文本
tvTitle.setText(titles[position]);
//设置作为标签文本
tvAuthor.setText(authors[position]);
//设置内容标签文本
tvContent.setText(contents[position]);
}
}
/**
*
* 【返回古诗目录】按钮单击事件处理方法
* @param view
*/
public void doBack(View view){
finish();//关闭当前窗口
}
}
三、创建简单适配器
1、简单适配器API文档
https://developer.android.google.cn/reference/kotlin/android/widget/SimpleAdapter?hl=en
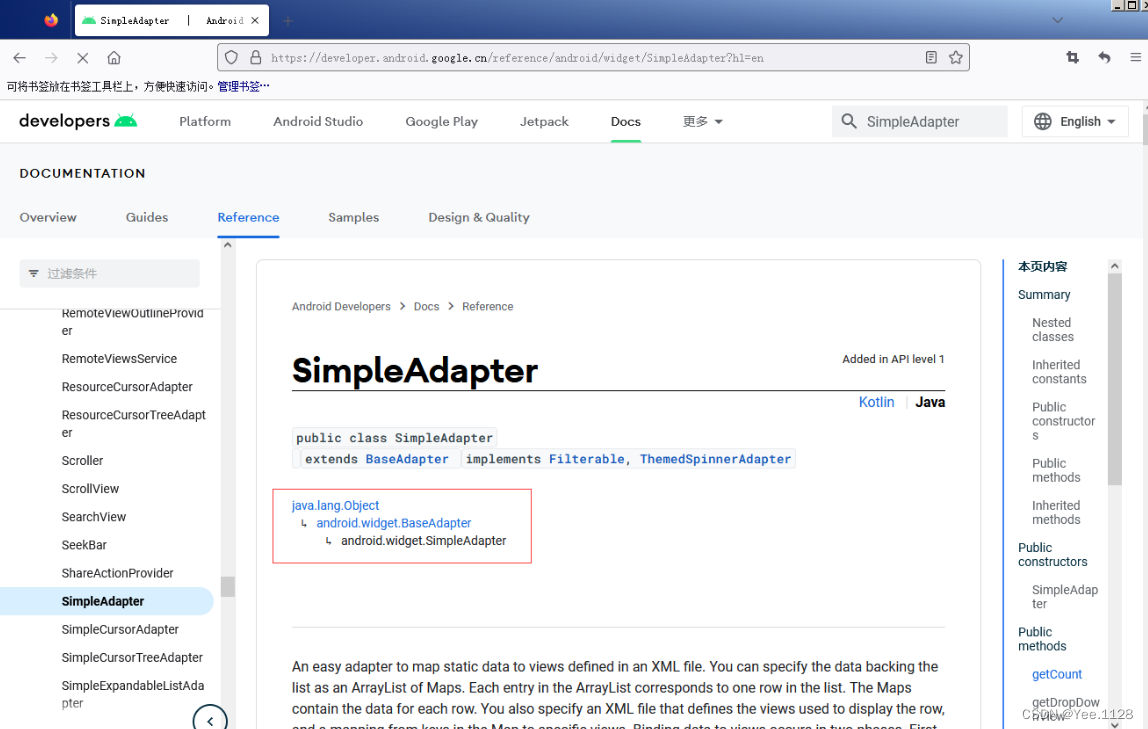
2、简单适配器继承关系图
- SimpleAdapter类继承了BaseAdapter类
3、简单适配器构造方法
- 简单适配器提供了一个构造方法,有5个参数
4、自定义适配器案例 - 通讯录
(1)、创建安卓应用
- 基于
Empty Activity模板创建安卓应用 -Contacts
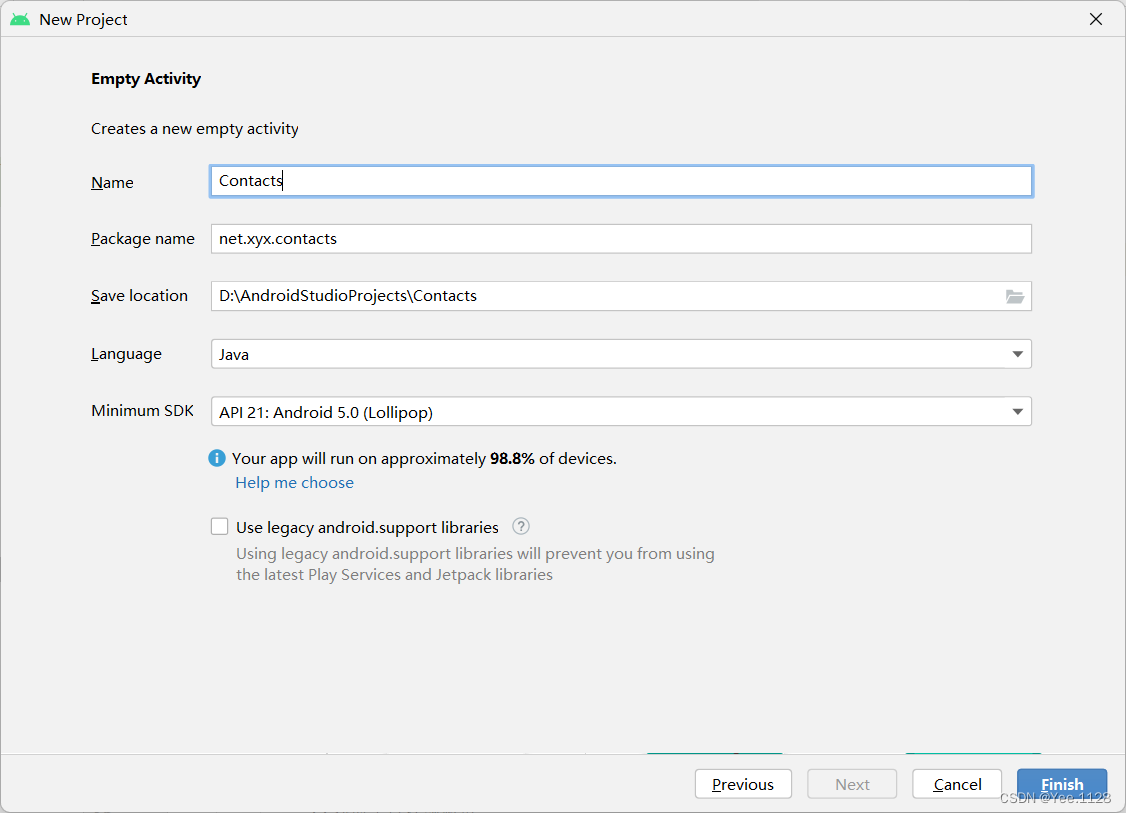
- 单击【finish】按钮
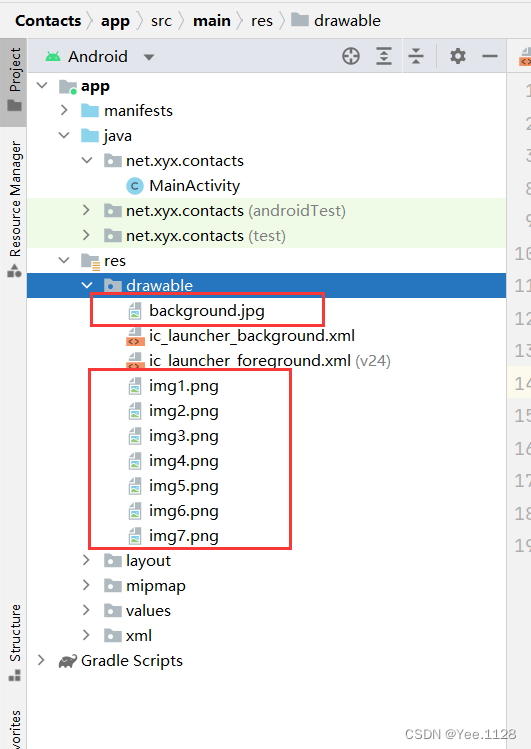
(2)、将图片素材拷贝到drawable目录
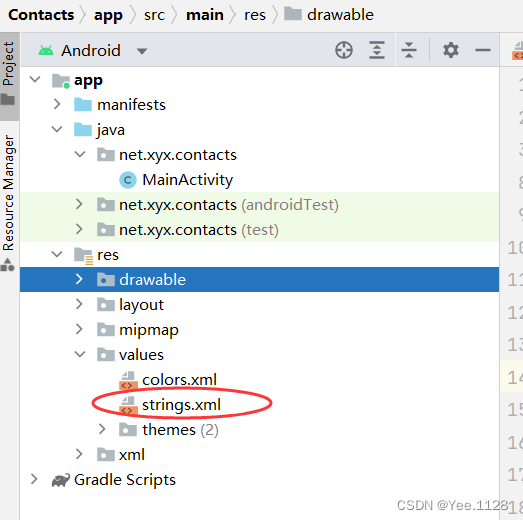
(3)、字符串资源文件strings.xml
<resources>
    <string name="app_name">通讯录</string>
    <string name="icon">图标</string>
    <string name="name">姓名</string>
    <string name="phone">电话</string>
</resources>
(4)、主布局资源文件activity_main.xml
<?xml version="1.0" encoding="utf-8"?>
<LinearLayout xmlns:android="http://schemas.android.com/apk/res/android"
    xmlns:tools="http://schemas.android.com/tools"
    android:layout_width="match_parent"
    android:layout_height="match_parent"
    android:background="@drawable/background"
    android:orientation="vertical"
    android:padding="10dp"
    tools:context=".MainActivity">

    <LinearLayout
        android:layout_width="match_parent"
        android:layout_height="wrap_content"
        android:orientation="horizontal">

        <TextView
            android:id="@+id/tv_icon"
            android:layout_width="0dp"
            android:layout_height="wrap_content"
            android:layout_marginRight="20dp"
            android:layout_weight="0.5"
            android:text="@string/icon"
            android:textSize="20sp" />

        <TextView
            android:id="@+id/tv_name"
            android:layout_width="0dp"
            android:layout_height="wrap_content"
            android:layout_weight="1"
            android:text="@string/name"
            android:textSize="20sp" />

        <TextView
            android:id="@+id/tv_phone"
            android:layout_width="0dp"
            android:layout_height="wrap_content"
            android:layout_weight="1.5"
            android:text="@string/phone"
            android:textSize="20sp" />
    </LinearLayout>

    <View
        android:layout_width="match_parent"
        android:layout_height="1dp"
        android:layout_marginTop="5dp"
        android:layout_marginBottom="5dp"
        android:background="#aaaaaa" />

    <ListView
        android:id="@+id/lv_contact"
        android:layout_width="match_parent"
        android:layout_height="wrap_content">
    </ListView>

</LinearLayout>
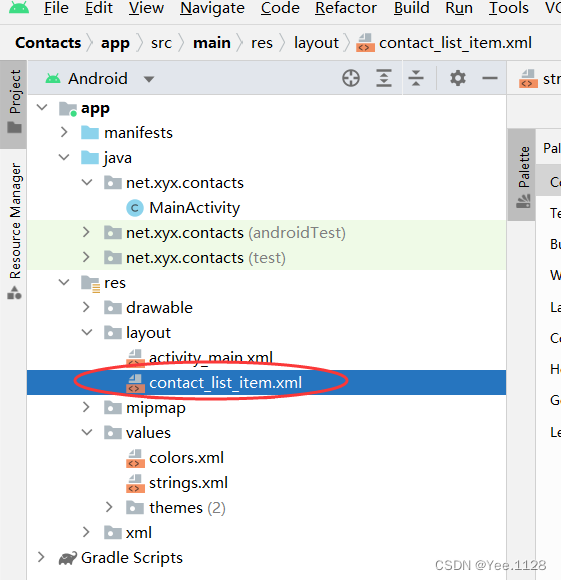
(5)、联系人列表项模板contact_list_item.xml
<?xml version="1.0" encoding="utf-8"?>
<LinearLayout xmlns:android="http://schemas.android.com/apk/res/android"
    xmlns:tools="http://schemas.android.com/tools"
    android:layout_width="match_parent"
    android:layout_height="match_parent"
    android:background="@drawable/background"
    android:orientation="vertical"
    android:padding="10dp"
    tools:context=".MainActivity">

    <LinearLayout
        android:layout_width="match_parent"
        android:layout_height="wrap_content"
        android:orientation="horizontal">

        <TextView
            android:id="@+id/tv_icon"
            android:layout_width="0dp"
            android:layout_height="wrap_content"
            android:layout_marginRight="20dp"
            android:layout_weight="0.5"
            android:text="@string/icon"
            android:textSize="20sp" />

        <TextView
            android:id="@+id/tv_name"
            android:layout_width="0dp"
            android:layout_height="wrap_content"
            android:layout_weight="1"
            android:text="@string/name"
            android:textSize="20sp" />

        <TextView
            android:id="@+id/tv_phone"
            android:layout_width="0dp"
            android:layout_height="wrap_content"
            android:layout_weight="1.5"
            android:text="@string/phone"
            android:textSize="20sp" />
    </LinearLayout>

    <View
        android:layout_width="match_parent"
        android:layout_height="1dp"
        android:layout_marginTop="5dp"
        android:layout_marginBottom="5dp"
        android:background="#aaaaaa" />

    <ListView
        android:id="@+id/lv_contact"
        android:layout_width="match_parent"
        android:layout_height="wrap_content">
    </ListView>

</LinearLayout>
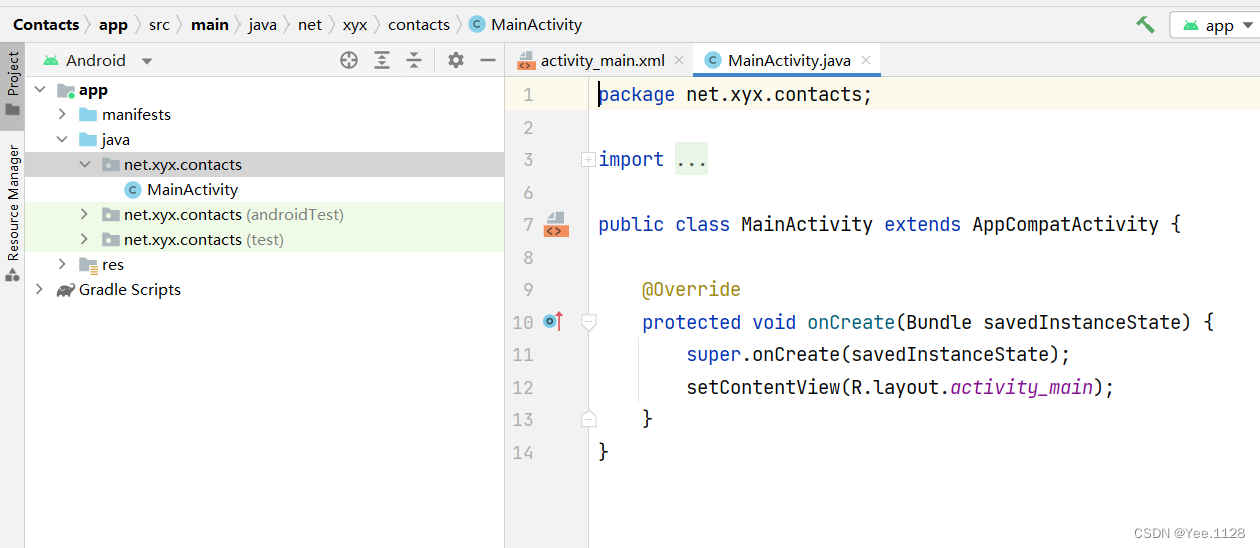
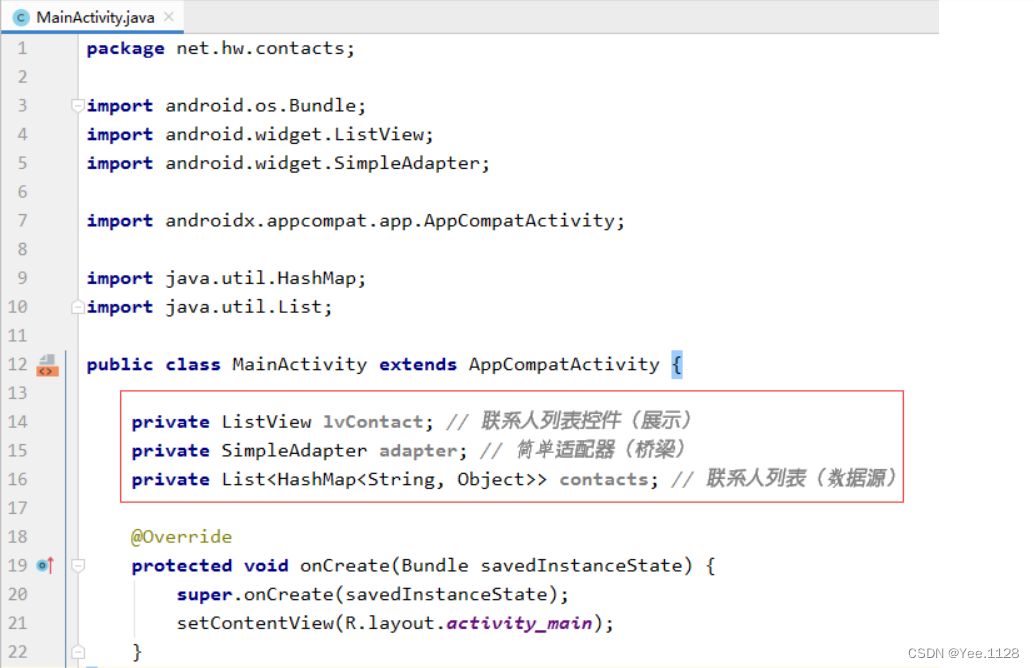
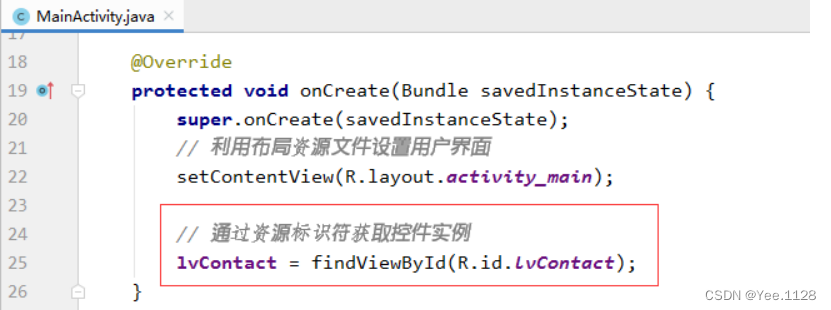
(6)、主界面类 - MainActivity
- 声明变量
- 通过资源标识符获取控件实例
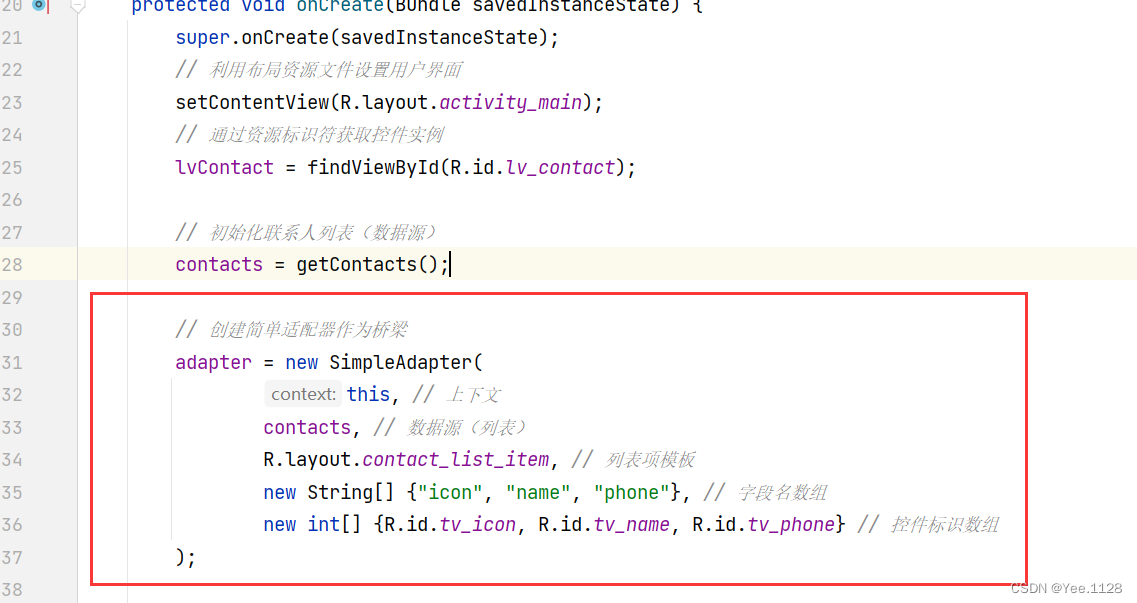
- 初始化联系人列表(数据源)
- 创建简单适配器作为桥梁
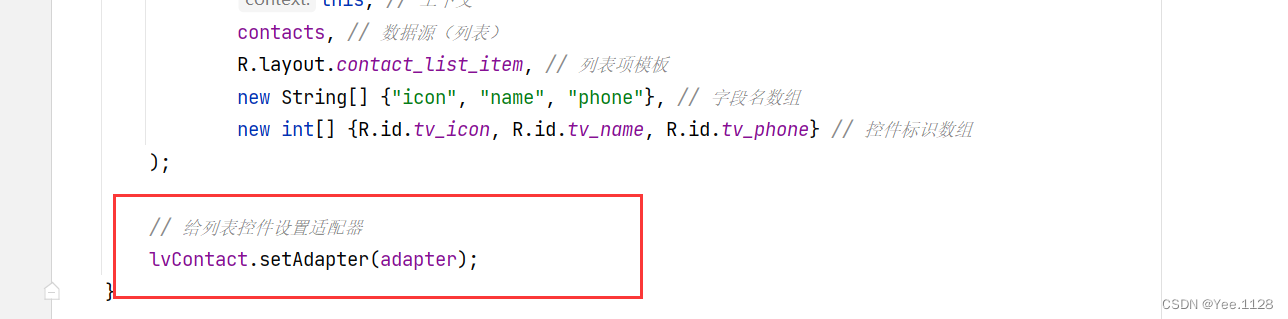
- 给列表控件设置适配器
(7)、主界面类MainActivity源代码
package net.xyx.contacts;
import androidx.appcompat.app.AppCompatActivity;
import android.os.Bundle;
import android.widget.ListView;
import android.widget.SimpleAdapter;
import java.util.ArrayList;
import java.util.HashMap;
import java.util.List;
public class MainActivity extends AppCompatActivity {
private ListView lvContact; // 联系人列表控件(展示)
private SimpleAdapter adapter; // 简单适配器(桥梁)
private List<HashMap<String, Object>> contacts; // 联系人列表(数据源)
@Override
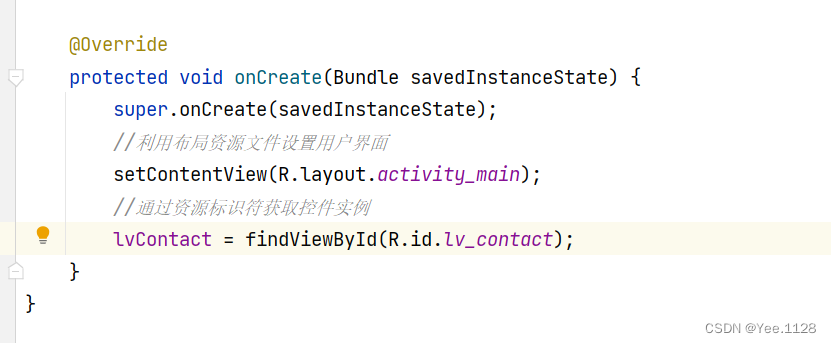
protected void onCreate(Bundle savedInstanceState) {
super.onCreate(savedInstanceState);
// 利用布局资源文件设置用户界面
setContentView(R.layout.activity_main);
// 通过资源标识符获取控件实例
lvContact = findViewById(R.id.lv_contact);
// 初始化联系人列表(数据源)
contacts = getContacts();
// 创建简单适配器作为桥梁
adapter = new SimpleAdapter(
this, // 上下文
contacts, // 数据源(列表)
R.layout.contact_list_item, // 列表项模板
new String[] {"icon", "name", "phone"}, // 字段名数组
new int[] {R.id.tv_icon, R.id.tv_name, R.id.tv_phone} // 控件标识数组
);
// 给列表控件设置适配器
lvContact.setAdapter(adapter);
}
/**
* @return 联系人列表
*/
private List<HashMap<String, Object>> getContacts() {
// 声明联系人列表
List<HashMap<String, Object>> contacts = new ArrayList<>();
// 声明联系人
HashMap<String, Object> contact = null;
// 创建第1个联系人
contact = new HashMap<>();
contact.put("icon", R.drawable.img1);
contact.put("name", "李红梅");
contact.put("phone", "15895953456");
// 将联系人添加到联系人列表
contacts.add(contact);
// 创建第2个联系人
contact = new HashMap<>();
contact.put("icon", R.drawable.img2);
contact.put("name", "王晓玲");
contact.put("phone", "13956572345");
// 将联系人添加到联系人列表
contacts.add(contact);
// 创建第3个联系人
contact = new HashMap<>();
contact.put("icon", R.drawable.img3);
contact.put("name", "唐语涵");
contact.put("phone", "15845891234");
// 将联系人添加到联系人列表
contacts.add(contact);
// 创建第4个联系人
contact = new HashMap<>();
contact.put("icon", R.drawable.img4);
contact.put("name", "佟大为");
contact.put("phone", "13934345680");
// 将联系人添加到联系人列表
contacts.add(contact);
// 创建第5个联系人
contact = new HashMap<>();
contact.put("icon", R.drawable.img5);
contact.put("name", "钟小翠");
contact.put("phone", "15890904520");
// 将联系人添加到联系人列表
contacts.add(contact);
// 创建第6个联系人
contact = new HashMap<>();
contact.put("icon", R.drawable.img6);
contact.put("name", "张三丰");
contact.put("phone", "13890985670");
// 将联系人添加到联系人列表
contacts.add(contact);
// 创建第7个联系人
contact = new HashMap<>();
contact.put("icon", R.drawable.img7);
contact.put("name", "刘玉玲");
contact.put("phone", "15895673450");
// 将联系人添加到联系人列表
contacts.add(contact);
// 返回联系人列表
return contacts;
}
}
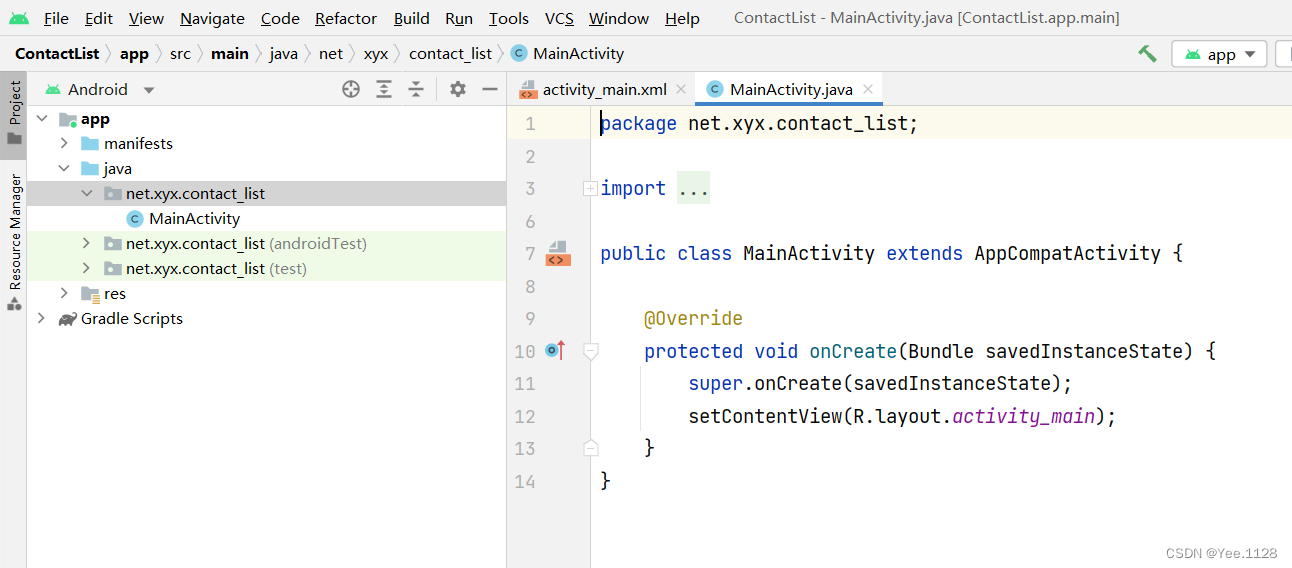
四、自定义适配器案例 - 联系人
1、创建安卓应用
- 基于
Empty Activity创建安卓应用 -ContactList
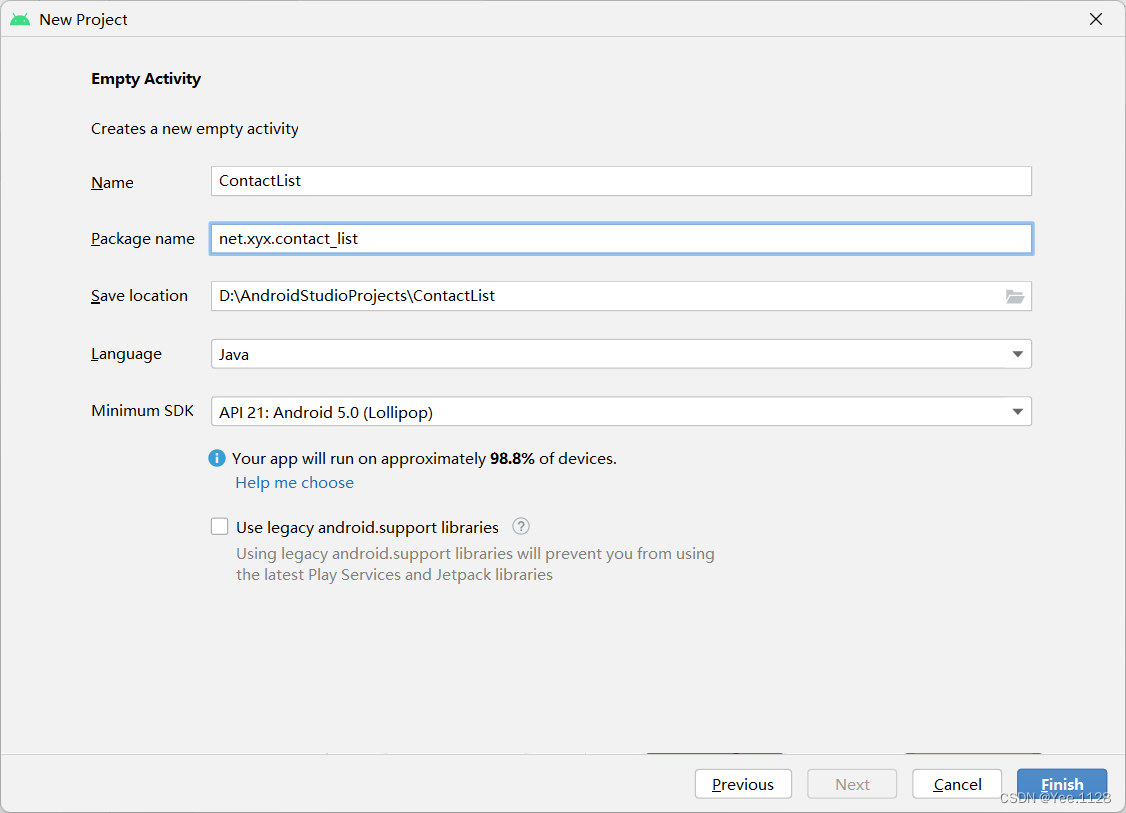
- 单击【finish】按钮
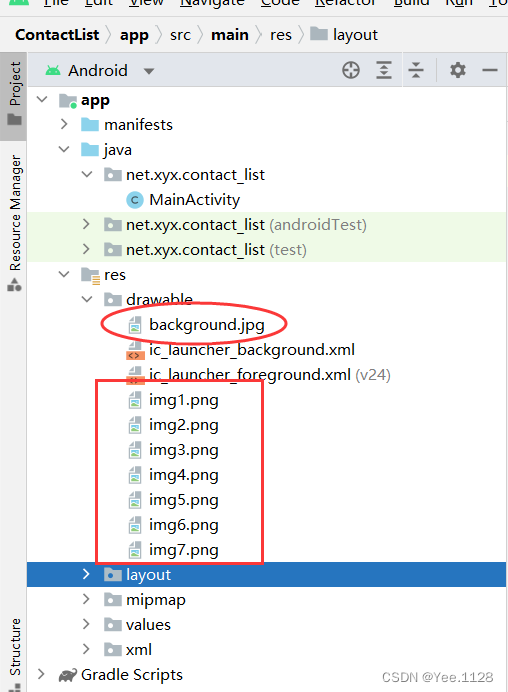
2、 将背景图片拷贝到drawable目录
- 将背景图片拷贝到
drawable目录
3、字符串资源文件
- 字符串资源文件 -
string.xml
<resources>
    <string name="app_name">联系人(采用自定义适配器)</string>
    <string name="icon">图标</string>
    <string name="name">姓名</string>
    <string name="phone">电话</string>
</resources>
3、主布局资源文件activity_main.xml
- 布局资源文件
activity_mian.xml
<?xml version="1.0" encoding="utf-8"?>
<LinearLayout
    xmlns:android="http://schemas.android.com/apk/res/android"
    android:layout_width="match_parent"
    android:layout_height="match_parent"
    android:background="@drawable/background"
    android:padding="10dp"
    android:orientation="vertical">

    <LinearLayout
        android:layout_width="match_parent"
        android:layout_height="wrap_content"
        android:orientation="horizontal">

        <TextView
            android:id="@+id/tv_icon"
            android:layout_width="0dp"
            android:layout_height="wrap_content"
            android:layout_marginRight="20dp"
            android:layout_weight="0.5"
            android:text="@string/icon"
            android:textColor="#000000"
            android:textSize="20sp" />

        <TextView
            android:id="@+id/tv_name"
            android:layout_width="0dp"
            android:layout_height="wrap_content"
            android:layout_weight="1"
            android:text="@string/name"
            android:textColor="#000000"
            android:textSize="20sp" />

        <TextView
            android:id="@+id/tv_phone"
            android:layout_width="0dp"
            android:layout_height="wrap_content"
            android:layout_weight="1.5"
            android:text="@string/phone"
            android:textColor="#000000"
            android:textSize="20sp" />
    </LinearLayout>

    <View
        android:layout_width="match_parent"
        android:layout_height="1dp"
        android:layout_marginTop="5dp"
        android:layout_marginBottom="5dp"
        android:background="#aaaaaa" />

    <ListView
        android:id="@+id/lv_contact"
        android:layout_width="match_parent"
        android:layout_height="wrap_content" />

</LinearLayout>
- 查看预览效果
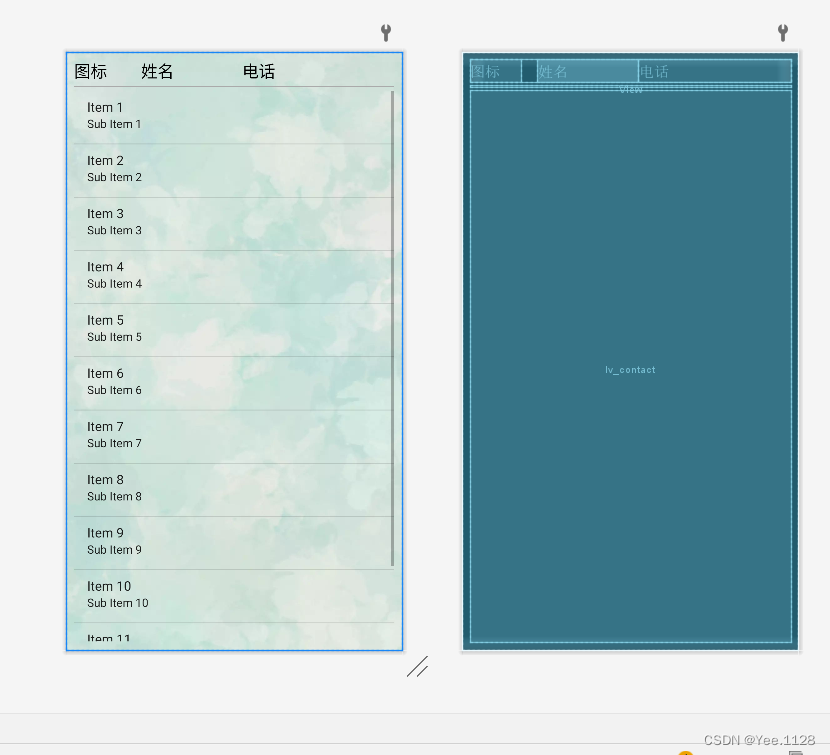
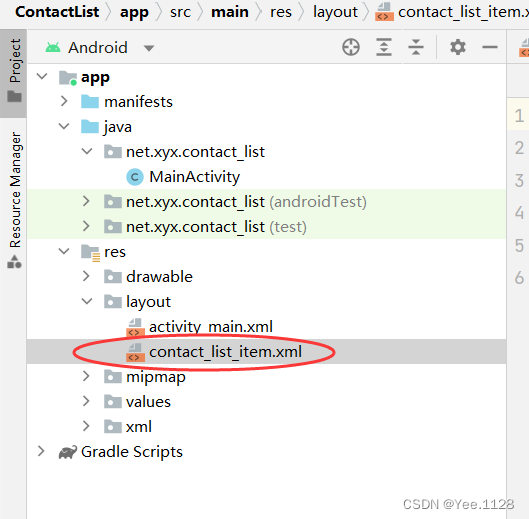
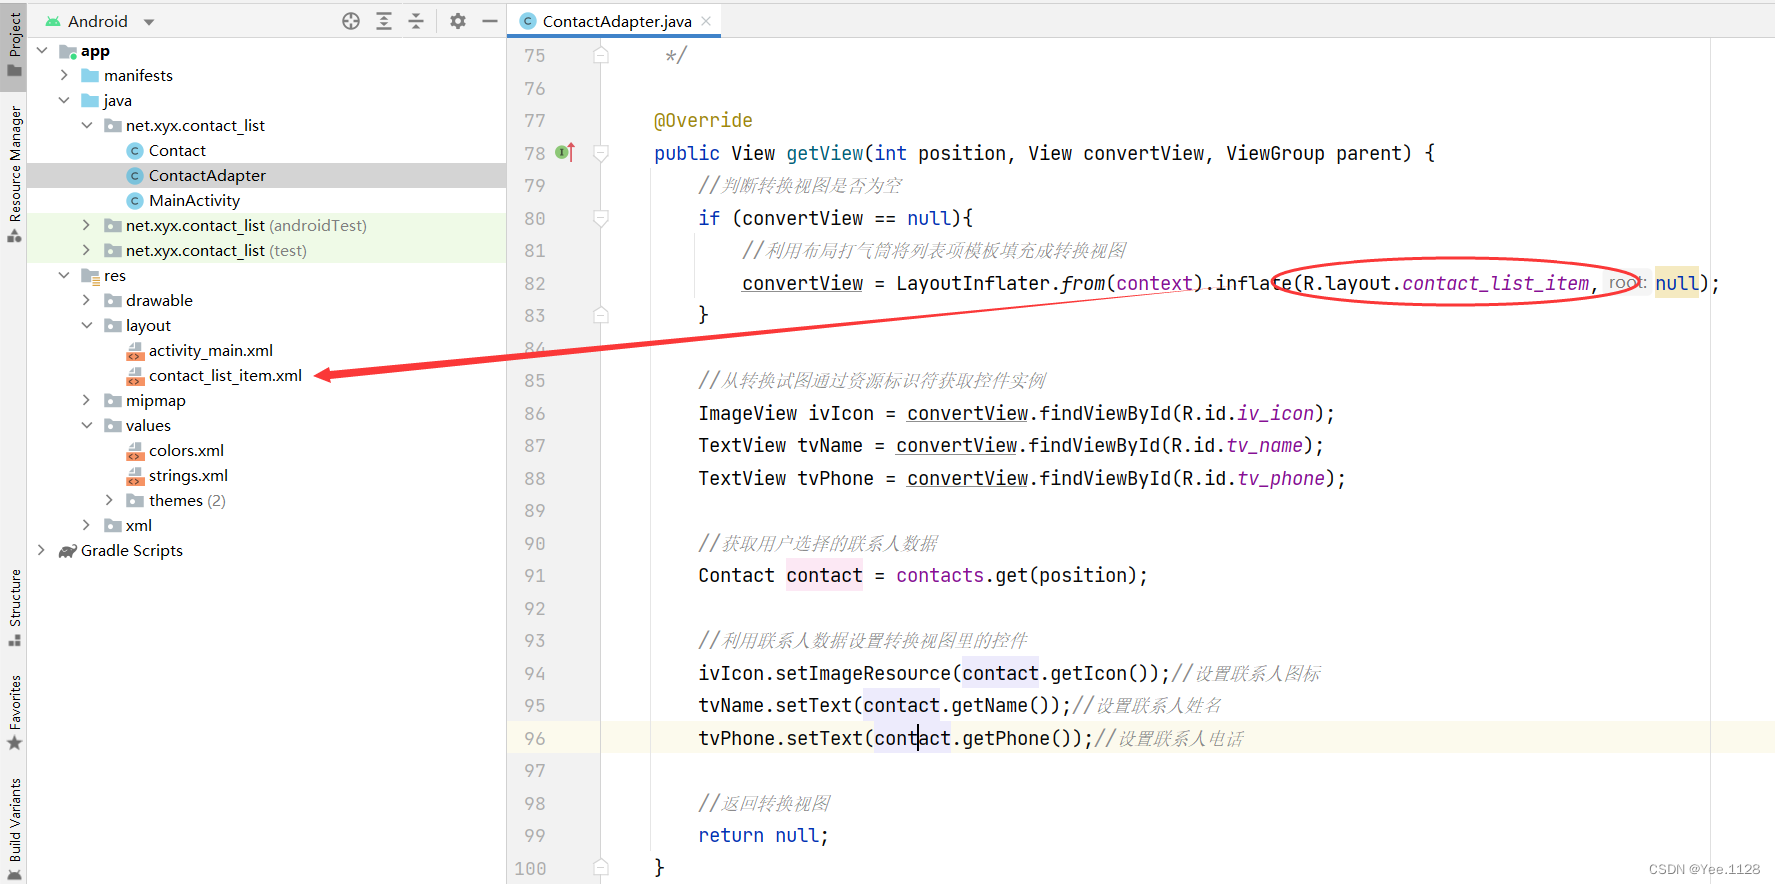
5、创建联系人列表项模板
- 创建联系人列表项模板 -
contact_list_item.xml
<?xml version="1.0" encoding="utf-8"?>
<LinearLayout
    xmlns:android="http://schemas.android.com/apk/res/android"
    android:layout_width="match_parent"
    android:layout_height="match_parent"
    android:orientation="vertical">

    <LinearLayout
        android:layout_width="match_parent"
        android:layout_height="wrap_content"
        android:gravity="center_vertical"
        android:orientation="horizontal">

    <ImageView
        android:id="@+id/iv_icon"
        android:layout_width="60dp"
        android:layout_height="60dp"
        android:layout_marginRight="10dp"
        android:scaleType="fitXY"
        android:src="@drawable/img1" />

        <LinearLayout
            android:layout_width="match_parent"
            android:layout_height="wrap_content"
            android:orientation="vertical">

    <TextView
        android:id="@+id/tv_name"
        android:layout_width="wrap_content"
        android:layout_height="wrap_content"
        android:textColor="#0000ff"
        android:textSize="20sp" />

    <TextView
        android:id="@+id/tv_phone"
        android:layout_width="wrap_content"
        android:layout_height="wrap_content"
        android:layout_marginLeft="70dp"
        android:textColor="#555555"
        android:textSize="16sp" />
        </LinearLayout>
    </LinearLayout>

</LinearLayout>
6、创建联系人实体类
- 联系人实体类 -
Contact
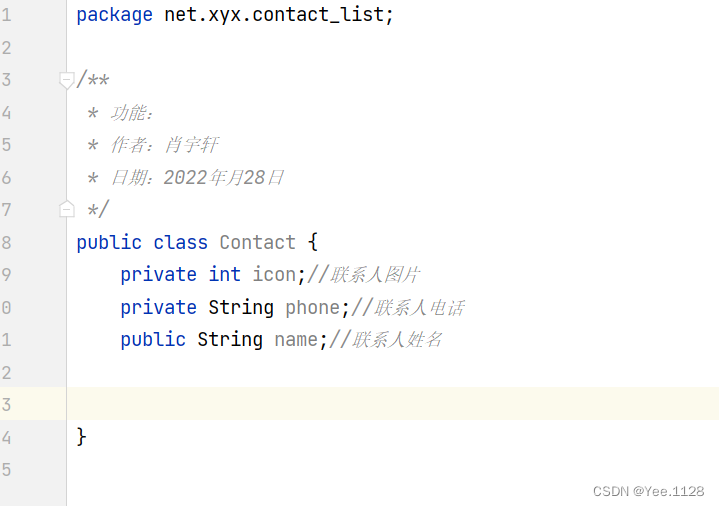
package net.xyx.contact_list;

/**
 * 功能:
 * 作者:肖宇轩
 * 日期:2022年11月28日
 */
public class Contact {
    private int icon;//联系人图片
    private String phone;//联系人电话
    public String name;//联系人姓名

    public int getIcon() {
        return icon;
    }

    public void setIcon(int icon) {
        this.icon = icon;
    }

    public String getPhone() {
        return phone;
    }

    public void setPhone(String phone) {
        this.phone = phone;
    }

    public String getName() {
        return name;
    }

    public void setName(String name) {
        this.name = name;
    }

    @Override
    public String toString() {
        return "Contact{" +
                "icon=" + icon +
                ", phone='" + phone + '\'' +
                ", name='" + name + '\'' +
                '}';
    }
}
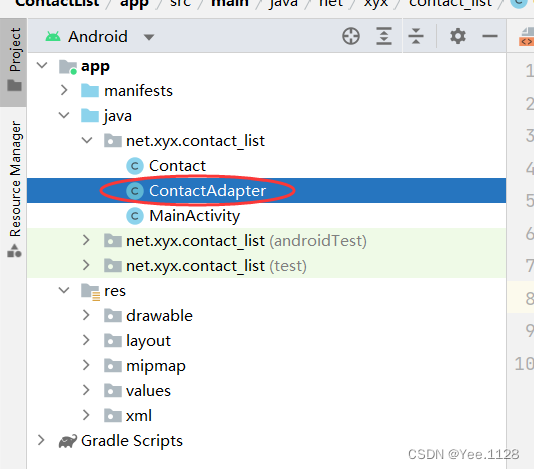
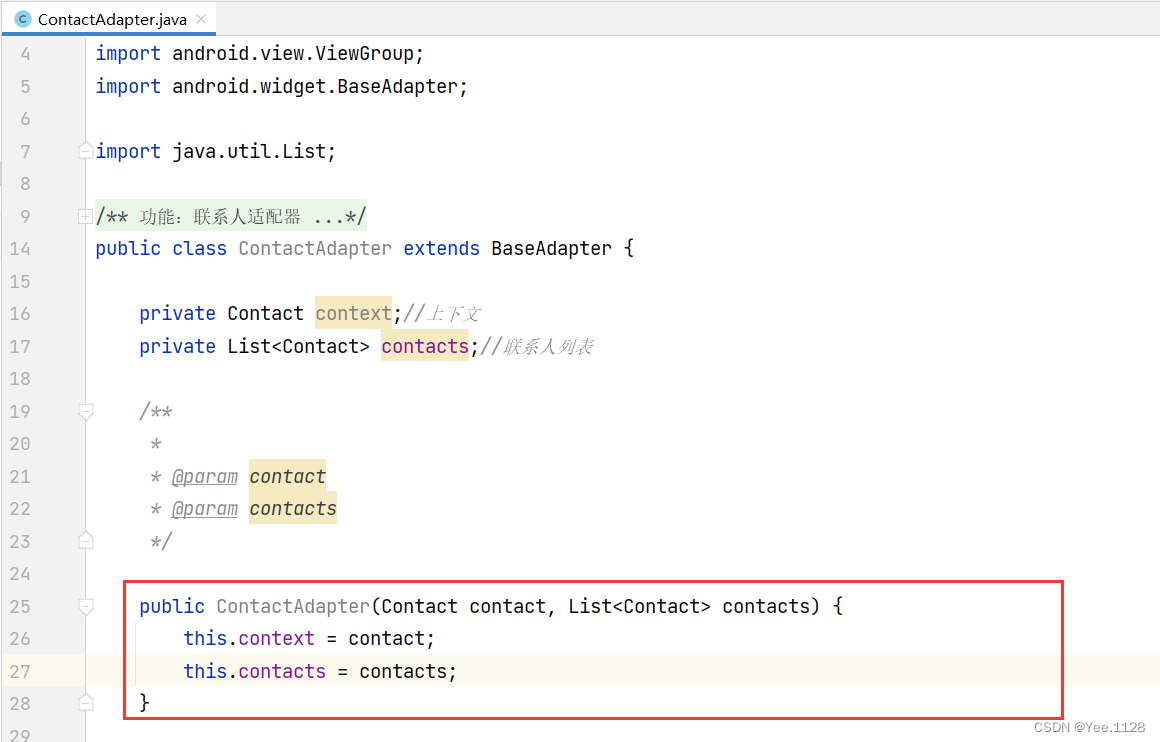
7、创建联系人适配器
- 创建联系人适配器 -
ContactAdapter
- 继承基适配器,空实现四个抽象方法

- 声明变量
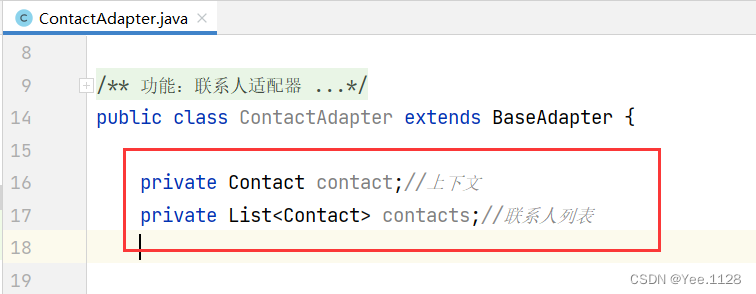
- 创建构造方法
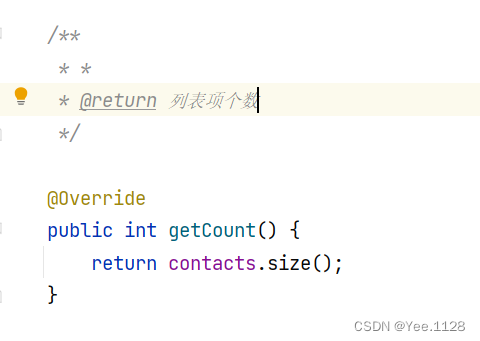
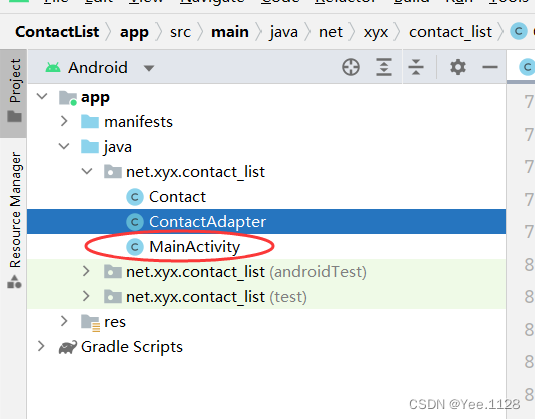
8、主界面类实现功能
- 主界面类 -
MainActivity
- 获取列表项个数方法 -
getCount()
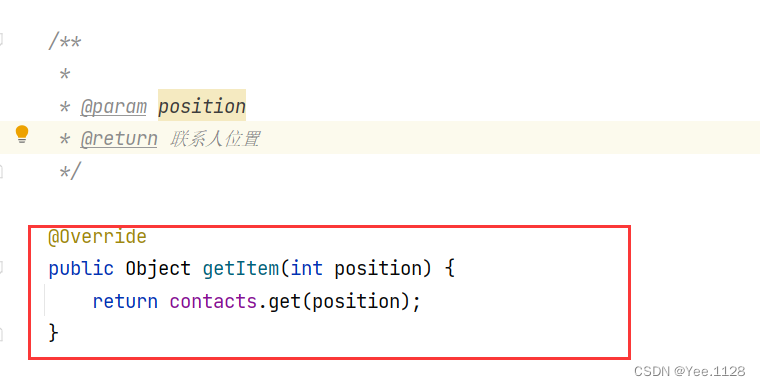
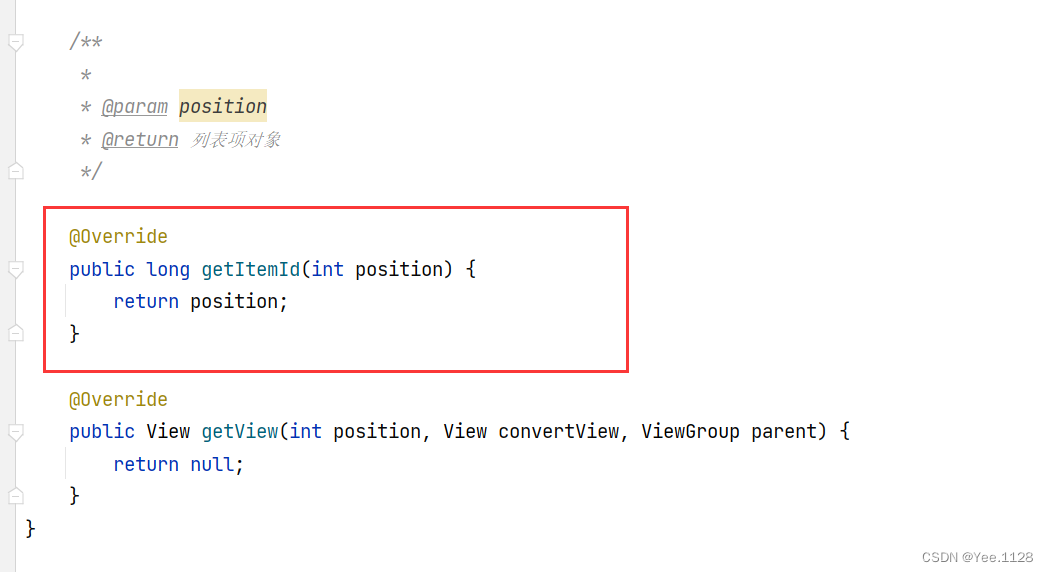
- 获取列表项标识符 -
getItem()
- 获取列表项标识符方法 -
getItrmld()
- 获取列表项视图方法 -
getView()- 难点
8、主界面实现功能
- 主界面类 -
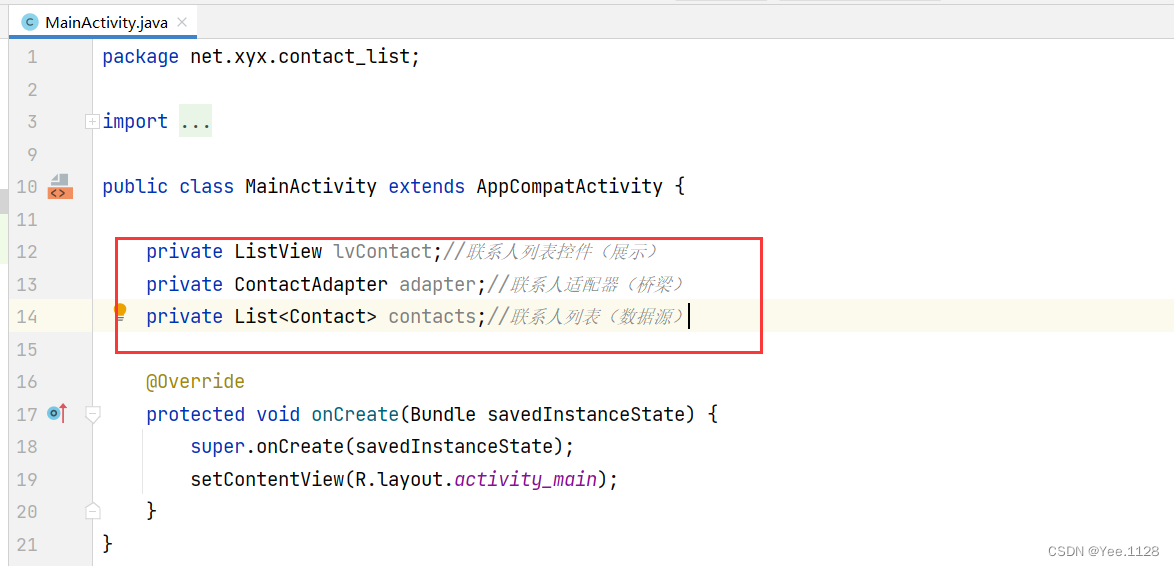
MainActivity
- 声明变量
- 通过资源标识符获取控件实例
- 创建获取联系人列表的方法 -
getContacts()