一. segment-anything安装教程
官网安装说明:https://github.com/facebookresearch/segment-anything
-
anaconda下新建一个环境
conda create -n sam python=3.8
-
激活新建的环境
conda activate sam

-
更换conda镜像源
conda config --add channels https://mirrors.tuna.tsinghua.edu.cn/anaconda/pkgs/free/
conda config --add channels https://mirrors.tuna.tsinghua.edu.cn/anaconda/pkgs/main/
conda config --set show_channel_urls yes
conda config --add channels https://mirrors.tuna.tsinghua.edu.cn/anaconda/cloud/conda-forge/
conda config --add channels https://mirrors.tuna.tsinghua.edu.cn/anaconda/cloud/msys2/
conda config --add channels https://mirrors.tuna.tsinghua.edu.cn/anaconda/cloud/bioconda/
conda config --add channels https://mirrors.tuna.tsinghua.edu.cn/anaconda/cloud/menpo/
conda config --add channels https://mirrors.tuna.tsinghua.edu.cn/anaconda/cloud/pytorch/
-
安装pytorch
conda install pytorch==1.11.0 torchvision==0.12.0 torchaudio==0.11.0 cudatoolkit=11.3
-
克隆官方代码
git clone [email protected]:facebookresearch/segment-anything.git
-
进入下载好的文件夹,打开cmd,激活安装好的环境,运行以下代码
pip install -e . -i https://mirrors.aliyun.com/pypi/simple/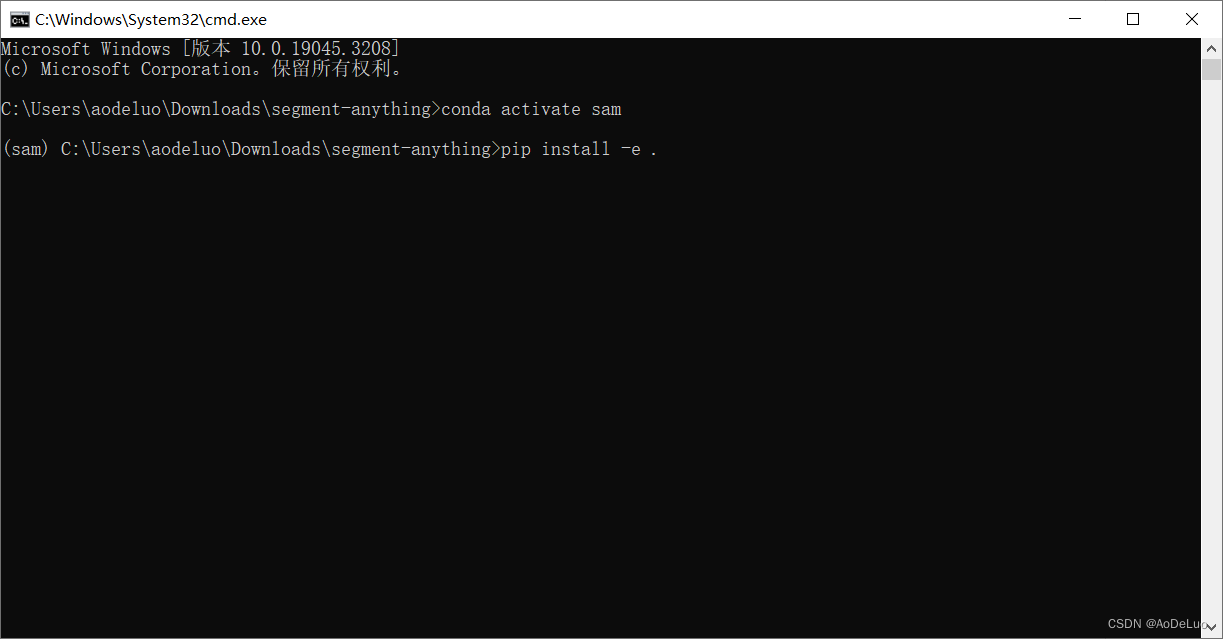

-
安装所需python库
pip install opencv-python pycocotools matplotlib onnxruntime onnx flake8 isort black mypy -i https://mirrors.aliyun.com/pypi/simple/
-
从官网下载模型,并复制到源代码下


-
运行以下代码
1.png为放置在源代码下的图像python scripts/amg.py --checkpoint sam_vit_b_01ec64.pth --model-type vit_b --input 1.jpg --output result
生成的图像掩码
