文章目录
优点
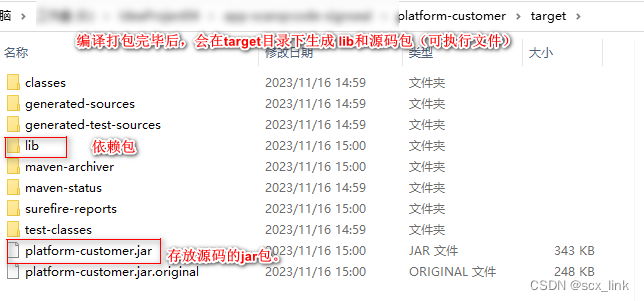
随着项目的功能越来越多,如果把所有代码都打包到一个jar里,这样不利于传输。把源码和依赖包分开。这样如果依赖包没有变化的话,再次部署时,就不需要往服务器的lib目录下上传依赖包,只需要把源码的变更过的源码包部署即可。
maven中配置
在 存在启动类的工程里的pom.xml 配置以下内容。之前的<build>标签内的东西注释掉。
<!-- 使用下面的build内容在打依赖包和源码内容时可以分开-->
    <build>
        <plugins>
            <!-- 自定义ClassPath路径 -->
            <plugin>
                <groupId>org.apache.maven.plugins</groupId>
                <artifactId>maven-jar-plugin</artifactId>
                <configuration>
                    <!-- 把构建根目录的lib文件夹配置成ClassPath路径 -->
                    <archive>
                        <manifest>
                            <addClasspath>true</addClasspath>
                            <classpathPrefix>lib/</classpathPrefix>
                        </manifest>
                        <manifestEntries>
                            <Class-Path>./</Class-Path>
                        </manifestEntries>
                    </archive>
                </configuration>
            </plugin>
            <!--配置Jar包构建信息-->
            <plugin>
                <groupId>org.springframework.boot</groupId>
                <artifactId>spring-boot-maven-plugin</artifactId>
                <version>2.1.1.RELEASE</version>
                <configuration>
                    <fork>true</fork>
                    <addResources>true</addResources>
                    <includeSystemScope>true</includeSystemScope>
                    <!--手动设置构建需要加入的依赖,只有配置的依赖才会加入。-->
                    <includes>
                        <!--配置一个不存在的groupId,这样就不会引入任何依赖,jar包就只包含代码文件-->
                        <include>
                            <groupId>not-exists</groupId>
                        </include>
                        <!--如果是多模块项目,其他模块需要手动添加下面-->
                    </includes>
                </configuration>
                <executions>
                    <execution>
                        <goals>
                            <goal>repackage</goal>
                        </goals>
                    </execution>
                </executions>
            </plugin>
            <!--把依赖拷贝到Lib路径-->
            <plugin>
                <groupId>org.apache.maven.plugins</groupId>
                <artifactId>maven-dependency-plugin</artifactId>
                <executions>
                    <execution>
                        <id>copy-dependencies</id>
                        <phase>prepare-package</phase>
                        <goals>
                            <goal>copy-dependencies</goal>
                        </goals>
                        <configuration>
                            <outputDirectory>${project.build.directory}/lib</outputDirectory>
                        </configuration>
                    </execution>
                </executions>
            </plugin>
        </plugins>
        <!--生成的jar包名称为项目的artifactId-->
        <finalName>${project.artifactId}</finalName>
    </build>
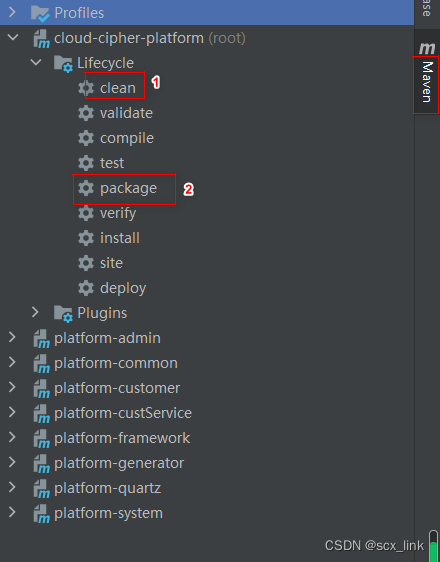
执行maven 打包
项目部署
启动(重启)服务的脚本( restart-customer.sh)
#!/bin/bash
# *******************************
# example
#     cd bin/
#     sh debug.sh
# ********************************

kill -9 $(netstat -lnp|grep 8083 | awk '{print $7}' | awk -F"/" '{print $1}')
cd /home/user/app
chmod +755 platform-customer.jar
source /etc/profile
#cd ..
#ulimit -n 524280
cd /home/user/app/logs
JAVA_OPTS=""
nohup java -jar -Djava.library.path=/home/user/app-Dloader.path=./lib /home/user/app/platform-customer.jar -Xms512M -Xmx512M -Xss256k $JAVA_OPTS -Djava.ext.dirs=$JAVA_HOME/jre/lib/ext --server.port=8083 &
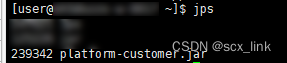
查看服务启动状态
#jps