前言
在涉及项目开发时,通常我们会灵活地把一些配置项集中在一起,如果你的项目不是很大的情况下,那么通过配置文件集中不失为一个很好的解决方案。
在 Spring Boot 中,我们可以方便地通过读取 appliction.properties/application.yaml 格式的配置文件,进而注入我们的项目中。
1.多环境配置
在日常开发中,我们的环境根据不同的阶段会有一定不同,总的可以分为:dev、test、prod,举个简单的例子,不同的环境中如 port 可能是不同的。
上文中提到配置文件多以 appliction.properties/application.yaml 这两种格式为主,下面分别就这两种格式对多环境的配置做个说明。
application.properties
在这种格式中,主配置文件是 application.properties,对于不同环境的配置,通常我们会命名为 application-xxx.properties,这里的 xxx 可以是 dev、test、prod 中一种,比如我们的 主配置文件(appliction.properties) 内容如下:
properties
server.port

spring.profiles.active=dev
这样配置读取时,就会去 application-dev.properties 中读取相关的配置,其他同理。
application.yaml
熟悉 yaml 的小伙伴对其格式肯定不陌生,通常都是同级内容对齐,分级项通过另启一行,且通常需要固定的空格缩进,一般是2个空格,这里不多说,格式问题自行搜索。
我们假定主配置文件是 application.yaml,其他环境的配置文件是:application-dev.yaml/application-test.yaml/application-prod.yaml 。
这里我们看看在看看 yaml 主配置文件中怎么配置:
server:
  port: 8080

spring:
  profiles:
    active: dev
2.常用配置
通常我们的配置应该包含如下选项:
- server运行配置,如端口,ip,是否SSL,超时时间,多线程等
- server的介绍信息配置
- 日志配置信息,又或者日志部分单独配置
- 数据库的配置信息
- 缓存的配置信息
比如,我们的配置项可以是以下信息:
# server
server:
  port: 8000
  tomcat:
    threads:
      max: 10
      min-spare: 3
    uri-encoding: UTF-8

# self define
app:
  name: springDemo
  desc: a-spring-boot-app
  version: 1.0.0
  author: Alice-Knight

# logging
logging:
  file:
    name: app.log
    path: ../logs
  logback:
    rollingpolicy:
      max-file-size: 5MB
      max-history: 15
  pattern:
    dateformat: yyyy-mm-ddTHH:MM:ss.SSSXXX

# database & cache & es
spring:
  datasource:
    url: jdbc:mysql://localhost:3306/demo
    username: root
    password: 123456
    driver-class-name: com.mysql.jdbc.Driver
  data:
    redis:
      database: 0
      connect-timeout: 120
      port: 6379
      host: 0.0.0.0
      jedis:
        pool:
          enabled: true
          max-active: 10
          min-idle: 2
  elasticsearch:
    uris:
      - http://localhost:9200
    username: admin
    password: 123456
    connection-timeout: 120s
3.配置读取
@Value("${field}")
通过注解 @Value 解析配置中的字段,新建个控制器类,主要功能就是返回 app 的 info:
package com.example.demo;

import org.springframework.beans.factory.annotation.Value;
import org.springframework.web.bind.annotation.GetMapping;
import org.springframework.web.bind.annotation.RestController;

import java.util.HashMap;
import java.util.Map;

@RestController
public class RestfulController {


    @Value("${app.version}")
    private String version;

    @Value("${app.author}")
    private String author;

    @Value("${app.desc}")
    private String desc;

    @GetMapping(value = "/appInfo")
    public Object getAppInfo() {


        Map<String, String> info = new HashMap<>();
        info.put("version", version);
        info.put("author", author);
        info.put("desc", desc);

        return info;
    }
}
测试:
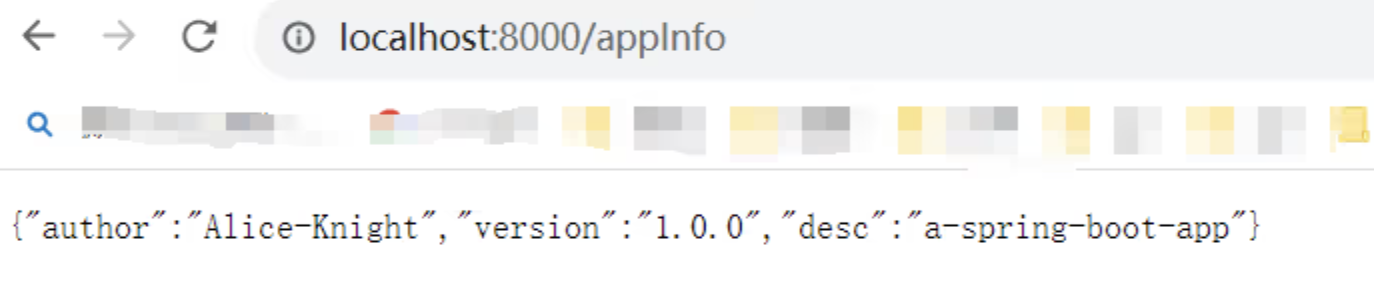
从结果中可以看到,返回的响应体包含我们配置文件中的字段信息。
@Component + @ConfigurationProperties + @AutoWired
这里我们用到自动装配注解。首先实现对象类,就是一个 Bean, 然后类加上注解:
@Component
@ConfigurationProperties(prefix = "app")
其次在使用到的控制类中设置变量,加上注解 @AutoWired,具体实现如下:
AppInfo.java
package com.example.demo;

import org.springframework.boot.context.properties.ConfigurationProperties;
import org.springframework.stereotype.Component;

@Component
@ConfigurationProperties(prefix = "app")
public class AppInfo {


    private String author;

    private String desc;

    private String version;

    public String getAuthor() {


        return author;
    }

    public void setAuthor(String author) {


        this.author = author;
    }

    public String getDesc() {


        return desc;
    }

    public void setDesc(String desc) {


        this.desc = desc;
    }

    public String getVersion() {


        return version;
    }

    public void setVersion(String version) {


        this.version = version;
    }
}
AppInfoController.java
package com.example.demo;

import org.springframework.beans.factory.annotation.Autowired;
import org.springframework.web.bind.annotation.GetMapping;
import org.springframework.web.bind.annotation.RestController;

import java.util.HashMap;
import java.util.Map;

@RestController
public class AppInfoController {


    @Autowired
    private AppInfo appInfo;

    @GetMapping(value = "/v2/appInfo")
    public Object getAppInfoV2() {


        Map<String, String> info = new HashMap<>();
        info.put("version", appInfo.getVersion());
        info.put("author", appInfo.getAuthor());
        info.put("desc", appInfo.getDesc());

        return info;
    }
}
测试结果:
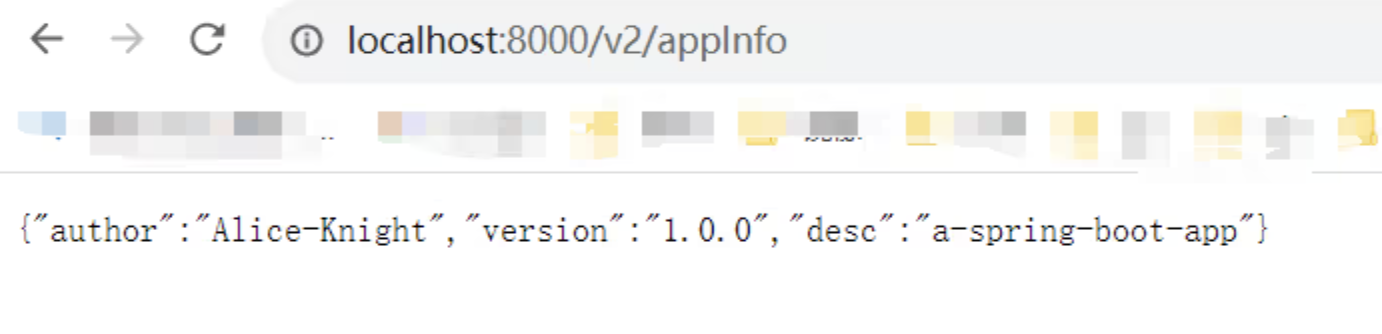
从结果中可以看到采用该方法也可以实现配置项的读取。
4.自定义配置
比如我们在配置文件中定义了这个 app 的name、开发者、版本号等,即如下:
app:
  name: demo
  author: david-knight
  version: 1.0.0
...
这个自定义的内容,我们又怎么获取呢?
先写个 Bean 来接收 app 的字段:
package com.example.springbootdemo2.param;

import org.springframework.boot.context.properties.ConfigurationProperties;
import org.springframework.stereotype.Component;

@Component
@ConfigurationProperties(prefix = "app")
public class AppInfo {


    private String name;

    private String desc;

    private String version;

    public String getName() {


        return name;
    }

    public void setName(String name) {


        this.name = name;
    }

    public String getDesc() {


        return desc;
    }

    public void setDesc(String desc) {


        this.desc = desc;
    }

    public String getVersion() {


        return version;
    }

    public void setVersion(String version) {


        this.version = version;
    }
}
然后在 控制器类中 自动装配 Object:
package com.example.springbootdemo2.controller;

import com.example.springbootdemo2.param.AppInfo;
import org.springframework.beans.factory.annotation.Autowired;
import org.springframework.web.bind.annotation.GetMapping;
import org.springframework.web.bind.annotation.RequestMapping;
import org.springframework.web.bind.annotation.RestController;

import java.util.HashMap;
import java.util.Map;


@RestController
@RequestMapping(value = "/app")
public class AppInfoController {


    @Autowired
    private AppInfo appinfo;

    @GetMapping(value = "/info")
    public Object getAppInfo() {


        Map<String, Object> info = new HashMap<>();
        info.put("name", appinfo.getName());
        info.put("desc", appinfo.getDesc());
        info.put("version", appinfo.getVersion());
        return info;
    }

}
上面添加注解时,提示有点小问题,根据官方建议,在 pom.xml 中添加 配置依赖:
<!-- 配置处理 -->
<dependency>
    <groupId>org.springframework.boot</groupId>
    <artifactId>spring-boot-configuration-processor</artifactId>
    <optional>true</optional>
</dependency>
看看测试效果:
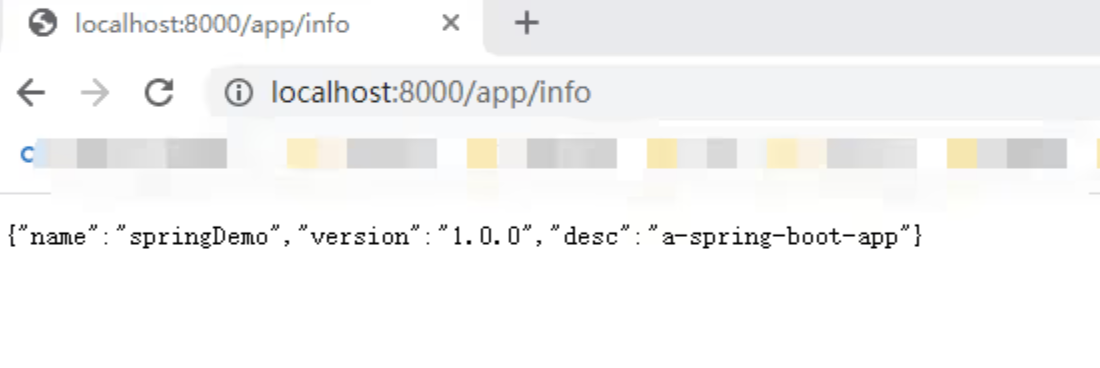
从结果中可以看到,配置项已经成功读取到。