前言:vs code编译程序需要单独安装一个软件配合使用,同理还有其他的软件也需要运行环境软件,都需要这个软件,下载解压就可以使用。如果需要其他的编译软件推荐可以私信或留言。
目 录:
1.下载地址:(官网下载)
链接:MinGW-w64 - for 32 and 64 bit Windows download | SourceForge.net
注意:下载很慢,可以选择私信邮箱留言,永久分享免费使用。
邮件发送至:[email protected]:mingw64文件包获取资源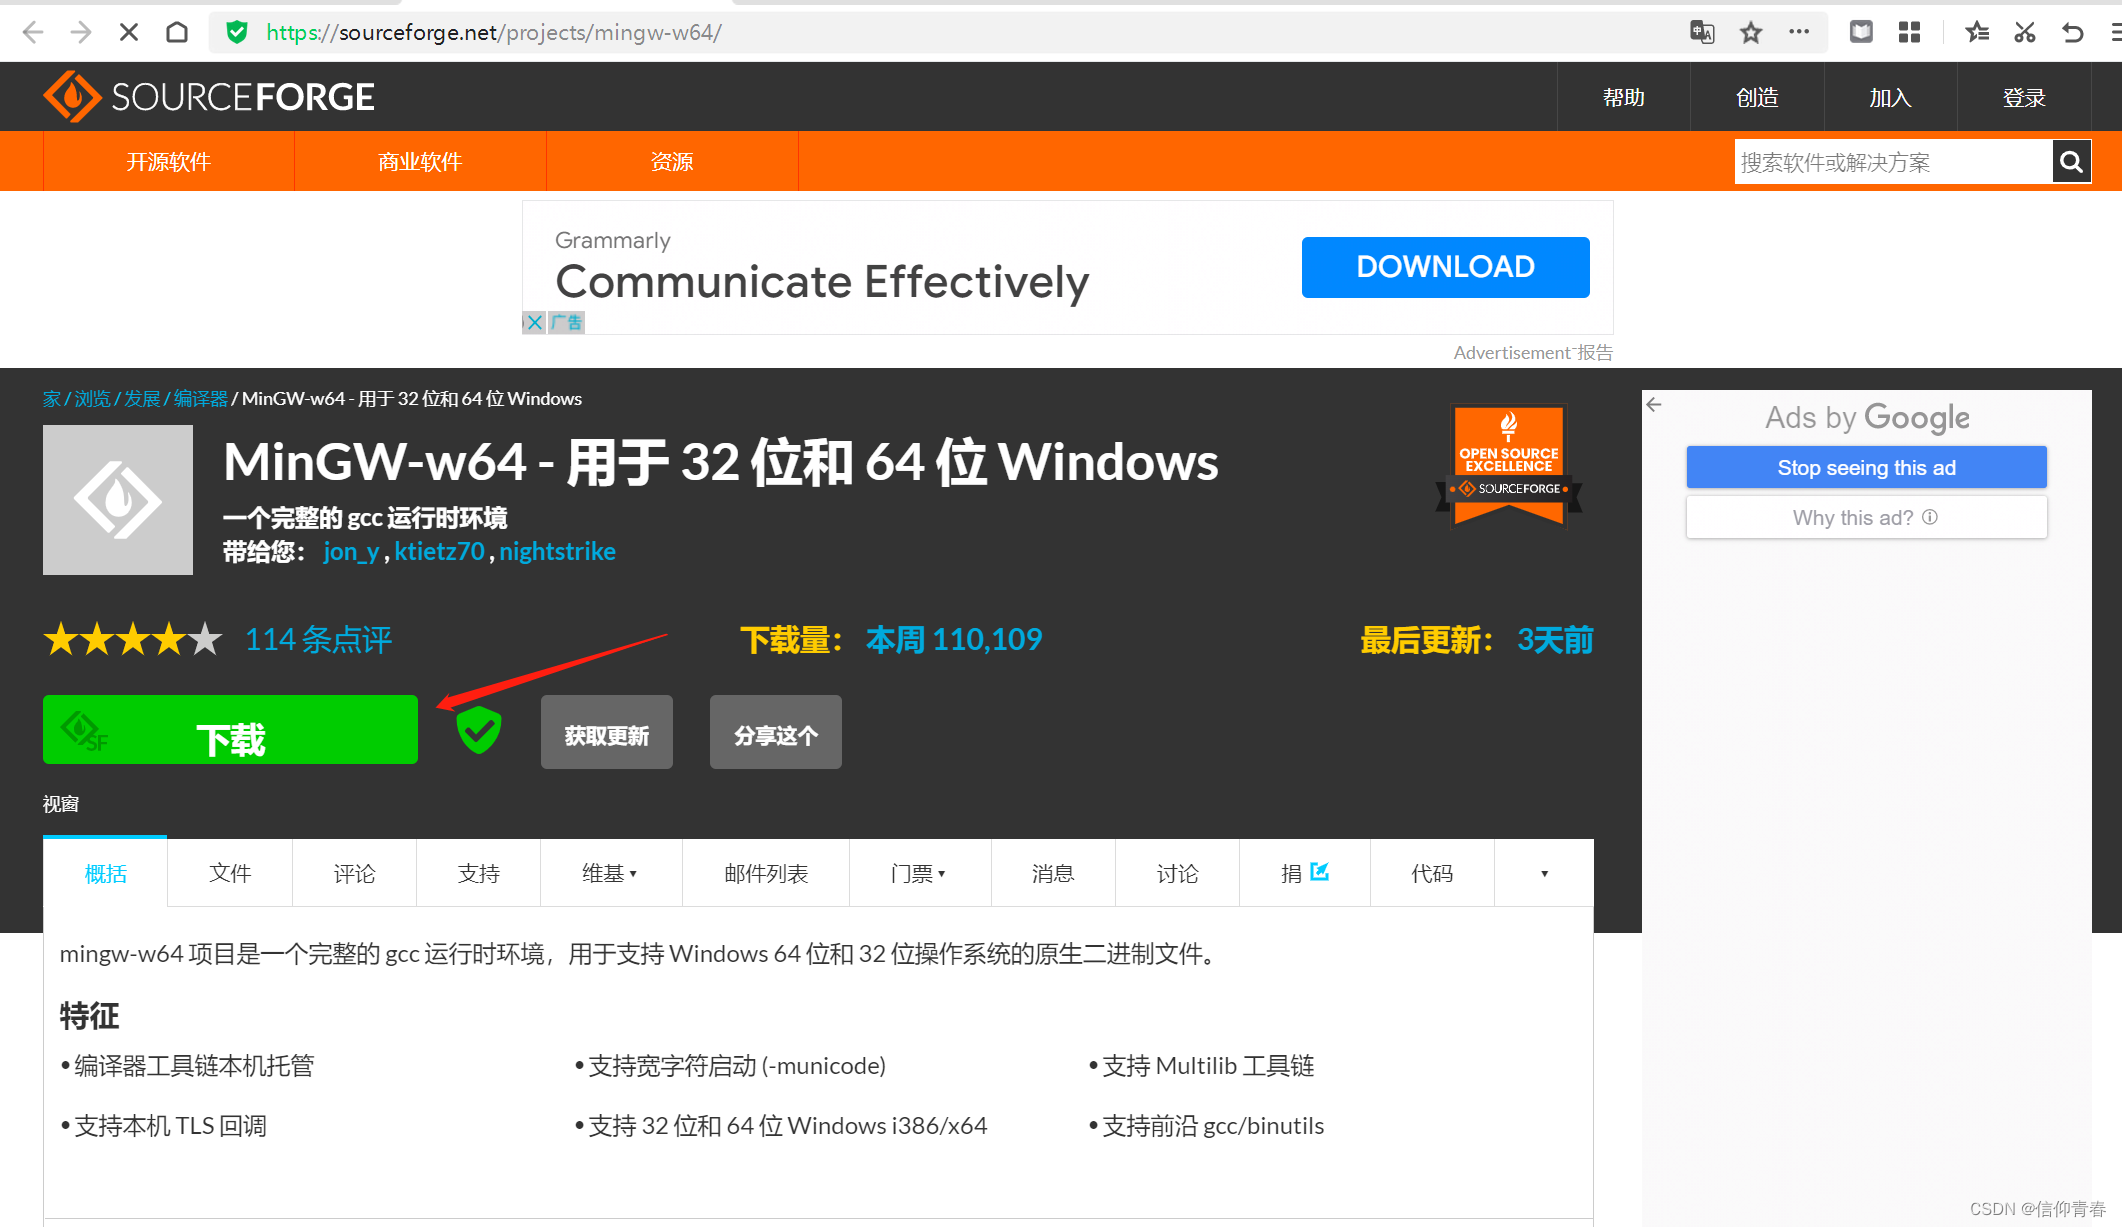
下载页面
 点击下载
点击下载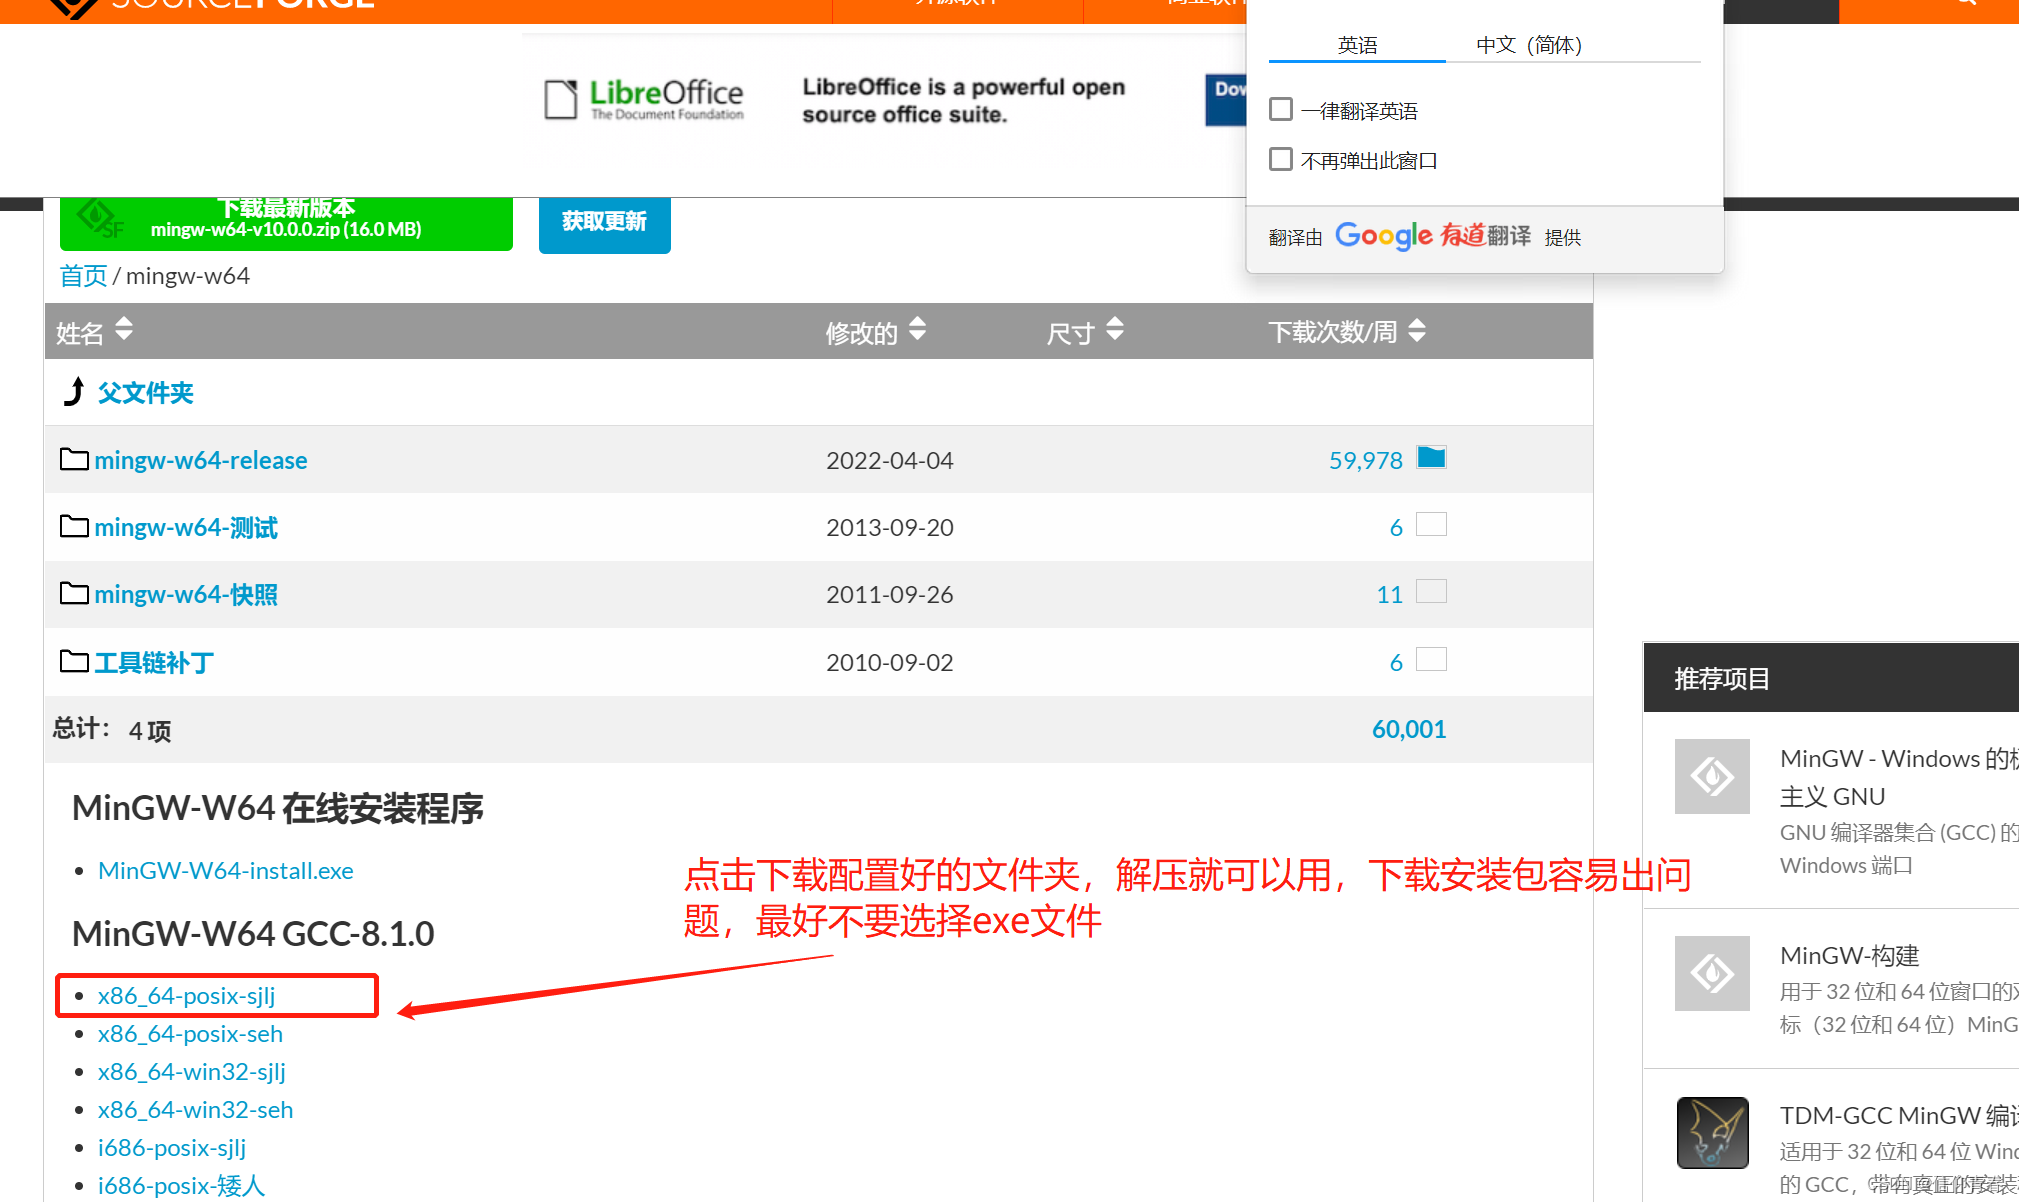
注意不要选择exe文件安装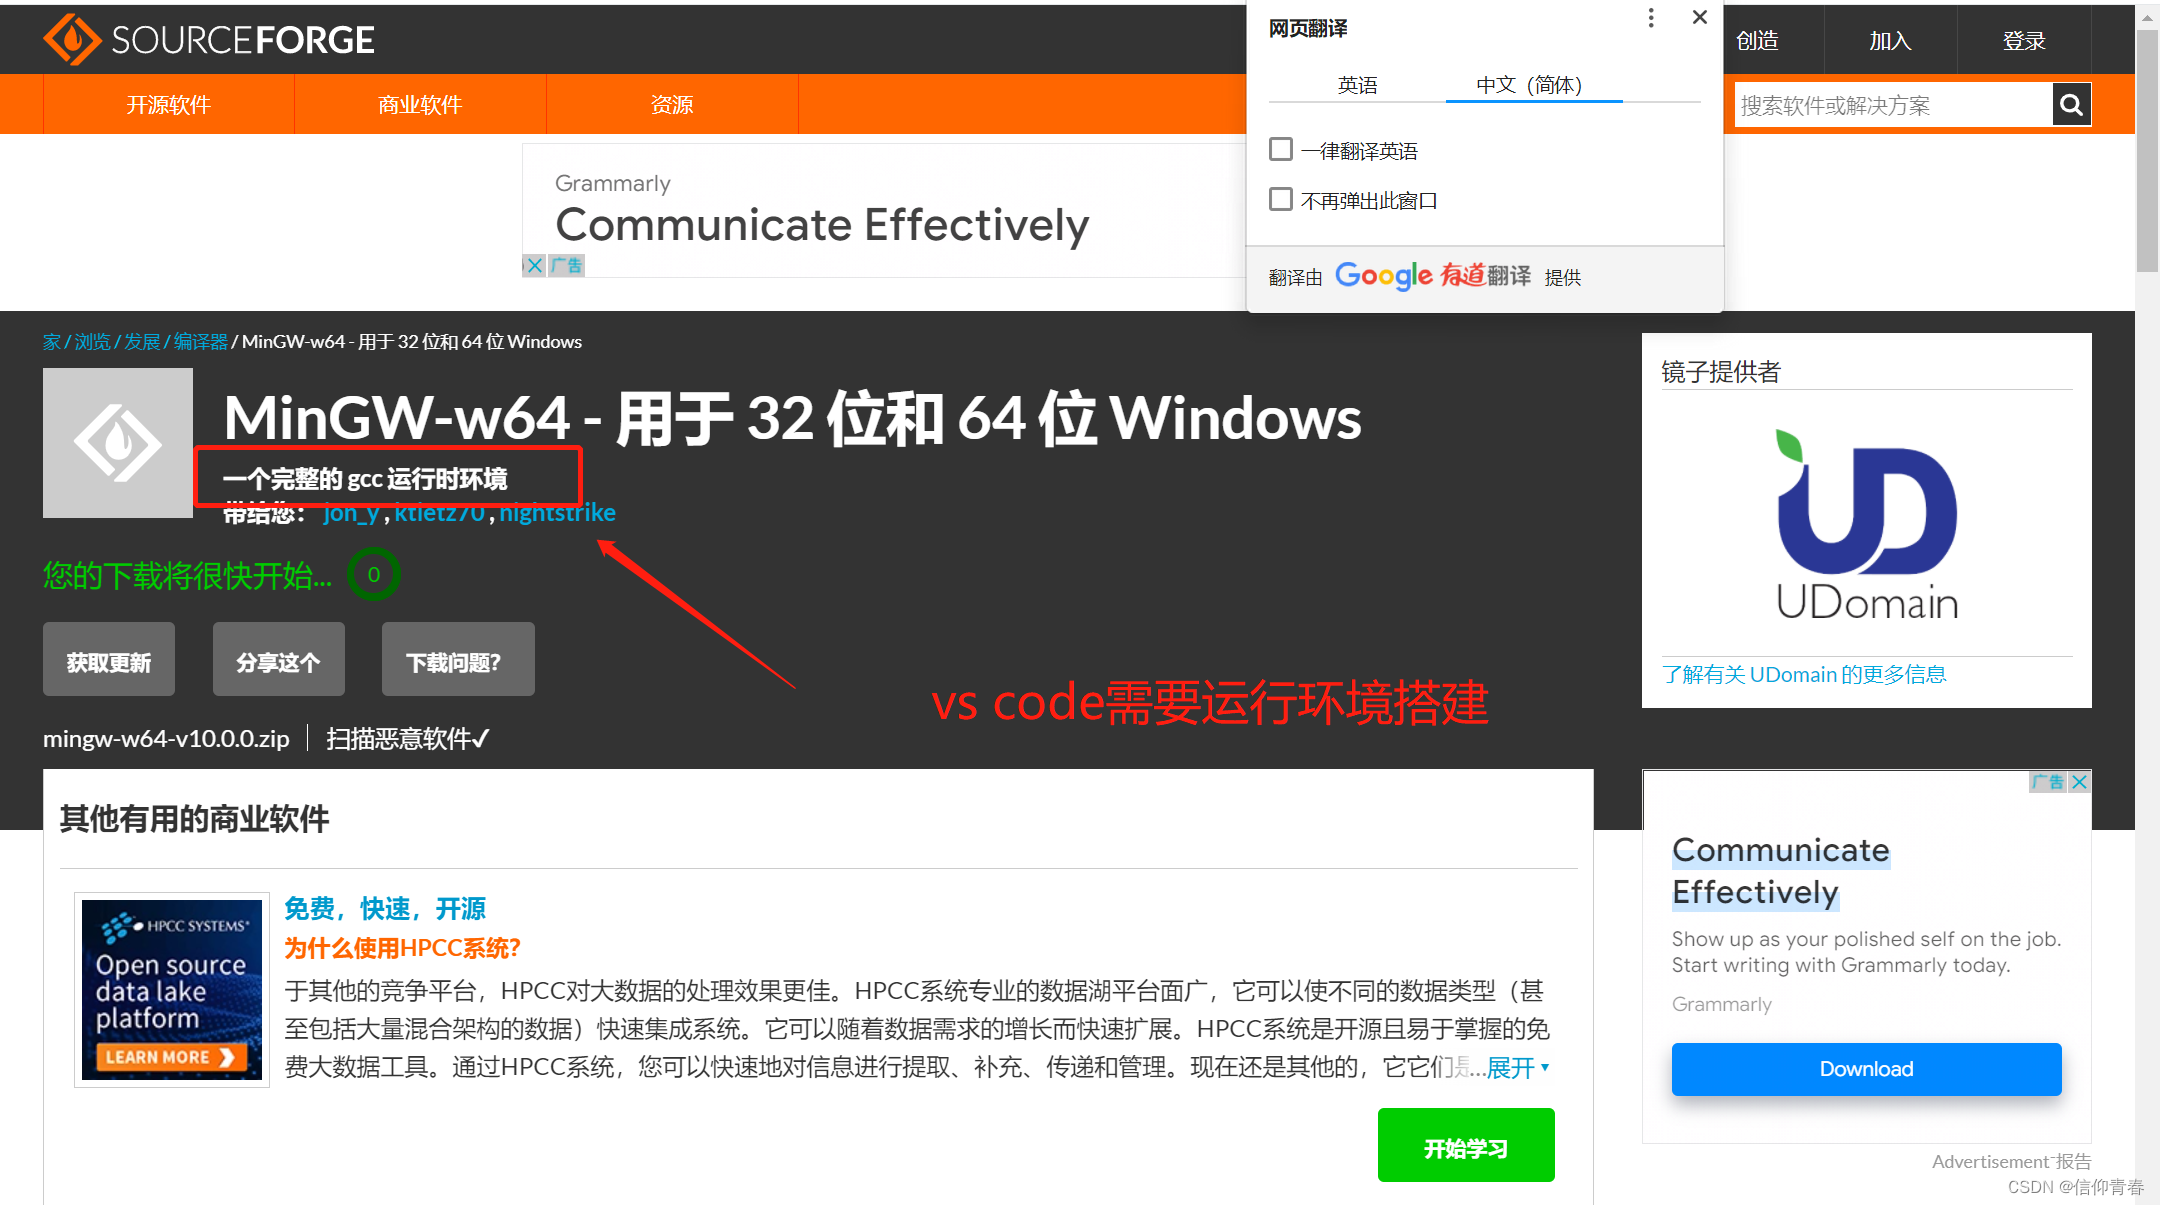
等待下载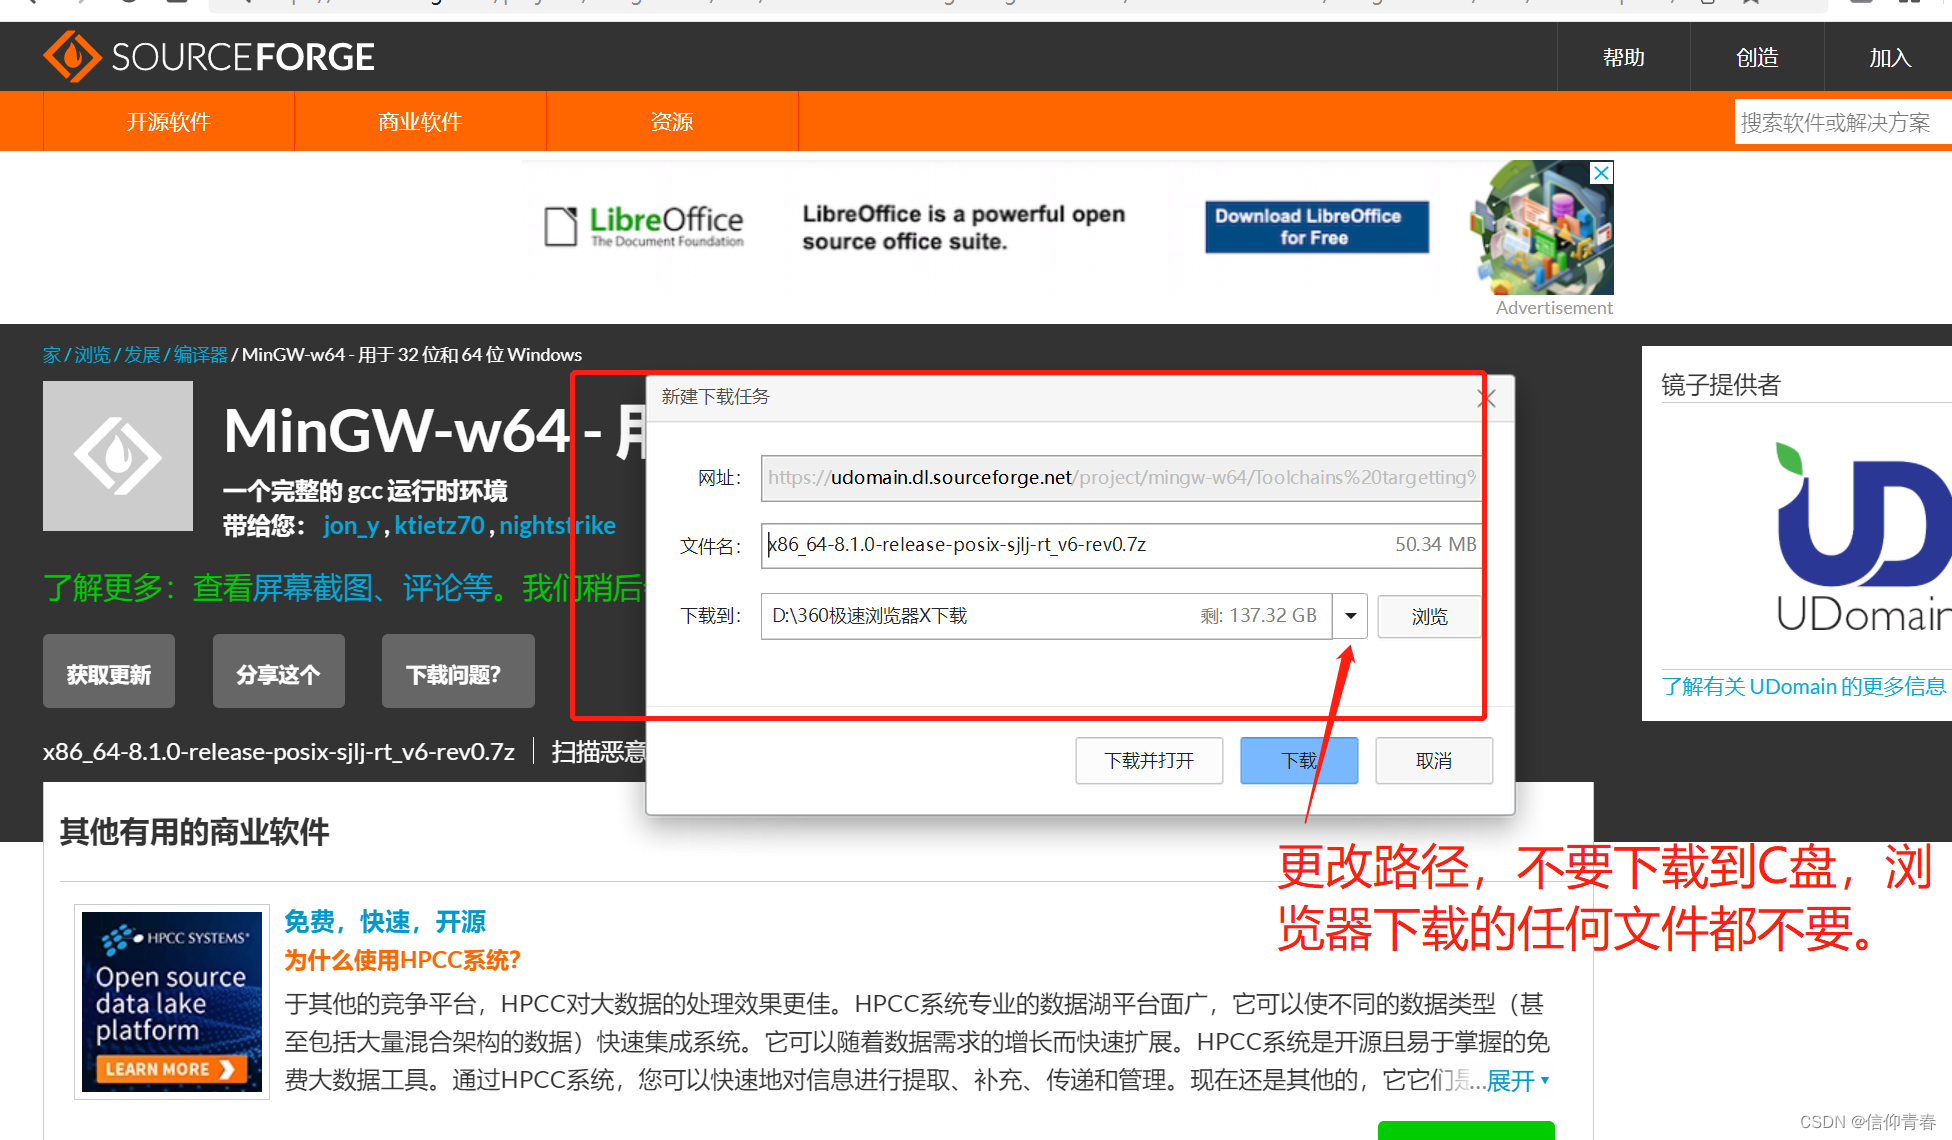
选定路径下载
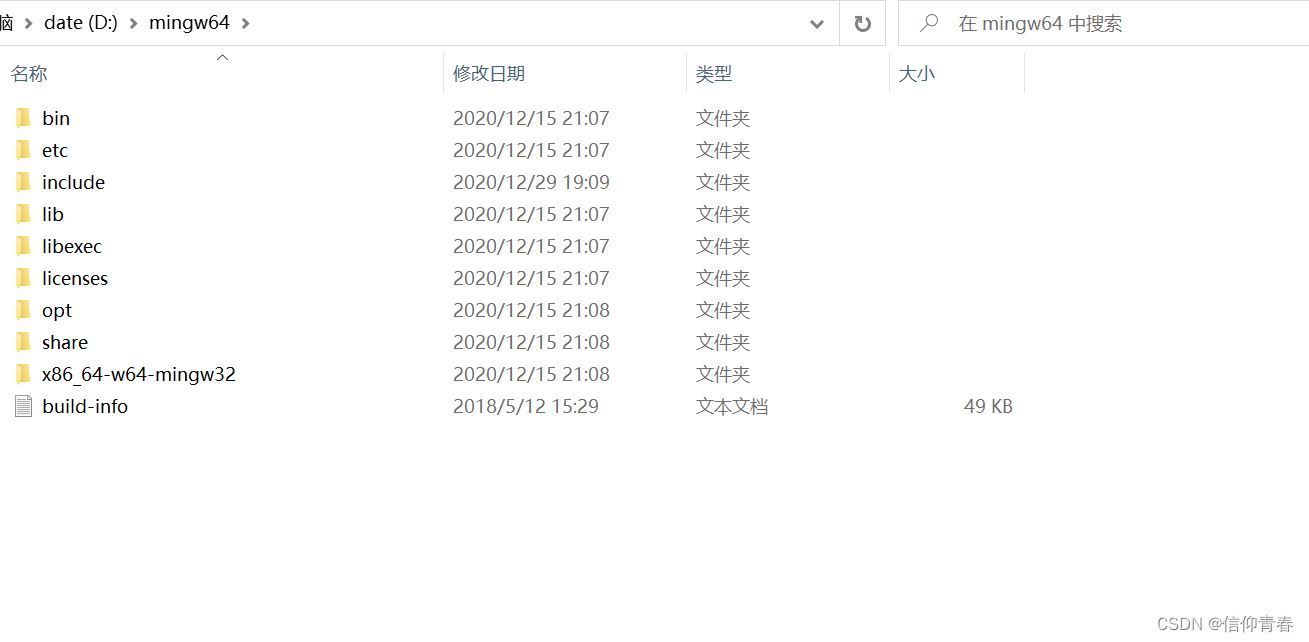
下载后解压如上图
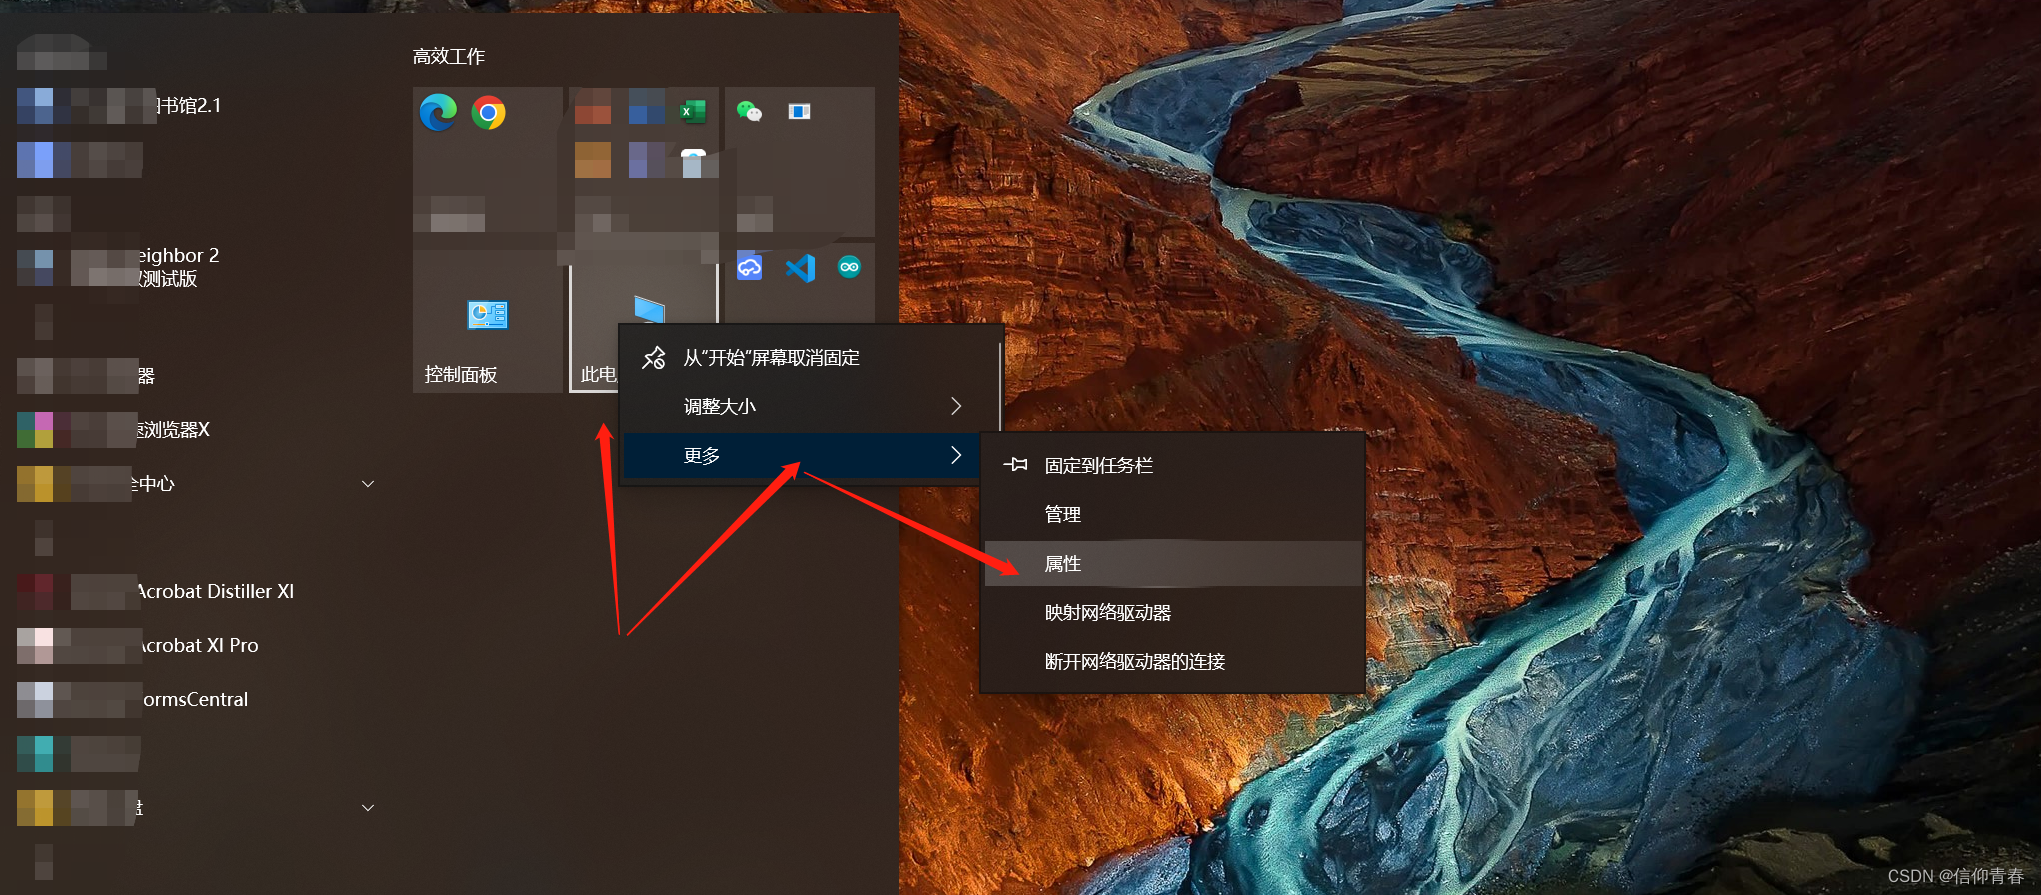
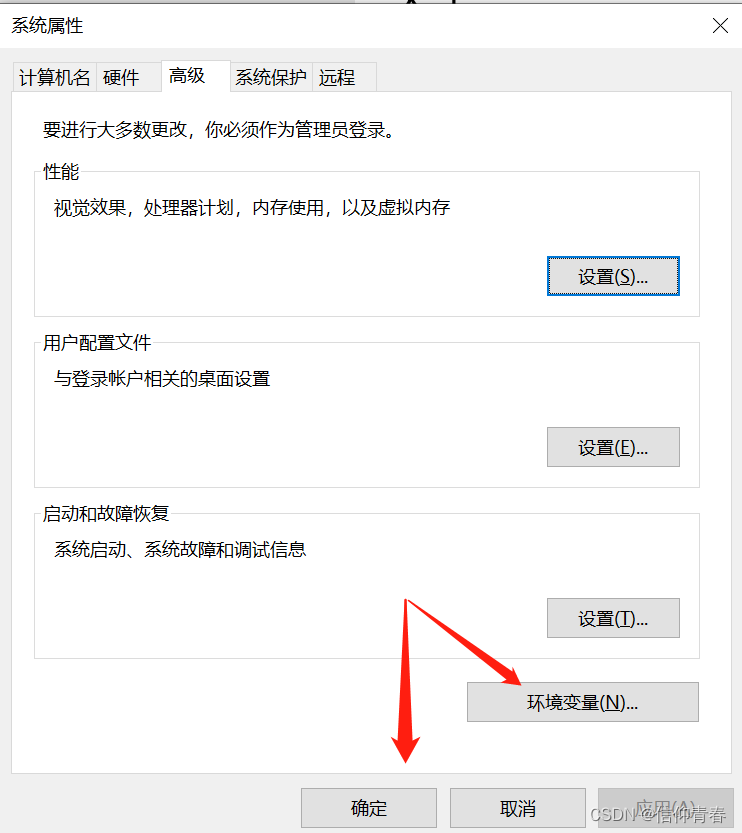
2.环境变量配置

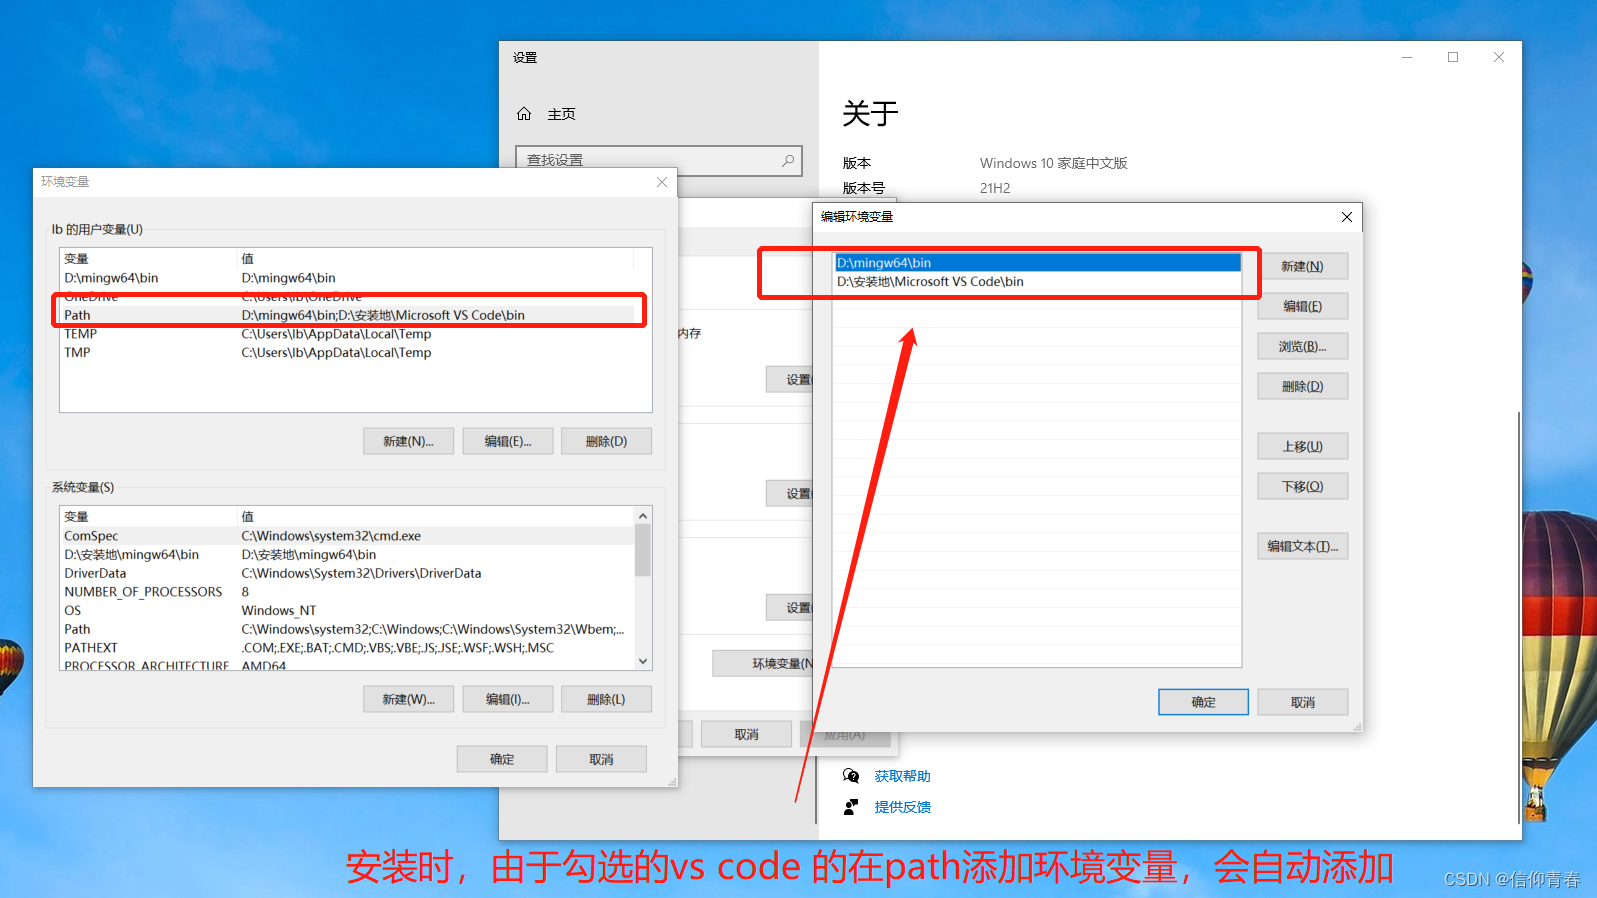
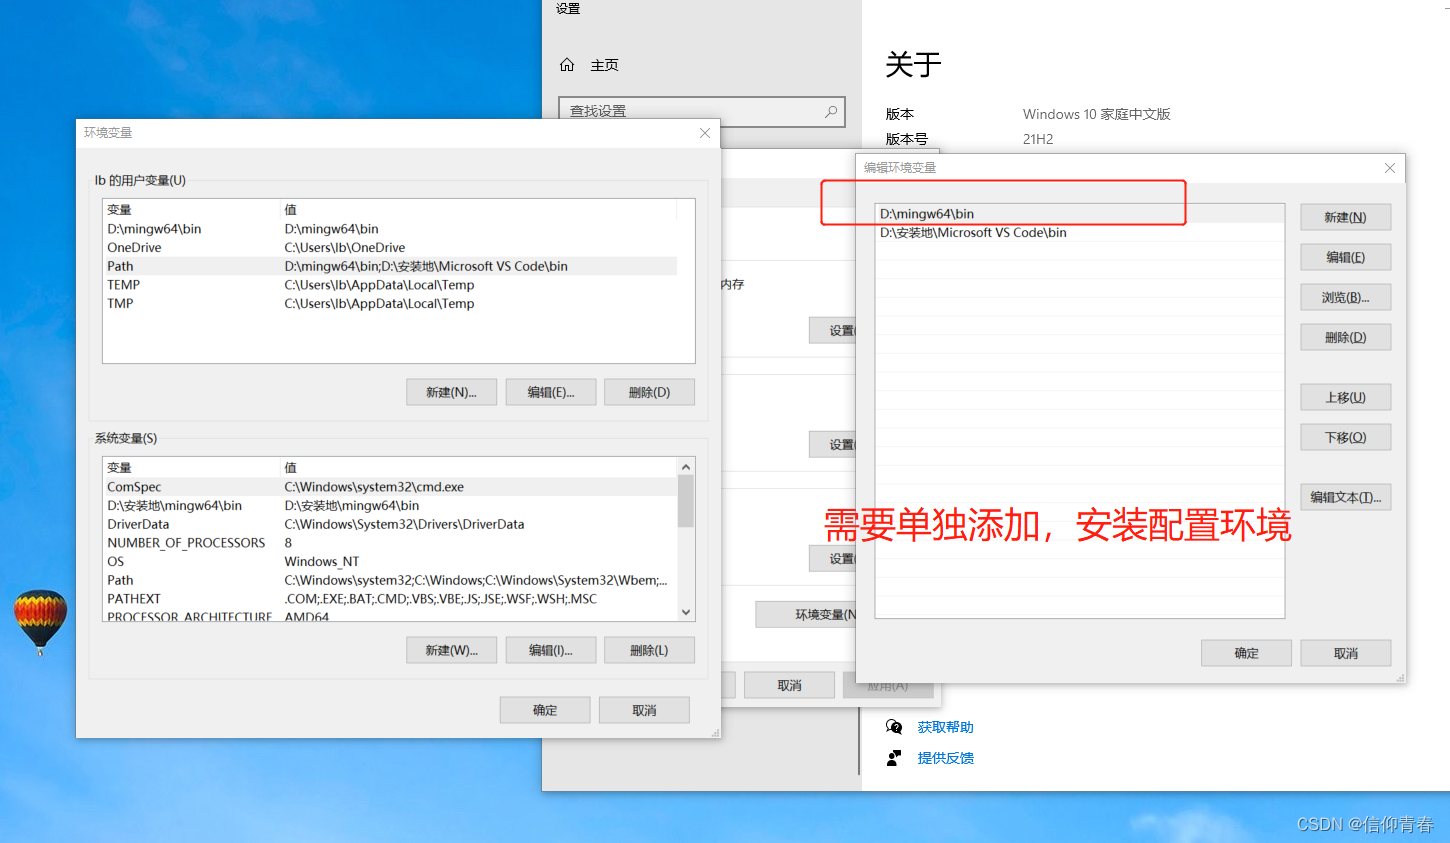
可以点击浏览,找到刚刚解压的文件,选到bin文件就可设置好路径
特别注意:只能在path里面添加,不能删除或者修个其他路径
3.测试:环境是否配置成功:
win+r调用出:cmd的窗口命令

输入:gcc -v(测试C语言环境)
      g++ -v(测试c++语言环境)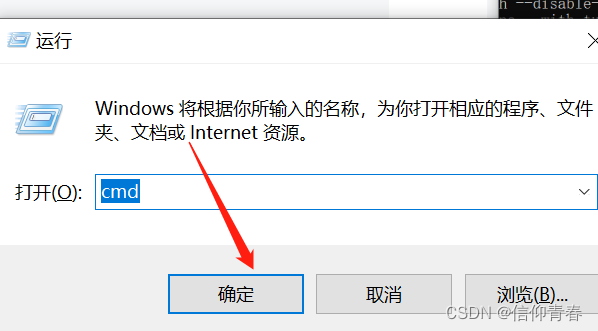


测试完成环境配置成功
4. vs code环境变量的配置程序
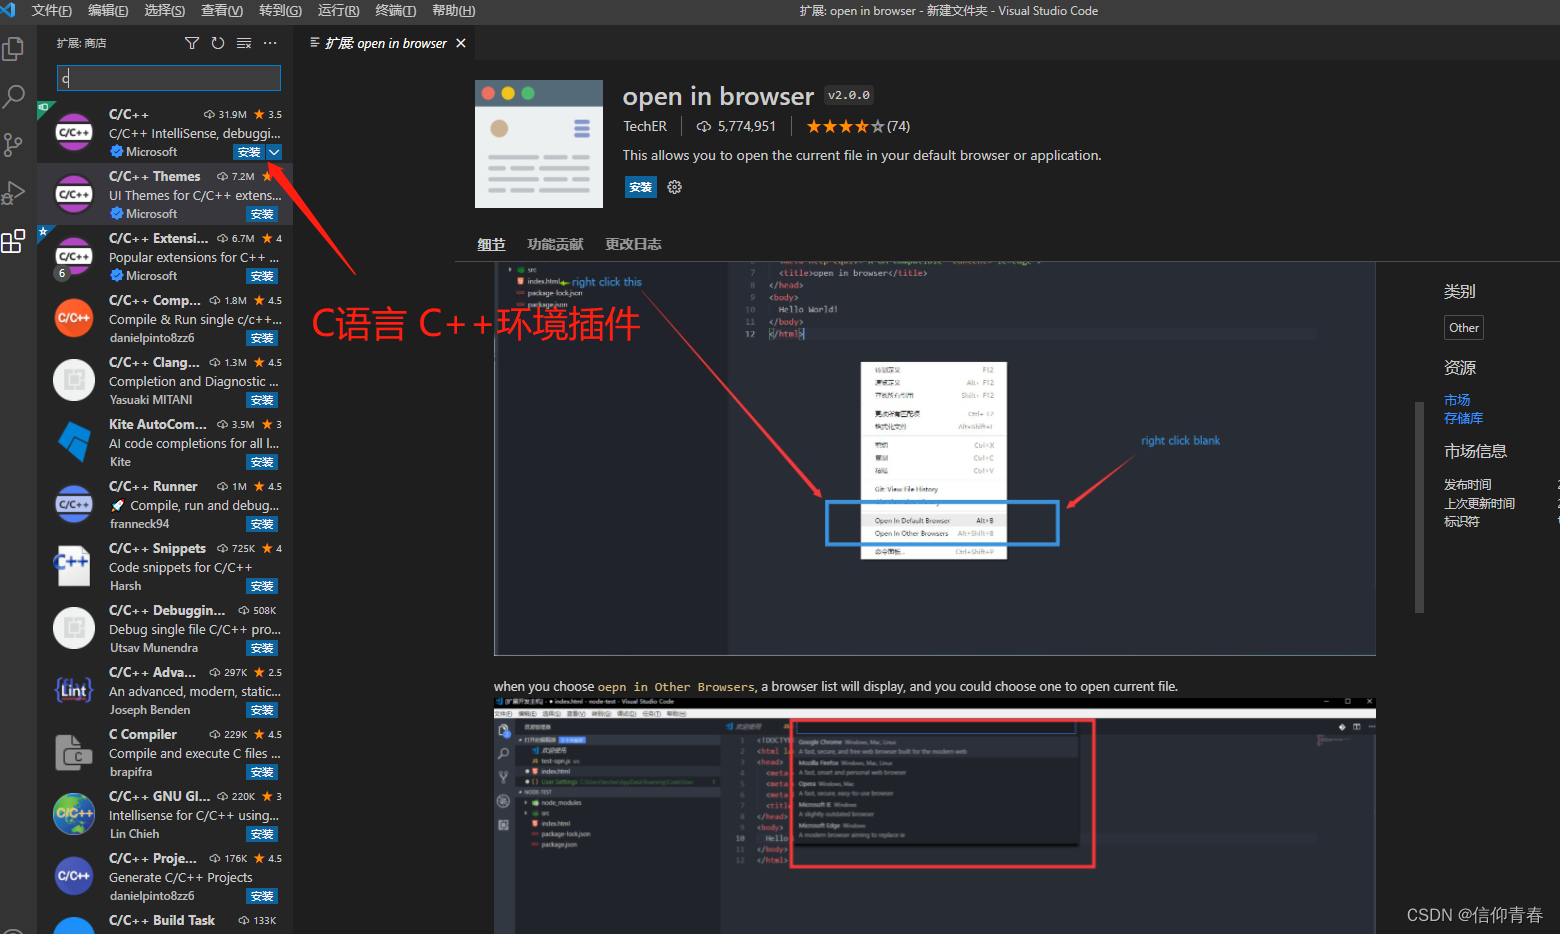
点击即可安装

vs code运行C语言需要安装的插件
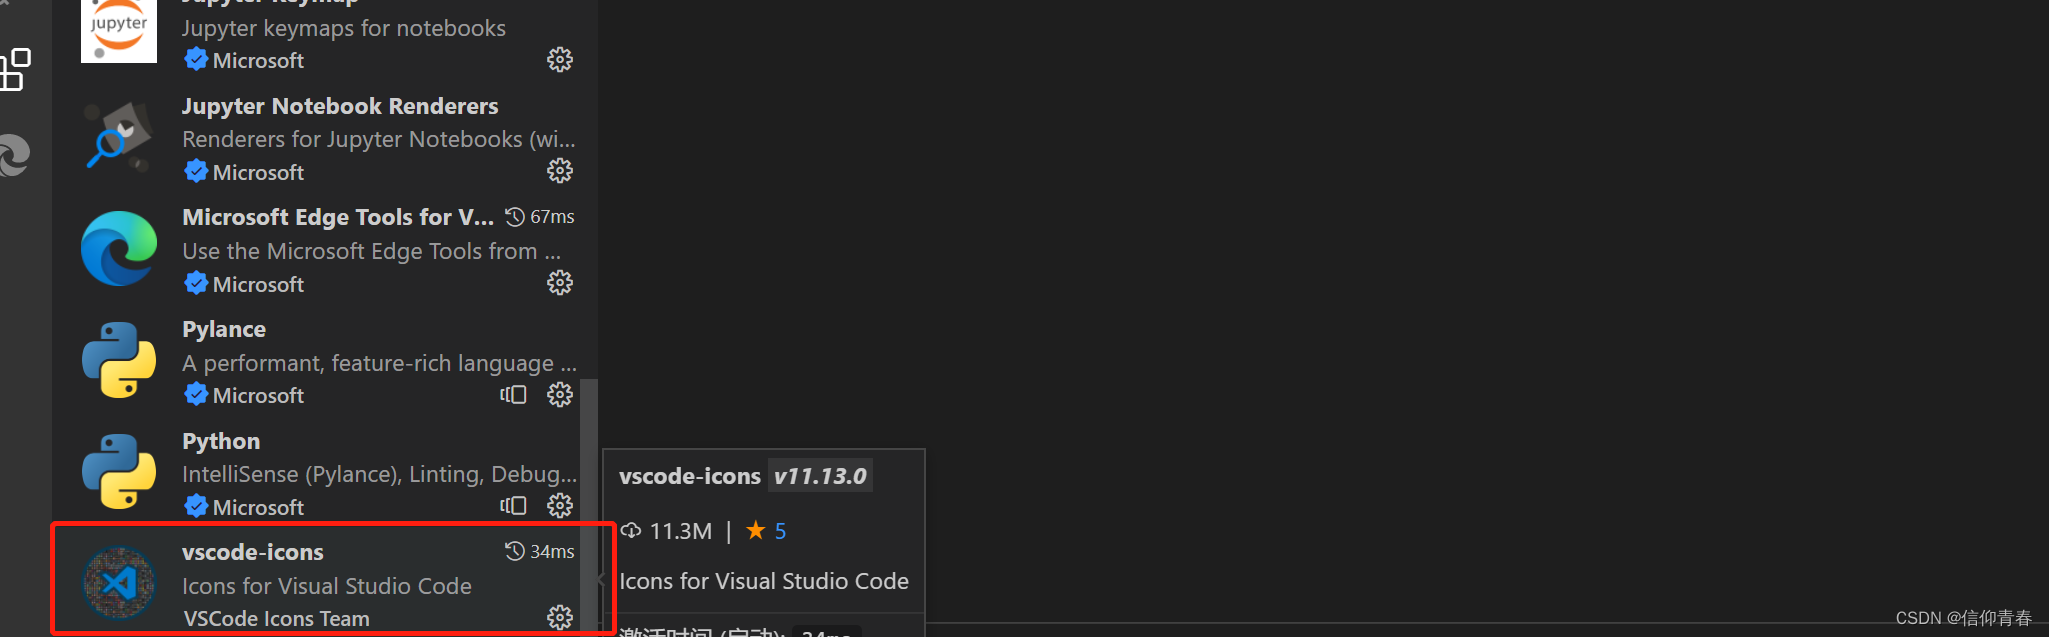
vs code运行C语言需要安装的插件
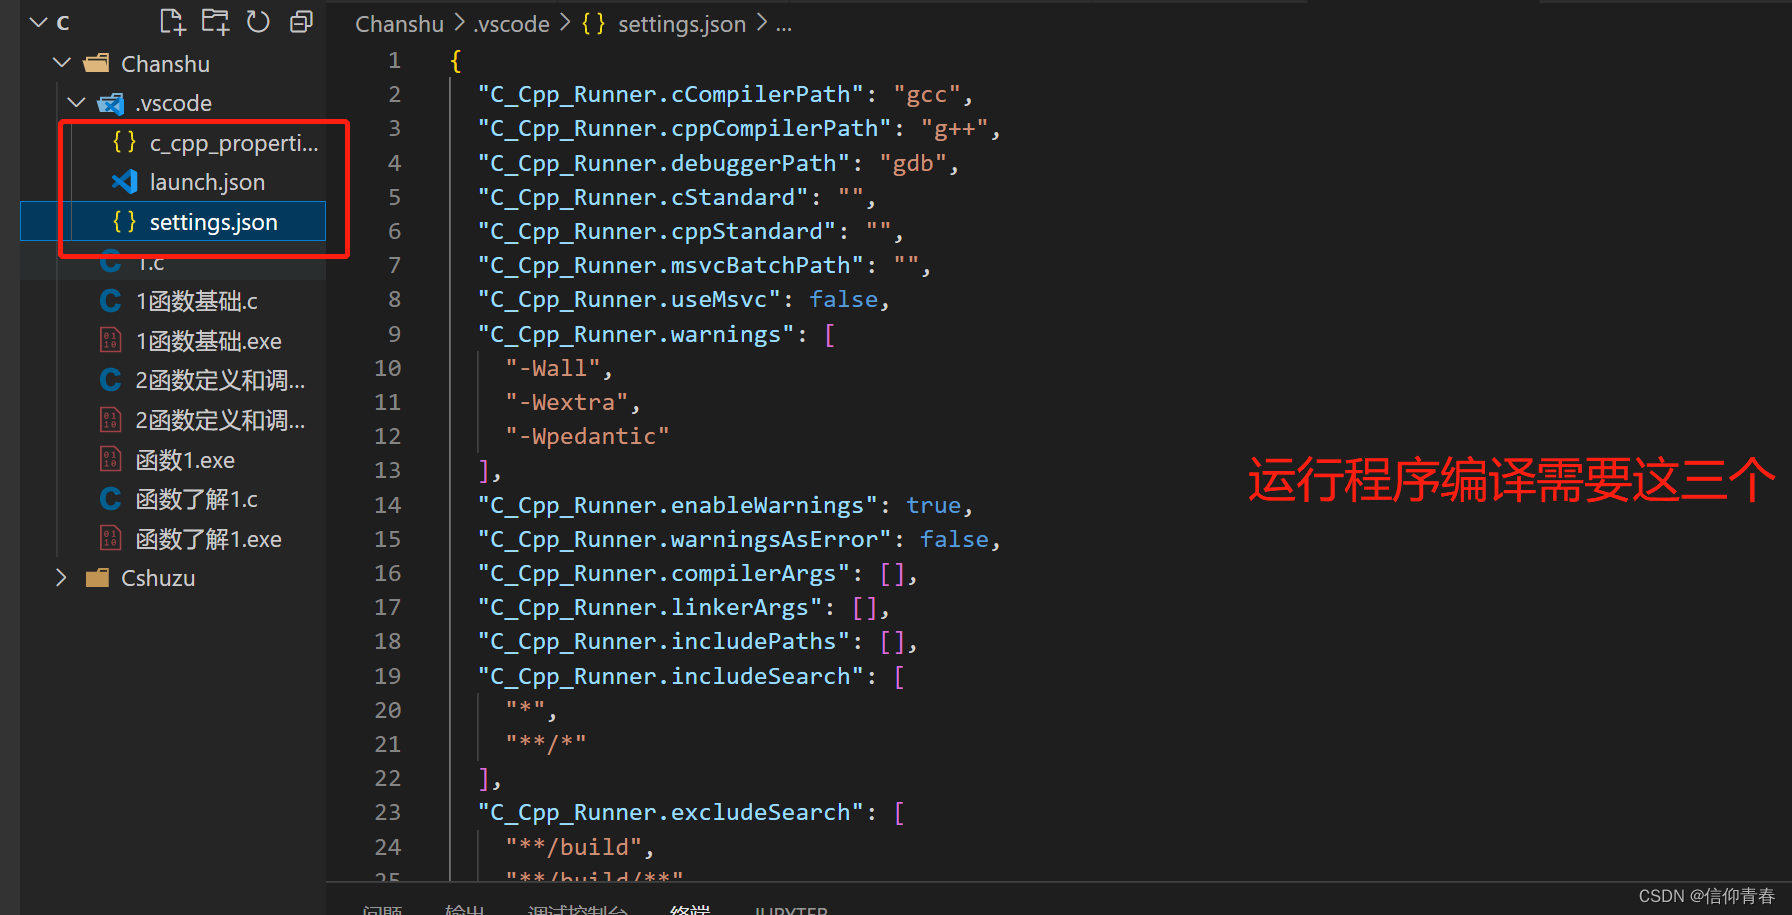
4.1 配置代码(依次按上图三个顺序排列):
{
  "configurations": [
    {
      "name": "windows-gcc-x64",
      "includePath": [
        "${workspaceFolder}/**"
      ],
      "compilerPath": "D:/mingw64/bin/gcc.exe",//配置好环境变量后一般会自动识别,如果没有就需要手动添加
      "cStandard": "${default}",
      "cppStandard": "${default}",
      "intelliSenseMode": "windows-gcc-x64",
      "compilerArgs": [
        ""
      ]
    }
  ],
  "version": 4
}
{
"version": "0.2.0",
"configurations": [
{
"name": "C/C++ Runner: Debug Session",
"type": "cppdbg",
"request": "launch",
"args": [],
"stopAtEntry": false,
"externalConsole": false,
"cwd": "e:/student/C/Chanshu",//更改下本地的文件的路径,不能出现中文,
"program": "e:/student/C/Chanshu/build/Debug/outDebug",//注意更改下路径
"MIMode": "gdb",
"miDebuggerPath": "gdb",
"setupCommands": [
{
"description": "Enable pretty-printing for gdb",
"text": "-enable-pretty-printing",
"ignoreFailures": true
}
]
}
]
}{
"C_Cpp_Runner.cCompilerPath": "gcc",
"C_Cpp_Runner.cppCompilerPath": "g++",
"C_Cpp_Runner.debuggerPath": "gdb",
"C_Cpp_Runner.cStandard": "",
"C_Cpp_Runner.cppStandard": "",
"C_Cpp_Runner.msvcBatchPath": "",
"C_Cpp_Runner.useMsvc": false,
"C_Cpp_Runner.warnings": [
"-Wall",
"-Wextra",
"-Wpedantic"
],
"C_Cpp_Runner.enableWarnings": true,
"C_Cpp_Runner.warningsAsError": false,
"C_Cpp_Runner.compilerArgs": [],
"C_Cpp_Runner.linkerArgs": [],
"C_Cpp_Runner.includePaths": [],
"C_Cpp_Runner.includeSearch": [
"*",
"**/*"
],
"C_Cpp_Runner.excludeSearch": [
"**/build",
"**/build/**",
"**/.*",
"**/.*/**",
"**/.vscode",
"**/.vscode/**"
]
}编译程序需要找到 gcc编译路径,因此需要添加这三个文件进行配置,配置代码如上。如果没有这三个文件可选择手动添加。代码中的涉及路径需要手动修改,vs code安装路径和配置路径都需要用英文命令,中文会出现问题不能进行编译。
4.2编译完成后进入测试代码环节:
#include<stdio.h>
int main(){
printf("hello,word!");

    return 0;
}
测试代码
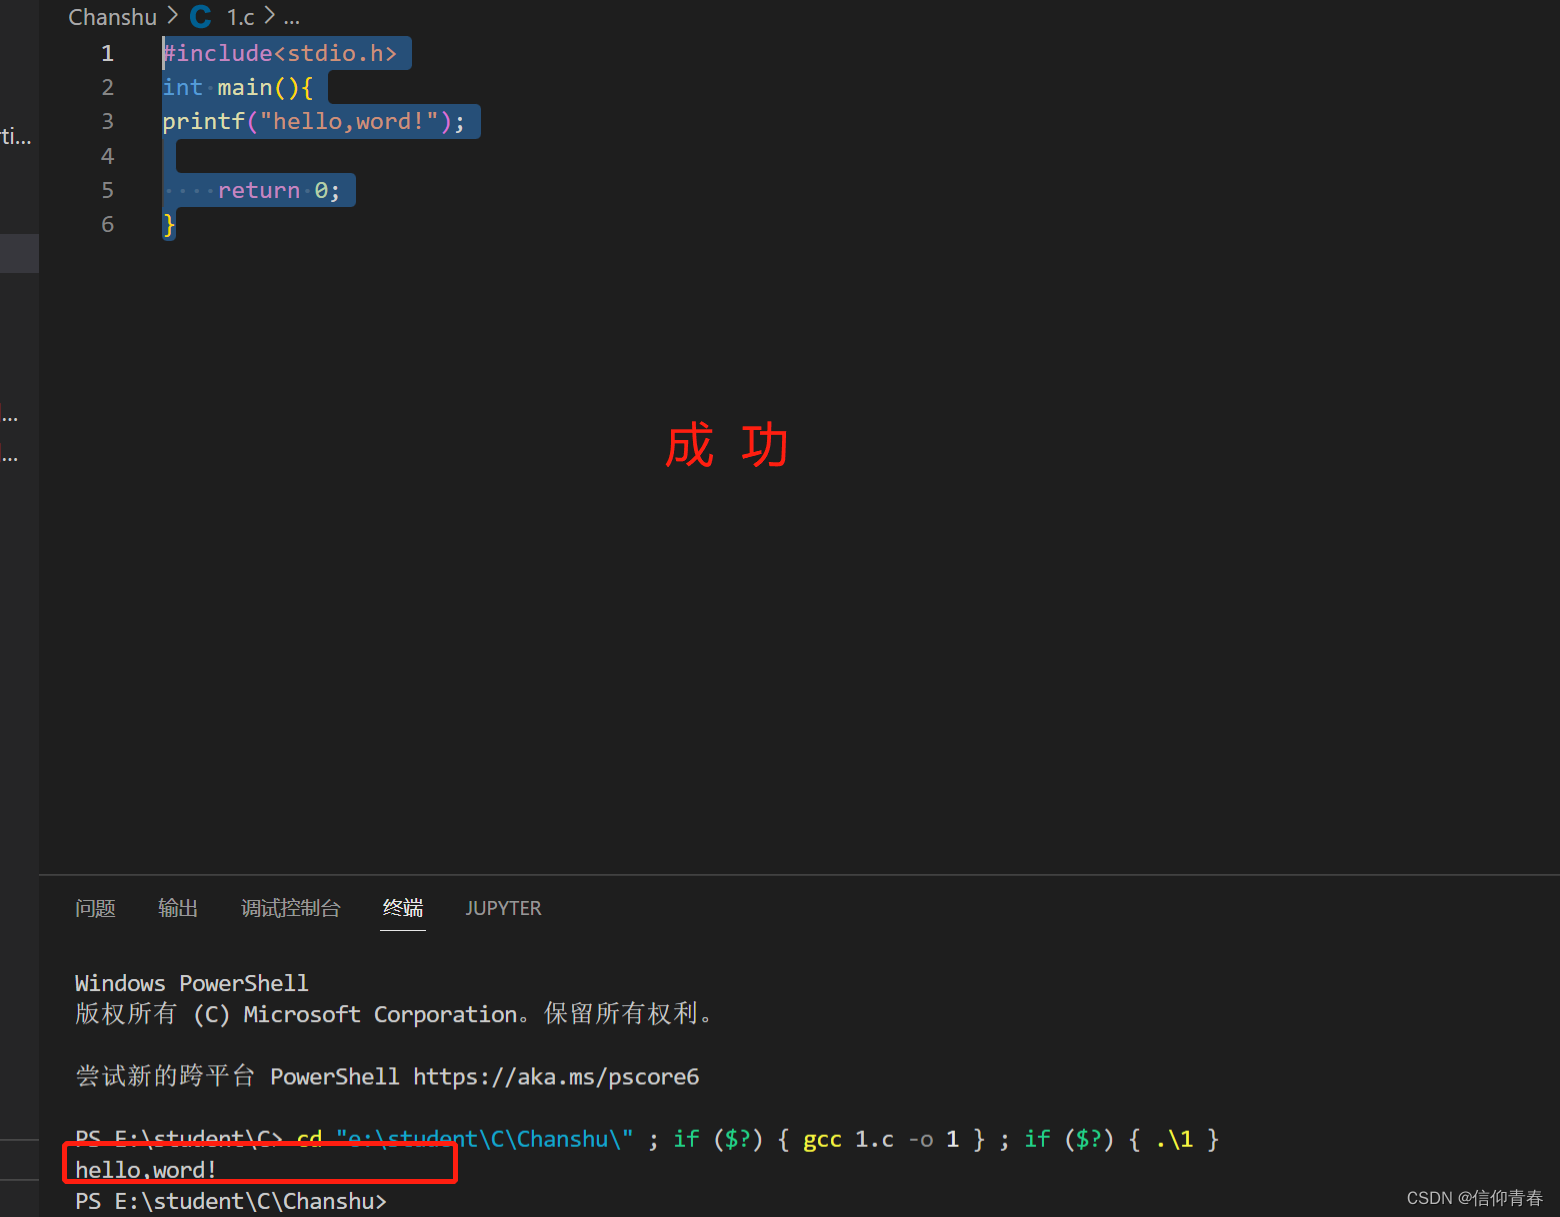
测试完成继续使用
说在最后:
vs code 还可以编写HTML、css、JavaScript·、python、Arduino等都需要配置环境。
上一篇有vscode 详细安装步骤