第四阶段提升
时 间:2023年8月25日
参加人:全班人员
内 容:
基于Jenkins+Git+Ansible 发布PHP 项目
目录
基于Jenkins+Git+Ansible 发布PHP 项目
本文基础环境在《从小白到大神之路之学习运维第87天》基础之上加以延伸,jenkins版本为2.401,jdk为17,git为2.22版本,详情请借阅上篇文章
基于Jenkins+Git+Ansible 发布PHP 项目
一、部署PHP 运行环境
PHP 是一个动态程序,负责解析PHP-FPM 服务,而这个服务不支持静态页面处理,一般结合Nginx 解决这个问题。Nginx 本身是一个静态Web 服务器,并不支持解析PHP 程序,但它支持了FastCGI 接口来调用动态服务来解析PHP 程序。
当客户端请求PHP 页面时,Nginx 通过fastcgi 接口转发给本地9000 端口的PHP-FPM子进程处理,处理完成后返回Nginx。
二、主机环境配置
| IP地址 |
主机名 |
角色 |
| 192.168.100.131 |
git |
Git |
| 192.168.100.132 |
jenkins |
Jenkins |
| 192.168.100.133 |
tomcat |
Nginx,php |
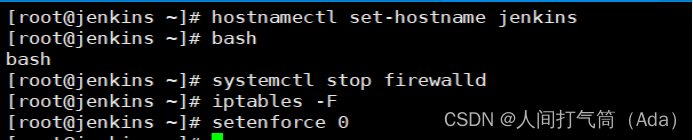
[root@localhost ~]# setenforce 0
[root@localhost ~]# iptables -F
[root@localhost ~]# systemctl stop firewalld
Git:

Jenkins:
Tomcat:

三、Tomcat主机操作:
1、安装Nginx
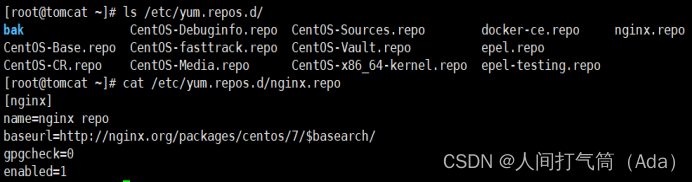
1)配置Nginx 网络源
[root@tomcat ~]# vim /etc/yum.repos.d/nginx.repo
2)安装并启动
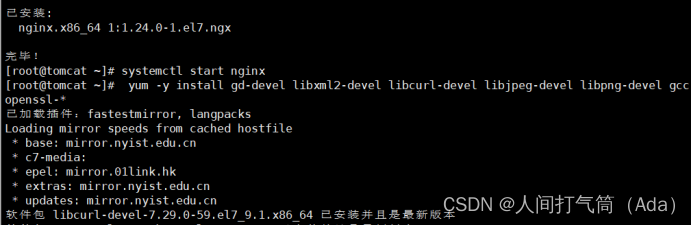
[root@tomcat ~]# yum -y install nginx
[root@tomcat ~]# systemctl start nginx
2、安装PHP
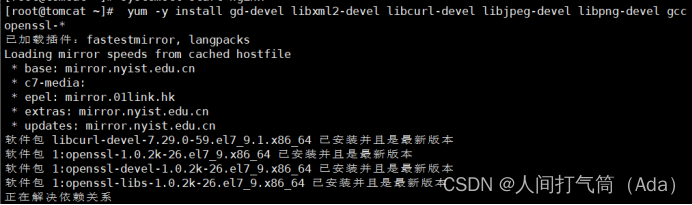
1)安装php 依赖的第三方库,命令如下:
[root@tomcat ~]# yum -y install gd-devel libxml2-devel libcurl-devel libjpeg-devel libpng-devel gcc openssl-*
2)编译安装php
[root@tomcat ~]# tar xf php-5.6.39.tar.gz -C /usr/src/
[root@tomcat ~]# cd /usr/src/php-5.6.39/
[root@tomcat php-5.6.39]# ./configure --prefix=/usr/local/php \

--with-config-file-path=/usr/local/php/etc \

--with-mysql --with-mysqli --with-openssl --with-zlib \

--with-curl --with-gd --with-jpeg-dir --with-png-dir \

--with-iconv --enable-fpm --enable-zip --enable-mbstring && make -j 2 && make install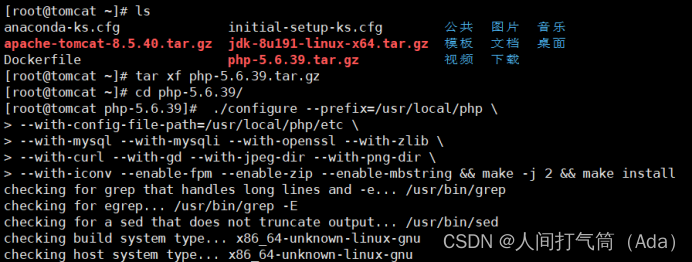
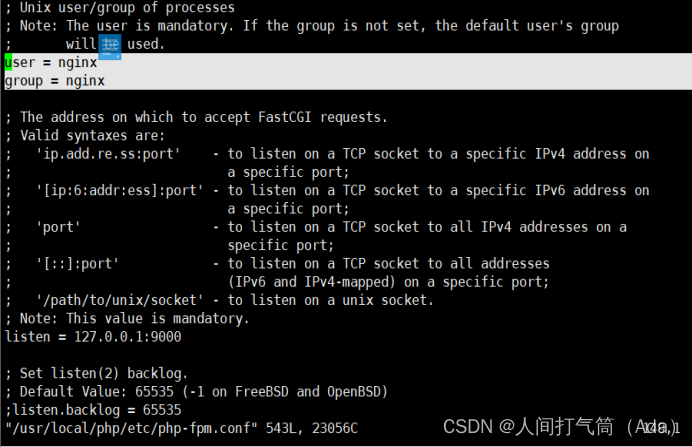
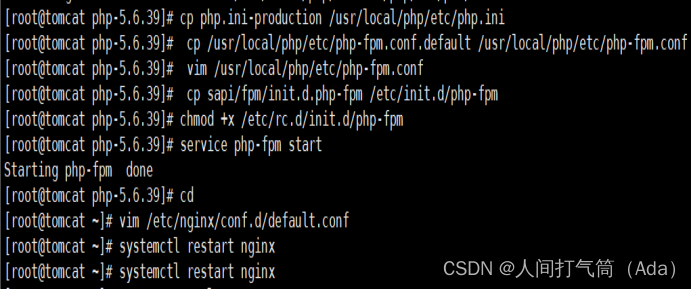
3)配置php-fpm,命令如下:
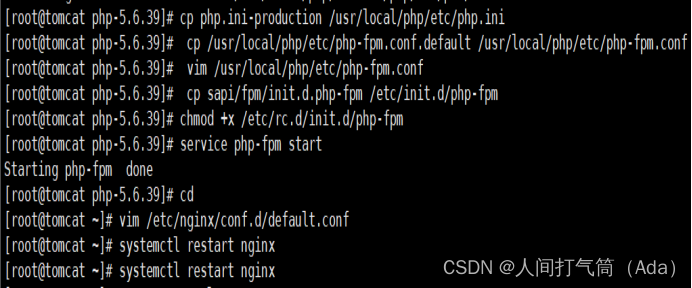
[root@tomcat php-5.6.39]# cp php.ini-production /usr/local/php/etc/php.ini
[root@tomcat php-5.6.39]# cp /usr/local/php/etc/php-fpm.conf.default /usr/local/php/etc/php-fpm.conf
[root@tomcat php-5.6.39]# vim /usr/local/php/etc/php-fpm.conf
[root@tomcat php-5.6.39]# cp sapi/fpm/init.d.php-fpm /etc/init.d/php-fpm
[root@tomcat php-5.6.39]# chmod +x /etc/rc.d/init.d/php-fpm
[root@tomcat php-5.6.39]# service php-fpm start
3、Nginx 代理PHP
添加虚拟主机配置如下:
[root@tomcat ~]# vim /etc/nginx/conf.d/default.conf
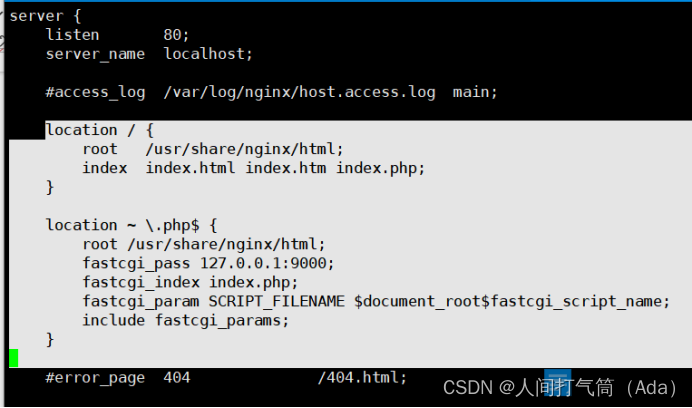
[root@tomcat ~]# systemctl restart nginx
四、Jenkins主机web操作:
1、安装Ansible 插件
主页面-> manage jenkins->plugins-->安装Ansible 插件

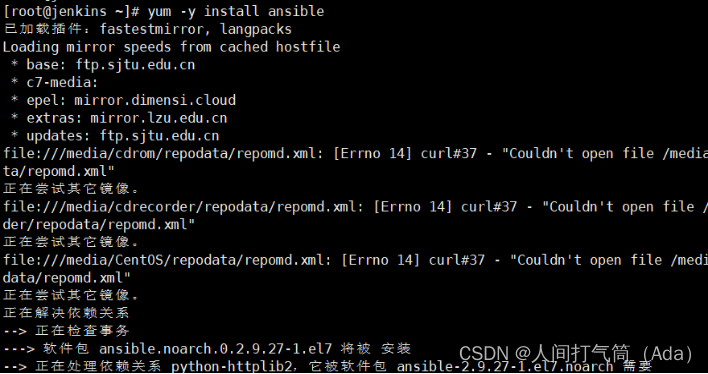
2、在Jenkins 主机上安装ansible:
[root@jenkins ~]# rpm -i epel-release-latest-7.noarch.rpm
[root@jenkins ~]# yum -y install ansible
[root@jenkins ~]# vim /etc/ansible/hosts
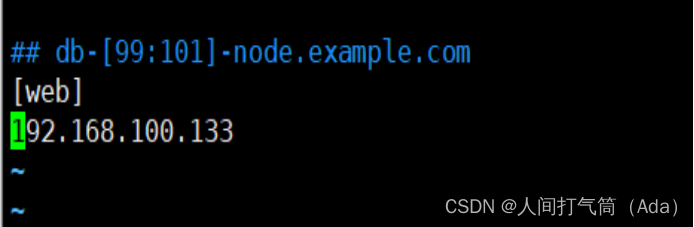
其中: [web]表示Web 主机分组名称,该分组下可以写多个主机,也可以写多个分组区分不同角色服务器。
3、上传PHP 项目代码到Git仓库(git主机操作)
1)在Git 服务器创建wordpress 版本仓库
[root@git ~]# su - git
[git@git ~]$ mkdir wordpress.git
[git@git ~]$ cd wordpress.git
[git@git wordpress.git]$ git --bare init

2)下载开源PHP 博客系统wordpress
[root@jenkins ~]# wget https://wordpress.org/latest.tar.gz
[root@jenkins ~]# tar xf latest.tar.gz
[root@jenkins ~]# cd wordpress/

3)提交到Git 仓库
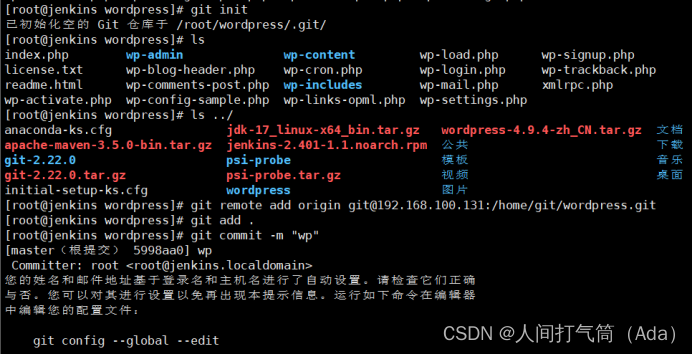
[root@jenkins ~]# git init
[root@jenkins ~]# git remote add origin [email protected]:/home/git/wordpress.git
[root@jenkins ~]# git add .
[root@jenkins ~]# git commit -m "wp"
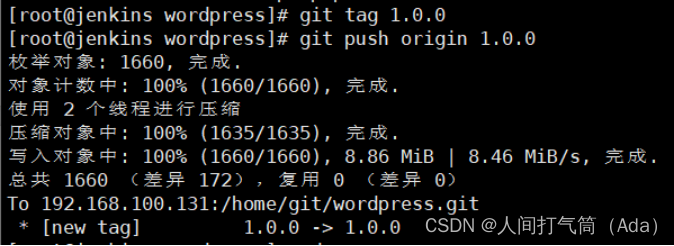
[root@jenkins wordpress]# git tag 1.0.0
[root@jenkins wordpress]# git push origin 1.0.0
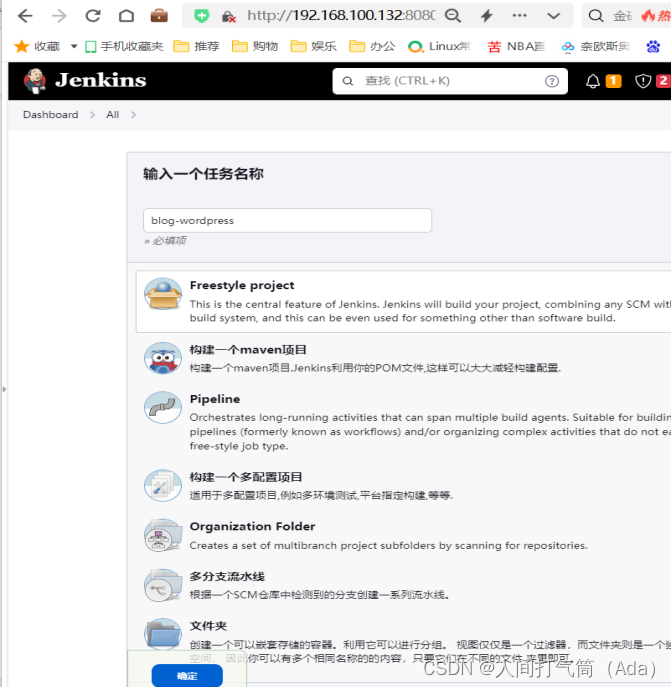
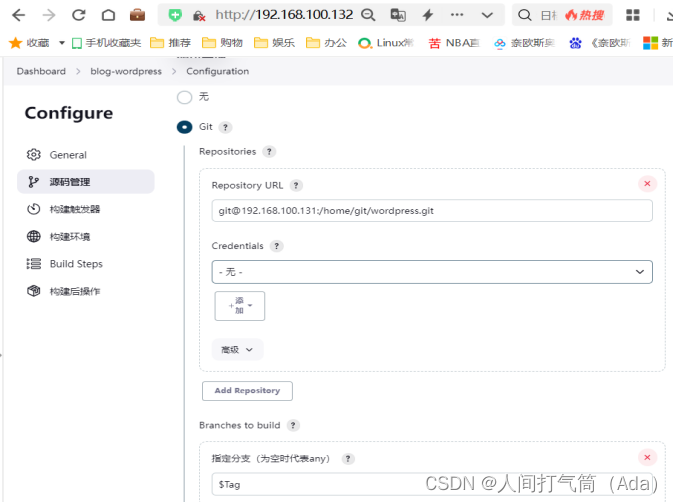
1)主页面-> 新建item-> 创建freestyle project
2)动态获取Git 仓库tag,与用户交互选择Tag 发布
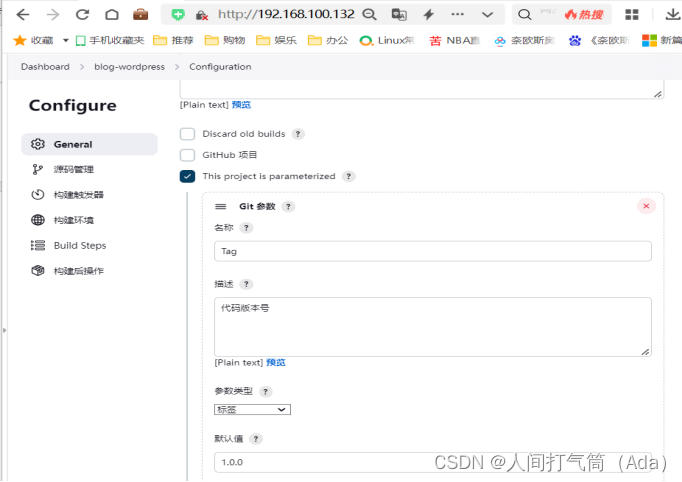
3)修改*/master 为$Tag。Tag 是上面动态获取的变量名,指定项目Git 仓库地址。
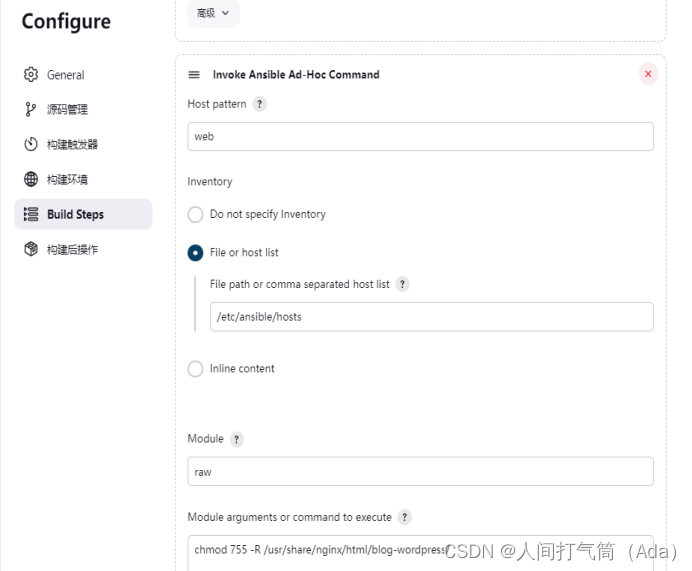
4)使用ansible 插件,选择Invoke Ansible Ad-Hoc Command
5)使用synchronize 模块同步数据
Host pattern:web
File or host list:/etc/ansible/hosts
Module输入:synchronize
Module arguments or command to execute输入:
src=${WORKSPACE} dest=/usr/share/nginx/html rsync_opts=--exclude=.git

6)使用raw模块校正项目权限
Module输入:raw
Module arguments or command to execute输入:
chmod 755 -R /usr/share/nginx/html/blog-wordpress/
参数说明:
Host pattern:指定刚在/etc/ansible/hosts 中定义的主机分组名称
Inventory:主机清单
Module:模块名
Module arguments or command to execute:模块参数或执行命令
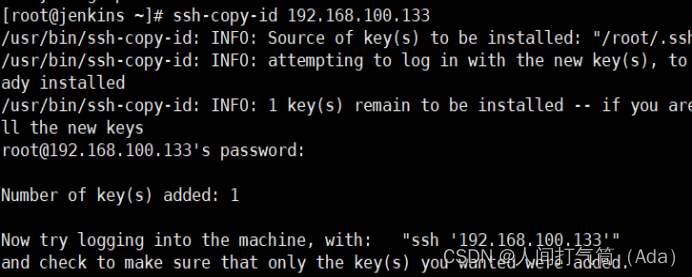
配置jenkins主机与tomcat主机免密登录
[root@jenkins ~]# ssh-keygen
[root@jenkins ~]# ssh-copy-id [email protected]
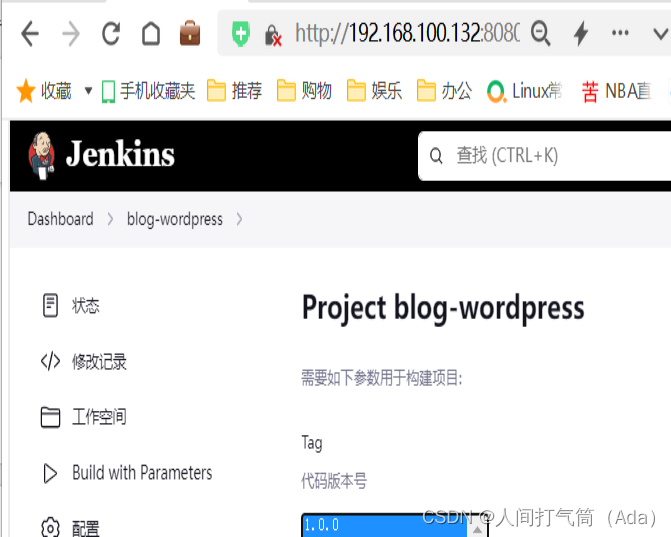
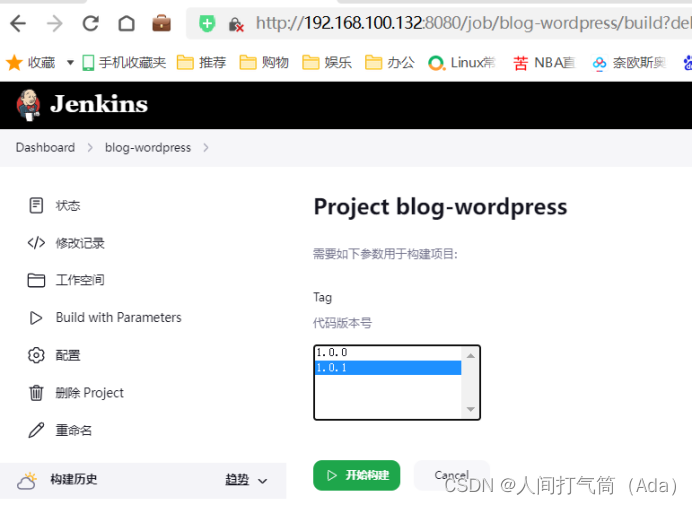
7)主页面-> 右击blog-wordpress -> Build with Parameters
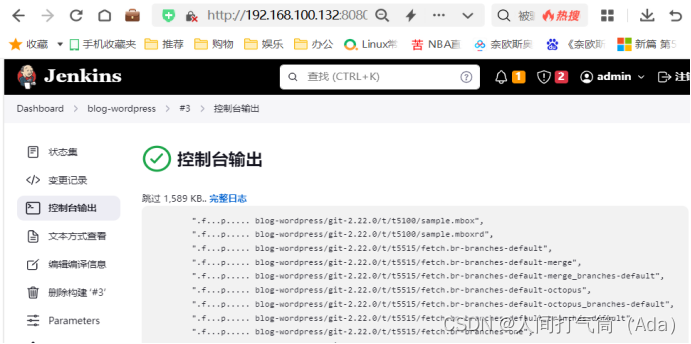
8)构建日志信息会控制台输出

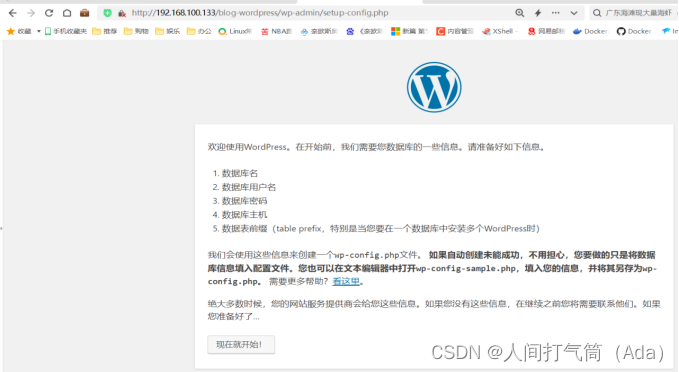
9)浏览器访问测试
http://192.168.100.133/blog-wordpress/wp-admin/
五、实验测试:
模拟实际生产环境提交代码,作用是可以清楚看到两次发版代码的不同。
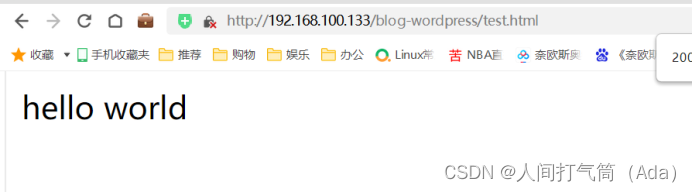
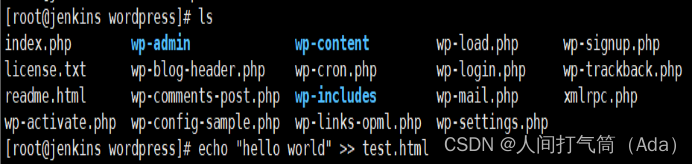
1、新建测试首页信息
[root@jenkins ~]# cd wordpress/
[root@jenkins wordpress]# echo "hello World
" > test.html
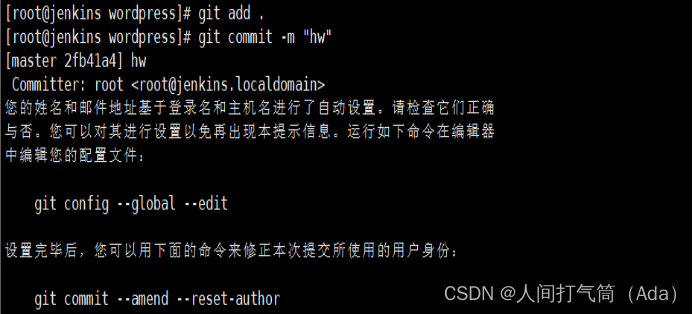
2、将修改的test.html 提交到Git 仓库
[root@jenkins wordpress]# git add .
[root@jenkins wordpress]# git commit -m "hw"
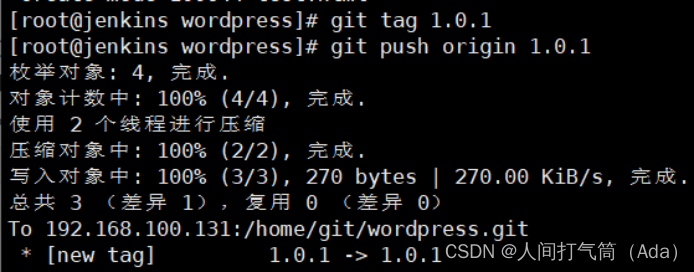
[root@jenkins wordpress]# git tag 1.0.1
[root@jenkins wordpress]# git push origin 1.0.1
3、在Jenkins 执行构建任务
访问测试:
发布成功后,访问: http://192.168.100.133/blog-wordpress/test.html,页面显示“hello World”。说明刚修改的代码已发布成功!