M1芯片 配置python环境
安装Anaconda
anaconda 是今年(22年)6月7号发布了支持M1芯片的版本:
在此之前是可以通过安装 miniforge 使用anaconda;
下载地址: https://github.com/conda-forge/miniforge/releases
选择Miniforge3的MacOSX-arm64版本进行下载
下载后在Downloads路径下打开终端,输入sh Miniforge3-4.11.0-0-MacOSX-arm64.sh,在提示输入yes/no时输入yes就可以了,
验证是否安装完成:在终端输入:
conda --version
若出现conda及版本号,则表明已经安装成功,目前最新版是python版本为3.9.12;
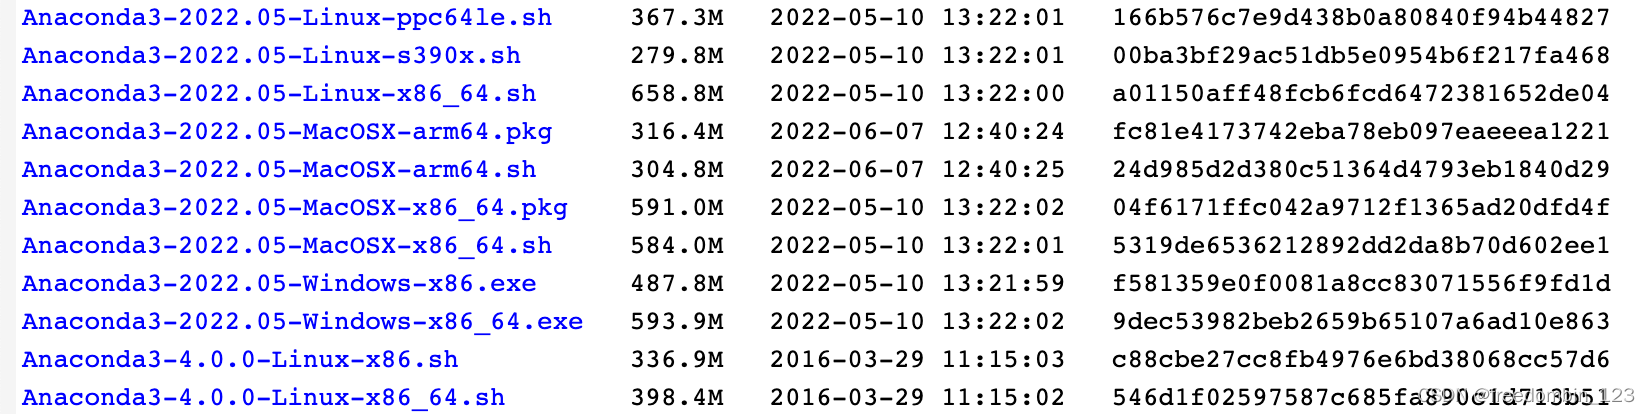
更方便的是直接在anaconda官网下载完整版:
下载最新版的地址:https://www.anaconda.com/products/distribution
查看历史版本的地址:https://repo.anaconda.com/archive/
conda更换国内源
查看源
conda config --show-sources
添加仓库
conda config --add channels https://mirrors.tuna.tsinghua.edu.cn/anaconda/pkgs/free/
conda config --add channels https://mirrors.tuna.tsinghua.edu.cn/anaconda/pkgs/main/
conda config --add channels https://mirrors.tuna.tsinghua.edu.cn/anaconda/cloud/conda-forge/
conda config --add channels https://mirrors.tuna.tsinghua.edu.cn/anaconda/cloud/msys2/
conda config --add channels https://mirrors.tuna.tsinghua.edu.cn/anaconda/cloud/bioconda/
conda config --add channels https://mirrors.tuna.tsinghua.edu.cn/anaconda/cloud/menpo/
conda config --add channels https://mirrors.tuna.tsinghua.edu.cn/anaconda/cloud/pytorch/
conda config --set show_channel_urls yes
可以全添加上,也可以挑主要的添加;
ps:看到别人的博客有报错的情况,可以这么处理:
查看更改配置
conda config --show
如果存在- defaults,则需要删除掉这一行。
conda config --remove channels defaults
安装jupyter
miniforge 版本没有jupyter:
在终端输入
sudo pip install jupyter
喜欢jupyter-lab的:
sudo pip install jupyterlab
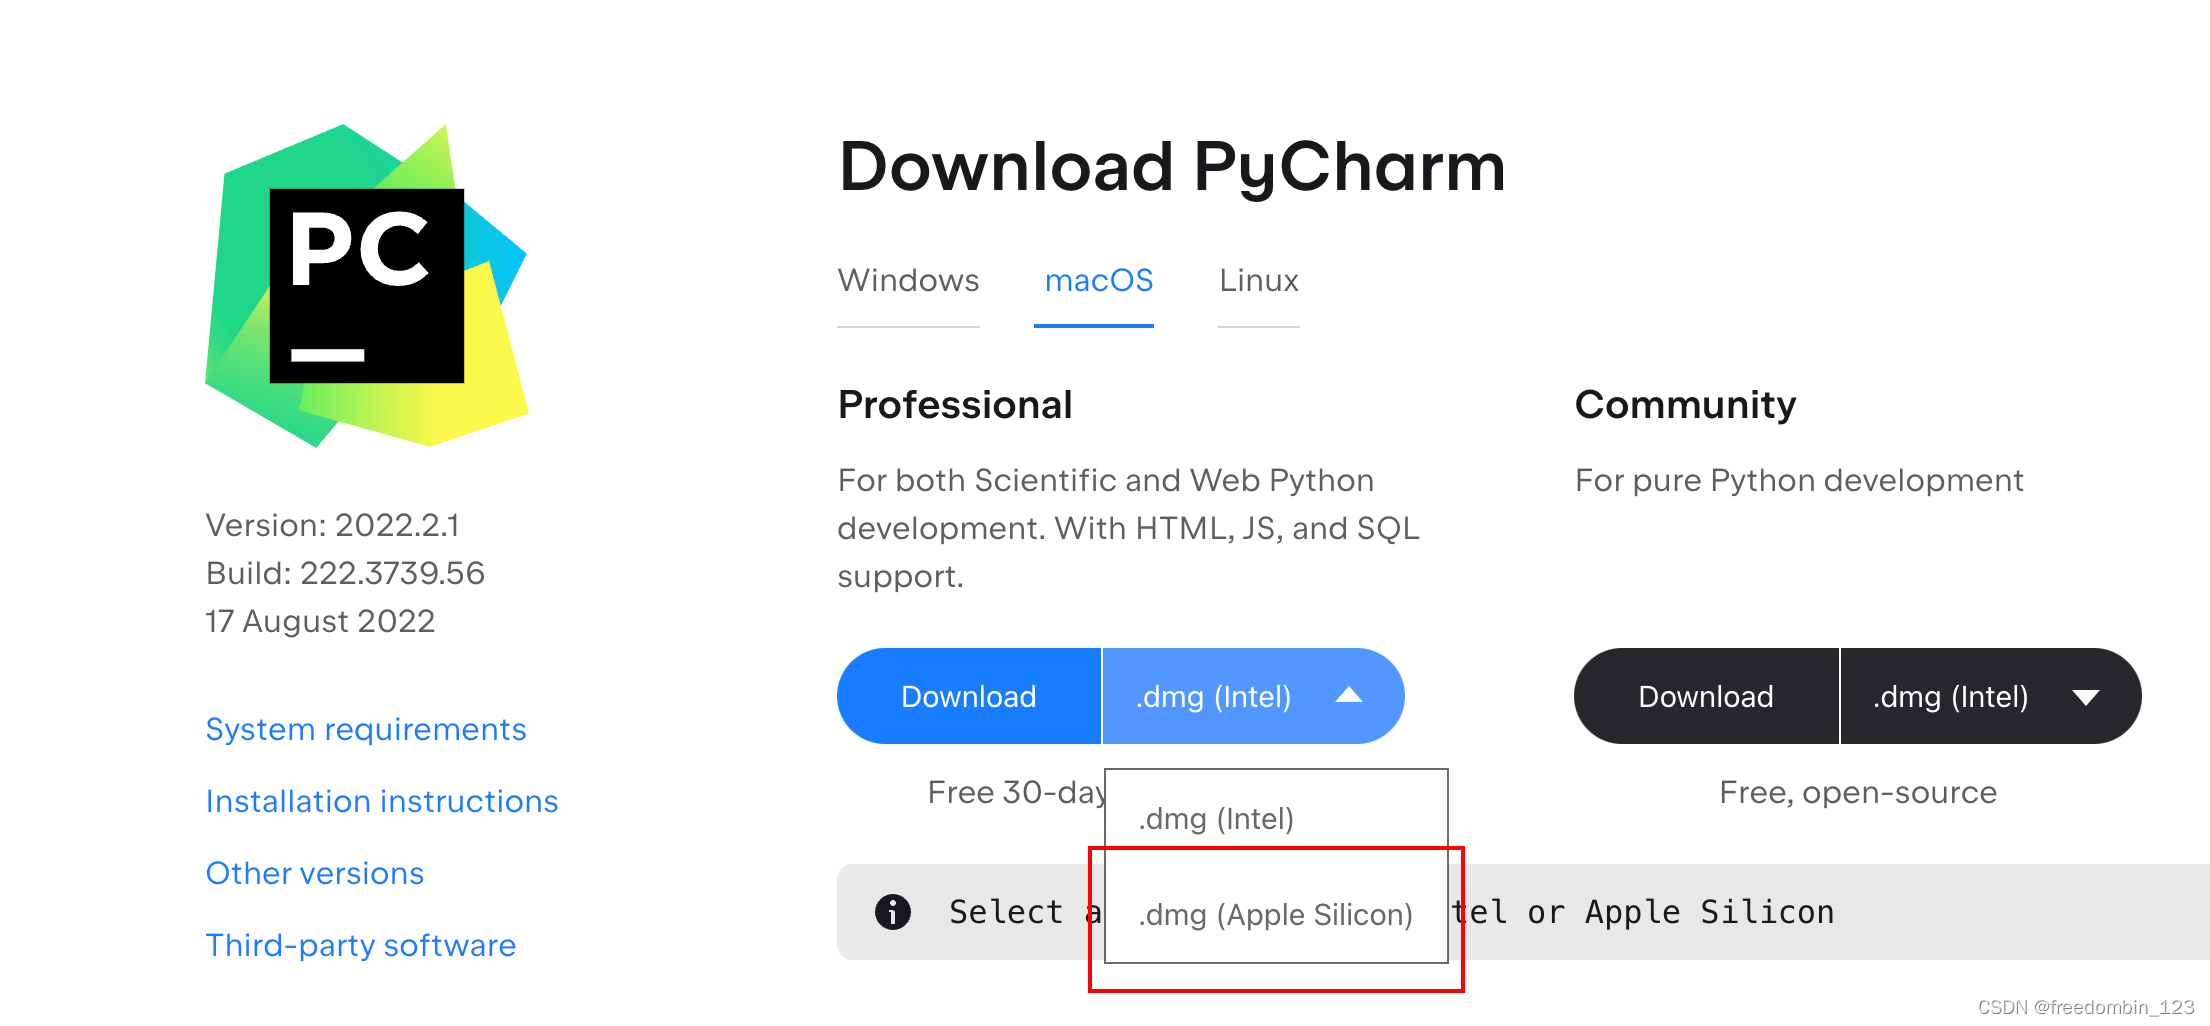
安装pycharm
链接: https://www.jetbrains.com/pycharm/download/#section=mac
下拉选择.dmg(Apple silicon)
配置环境变量
终端打开文件:vi ~/.zshrc
输入i进入编辑模式,然后输入:export PATH=/自己的路径/anaconda3/bin:$PATH
esc退出编辑,:wq保存退出。
使修改的文件立刻生效。终端输入:source ~/.zshrc撤销
安装pytorch(gpu版):
下载地址:
https://github.com/wizyoung/AppleSiliconSelfBuilds/blob/main/builds/torch-1.8.0a0-cp39-cp39-macosx_11_0_arm64.whl
也可以直接去官网:
https://pytorch.org/get-started/locally/#macos-version
注意版本格式,pytorch已经有支持M1 gpu版本的了;
pip install torchvision
conda install future pyyaml tqdm fsspec tensorboard
pip install pytorch-lightning
pip install librosa
安装 Tensorflow
tensorflow很早就支持m1 gpu了:
安装:
conda install -c apple tensorflow-deps
python -m pip install tensorflow-macos
python -m pip install tensorflow-metal
如果之前装过,官网是建议卸载重装的:
python -m pip uninstall tensorflow-macos
python -m pip uninstall tensorflow-metal
conda install -c apple tensorflow-deps --force-reinstall
或者虚拟环境:
conda install -c apple tensorflow-deps --force-reinstall -n my_env
摘自苹果官网:https://developer.apple.com/metal/tensorflow-plugin/
安装 brew
/bin/bash -c "$(curl -fsSL https://raw.githubusercontent.com/Homebrew/install/HEAD/install.sh)"
可能会遇到的问题:
1、网络问题:
-curl: (7) Failed to connect to raw.githubusercontent.com port 443: Connection refused
解决方案:
切换国内源:
/bin/zsh -c "$(curl -fsSL https://gitee.com/cunkai/HomebrewCN/raw/master/Homebrew.sh)"
参考:
[1]: https://blog.csdn.net/weixin_41466947/article/details/107377071
[2]: https://www.jianshu.com/p/bbeff3ea9c70