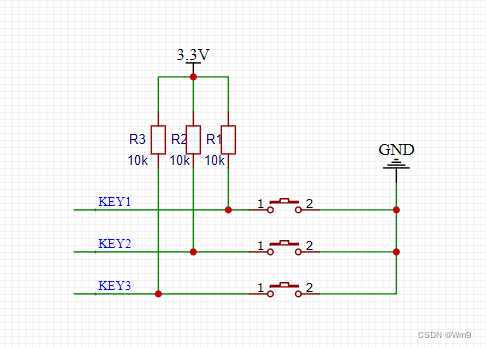
常规电路(带上拉电阻)
阻值可选3.3/4.7/5.1/10 单位K
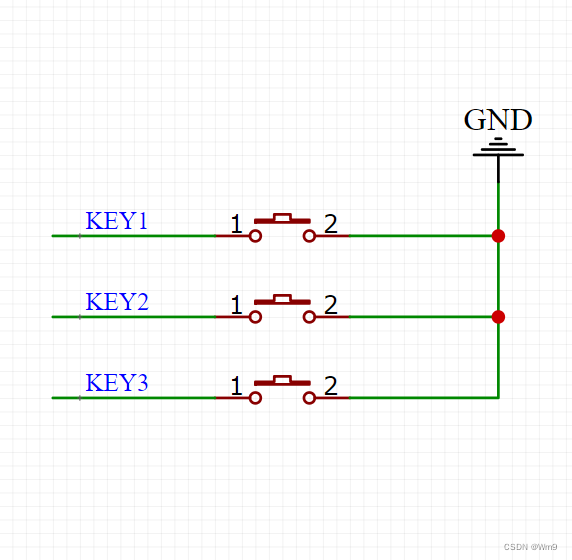
偷懒电路
利用GPIO内部的上拉模式
代码(直接拷贝使用)
这是一个按键控制灯亮灭的demo
为了新手方便我直接都写在了main.c文件
#include "stm32f10x.h"


void LED_Init(void)
{


	GPIO_InitTypeDef GPIO_InitStructure;
	RCC_APB2PeriphClockCmd(RCC_APB2Periph_GPIOB|RCC_APB2Periph_GPIOE, ENABLE);
	GPIO_InitStructure.GPIO_Pin = GPIO_Pin_5;
	GPIO_InitStructure.GPIO_Speed = GPIO_Speed_50MHz;
	GPIO_InitStructure.GPIO_Mode = GPIO_Mode_Out_PP;
	GPIO_Init(GPIOB, &GPIO_InitStructure);
	GPIO_Init(GPIOE, &GPIO_InitStructure);
}

void KEY_Init(void)
{


	GPIO_InitTypeDef GPIO_InitStructure;
	RCC_APB2PeriphClockCmd(RCC_APB2Periph_GPIOE, ENABLE);
	GPIO_InitStructure.GPIO_Pin = GPIO_Pin_3|GPIO_Pin_4;
	GPIO_InitStructure.GPIO_Mode=GPIO_Mode_IPU;
	GPIO_Init(GPIOE, &GPIO_InitStructure);
}

void delay(u32 time)
{


	while(time--);
}

int main(void)
{


	LED_Init();
	KEY_Init();
	while(1)
	{


		if( GPIO_ReadInputDataBit(GPIOE,GPIO_Pin_3)==0 )
		{


			GPIO_ResetBits(GPIOB,GPIO_Pin_5);
		}
		else if( GPIO_ReadInputDataBit(GPIOE,GPIO_Pin_4)==0 )
		{


			GPIO_SetBits(GPIOB,GPIO_Pin_5);
		}
	}
}
工程获取
三连后点击下方头像