Winform无边框窗体拖动功能
前言
在本文中主要介绍 如何将窗体设置成无边框模式、以及实现无边框窗体拖动功能的几种方法。
正文
1、设置无边框模式
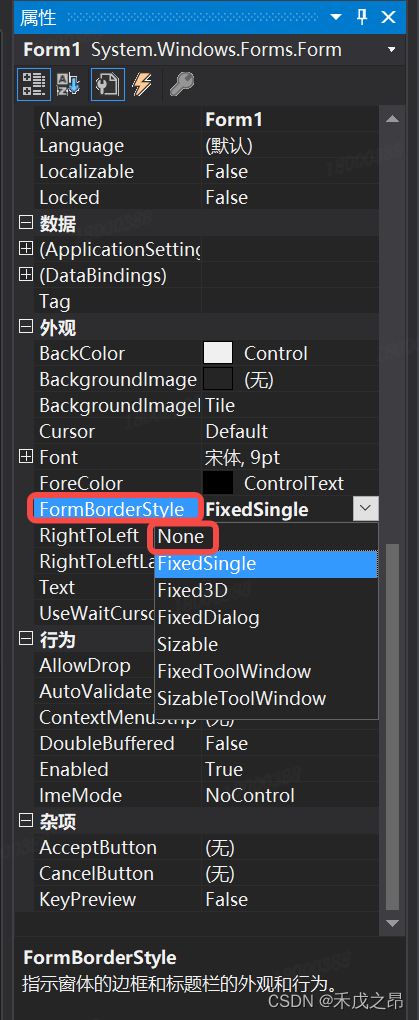
选中要去除边框的窗体,按F4调出其属性面板,在属性面板中找到 FormBorderStyle ,并选择 None,即可将窗体设置成无边框模式;默认是无法随意拖动的,也没有最大化最小化关闭按钮。
2、无边框窗体拖动方法
1、通过Panel控件实现窗体移动
-
实现方法:在窗体的头部添加 Panel 控件,通过 Panel 的 MouseDown、MouseMove 事件实现窗体移动;
-
实现原理:直接通过修改窗体位置从而达到移动窗体的效果;
-
具体代码:
private Point mPoint;//定义一个位置信息Point用于存储鼠标位置 /// <summary> /// 鼠标按下 /// </summary> /// <param name="sender"></param> /// <param name="e"></param> private void uPanel1_MouseDown(object sender, MouseEventArgs e) { mPoint = new Point(e.X, e.Y); } /// <summary> /// 鼠标移动 /// </summary> /// <param name="sender"></param> /// <param name="e"></param> private void uPanel1_MouseMove(object sender, MouseEventArgs e) { if (e.Button == MouseButtons.Left) { this.Location = new Point(this.Location.X + e.X - mPoint.X, this.Location.Y + e.Y - mPoint.Y); } } -
实现效果:
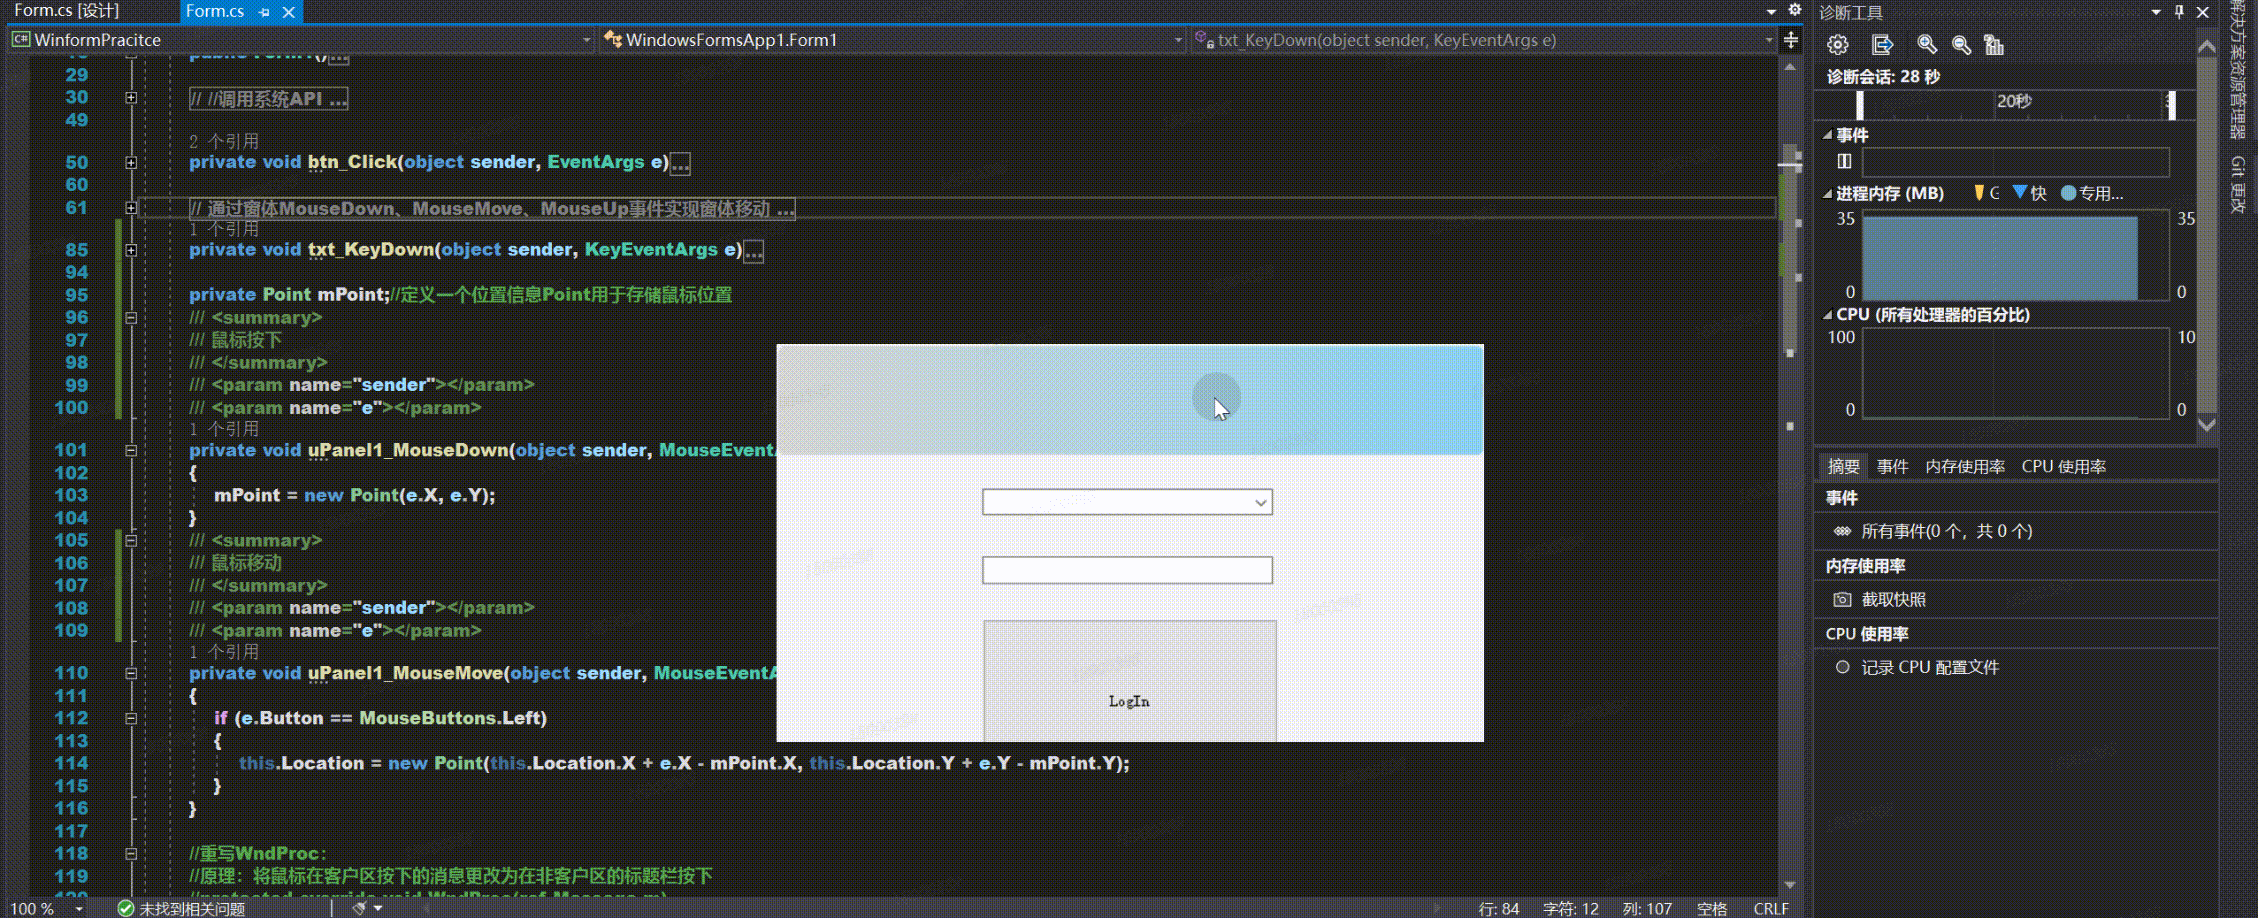
2、通过窗体事件实现窗体移动
-
实现方法:通过窗体MouseDown、MouseMove、MouseUp事件实现窗体移动;
-
具体代码:
//通过窗体MouseDown、MouseMove、MouseUp事件实现窗体移动 Point point; //鼠标按下时的点 bool isMoving = false;//标识是否拖动 private void Form1_MouseDown(object sender, MouseEventArgs e) { point = e.Location;//按下的点 isMoving = true;//启动拖动 } private void Form1_MouseMove(object sender, MouseEventArgs e) { if (e.Button == MouseButtons.Left && isMoving) { Point pNew = new Point(e.Location.X - point.X, e.Location.Y - point.Y); //Location = new Point(Location.X + pNew.X, Location.Y + pNew.Y); Location += new Size(pNew); } } private void Form1_MouseUp(object sender, MouseEventArgs e) { isMoving = false;//停止 } -
实现效果:
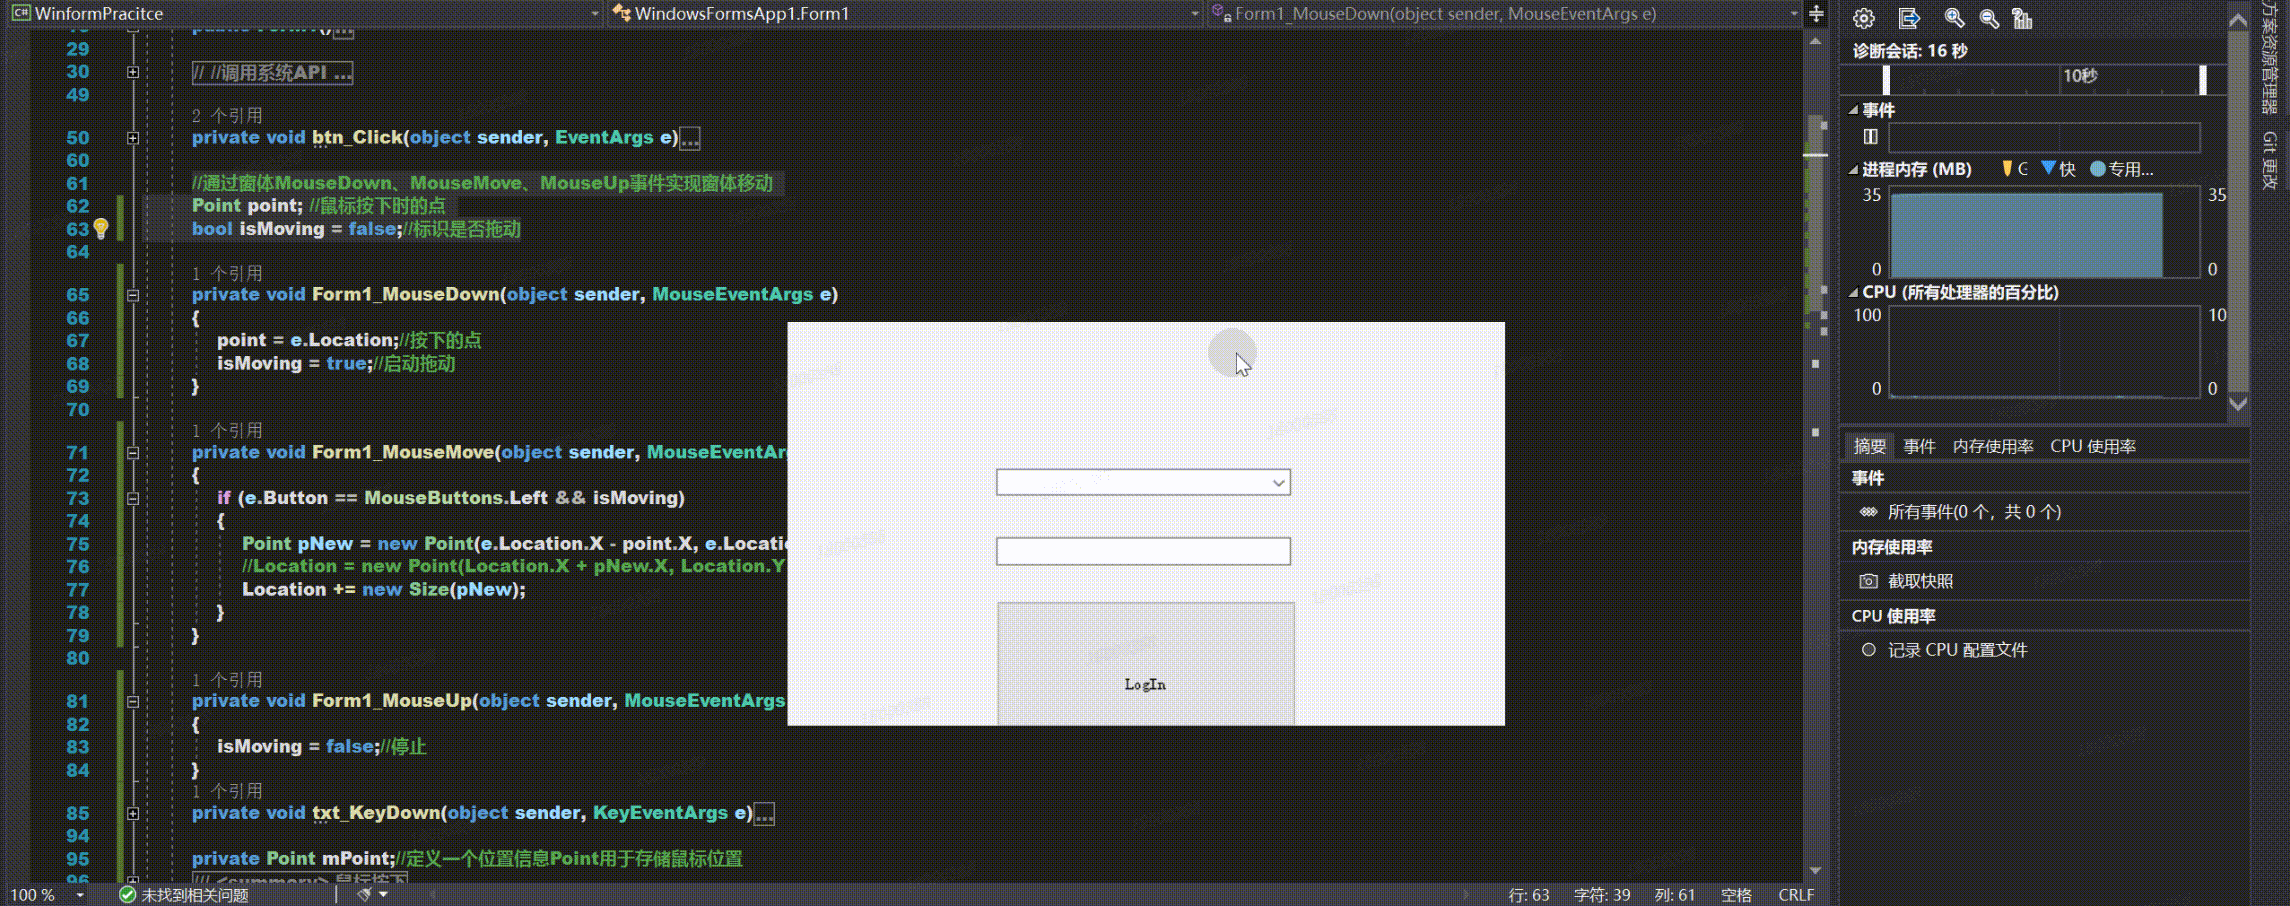
3、调用系统API实现窗体移动
-
实现方法:利用 windows 应用程序接口 Windows API 实现窗体移动;
-
实现原理:当鼠标左键按下时,让系统认为是在标题栏按下的;
-
具体代码:
using System.Runtime.InteropServices; //调用系统API [DllImport("user32.dll")] public static extern bool ReleaseCapture(); [DllImport("user32.dll")] public static extern bool SendMessage(IntPtr hwnd, int wMsg, int wParam, int lParam); private const int VM_NCLBUTTONDOWN = 0XA1;//定义鼠标左键按下 public const int HTCAPTION = 0x0002; //HTCAPTION=2 鼠标在标题栏中 /// <summary> /// 鼠标按下事件 /// </summary> /// <param name="sender"></param> /// <param name="e"></param> private void Form1_MouseDown(object sender, MouseEventArgs e) { //为当前应用程序释放鼠标捕获 ReleaseCapture(); //发送消息 让系统误以为在标题栏上按下鼠标 SendMessage((IntPtr)this.Handle, VM_NCLBUTTONDOWN, HTCAPTION, 0); } -
注意事项:需要引入命名空间
using System.Runtime.InteropServices; -
实现效果:
4、重写WndProc()实现窗体移动
-
实现方法:通过重写 WndProc() 方法实现窗体移动;
-
实现原理:将鼠标在客户区按下的消息更改为在非客户区的标题栏按下;
-
具体代码:
//重写WndProc: //原理:将鼠标在客户区按下的消息更改为在非客户区的标题栏按下 protected override void WndProc(ref Message m) { switch (m.Msg) { case 0x0201://鼠标左键按下的消息 m.Msg = 0x00A1;//更改消息为非客户区按下鼠标 m.LParam = IntPtr.Zero;//默认值 m.WParam = new IntPtr(2);//鼠标放在标题栏内 break; } base.WndProc(ref m); } -
实现效果:
