1、首先我利用vmware workstation来创建centos7虚拟机,然后开启虚拟化,如下图所示。
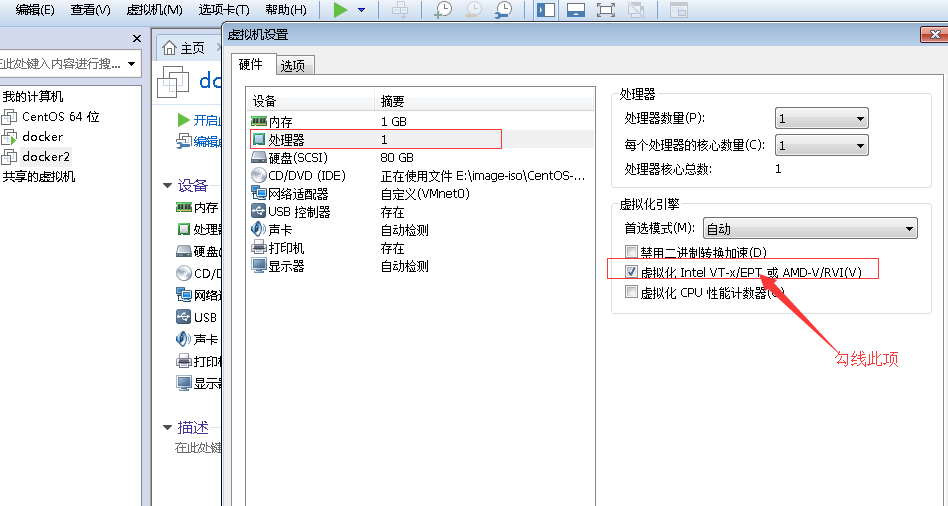
2、启动虚拟机,查看是否支持了虚拟化
[root@template ~]# cat /proc/cpuinfo | grep -E 'vmx|svm'
flags : fpu vme de pse tsc msr pae mce cx8 apic sep mtrr pge mca cmov pat pse36 clflush dts mmx fxsr sse sse2 ss ht syscall nx pdpe1gb rdtscp lm constant_tsc arch_perfmon pebs bts nopl xtopology tsc_reliable nonstop_tsc aperfmperf eagerfpu pni pclmulqdq vmx ssse3 fma cx16 pcid sse4_1 sse4_2 x2apic movbe popcnt tsc_deadline_timer aes xsave avx f16c rdrand hypervisor lahf_lm abm epb tpr_shadow vnmi ept vpid fsgsbase tsc_adjust bmi1 avx2 smep bmi2 invpcid xsaveopt dtherm ida arat pln pts
flags : fpu vme de pse tsc msr pae mce cx8 apic sep mtrr pge mca cmov pat pse36 clflush dts mmx fxsr sse sse2 ss ht syscall nx pdpe1gb rdtscp lm constant_tsc arch_perfmon pebs bts nopl xtopology tsc_reliable nonstop_tsc aperfmperf eagerfpu pni pclmulqdq vmx ssse3 fma cx16 pcid sse4_1 sse4_2 x2apic movbe popcnt tsc_deadline_timer aes xsave avx f16c rdrand hypervisor lahf_lm abm epb tpr_shadow vnmi ept vpid fsgsbase tsc_adjust bmi1 avx2 smep bmi2 invpcid xsaveopt dtherm ida arat pln pts
3、再次,查看是否kvm的驱动已经加载,
[root@template ~]# lsmod | grep kvm
kvm_intel 188416 0
kvm 581632 1 kvm_intel
irqbypass 16384 1 kvm
# 如果没有加载kvm驱动,利用命令加载驱动
modprobe -a kvm
modprobe -a kvm_intel
4、安装qemu-kvm
yum install -y qemu-kvm
5、安装libvirt
yum install -y libvirt
[root@template ~]# systemctl restart libvirtd
#验证libvirt是否正常启动
[root@template ~]
# systemctl status libvirtd
● libvirtd.service - Virtualization daemon
Loaded: loaded (
/usr/lib/systemd/system/libvirtd
.service; enabled; vendor preset: enabled)
Active: active (running) since Sat 2018-01-20 08:46:47 CST; 29s ago
Docs:
man
:libvirtd(8)
http:
//libvirt
.org
Main PID: 1424 (libvirtd)
Tasks: 18 (limit: 19660)
CGroup:
/system
.slice
/libvirtd
.service
├─1081
/sbin/dnsmasq
--conf-
file
=
/var/lib/libvirt/dnsmasq/default
.conf --leasefile-ro --dhcp-script
├─1082
/sbin/dnsmasq
--conf-
file
=
/var/lib/libvirt/dnsmasq/default
.conf --leasefile-ro --dhcp-script
└─1424
/usr/sbin/libvirtd
Jan 20 08:46:47 template.com systemd[1]: Starting Virtualization daemon...
Jan 20 08:46:47 template.com systemd[1]: Started Virtualization daemon.
Jan 20 08:46:48 template.com dnsmasq[1081]:
read
/etc/hosts
- 2 addresses
Jan 20 08:46:48 template.com dnsmasq[1081]:
read
/var/lib/libvirt/dnsmasq/default
.addnhosts - 0 addresses
Jan 20 08:46:48 template.com dnsmasq-dhcp[1081]:
read
/var/lib/libvirt/dnsmasq/default
.hostsfile
|
#查看版本
[root@template ~]# virsh version
Compiled against library: libvirt 2.2.1
Using library: libvirt 2.2.1
Using API: QEMU 2.2.1
Running hypervisor: QEMU 2.7.1
6、安装virt-manager工具
yum install -y virt-manager
7、自己的Windows pc 安装Xmanager
8、xshell 工具File--->Properties,如下图所示

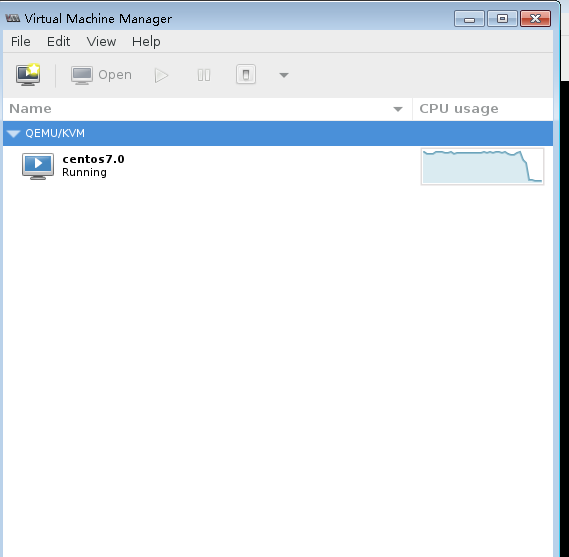
9、万事具备了,用xshell工具连接centos服务器,执行命令virt-manager, 呀,乱码
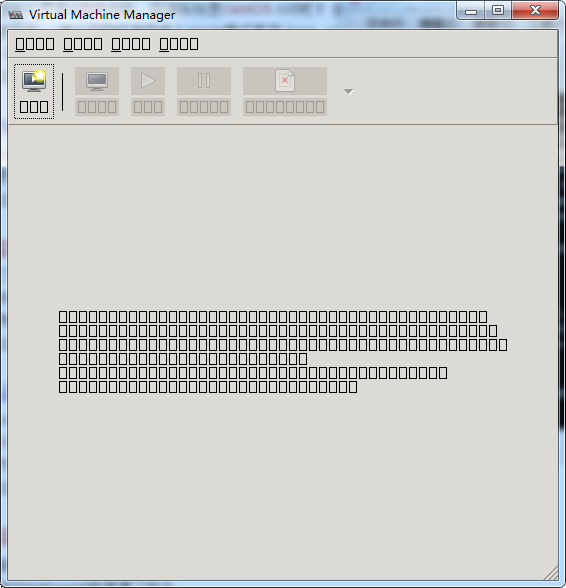
破解乱码的解决办法为安装virt-manager字体:
yum install dejavu-lgc-sans-fonts -y
10、在打开一个xshell窗口,再次执行virt-manager,一切ok了。