目录
一、Consul概述
template 模板(更新)
registrator(自动发现)
后端每构建出一个容器,会向registrator进行注册,控制consul 完成更新操作,consul会触发consul template模板进行热更新
核心机制:consul :自动发现、自动更新,为容器提供服务(添加、删除、生命周期)
二、Consul的特性
- 支持健康检查、允许存储键值对
- 基于Golong语言,可移植性强
- 支持ACL访问控制
三、Consul的使用场景
Consul的应用场景包括服务发现、服务隔离、服务配置:
- 服务发现场景中consul作为注册中心,服务地址被注册到consul中以后,可以使用consul提供的dns、http接口查询,consul支持health check。
- 服务隔离场景中consul支持以服务为单位设置访问策略,能同时支持经典的平台和新兴的平台,支持tls证书分发,service-to-service加密。
- 服务配置场景中consul提供key-value数据存储功能,并且能将变动迅速地通知出去,借助Consul可以实现配置共享,需要读取配置的服务可以从Consul中读取到准确的配置信息。
- Consul可以帮助系统管理者更清晰的了解复杂系统内部的系统架构,运维人员可以将Consul看成一种监控软件,也可以看成一种资产(资源)管理系统。
四、搭建consul集群

建立Consul服务
每个提供服务的节点上都要部署和运行Consul的agent
Consul agent有两种运行模式
Server
Client
Server和Client只是Consul集群层面的区分,与搭建在Cluster之上的应用服务无关
1、server部署(192.168.127.130)
mkdir /root/consul
cd consul
rz consul_0.9.2_linux_amd64.zip

unzip consul_0.9.2_linux_amd64.zip

mv consul /usr/bin
consul agent \
-server \
-bootstrap \
-ui \
-data-dir=/var/lib/consul-data \
-bind=192.168.127.130 \
-client=0.0.0.0 \
-node=consul-server01 &> /var/log/consul.log &
| 查看集群server成员 | curl 127.0.0.1:8500/v1/status/peers |
| 集群Raf leader | curl 127.0.0.1:8500/v1/status/leader |
| 注册的所有服务 | curl 127.0.0.1:8500/v1/catalog/services |
| 查看nginx服务信息 | curl 127.0.0.1:8500/v1/catalog/nginx |
| 集群节点详细信息 | curl 127.0.0.1:8500/v1/catalog/nodes |
2、client部署(192.168.127.140)
容器服务自动加入nginx集群
1、安装Gliderlabs/Registrator Gliderlabs/Registrator
可检查容器运行状态自动注册,还可注销docker容器的服务 到服务配置中心
目前支持Consul、Etcd和SkyDNS2

在192.168.127.140节点上,执行以下操作

docker run -d \
--name=registrator \
--net=host \
-v /var/run/docker.sock:/tmp/docker.sock \
--restart=always \
gliderlabs/registrator:latest \
-ip=192.168.109.12 \
consul://192.168.127.140:8500

systemctl restart docker
docker run -itd -p:81:80 --name test-01 -h test01 nginx
docker run -itd -p:82:80 --name test-02 -h test02 nginx
docker run -itd -p:83:80 --name test-03 -h test03 httpd
docker run -itd -p:84:80 --name test-04 -h test04 httpd

运行两个nginx容器,两个apache容器,以测试服务发现功能


3、配置template模板自动更新
cd consul/
vim nginx.ctmpl

upstream http_backend {
 {

   {range service "nginx"}}
  server {

   {.Address}}:{

   {.Port}};
  {

   {end}}
}

server {
 listen 100;
 server_name localhost 192.168.127.130;
 access_log /var/log/nginx/lic.com-access.log;
 index index.html index.php;
 location / {
        proxy_set_header HOST $host;
        proxy_set_header X-Real-IP $remote_addr;
        proxy_set_header Client-IP $remote_addr;
        proxy_set_header X-Forwarded-For $proxy_add_x_forwarded_for;
        proxy_pass http://http_backend;
  }
}

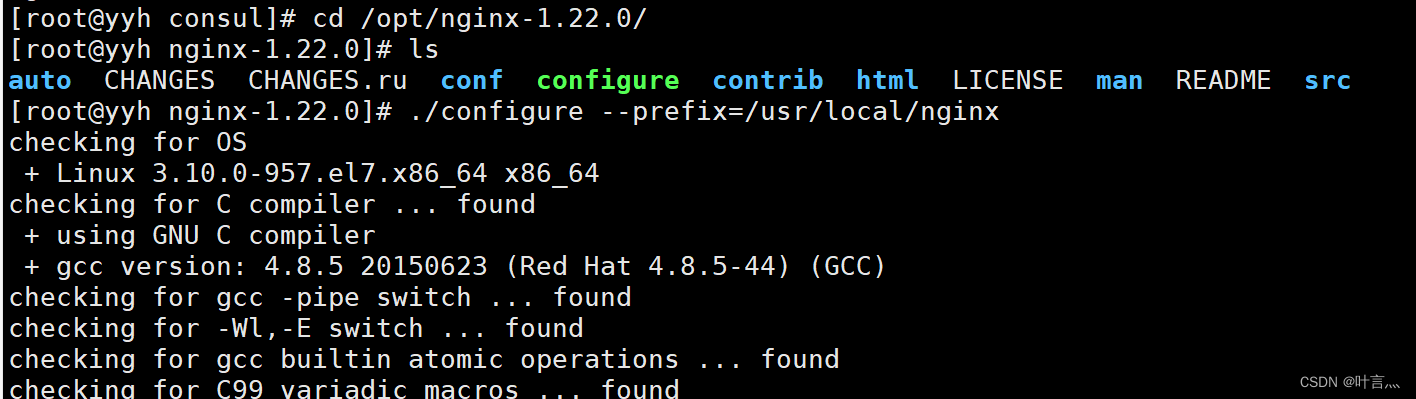
yum -y install gcc pcre-devel zlib-devel
rz nginx-1.12.0.tar.gz
tar zxvf nginx-1.12.0.tar.gz -C /opt
cd /opt/nginx-1.12.10

./configure --prefix=/usr/local/nginx

make && make install


vim /usr/local/nginx/conf/nginx.conf
//19行添加  include vhost/*.conf;

cd /usr/local/nginx/conf/
mkdir vhost
mkdir /var/log/nginx
/usr/local/nginx/sbin/nginx
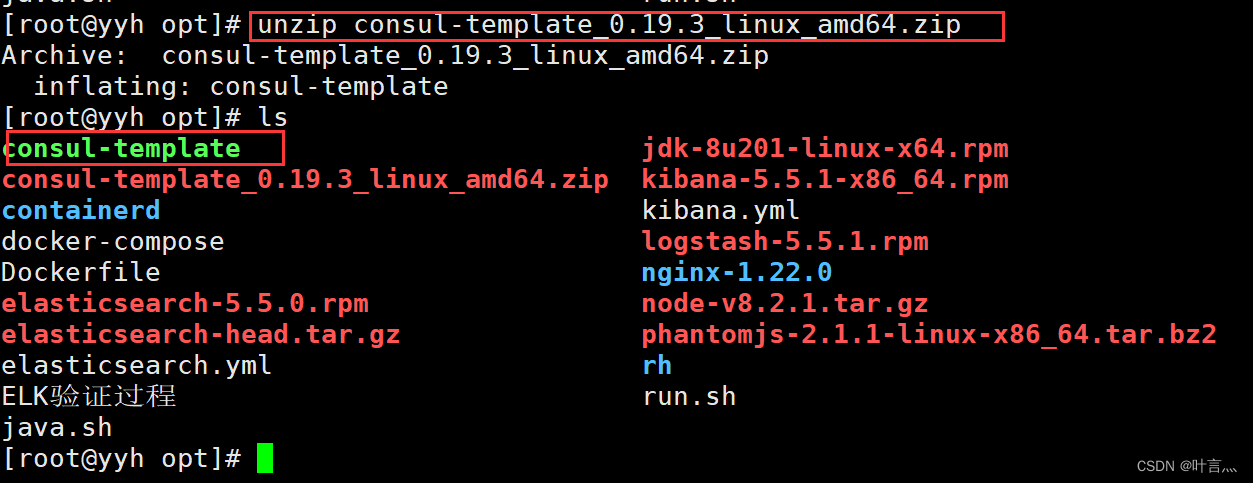
cd /opt
rz consul-template_0.19.3_linux_amd64.zip
unzip consul-template_0.19.3_linux_amd64.zip

mv consul-template /usr/bin
consul-template -consul-addr 192.168.127.130:8500 -template "/root/consul/nginx.ctmpl:/usr/local/nginx/conf/vhost/lic.conf:/usr/local/nginx/sbin/nginx -s reload" --log-level=info
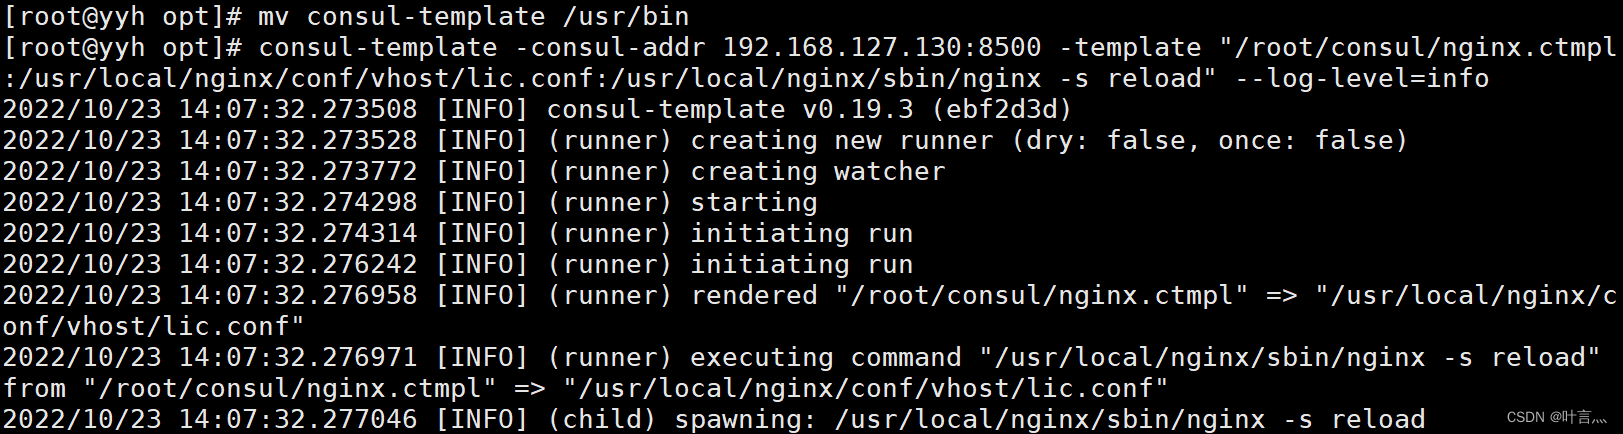
再打开另一个终端


4、测试访问代理服务器
是否可以完成代理访问轮询
浏览器访问192.168.127.130:100 多次刷新产生日志
