TEXTure
环境配置
# 创建一个名为texture的环境
conda create -n texture python=3.9 -y

# 激活环境
conda activate texture

# 按照https://github.com/TEXTurePaper/TEXTurePaper的要求安装requirements.txt里面的各种包
pip install -r requirements.txt
安装kaolin这个包,这里可能会遇到各种问题
pip install kaolin==0.11.0 -f https://nvidia-kaolin.s3.us-east-2.amazonaws.com/{TORCH_VER}_{CUDA_VER}.html
建议直接上pytorch官网装最新版本的cuda以及对应的pytorch,肯定就可以让所有显卡都可以用
(避免出现运行Text Conditioned Texture Generation指令里面的报错1的情况)
pip3 install torch torchvision torchaudio --index-url https://download.pytorch.org/whl/cu117
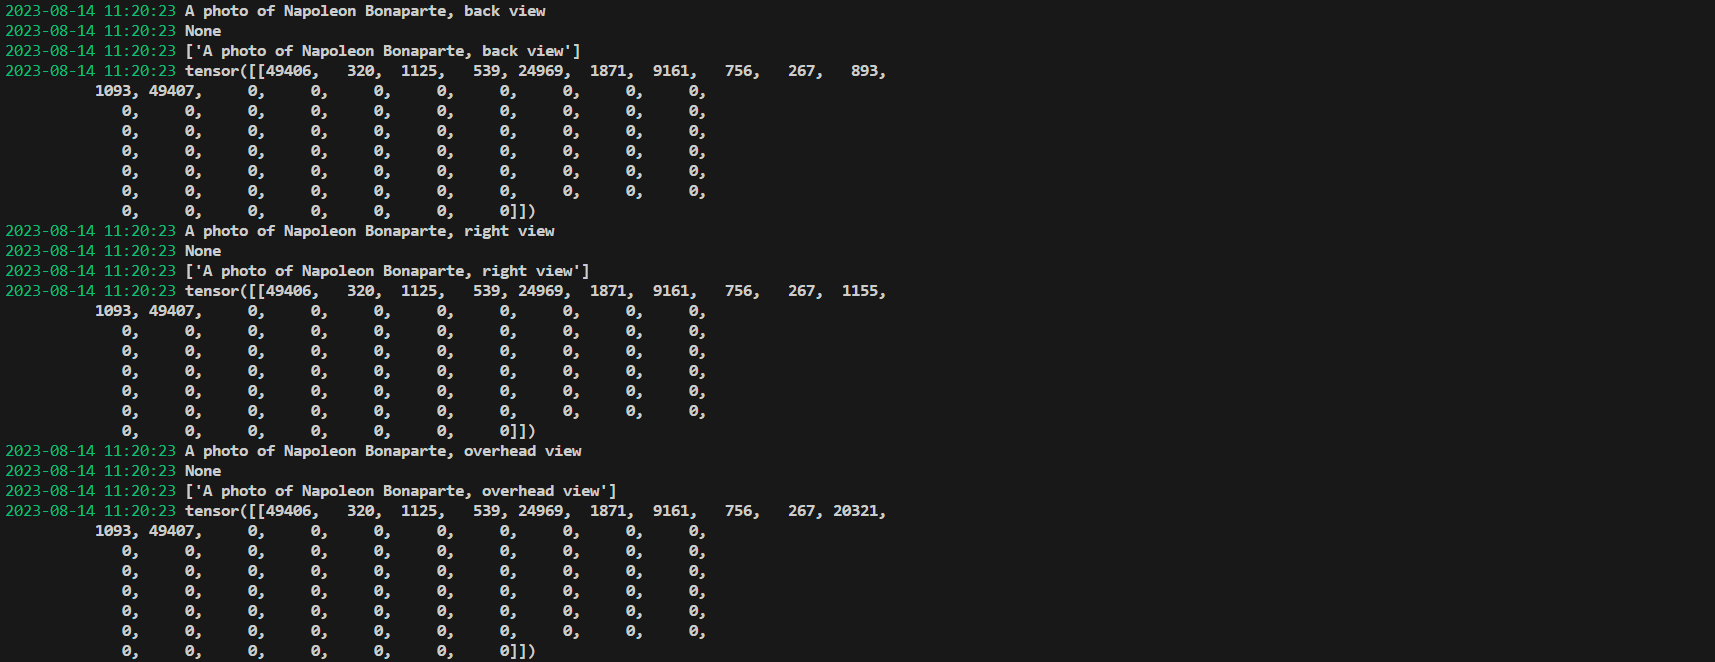
按下面截图部分,查看torch_version和cuda_version
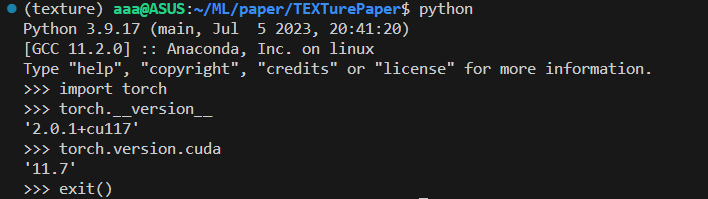
上面截图显示torch-2.0.1_cu117
可以来这个网页来查看对应版本的torch,cuda的html
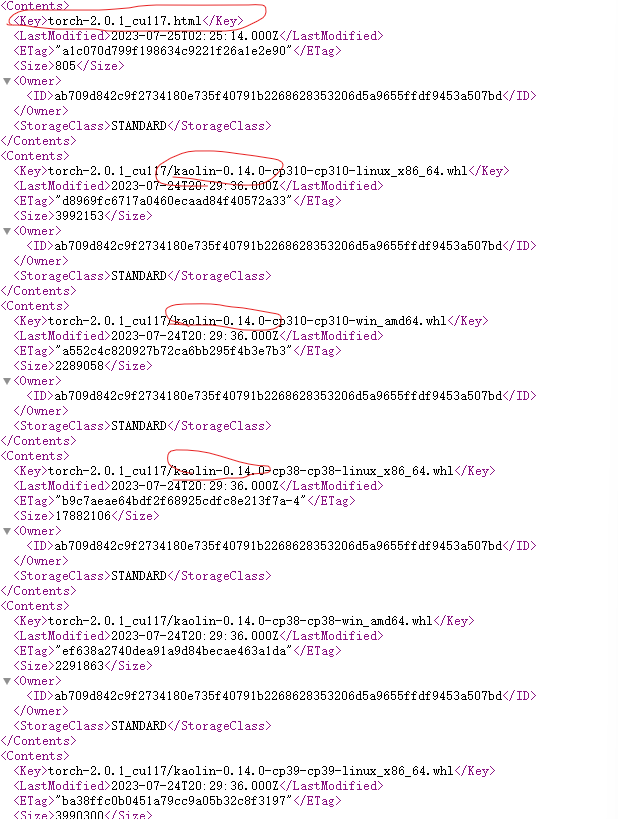
所以安装kaolin这个包的命令应该为:
pip install kaolin==0.14.0 -f https://nvidia-kaolin.s3.us-east-2.amazonaws.com/torch-2.0.1_cu117.html
配置huggingface的访问令牌
在使用Hugging Face的功能或资源之前,你应该通过运行 huggingface-cli login 命令登录到你的Hugging Face帐户,这将在默认位置存储你的访问令牌。这个访问令牌将用于验证你的身份,以便你可以访问私有模型、数据集等。
下面是具体的步骤:
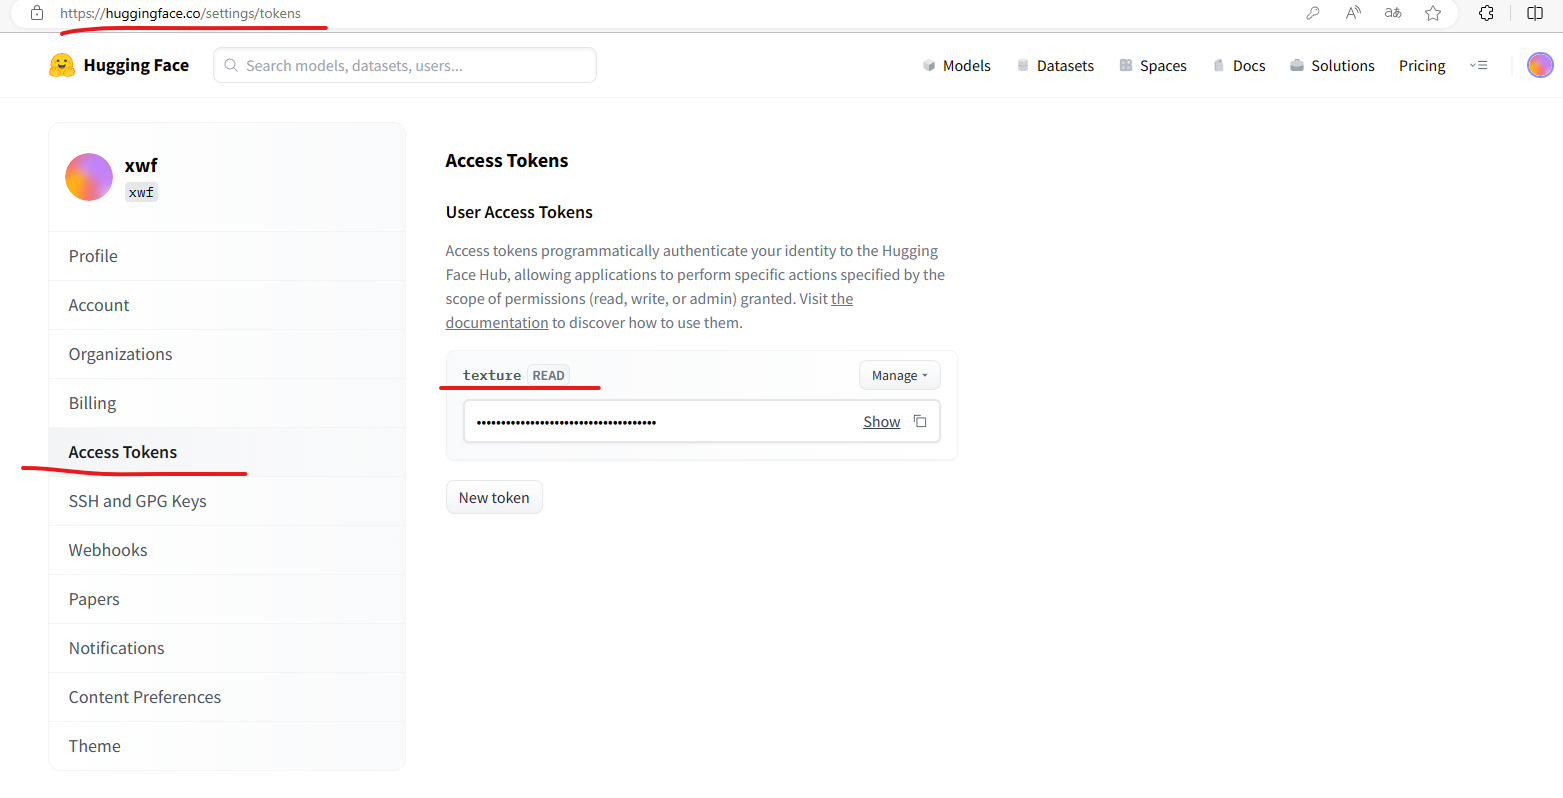
Stept1:设置好token
在setting里面的Access Tokens里面设置新的token:
Name随便取
点击Generate a token生成token
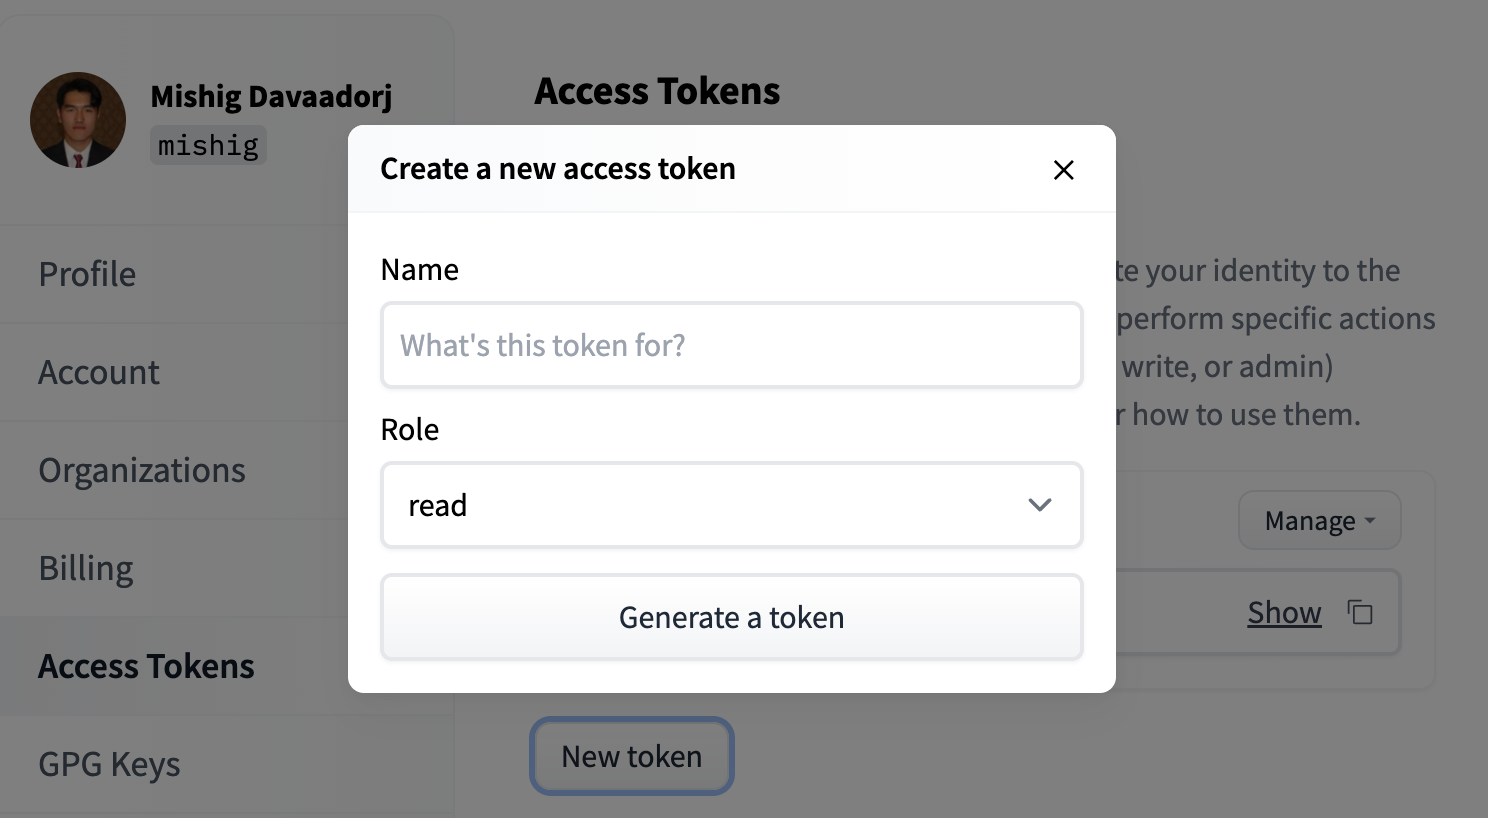
可以见下面的例子,已经设置好了一个名为texture的token
也可以参看这个链接如何设置Token:
https://huggingface.co/docs/hub/security-tokens
Step2:
打开终端或命令行界面:打开一个终端窗口或命令行界面,确保你可以在命令行中输入指令。
运行登录命令:在终端中运行以下命令,这会启动登录过程:
huggingface-cli login
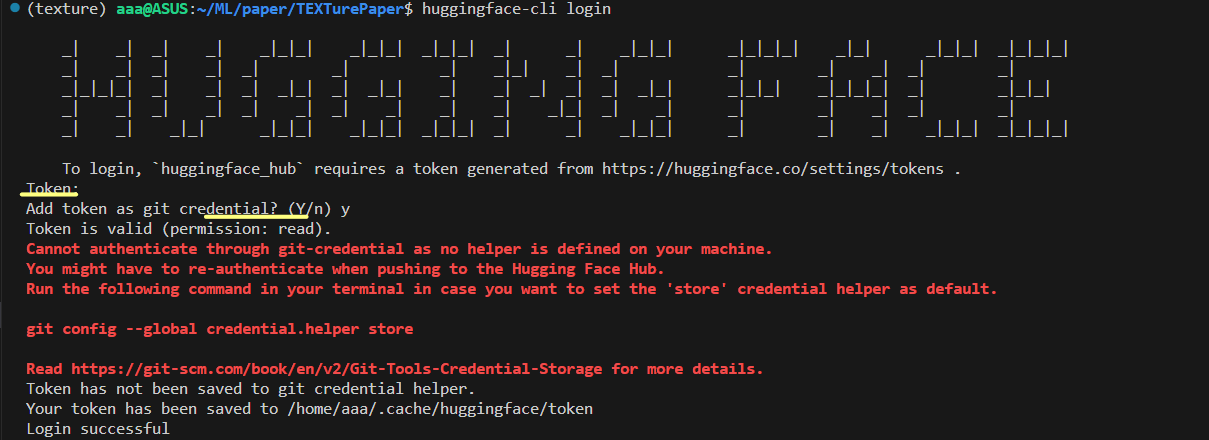
在Token那里,输入step1中得到的token,(直接复制粘贴即可),这里输入的密码是不可见的,就像ubuntu那样
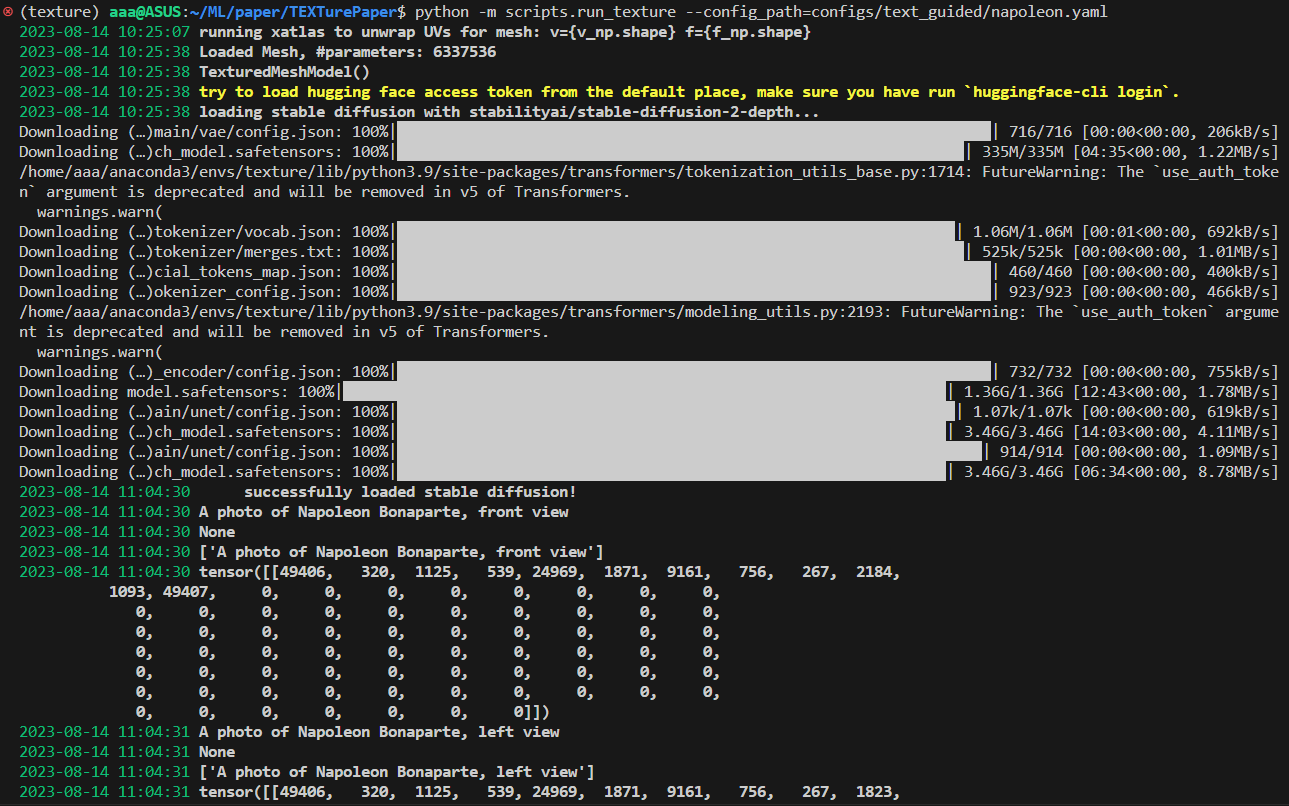
运行Text Conditioned Texture Generation指令
python -m scripts.run_texture --config_path=configs/text_guided/napoleon.yaml
可能会出现如下报错:
报错1
/home/aaa/anaconda3/envs/texture/lib/python3.9/site-packages/torch/cuda/__init__.py:146: UserWarning:
NVIDIA GeForce RTX 3090 with CUDA capability sm_86 is not compatible with the current PyTorch installation.
The current PyTorch install supports CUDA capabilities sm_37 sm_50 sm_60 sm_70.
If you want to use the NVIDIA GeForce RTX 3090 GPU with PyTorch, please check the instructions at https://pytorch.org/get-started/locally/

  warnings.warn(incompatible_device_warn.format(device_name, capability, " ".join(arch_list), device_name))
报错原因:CUDA capability sm_86:算力8.6
上面表面上是说PyTorch,实际上是PyTorch依赖的CUDA版本的问题
翻译一下就是:RTX 3090的算力是8.6,但是当前的PyTorch依赖的CUDA版本支持的算力只有3.7、5.0、6.0、7.0
算力7.0的显卡可以在支持最高算力7.5的CUDA版本下运行,但是算力7.5的显卡不可以在支持最高算力7.0的CUDA版本下运行
同理算力8.x的显卡不可以在支持最高算力7.x的CUDA版本下运行
解决方法:
直接上pytorch官网装最新版本的cuda以及对应的pytorch,肯定就可以让所有显卡都可以用。

报错2
解决上述问题后,重新执行命令,
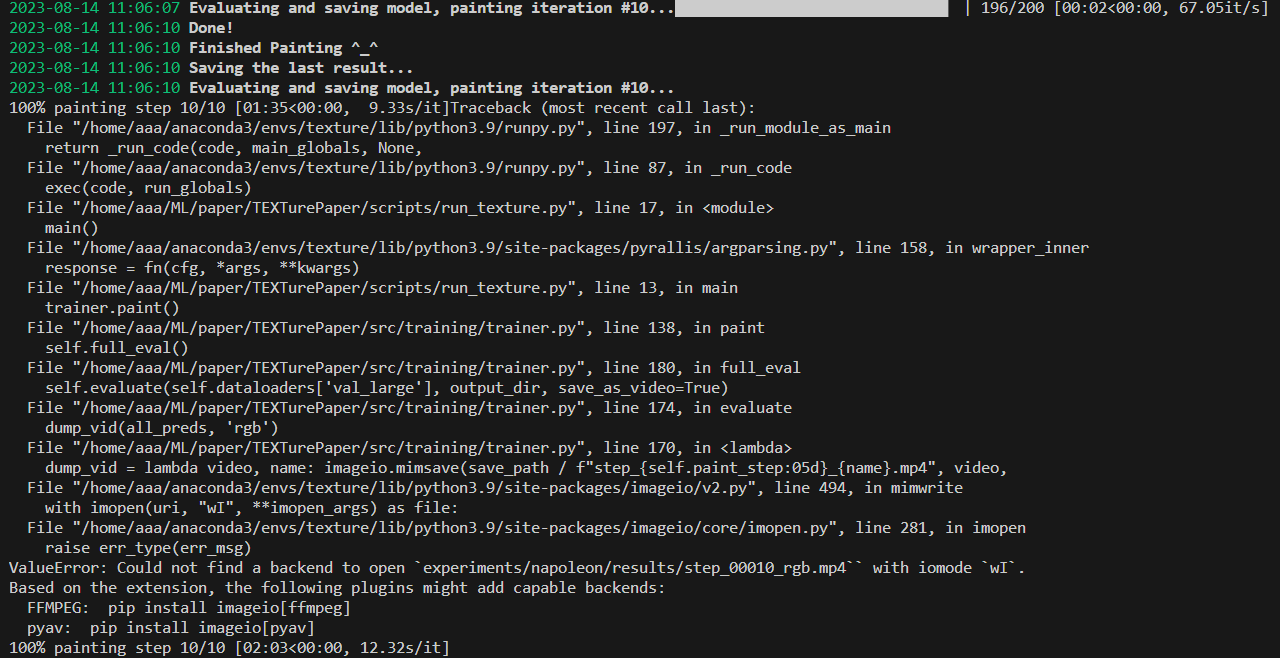
出现报错:
ValueError: Could not find a backend to open `experiments/napoleon/results/step_00010_rgb.mp4`` with iomode `wI`.
Based on the extension, the following plugins might add capable backends:
  FFMPEG:  pip install imageio[ffmpeg]
  pyav:  pip install imageio[pyav]
100% painting step 10/10 [02:03<00:00, 12.32s/it]
解决方法:
按照提示,安装
pip install imageio[ffmpeg]

pip install imageio[pyav]
成功运行
解决上述问题后,重新执行指令:
python -m scripts.run_texture --config_path=configs/text_guided/napoleon.yaml

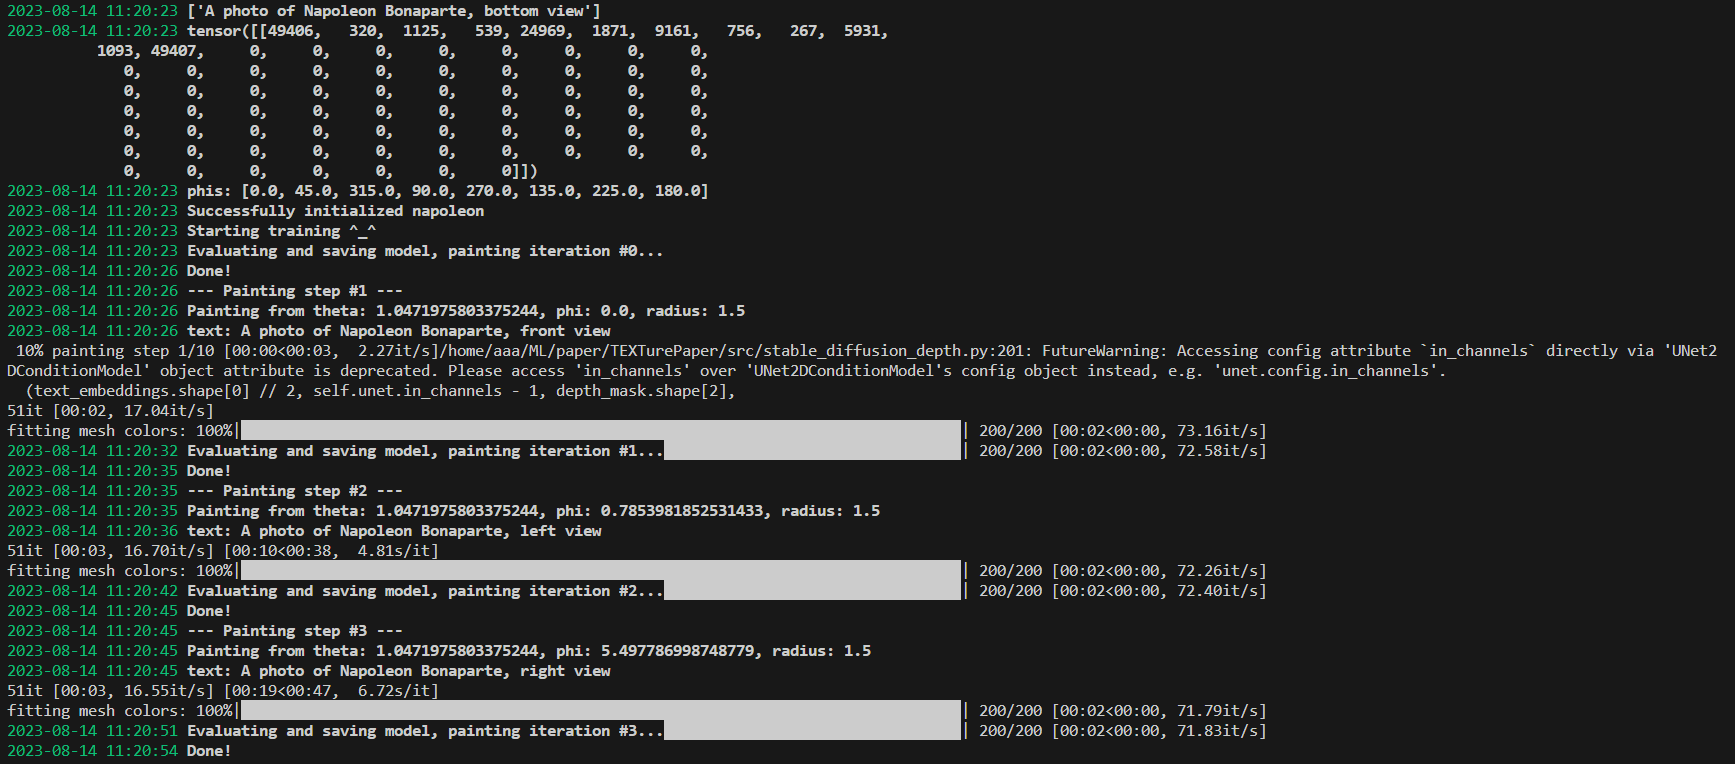
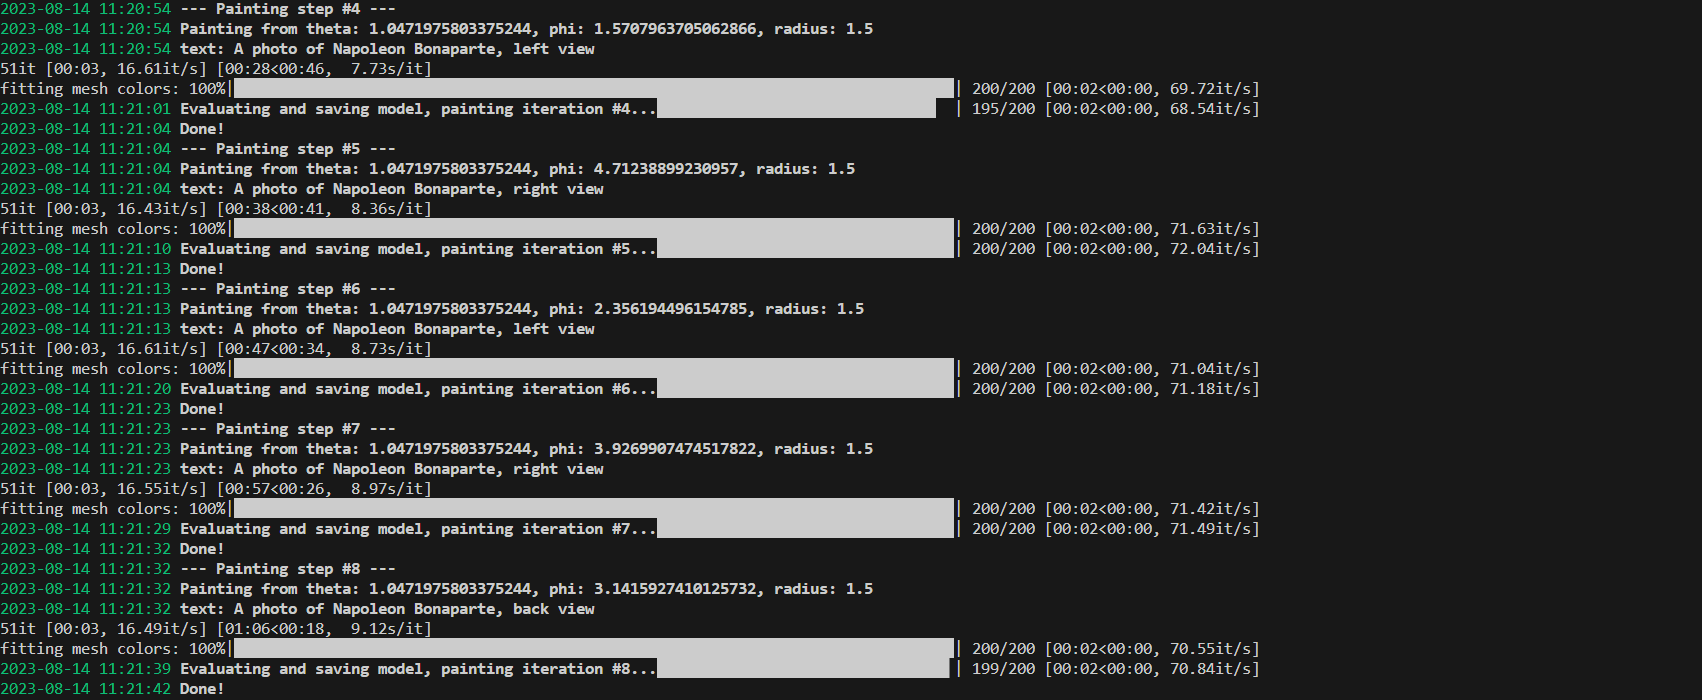

运行成功!
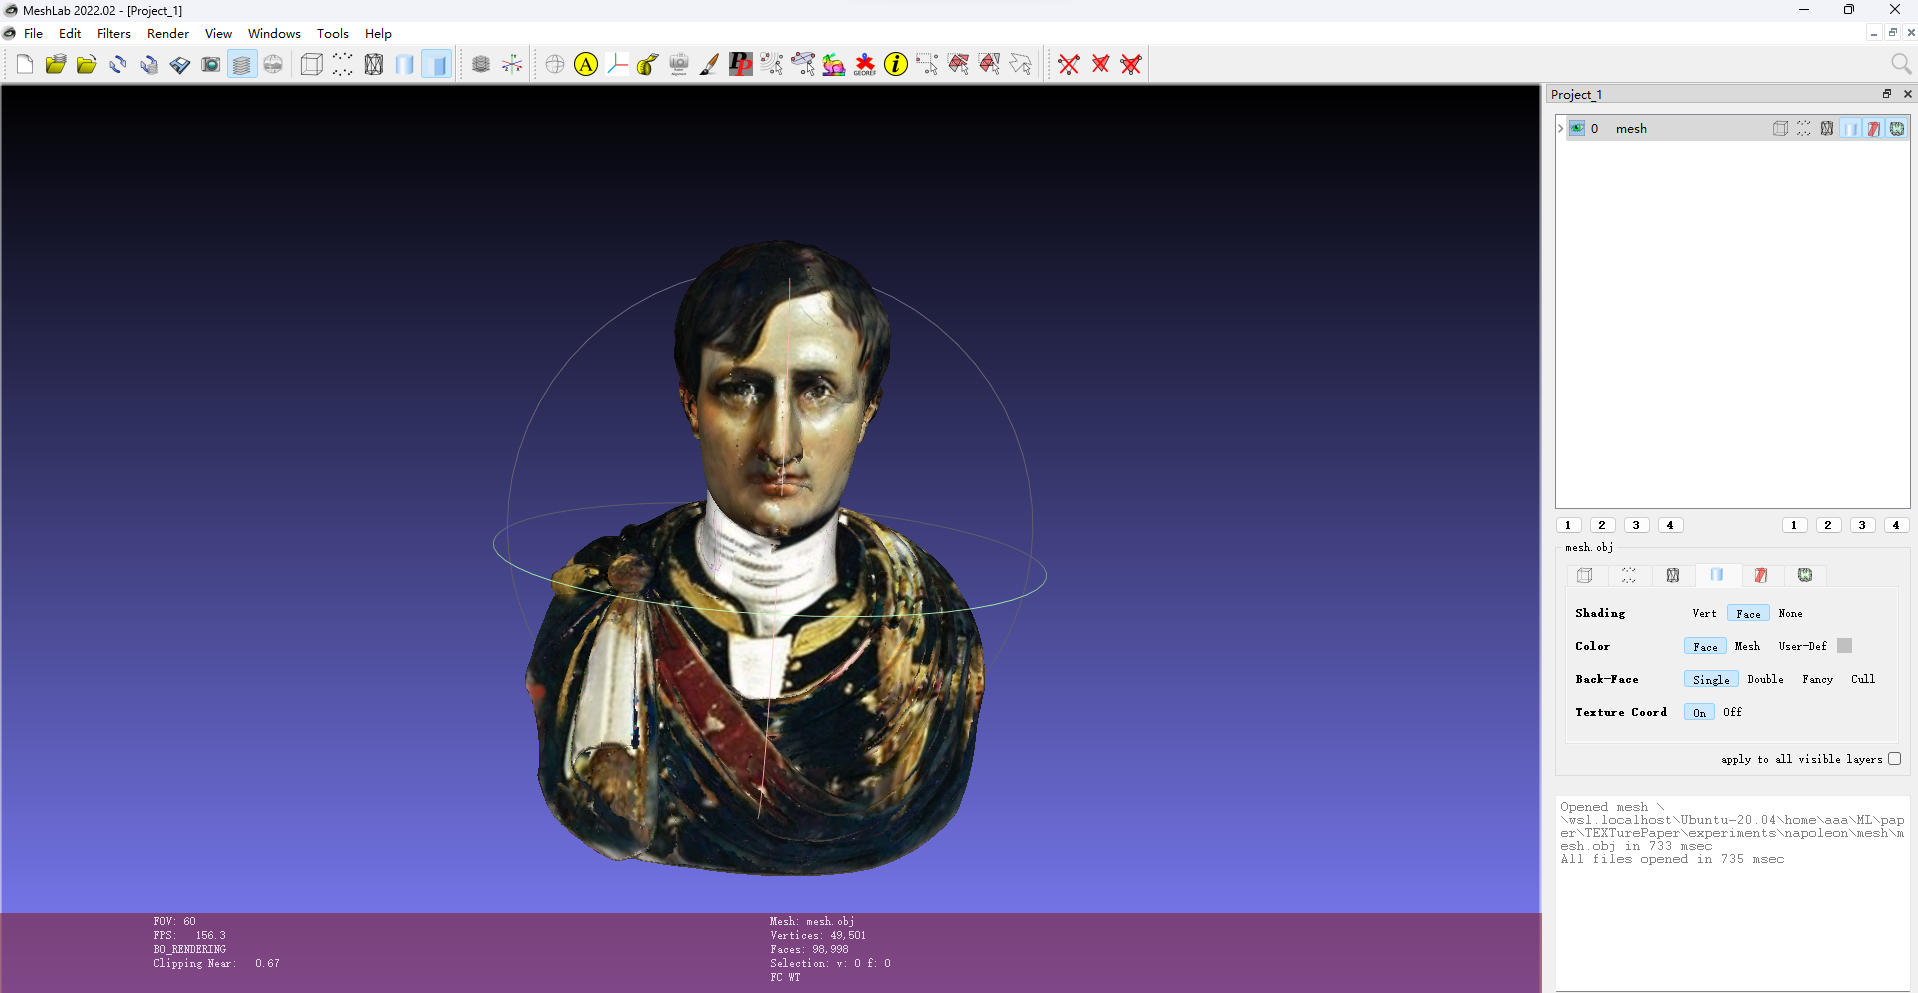
查看结果
运行的结果会保存在experiments文件夹下,experiments/napoleon/mesh/mesh.obj就是贴图后的三维网格模型
查看贴图后的三维网格模型
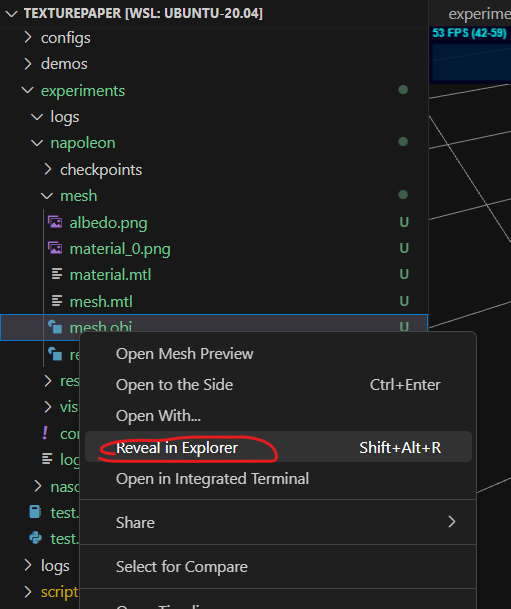
可以打开mesh.obj文件在本地的位置

下载MeshLab软件,然后就可以直接打开mesh.obj查看贴图后的三维网格模型啦