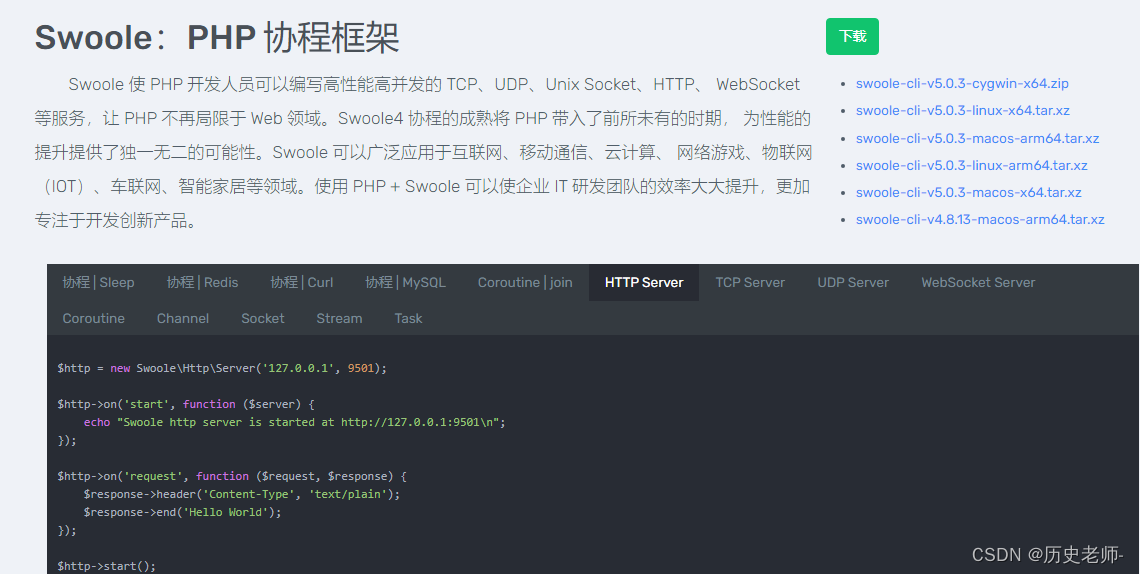
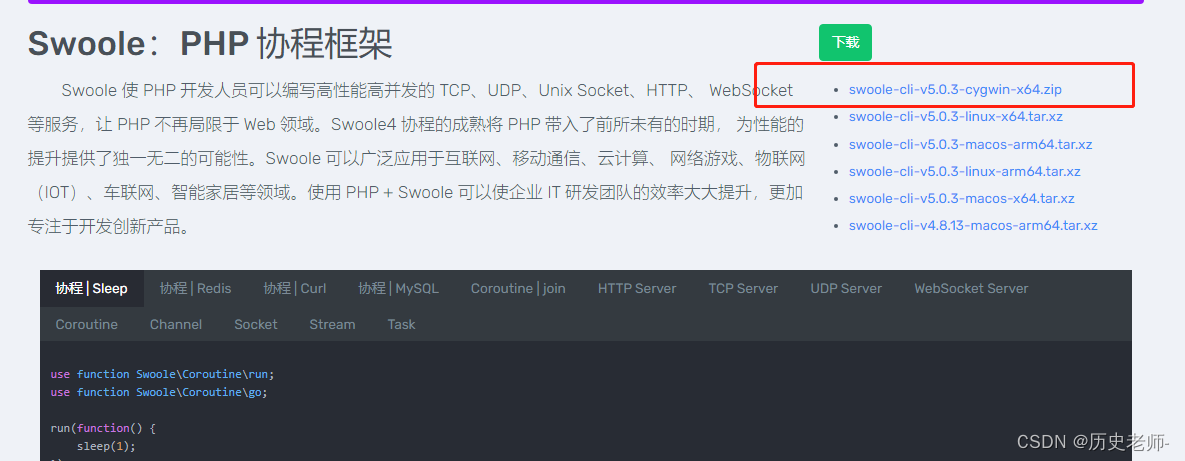
第一步下载:swoole官网下载 swoole-cli-v5.0.3-cygwin-x64.zip 只支持 64 位的系统
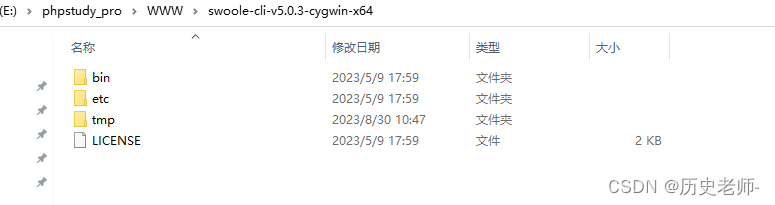
第二步解压到指定文件夹:E:\phpstudy_pro\WWW\swoole-cli-v5.0.3-cygwin-x64
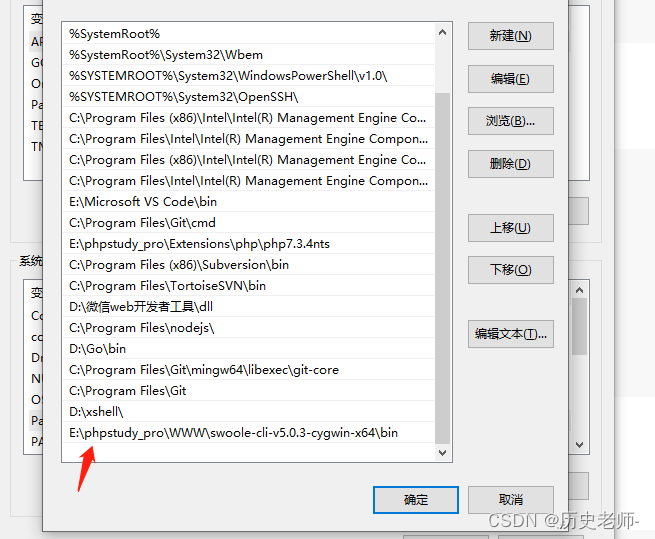
第三步设置环境变量:把解压后的文件夹下的 bin 目录路径配置到系统的 Path 环境变量中,确定保存

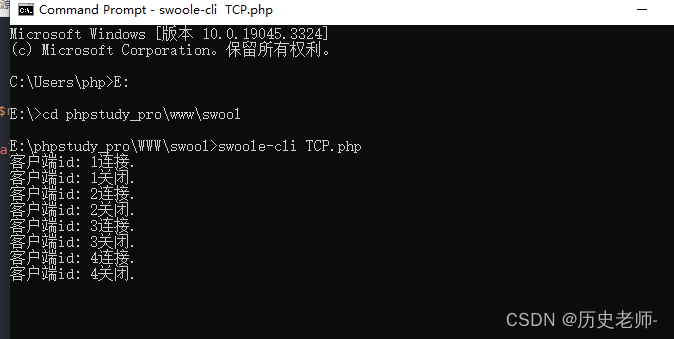
第四步检查安装情况:打开CMD命令行输入:swoole-cli -v,安装成功

第五步:编写简单的TCP服务器代码:TCP.php
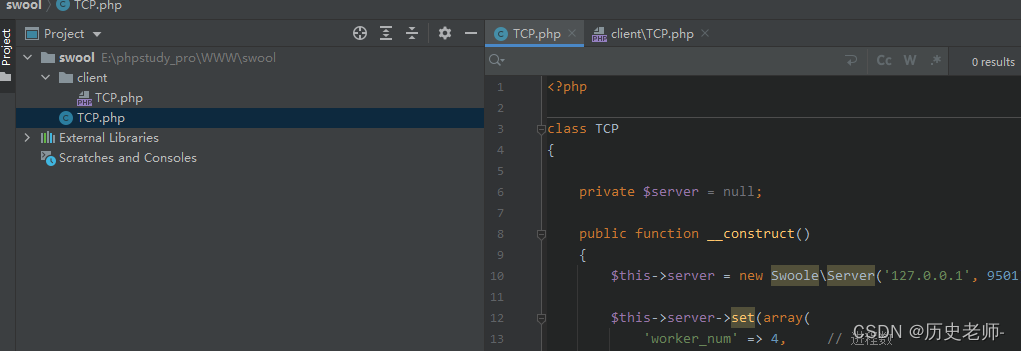
1. 服务端:
<?php

class TCP
{

    private $server = null;

    public function __construct()
    {
        $this->server = new Swoole\Server('127.0.0.1', 9501);

        $this->server->set(array(
            'worker_num' => 4,     // 进程数
            'max_request' => 50,    // 每个进程最大接受请求数
        ));

        //监听连接进入事件。
        $this->server->on('Connect', [$this, 'onConnect']);

        //监听数据接收事件。
        $this->server->on('Receive', [$this, 'onReceive']);

        监听连接关闭事件。
        $this->server->on('Close', [$this, 'onClose']);

        //启动服务器
        $this->server->start();
    }

    public function onConnect($server, $fd)
    {
        echo "客户端id: {$fd}连接.\n";
    }

    public function onReceive($server, $fd, $reactor_id, $data)
    {
        $server->send($fd, "发送的数据: {$data}");
    }

    public function onClose($server, $fd)
    {
        echo "客户端id: {$fd}关闭.\n";
    }

}


new TCP();
运行:
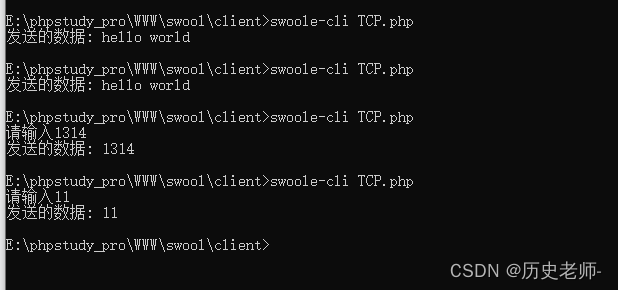
2. 客户端:
<?php

use Swoole\Coroutine\Client;
use function Swoole\Coroutine\run;

run(function () {
    $client = new Client(SWOOLE_SOCK_TCP);
    if (!$client->connect('127.0.0.1', 9501, 0.5)) {
        echo "connect failed. Error: {$client->errCode}\n";
    }

    fwrite(STDOUT, '请输入');
    $res = fgets(STDIN);
    $client->send($res);
    echo $client->recv();
    $client->close();
});
运行: