特别说明:参考地平线的官方文档,如有侵权告知删,谢谢。
完整转换代码参见github。代码
1 工具链
地平线工具链支持使用Docker和手工安装两种方式,“地平线强烈建议使用 Docker 方式,以避免在安装过程中出现问题”。
地平线提供的Docker有CPU版本的和GPU版本的,官方提供的下载链接工具链。
地平线工具链目前支持 Caffe、ONNX的加载转换。以下以ONNX的转为例进行说明,使用的工具链版本v1.11.4。以下示例以 ONNX 进行说明。
通过Docker镜像安装
# 镜像 load
sudo docker load -i docker_cpu_openexplorer_centos_7_xj3_v1.11.4.tar
# 启动镜像
sudo docker run -v `pwd`/convert_model:/data -it hub.hobot.cc/aitools/ai_toolchain_centos_7_xj3:v1.11.4

2 模型转换
地平线工具链的模型完整开发过程,需要经过 浮点模型准备、模型验证、模型转换、 性能评估 和 精度评估 共几个重要阶段。
2.1 浮点模型准备
准备好 caffemodel 或 onnx 模型, onnx 目前主要支持的 opset 版本是opset10和opset11。
2.2 验证模型
为了确保模型能顺利在地平线平台高效运行,模型中所使用的算子需要符合平台的算子约束。
每个算子具体的参数限制,参考 supported_op_list_and_restrictions/ 路径下《supported_op_list_and_restrictions_release》Excel表格。
考虑到地平线支持的算子较多,为了避免人工逐条校对的麻烦, 提供了 hb_mapper checker 工具用于验证模型所使用算子的支持情况。
使用 hb_mapper checker 工具验证模型
hb_mapper checker 参数解释:
--model-type
用于指定检查输入的模型类型,目前只支持设置 caffe 或者 onnx。

--march
用于指定需要适配的AI芯片类型,X/J3芯片应设置为 bernoulli2。

--proto
此参数仅在 model-type 指定 caffe 时有效,取值为Caffe模型的prototxt文件名称。

--model
在 model-type 被指定为 caffe 时,取值为Caffe模型的caffemodel文件名称。 在 model-type 被指定为 onnx 时,取值为ONNX模型文件名称。

--input-shape
可选参数,明确指定模型的输入shape。 取值为 {input_name} {NxHxWxC/NxCxHxW} ,input_name 与shape之间以空格分隔。 例如模型输入名称为 data1,输入shape为 [1,224,224,3], 则配置应该为 --input_shape data1 1x224x224x3。 如果此处配置shape与模型内shape信息不一致,以此处配置为准。

***说明***
注意一个 --input-shape 只接受一个name和shape组合,如果您的模型有多个输入节点, 在命令中多次配置 --input-shape 参数即可。

--output
可选参数,接受设置值为一个日志文件名称。 指定该参数情况下,检查的结果将输出到指定的日志文件。
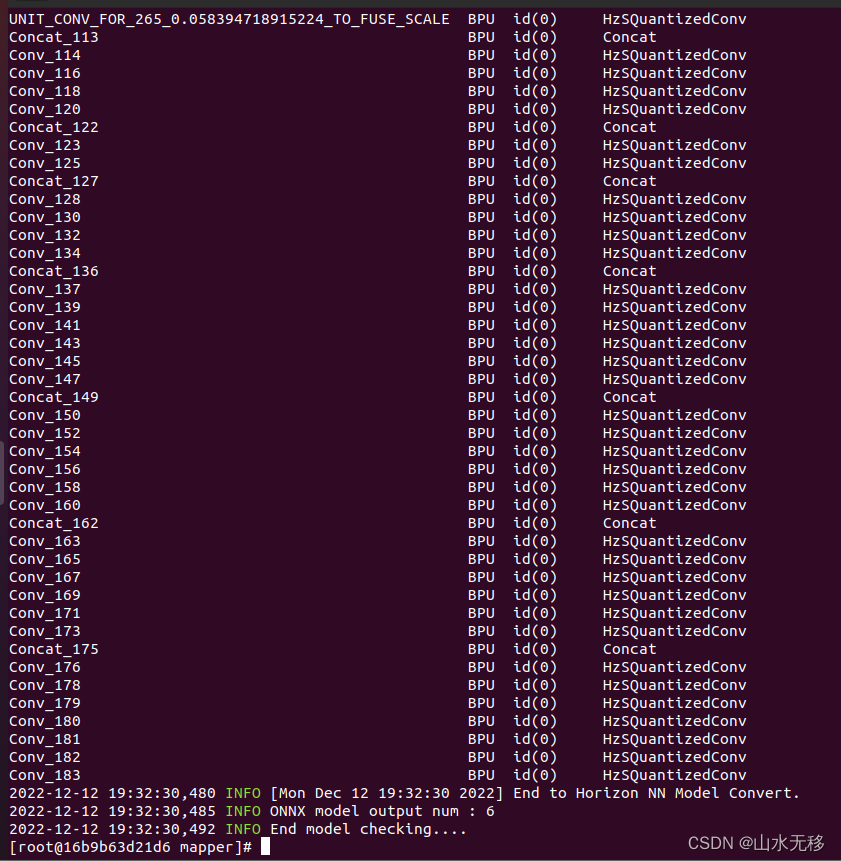
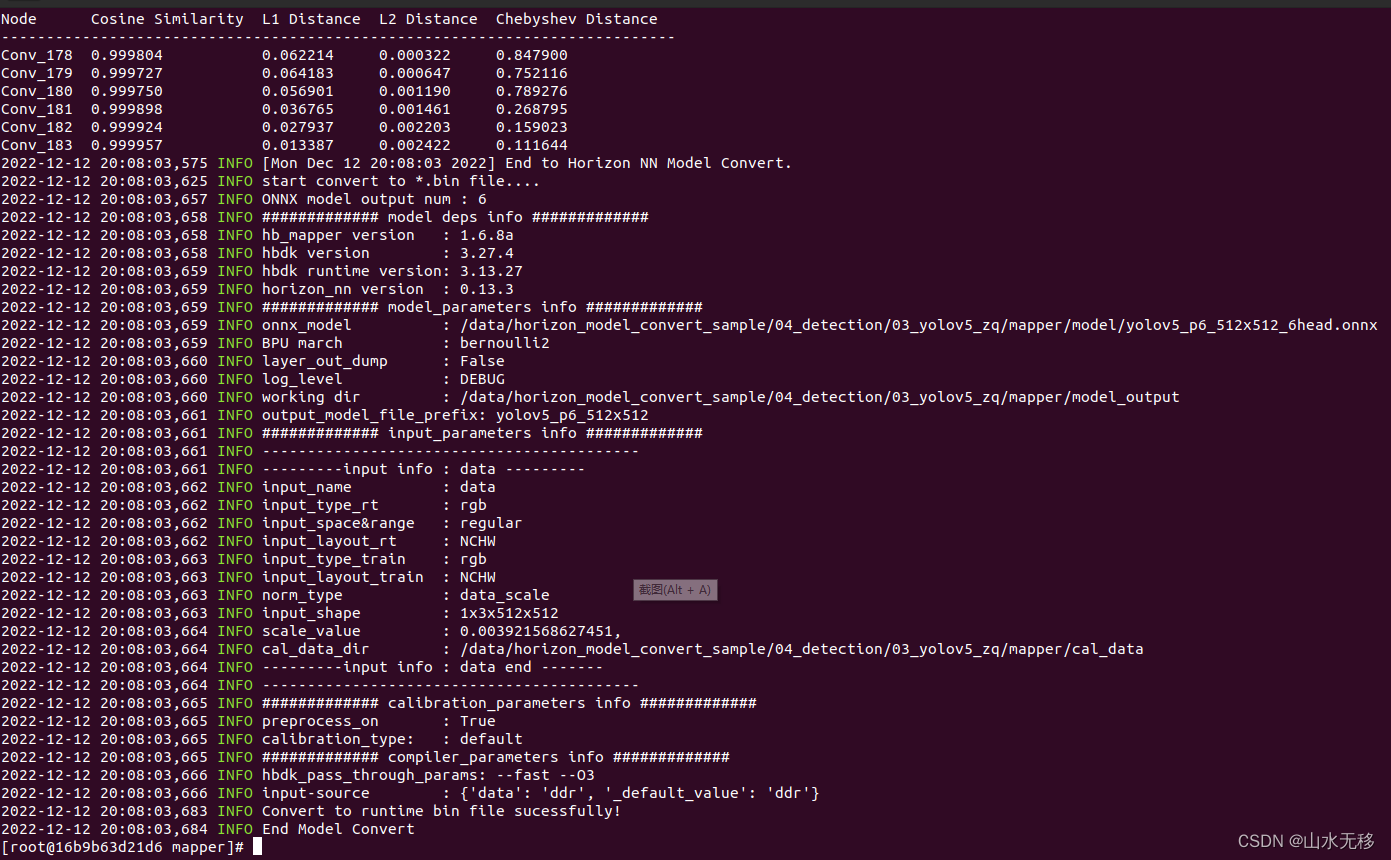
使用demo 中的 01_chek.sh 示例,打印日志中有模型的基本信息,和 BPU 支持性,那些层在 BPU 上运算,那些层在CPU上运行,考虑到效率推荐将所有的层都调整层在 BPU 上运行。
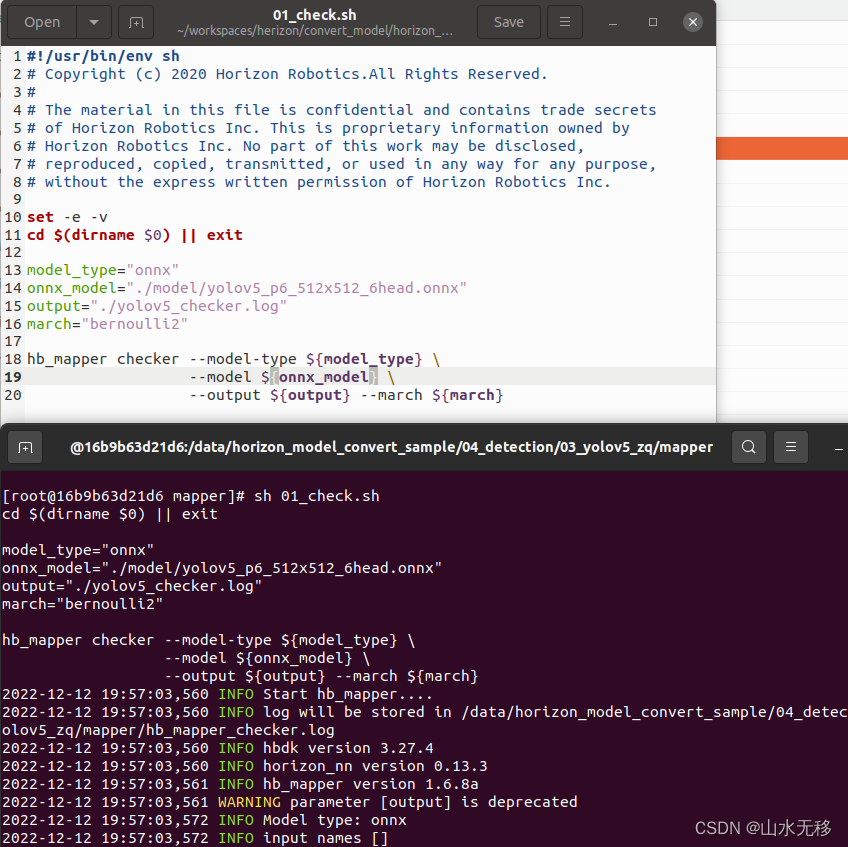
由于示例中的模型是经过适配,所有的层都是在 BPU 上运行。
2.3 模型转换
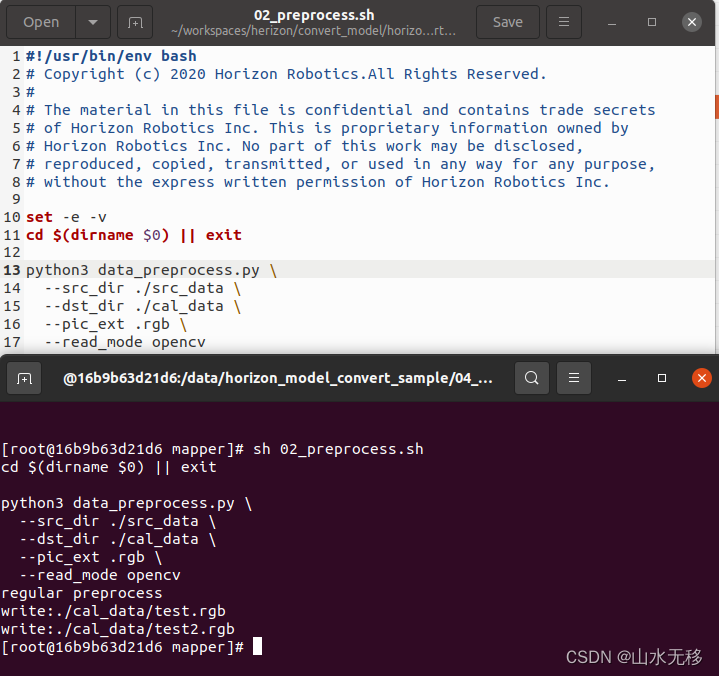
2.3.1 校准数据准备
在进行模型转换时,校准阶段会需要100份左右的样本输入,每一份样本都是一个独立的数据文件。 为了确保转换后模型的精度效果,这些校准样本来自于训练模型使用的训练集或验证集,场景覆盖尽量丰富, 不要使用非常少见的异常样本,例如纯色图片、不含任何检测或分类目标的图片等。
使用 02_preprocess.sh 进行数据转换
下一步模型转换所用的换配置文件中的 preprocess_on 参数,该参数启用和关闭状态下分别对应了两种不同的预处理样本要求。preprocess_on 关闭状态下,需要把取自训练集/验证集的样本做与inference前一样的前处理, 处理完后的校准样本会与原始模型具备一样的数据类型(input_type_train)、尺寸(input_shape)和 layout(input_layout_train)。
以下用 rgb 格式输入为例,预处理的数据放在cal_data文件下。预处理的具体代码在 data_preprocess.py 文件中。
特别说明:在后续的示例中模型使用的实际输入为 bgr 图像,示例中直接在cal_dataw文件夹下放入的是.jpg图像。
2.3.2 使用 hb_mapper makertbin 工具转换模型
hb_mapper makertbin参数解释:
--model-type
用于指定转换输入的模型类型,目前支持设置 caffe 或者 onnx。

--config
模型编译的配置文件,内容采用yaml格式,文件名使用.yaml后缀。一份完整的配置文件模板如下:

说明:
此处配置文件仅作展示,在实际模型配置文件中 caffe_model 与 onnx_model 两个参数只存在其中之一。 即,要么是Caffe模型,要么是ONNX模型。
使用 03_build.sh 脚本进行转换
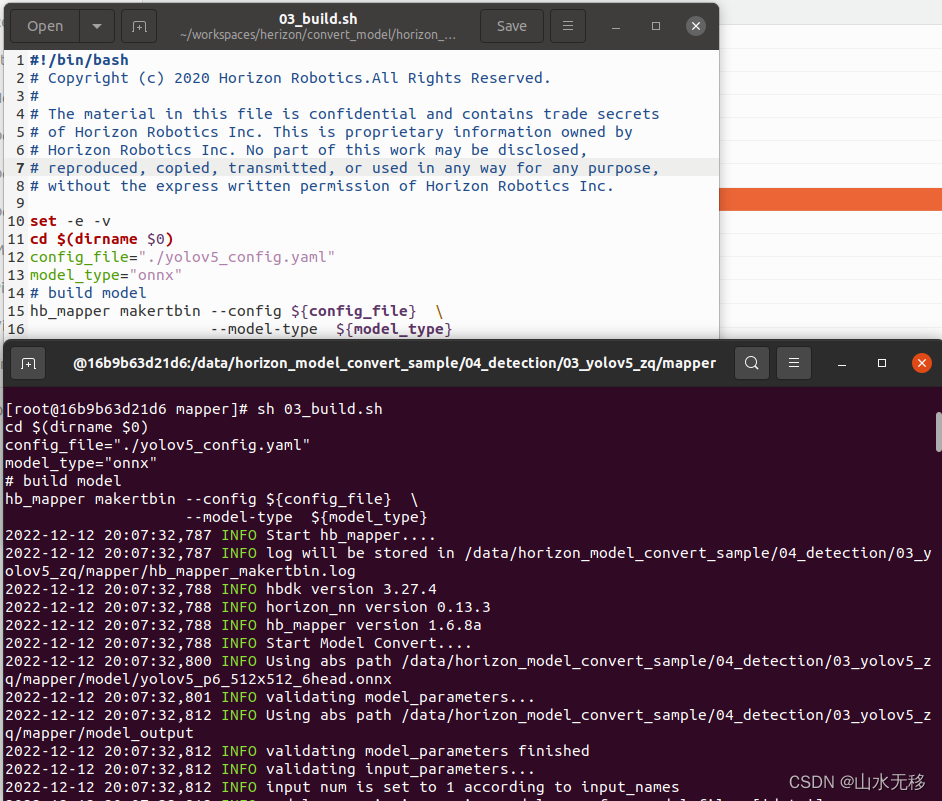
转换完成示例:打印日志
INFO Convert to runtime bin file successfully!
INFO End Model Convert
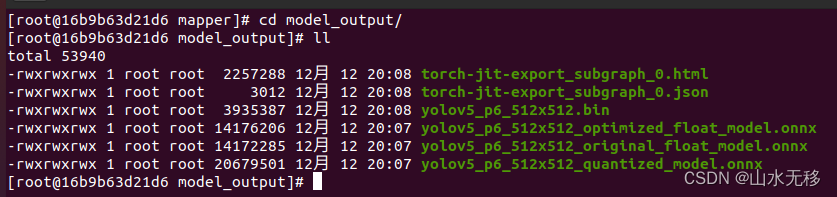
生成的模型
config 文件说明:
# 模型转化相关的参数
# ------------------------------------
# model conversion related parameters
model_parameters:
  # Onnx浮点网络数据模型文件
  # -----------------------------------------------------------
  # the model file of floating-point ONNX neural network data
  onnx_model: './model/yolov5_p6_512x512_6head.onnx'

  # 适用BPU架构
  # --------------------------------
  # the applicable BPU architecture
  march: "bernoulli2"

  # 指定模型转换过程中是否输出各层的中间结果,如果为True,则输出所有层的中间输出结果,
  # --------------------------------------------------------------------------------------
  # specifies whether or not to dump the intermediate results of all layers in conversion
  # if set to True, then the intermediate results of all layers shall be dumped
  layer_out_dump: False

  # 日志文件的输出控制参数,
  # debug输出模型转换的详细信息
  # info只输出关键信息
  # warn输出警告和错误级别以上的信息
  # ----------------------------------------------------------------------------------------
  # output control parameter of log file(s),
  # if set to 'debug', then details of model conversion will be dumped
  # if set to 'info', then only important imformation will be dumped
  # if set to 'warn', then information ranked higher than 'warn' and 'error' will be dumped
  log_level: 'debug'

  # 模型转换输出的结果的存放目录
  # -----------------------------------------------------------
  # the directory in which model conversion results are stored
  working_dir: 'model_output'

  # 模型转换输出的用于上板执行的模型文件的名称前缀
  # -----------------------------------------------------------------------------------------
  # model conversion generated name prefix of those model files used for dev board execution
  output_model_file_prefix: 'yolov5_p6_512x512'

# 模型输入相关参数, 若输入多个节点, 则应使用';'进行分隔, 使用默认缺省设置则写None
# --------------------------------------------------------------------------
# model input related parameters,
# please use ";" to seperate when inputting multiple nodes,
# please use None for default setting
input_parameters:

  # (选填) 模型输入的节点名称, 此名称应与模型文件中的名称一致, 否则会报错, 不填则会使用模型文件中的节点名称
  # --------------------------------------------------------------------------------------------------------
  # (Optional) node name of model input,
  # it shall be the same as the name of model file, otherwise an error will be reported,
  # the node name of model file will be used when left blank
  input_name: ""

  # 网络实际执行时,输入给网络的数据格式,包括 nv12/rgb/bgr/yuv444/gray/featuremap,
  # ------------------------------------------------------------------------------------------
  # the data formats to be passed into neural network when actually performing neural network
  # available options: nv12/rgb/bgr/yuv444/gray/featuremap,
  input_type_rt: 'rgb'

  # 网络实际执行时输入的数据排布, 可选值为 NHWC/NCHW
  # 若input_type_rt配置为nv12,则此处参数不需要配置
  # ------------------------------------------------------------------
  # the data layout formats to be passed into neural network when actually performing neural network, available options: NHWC/NCHW
  # If input_type_rt is configured as nv12, then this parameter does not need to be configured
  input_layout_rt: 'NCHW'

  # 网络训练时输入的数据格式,可选的值为rgb/bgr/gray/featuremap/yuv444
  # --------------------------------------------------------------------
  # the data formats in network training
  # available options: rgb/bgr/gray/featuremap/yuv444
  input_type_train: 'rgb'

  # 网络训练时输入的数据排布, 可选值为 NHWC/NCHW
  # ------------------------------------------------------------------
  # the data layout in network training, available options: NHWC/NCHW
  input_layout_train: 'NCHW'

  # (选填) 模型网络的输入大小, 以'x'分隔, 不填则会使用模型文件中的网络输入大小,否则会覆盖模型文件中输入大小
  # -------------------------------------------------------------------------------------------
  # (Optional)the input size of model network, seperated by 'x'
  # note that the network input size of model file will be used if left blank
  # otherwise it will overwrite the input size of model file
  input_shape: ''

  # 网络实际执行时,输入给网络的batch_size, 默认值为1
  # ---------------------------------------------------------------------
  # the data batch_size to be passed into neural network when actually performing neural network, default value: 1
  #input_batch: 1

  # 网络输入的预处理方法,主要有以下几种:
  # no_preprocess 不做任何操作
  # data_mean 减去通道均值mean_value
  # data_scale 对图像像素乘以data_scale系数
  # data_mean_and_scale 减去通道均值后再乘以scale系数
  # -------------------------------------------------------------------------------------------
  # preprocessing methods of network input, available options:
  # 'no_preprocess' indicates that no preprocess will be made
  # 'data_mean' indicates that to minus the channel mean, i.e. mean_value
  # 'data_scale' indicates that image pixels to multiply data_scale ratio
  # 'data_mean_and_scale' indicates that to multiply scale ratio after channel mean is minused
  norm_type: 'data_scale'

  # 图像减去的均值, 如果是通道均值,value之间必须用空格分隔
  # --------------------------------------------------------------------------
  # the mean value minused by image
  # note that values must be seperated by space if channel mean value is used
  mean_value: ''

  # 图像预处理缩放比例,如果是通道缩放比例,value之间必须用空格分隔
  # ---------------------------------------------------------------------------
  # scale value of image preprocess
  # note that values must be seperated by space if channel scale value is used
  scale_value: 0.003921568627451

# 模型量化相关参数
# -----------------------------
# model calibration parameters
calibration_parameters:

  # 模型量化的参考图像的存放目录,图片格式支持Jpeg、Bmp等格式,输入的图片
  # 应该是使用的典型场景,一般是从测试集中选择20~100张图片,另外输入
  # 的图片要覆盖典型场景,不要是偏僻场景,如过曝光、饱和、模糊、纯黑、纯白等图片
  # 若有多个输入节点, 则应使用';'进行分隔
  # -------------------------------------------------------------------------------------------------
  # the directory where reference images of model quantization are stored
  # image formats include JPEG, BMP etc.
  # should be classic application scenarios, usually 20~100 images are picked out from test datasets
  # in addition, note that input images should cover typical scenarios
  # and try to avoid those overexposed, oversaturated, vague,
  # pure blank or pure white images
  # use ';' to seperate when there are multiple input nodes
  cal_data_dir: './cal_data'

  # 如果输入的图片文件尺寸和模型训练的尺寸不一致时,并且preprocess_on为true,
  # 则将采用默认预处理方法(skimage resize),
  # 将输入图片缩放或者裁减到指定尺寸,否则,需要用户提前把图片处理为训练时的尺寸
  # ---------------------------------------------------------------------------------
  # In case the size of input image file is different from that of in model training
  # and that preprocess_on is set to True,
  # shall the default preprocess method(skimage resize) be used
  # i.e., to resize or crop input image into specified size
  # otherwise user must keep image size as that of in training in advance
  preprocess_on: True

  # 模型量化的算法类型,支持kl、max、default、load,通常采用default即可满足要求, 若为QAT导出的模型, 则应选择load
  # ----------------------------------------------------------------------------------
  # types of model quantization algorithms, usually default will meet the need
  # available options:kl, max, default and load
  # if converted model is quanti model exported from QAT , then choose `load`
  calibration_type: 'default'

# 编译器相关参数
# ----------------------------
# compiler related parameters
compiler_parameters:

  # 编译策略,支持bandwidth和latency两种优化模式;
  # bandwidth以优化ddr的访问带宽为目标;
  # latency以优化推理时间为目标
  # -------------------------------------------------------------------------------------------
  # compilation strategy, there are 2 available optimization modes: 'bandwidth' and 'lantency'
  # the 'bandwidth' mode aims to optimize ddr access bandwidth
  # while the 'lantency' mode aims to optimize inference duration
  compile_mode: 'latency'

  # 设置debug为True将打开编译器的debug模式,能够输出性能仿真的相关信息,如帧率、DDR带宽占用等
  # -----------------------------------------------------------------------------------
  # the compiler's debug mode will be enabled by setting to True
  # this will dump performance simulation related information
  # such as: frame rate, DDR bandwidth usage etc.
  debug: False

  # 编译模型指定核数,不指定默认编译单核模型, 若编译双核模型,将下边注释打开即可
  # -------------------------------------------------------------------------------------
  # specifies number of cores to be used in model compilation
  # as default, single core is used as this value left blank
  # please delete the "# " below to enable dual-core mode when compiling dual-core model
  # core_num: 2

  # 优化等级可选范围为O0~O3
  # O0不做任何优化, 编译速度最快,优化程度最低,
  # O1-O3随着优化等级提高,预期编译后的模型的执行速度会更快,但是所需编译时间也会变长。
  # 推荐用O2做最快验证
  # ----------------------------------------------------------------------------------------------------------
  # optimization level ranges between O0~O3
  # O0 indicates that no optimization will be made
  # the faster the compilation, the lower optimization level will be
  # O1-O3: as optimization levels increase gradually, model execution, after compilation, shall become faster
  # while compilation will be prolonged
  # it is recommended to use O2 for fastest verification
  optimize_level: 'O3'
2.3.3 模型性能分析与调优
本节介绍了使用地平线提供的工具评估模型性能,这些工具得到的都是与实际执行基本无异的性能效果,如果此阶段发现评估结果不符合预期,强烈建议您尽量在此阶段根据地平线的优化建议解决性能问题。
# 使用 hb_perf
hb_perf yolov5_p6_512x512.bin
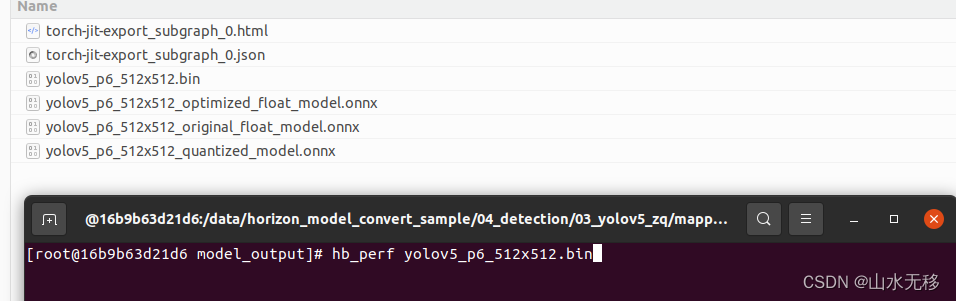
执行结果

详细分析方式参考官方提供的文档,这里就不作展开。
2.3.4 模型精度分析与调优(产出物进行推理)
如何使用模型转换的产出物进行推理。前文提到模型成功转换的产出物包括以下四个部分:
***_original_float_model.onnx
***_optimized_float_model.onnx
***_quantized_model.onnx
***.bin
虽然bin模型才是将部署到AI芯片的模型,考虑到方便在Ubuntu/CentOS开发机上完成精度评测, 提供了**_quantized_model.onnx完成这个精度评测的过程。quantized模型已经完成了量化,与最后的bin模型具有一致的精度效果。
本示例对后处理代码是进行了重写的,具体参考github。完整代码代码链接
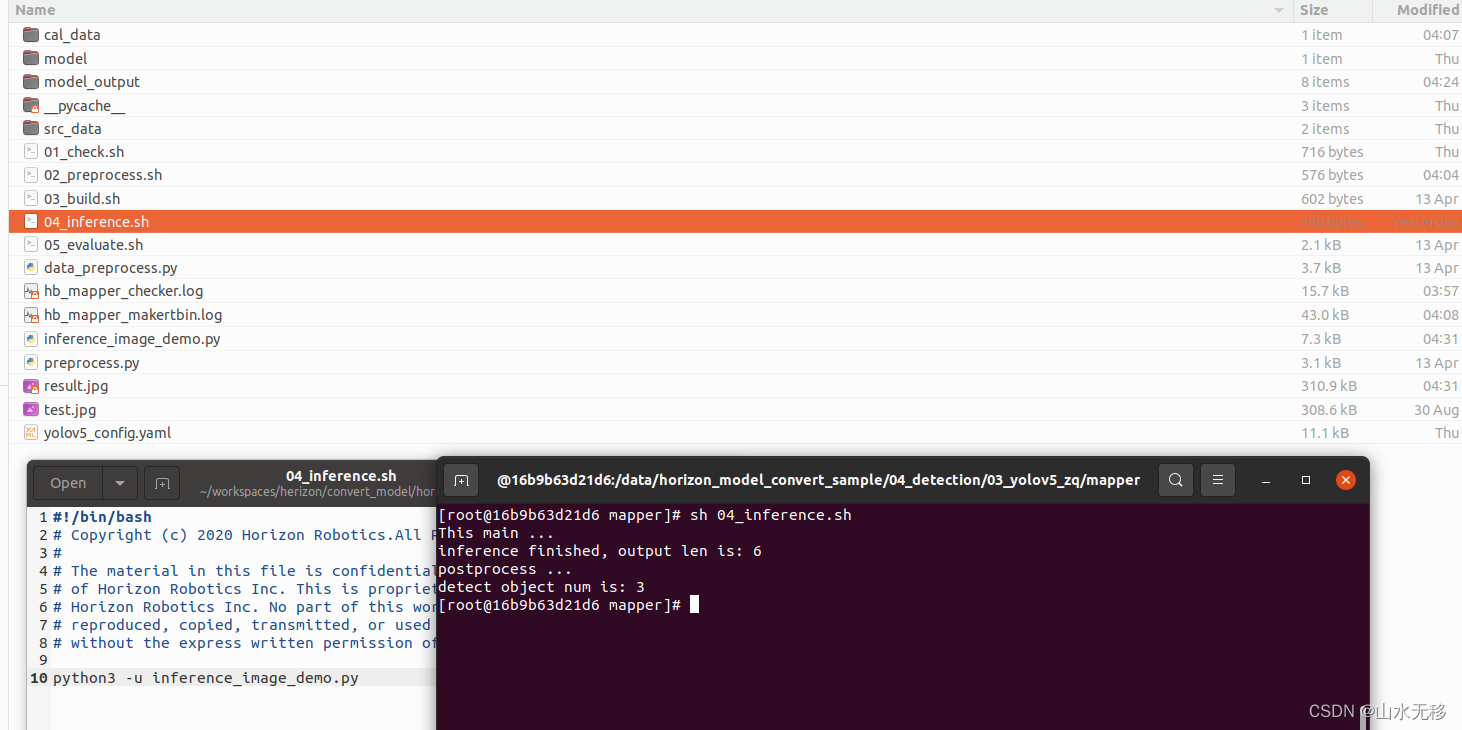
# 仿真
04_inference.sh

# 输出检测结果 result.jpg
参考文献
[1] 《Horizon AI Toolchain User Guide》
[2] https://developer.horizon.ai/forumDetail/136488103547258769