需求
接ubuntu18使用preseed文件定制ISO镜像实现自动化安装需求,上篇文章实现了xi86架构下的定制化自动安装,本文简单实现了一下ubuntu-18.04.5-server-arm64.iso的定制及安装,将过程记录于此,更多关于preseed的内容不在此赘述,请参考前文
环境
1、服务器一台,CPU架构为arm64,可联网,ubuntu-18.04.5-server-arm64操作系统
2、iso镜像:ubuntu-18.04.5-server-arm64.iso
3、qemu/kvm
4、制作系统架构:arm64
制作过程
arm版本的iso解压后会看到与amd略有不同,具体如下
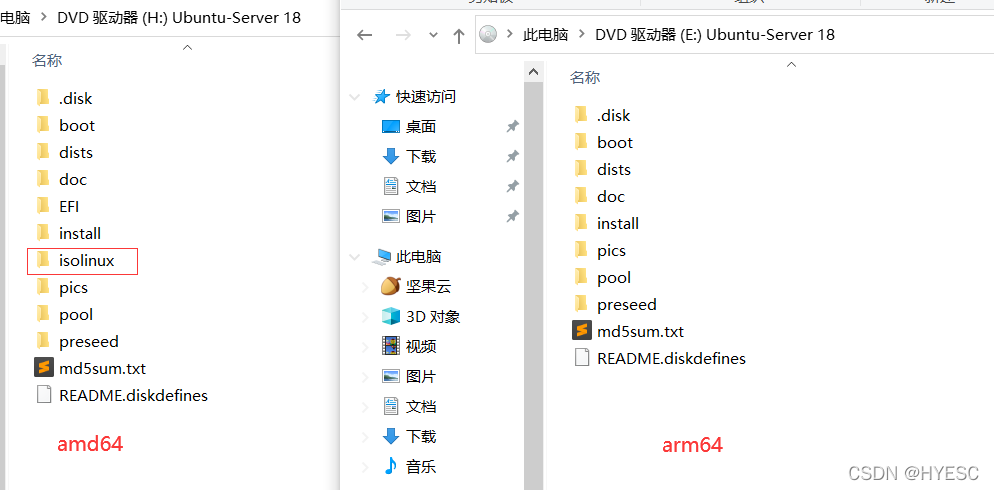
核心在于amd64有isolinux目录,而arm64的则没有,导致如果将amd64版本的custom.seed和grub.cfg直接拷贝到arm64中,在安装过程中会出现下图所示需要手动选择
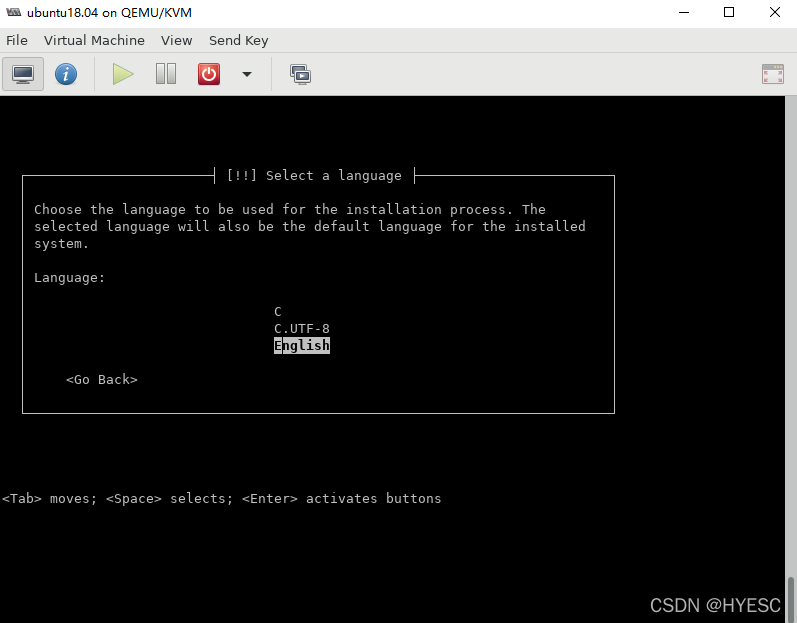

其实custom.seed文件中设置的有d-i debian-installer/locale string en_US.UTF-8 ,但是看起来并未生效。后多方查找资料测试,问题出在amd64的isolinux.cfg文件内,如下所示:
append initrd=/install/initrd.gz file=/cdrom/preseed/custom.seed boot=install debian-installer/locale=en_US.UTF-8 console-setup/ask_detect=false keyboard-configuration/layoutcode=us automatic-ubiquity quiet splash --
可以看到有一项debian-installer/locale=en_US.UTF-8,而arm64版本中没有isolinux.cfg文件,也就没有设置该项内容,恰恰是这一项使得arm64版本的需要手动设置语言和地区。
在arm64版本中只需要将这一项添加到grub.cfg文件中即可
if loadfont /boot/grub/font.pf2 ; then
	set gfxmode=auto
	insmod efi_gop
	insmod efi_uga
	insmod gfxterm
	terminal_output gfxterm
fi

set menu_color_normal=white/black
set menu_color_highlight=black/light-gray

set timeout=30
menuentry "Install Ubuntu-custom Server" {


	set gfxpayload=keep
	linux	/install/vmlinuz  file=/cdrom/preseed/custom.seed debian-installer/locale=en_US.UTF-8 quiet ---
	initrd	/install/initrd.gz
}
menuentry "Check disc for defects" {


        set gfxpayload=keep
        linux   /install/vmlinuz  MENU=/bin/cdrom-checker-menu quiet ---
        initrd  /install/initrd.gz
}
menuentry "Rescue a broken system" {


        set gfxpayload=keep
        linux   /install/vmlinuz  rescue/enable=true ---
        initrd  /install/initrd.gz
}
之后再次安装时就不会出现手动选择语言和地区的情况了。
最后说明一下制作iso的命令,与amd64的也略有不同,具体如下:
mkisofs -r -checksum_algorithm_iso md5,sha1 -V 'Ubuntu-Server 18.04.5 LTS arm64' -o ../ubuntu-arm64.iso -J -joliet-long -cache-inodes -e boot/grub/efi.img -no-emul-boot -partition_cyl_align ./
以上命令是在iso文件拷贝出来后的目录内执行的。-o是输出的iso文件的名称
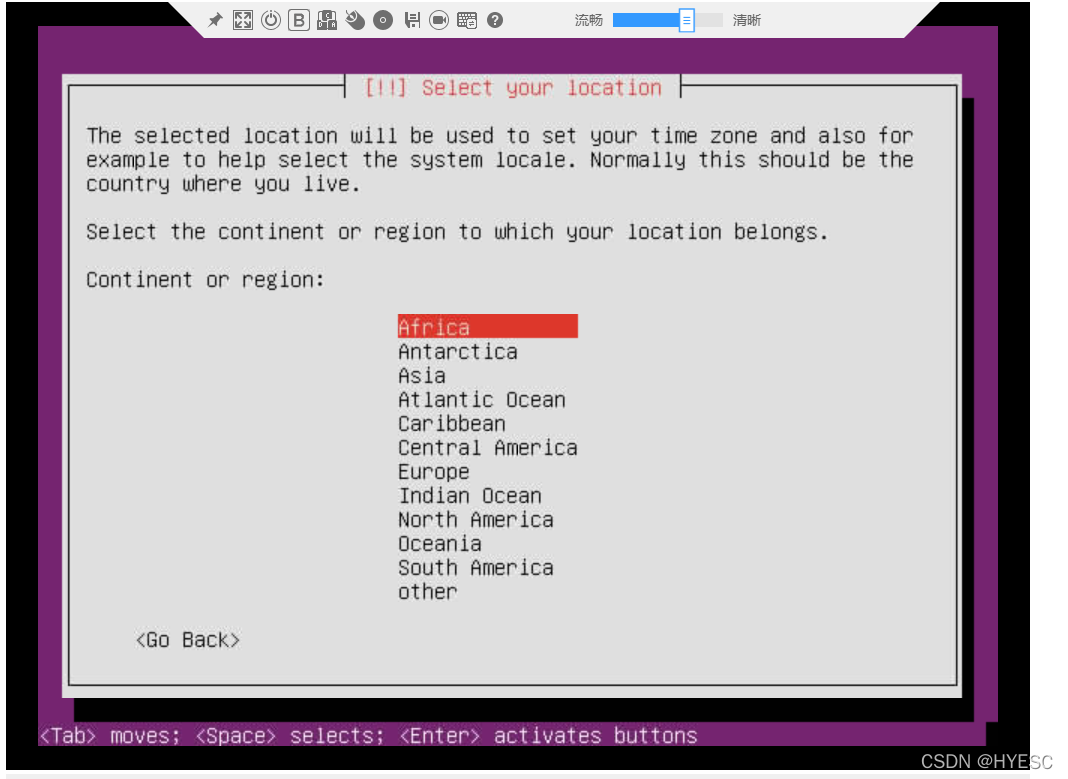
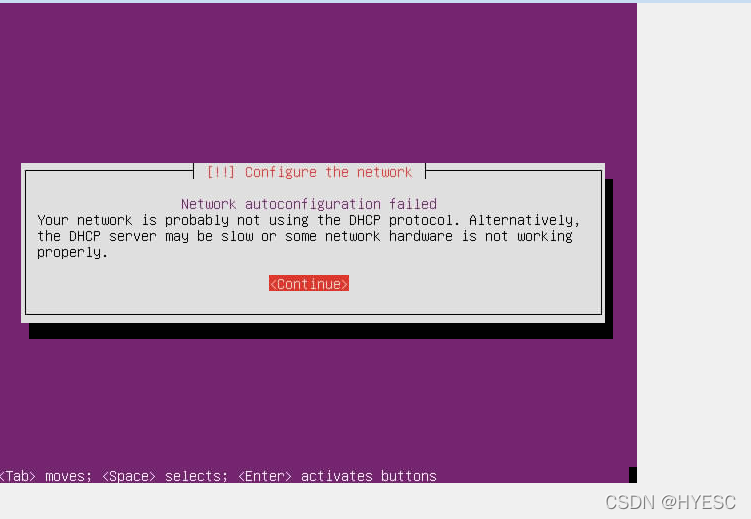
另外安装过程中还出现了以下内容需要手动选择


以上问题的出现是因为使用virt-manager创建虚拟机时,网卡选择有问题导致的,后来选择nat模式后就没有出现上述问题。如果依旧有或者设备没有网卡,可以选择跳过网络选择,具体设置如下(本次未测试,仅看官方说明如下):
# Disable network configuration entirely. This is useful for cdrom
# installations on non-networked devices where the network questions,
# warning and long timeouts are a nuisance.
d-i netcfg/enable boolean false
后期在物理机(鲲鹏920-3226cpu)上安装时,还是会出现一些问题

linux /install/vmlinuz file=/cdrom/preseed/custom.seed debian-installer/locale=en_US.UTF-8 quiet --- 这里加上键盘的选项,custom.seed中语言选择和键盘的设置都可以注释掉
grub.cfg中部分设置最终改为如下:
linux /install/vmlinuz file=/cdrom/preseed/custom.seed debian-installer/locale=en_US.UTF-8 console-setup/ask_detect=false keyboard-configuration/layoutcode=us quiet ---
一定注意带上UTF-8,很多不必要的弯路都是因为最初没有带上UTF-8导致的!!!
这个问题就是选择语言时没有带上UTF-8导致的debian-installer/locale=en_US.UTF-8
网卡错误之类的问题出现,可以安装好系统后手动配置网络,这里跳过网络配置,设置如下:
# disable network configuration entirely
d-i netcfg/enable boolean false
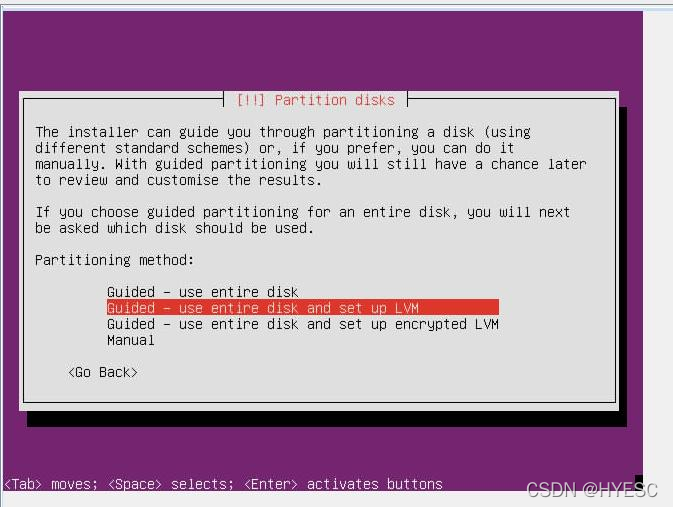
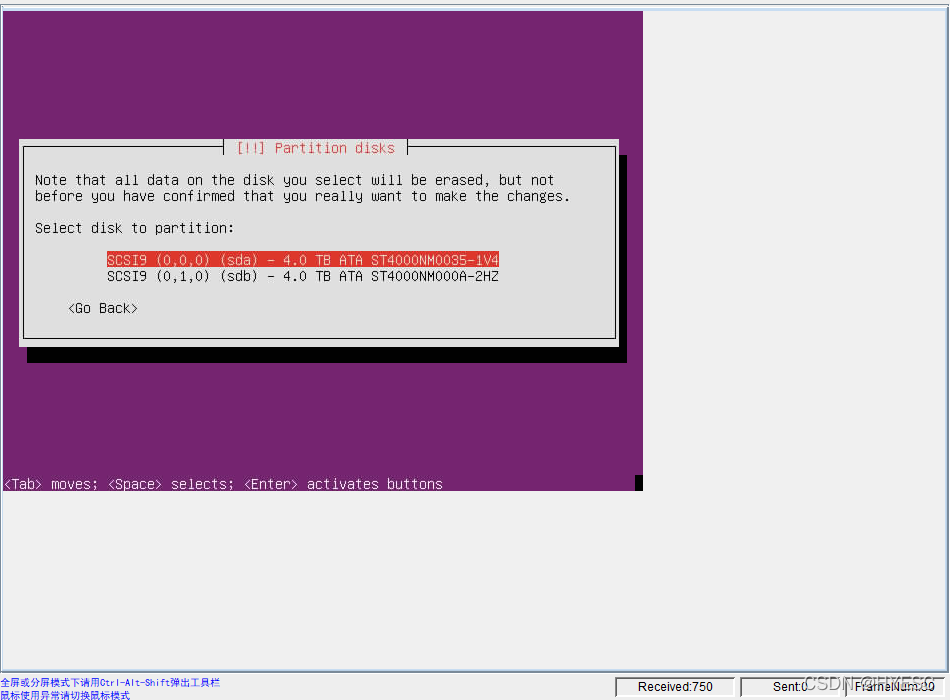
这个问题是custom.seed中少写了自动配置硬盘的代码导致的
#to use the first SCSI/SATA hard disk  注释掉这行就会导致手动分区的设置,尤其是多个硬盘时
d-i partman-auto/disk string /dev/sda
# 配置自动分区,这里设置的是全都分到一个分区
d-i partman-auto/choose_recipe select atomic
参考链接
How to get past Welcome (language) screen when automating install
example-preseed.txt
ubuntu个性化制作X86和ARM镜像
KVM之使用virt-manager 管理工具创建虚拟机