一:介绍
VTK:是一个用于三维计算机图形学、图像处理、数据可视化和科学可视化的开源软件库。VTK提供了丰富的基础算法和数据结构,包括点、线、多边形、二维和三维图像、体绘制等,以及许多高级算法,例如曲面重建、流体力学模拟、拟合和插值、图像分割和成像处理等。
QT:提供了一套完整的库,包括GUI、网络、数据库、XML、蓝牙、多媒体、OpenGL等,可以用来编写桌面、移动设备、嵌入式及实时应用程序。Qt的代码可移植性非常好,开发者可以编写一份代码,在Windows、Linux、Mac OS等平台上编译运行,无需更改代码。Qt的特点是易于学习和使用,文档和示例丰富,支持丰富的第三方库,开发速度快,可生成高效的代码,界面美观易用,是一款非常流行的跨平台开发框架。
二:环境
Win10
VS2019
VTK9.0.3 https://vtk.org/files/release/9.0/VTK-9.0.3.tar.gz
QT5.14.2 https://download.qt.io/archive/qt/5.14/5.14.2/
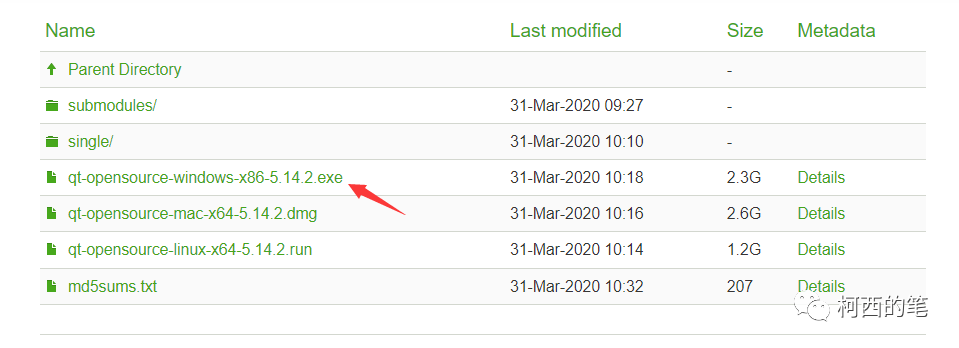
下载完成后VTK进行解压,QT进行安装。
三:安装编译
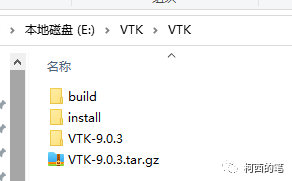
1.先建文件夹
在VTK目录下新建build和install两文件夹。build存放编译结果和可执行文件,install存放编译出来的include和lib。
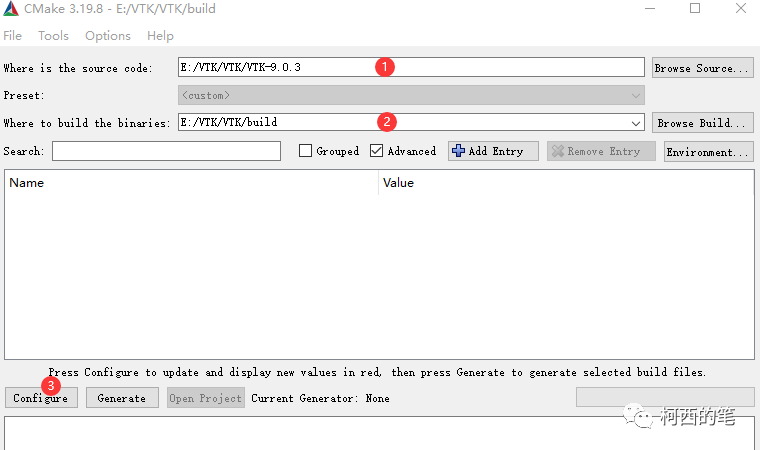
2.cmake设置
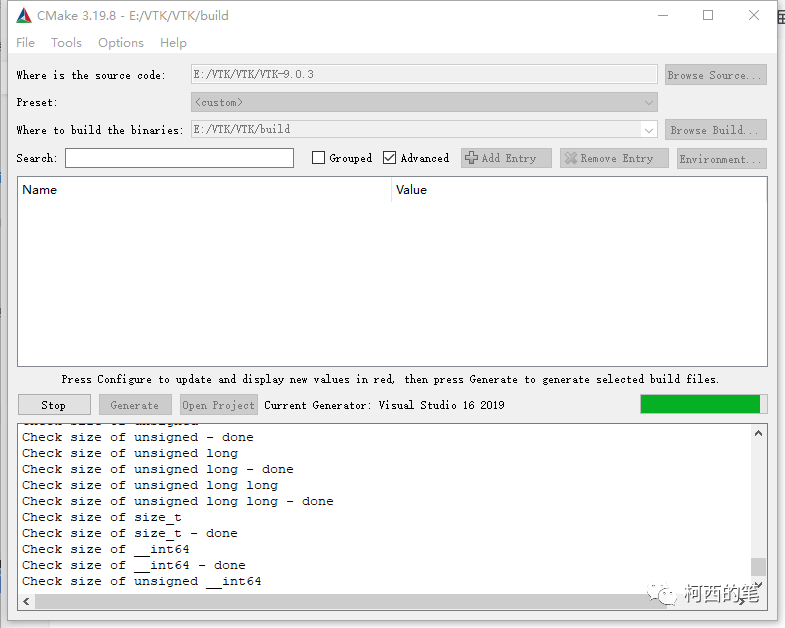
(1)选择刚才vtk解压的位置。(2)选择刚才创建的build文件夹。(3)configure 其中Advanced需要勾选,此处cmake打开默认勾选了。
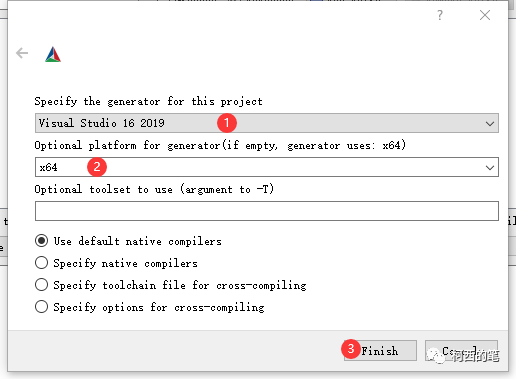
(1)选择vs2019(2)选择x64(3)Finish
等待其运行结束
待结束后会有一堆的红色警告。其中有一些区域需要修改。CMAKE_INSTALL_PREFIX需要将位置修改成之前新建的install文件夹。

VTK_BUILD_EXAMPLES需要勾选

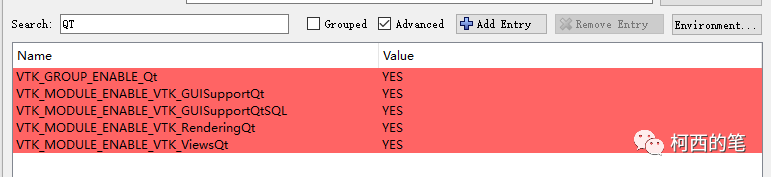
搜索QT将所有的Value改为YES
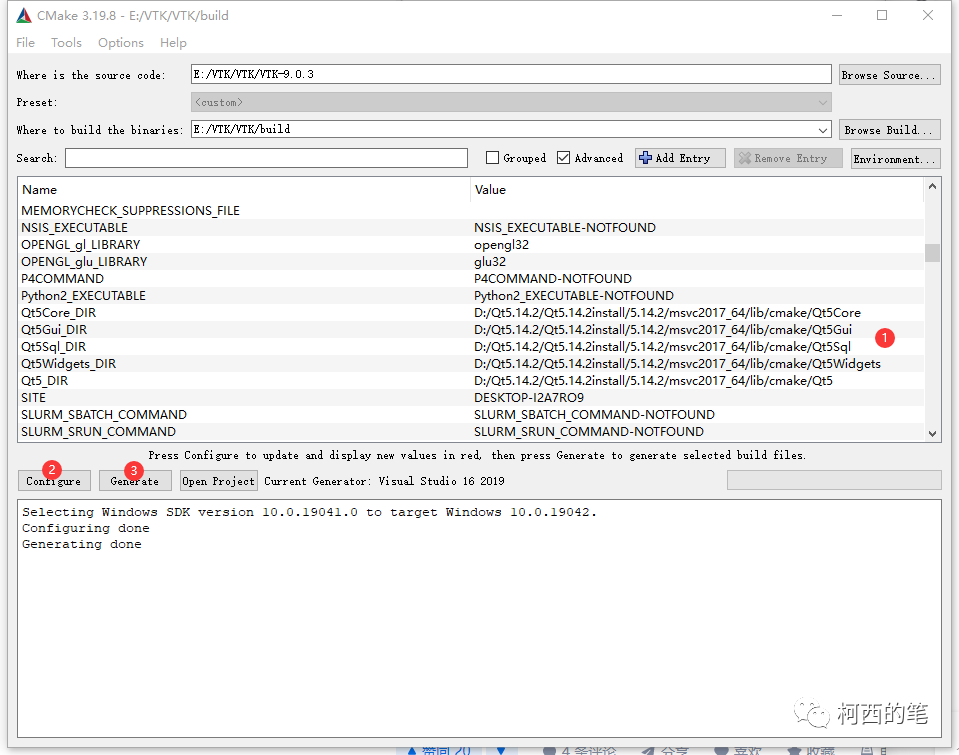
接下去按Configure。还会弹出红色警告,会找不到QT位置。将下面的位置都相应的填上之前安装的QT位置。(QT5.14.2没有VS2019文件夹,用VS2017代替也是一样的)

再按Configure就会全部通过没有红色警告。再按Generate就会生成如下图所示。
3.编译
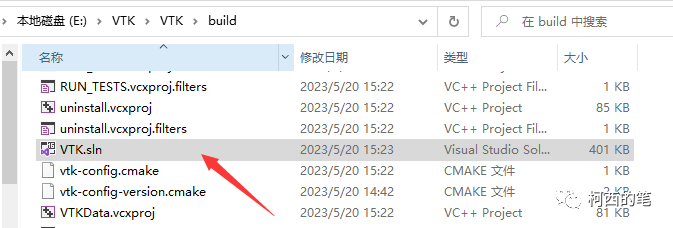
在之前建的build文件夹里找到VTK.sln打开。
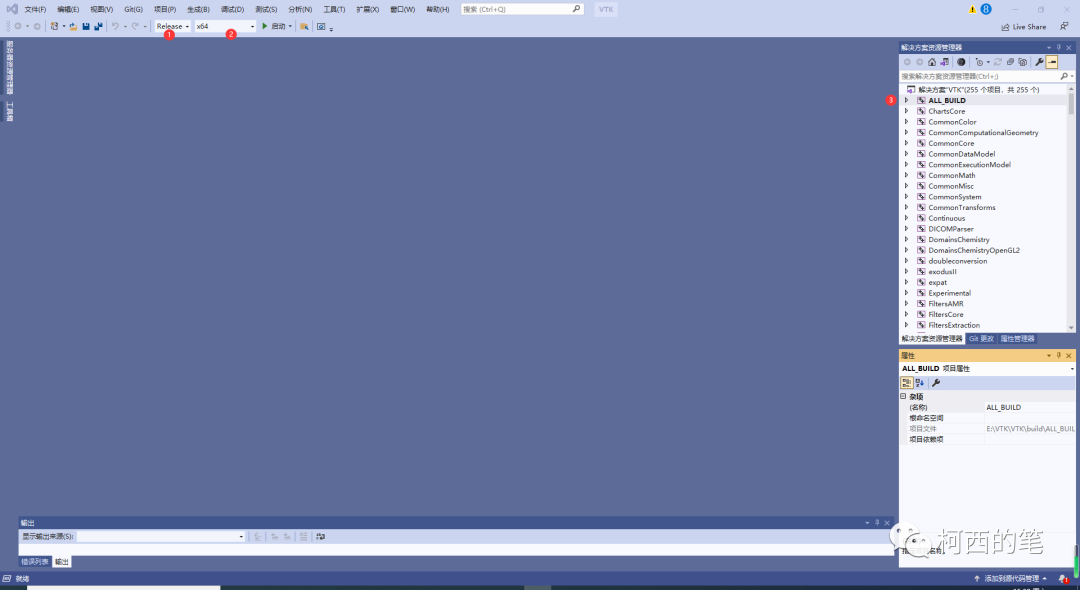
打开界面如下,调整release或debug。找到ALL_BUILD右键--生成。
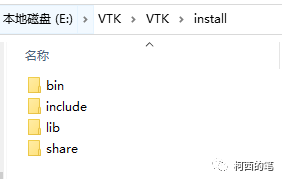
待上一步结束后找到INSTALL右键生成

安装完成,install文件夹里会生成如下文件。
四:VS配置QT
1.新建一个C++项目,然后在扩展--管理扩展搜索QT,下载安装Qt Visual Studio Tools。

2.安装完成后打开扩展--Qt VS Tools--Qt Versions
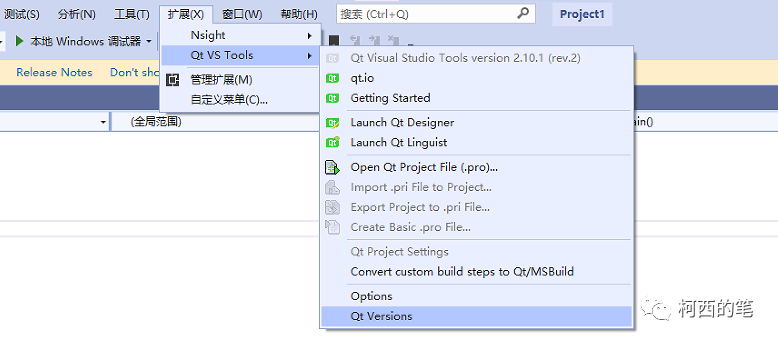
3.将之前安装Qt的位置填上
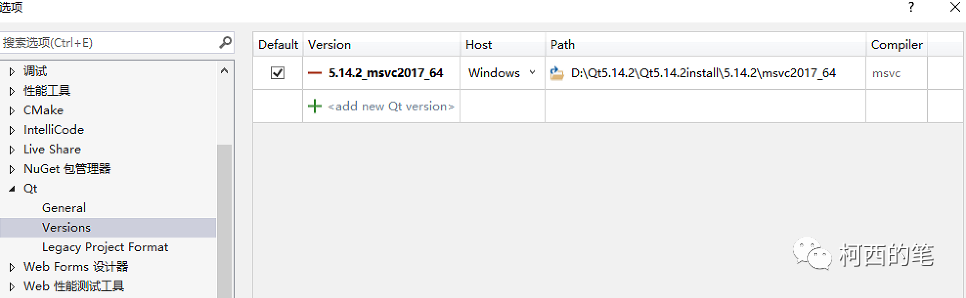
以上操作VS配置QT就完成了。
五:实例
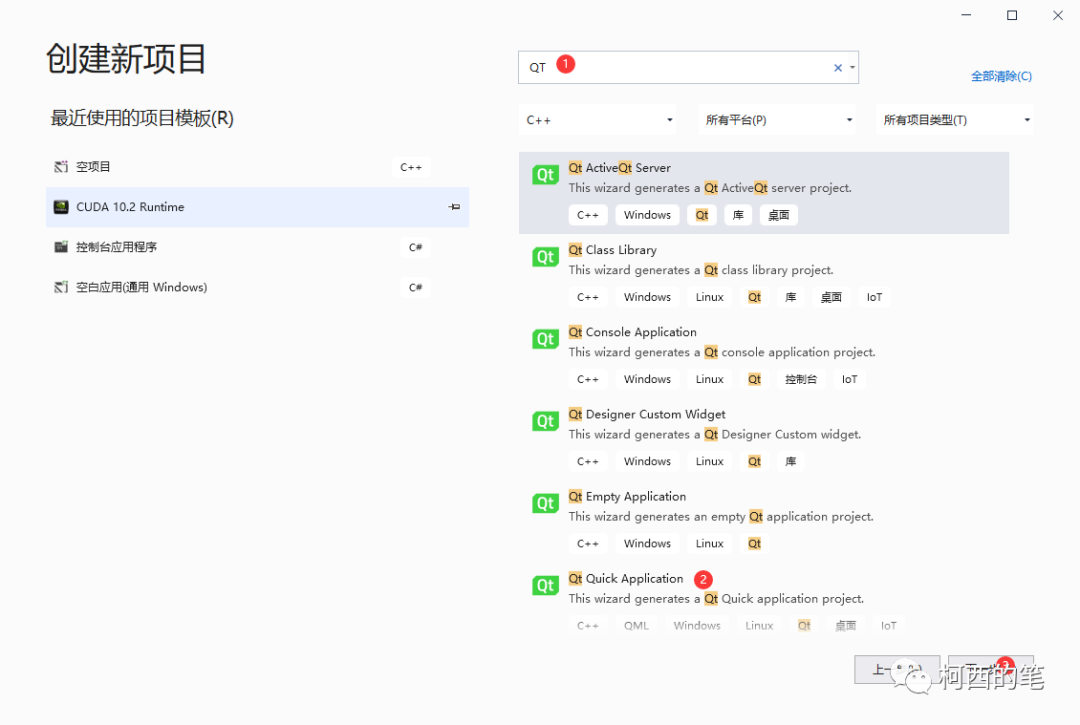
1.新建VS项目
这个时候搜索QT会弹出相应的QT项目可以新建。
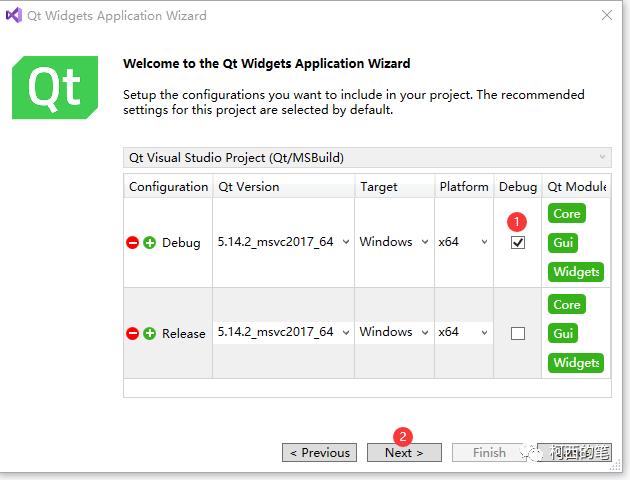
此处我们直接选择DEBUG进去即可,后续再通过VS调整为Release。
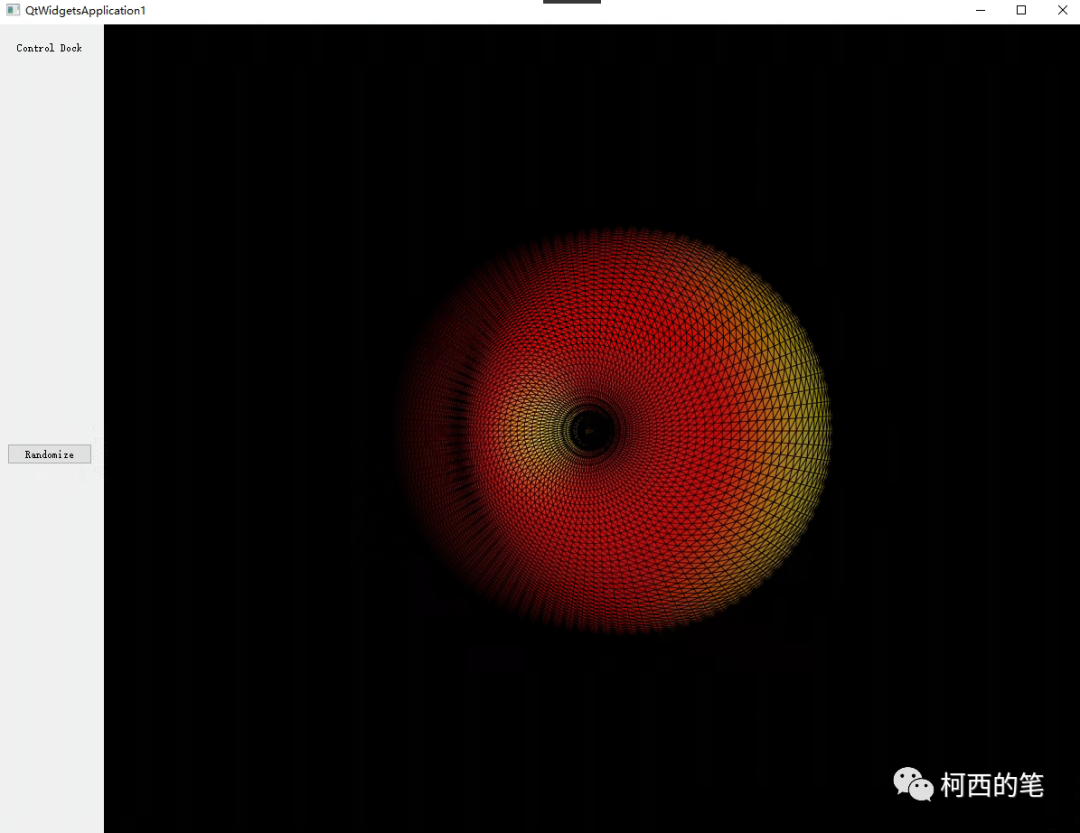
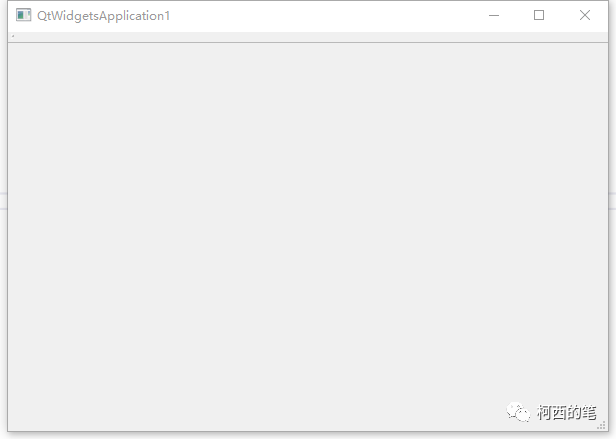
新建的项目进去后已经有一些基础代码,可以直接运行。会得到如下窗口。
2.配置VTK环境
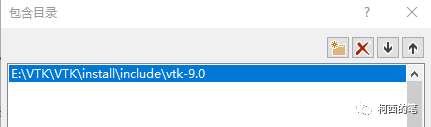
VC++目录--包含目录
VC++目录--库目录

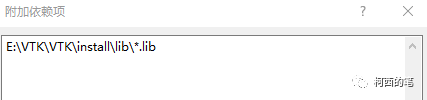
链接器--输入--附加依赖项
调试--环境 (此处我添加的环境不知为什么没有起作用,所以将bin下的所有dll全部拷贝到了,新建的QT项目的release文件夹下)。

VTK环境配置完成。
3.测试例子
官网经典例子
#include <QVTKOpenGLNativeWidget.h>
#include <vtkActor.h>
#include <vtkDataSetMapper.h>
#include <vtkDoubleArray.h>
#include <vtkGenericOpenGLRenderWindow.h>
#include <vtkPointData.h>
#include <vtkProperty.h>
#include <vtkRenderer.h>
#include <vtkSphereSource.h>


#include <QApplication>
#include <QDockWidget>
#include <QGridLayout>
#include <QLabel>
#include <QMainWindow>
#include <QPointer>
#include <QPushButton>
#include <QVBoxLayout>


#include <cmath>
#include <cstdlib>
#include <random>


namespace {
/**
 * Deform the sphere source using a random amplitude and modes and render it in
 * the window
 *
 * @param sphere the original sphere source
 * @param mapper the mapper for the scene
 * @param window the window to render to
 * @param randEng the random number generator engine
 */
void Randomize(vtkSphereSource* sphere, vtkMapper* mapper,
               vtkGenericOpenGLRenderWindow* window, std::mt19937& randEng);
} // namespace


int main(int argc, char* argv[])
{
  QSurfaceFormat::setDefaultFormat(QVTKOpenGLNativeWidget::defaultFormat());


  QApplication app(argc, argv);


  // main window
  QMainWindow mainWindow;
  mainWindow.resize(1200, 900);


  // control area
  QDockWidget controlDock;
  mainWindow.addDockWidget(Qt::LeftDockWidgetArea, &controlDock);


  QLabel controlDockTitle("Control Dock");
  controlDockTitle.setMargin(20);
  controlDock.setTitleBarWidget(&controlDockTitle);


  QPointer<QVBoxLayout> dockLayout = new QVBoxLayout();
  QWidget layoutContainer;
  layoutContainer.setLayout(dockLayout);
  controlDock.setWidget(&layoutContainer);


  QPushButton randomizeButton;
  randomizeButton.setText("Randomize");
  dockLayout->addWidget(&randomizeButton);


  // render area
  QPointer<QVTKOpenGLNativeWidget> vtkRenderWidget =
      new QVTKOpenGLNativeWidget();
  mainWindow.setCentralWidget(vtkRenderWidget);


  // VTK part
  vtkNew<vtkGenericOpenGLRenderWindow> window;
  vtkRenderWidget->setRenderWindow(window.Get());


  vtkNew<vtkSphereSource> sphere;
  sphere->SetRadius(1.0);
  sphere->SetThetaResolution(100);
  sphere->SetPhiResolution(100);


  vtkNew<vtkDataSetMapper> mapper;
  mapper->SetInputConnection(sphere->GetOutputPort());


  vtkNew<vtkActor> actor;
  actor->SetMapper(mapper);
  actor->GetProperty()->SetEdgeVisibility(true);
  actor->GetProperty()->SetRepresentationToSurface();


  vtkNew<vtkRenderer> renderer;
  renderer->AddActor(actor);


  window->AddRenderer(renderer);


  // setup initial status
  std::mt19937 randEng(0);
  ::Randomize(sphere, mapper, window, randEng);


  // connect the buttons
  QObject::connect(&randomizeButton, &QPushButton::released,
                   [&]() { ::Randomize(sphere, mapper, window, randEng); });


  mainWindow.show();


  return app.exec();
}


namespace {
void Randomize(vtkSphereSource* sphere, vtkMapper* mapper,
               vtkGenericOpenGLRenderWindow* window, std::mt19937& randEng)
{
  // generate randomness
  double randAmp = 0.2 + ((randEng() % 1000) / 1000.0) * 0.2;
  double randThetaFreq = 1.0 + (randEng() % 9);
  double randPhiFreq = 1.0 + (randEng() % 9);


  // extract and prepare data
  sphere->Update();
  vtkSmartPointer<vtkPolyData> newSphere;
  newSphere.TakeReference(sphere->GetOutput()->NewInstance());
  newSphere->DeepCopy(sphere->GetOutput());
  vtkNew<vtkDoubleArray> height;
  height->SetName("Height");
  height->SetNumberOfComponents(1);
  height->SetNumberOfTuples(newSphere->GetNumberOfPoints());
  newSphere->GetPointData()->AddArray(height);


  // deform the sphere
  for (int iP = 0; iP < newSphere->GetNumberOfPoints(); iP++)
  {
    double pt[3] = {0.0};
    newSphere->GetPoint(iP, pt);
    double theta = std::atan2(pt[1], pt[0]);
    double phi =
        std::atan2(pt[2], std::sqrt(std::pow(pt[0], 2) + std::pow(pt[1], 2)));
    double thisAmp =
        randAmp * std::cos(randThetaFreq * theta) * std::sin(randPhiFreq * phi);
    height->SetValue(iP, thisAmp);
    pt[0] += thisAmp * std::cos(theta) * std::cos(phi);
    pt[1] += thisAmp * std::sin(theta) * std::cos(phi);
    pt[2] += thisAmp * std::sin(phi);
    newSphere->GetPoints()->SetPoint(iP, pt);
  }
  newSphere->GetPointData()->SetScalars(height);


  // reconfigure the pipeline to take the new deformed sphere
  mapper->SetInputDataObject(newSphere);
  mapper->SetScalarModeToUsePointData();
  mapper->ColorByArrayComponent("Height", 0);
  window->Render();
}
} // namespace