在Windows下通过MinGW编译gRPC, 并对官方提供的Demo进行编译和测试,本文章记录了从gRPC开发环境搭建到编译,最后测试样例程序全过程,测试结果说明配置过程是正确的。同时本文章可以给广大网友提供使用MinGW编译gRPC一种思路和参考,少走弯路。
什么是RPC?
RPC(Remote Procedure Call Protocol)远程过程调用协议。一个通俗的描述是:客户端在不知道调用细节的情况下,调用存在于远程计算机上的某个对象,就像调用本地应用程序中的对象一样。
比较正式的描述是:一种通过网络从远程计算机程序上请求服务,而不需要了解底层网络技术的协议。
常用的RPC框架?
Thrift:thrift 是一个软件框架,用来进行可扩展且跨语言的服务的开发。它结合了功能强大的软件堆栈和代码生成引擎,以构建在 C++, Java, Python, PHP, Ruby, Erlang, Perl, Haskell, C#, Cocoa, JavaScript, Node.js, Smalltalk, and OCaml 这些编程语言间无缝结合的、高效的服务。
gRPC:一开始由 google 开发,是一款语言中立、平台中立、开源的远程过程调用(RPC)系统。
Dubbo:Dubbo 是一个分布式服务框架,以及 SOA 治理方案。其功能主要包括:高性能 NIO 通讯及多协议集成,服务动态寻址与路由,软负载均衡与容错,依赖分析与降级等。Dubbo 是阿里巴巴内部的 SOA 服务化治理方案的核心框架,Dubbo 自 2011 年开源后,已被许多非阿里系公司使用。
Spring Cloud:Spring Cloud 由众多子项目组成,如 Spring Cloud Config、Spring Cloud Netflix、Spring Cloud Consul 等,提供了搭建分布式系统及微服务常用的工具,如配置管理、服务发现、断路器、智能路由、微代理、控制总线、一次性 token、全局锁、选主、分布式会话和集群状态等,满足了构建微服务所需的所有解决方案。Spring Cloud 基于 Spring Boot, 使得开发部署极其简单。
1. 开发环境和其他工具的安装
1.1 测试环境
- 操作系统:Windows11 22H2
- 终端工具:Powershell (Windows 自带)
- 其他工具:Git(手动安装,且需要添加到 PATH 环境变量,下文不对其安装过程展开说明)
1.2 CMake 安装
由于 gRPC 编译时依靠 CMake 进行代码构建,所以需要安装 CMake。这里使用目前最新版 CMake, 版本为 3.25.0-rc2,安装步骤如下:
一、CMake 下载
二、CMake 安装
双击安装包,安装过程需要勾选 "Add CMake to system PATH for all users", 其他安装步骤将不再赘述。

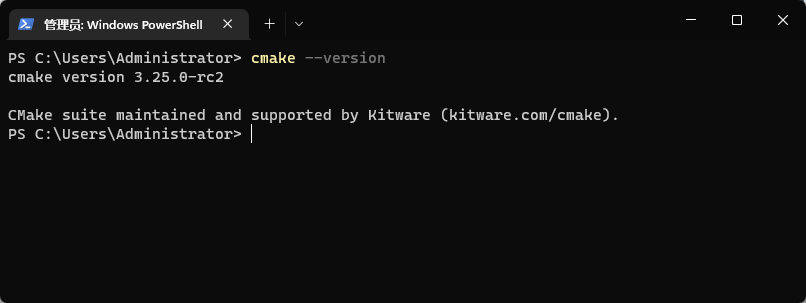
三、验证安装结果
打开终端,输入 cmake --version 查看版本号:
1.3 MinGW 安装
这里使用目前最新版 w64devkit 开发套件,当前最新版本为 1.16.1,其内部包含以下工具:
- GCC 12.2.0
- busybox-w32 FRP-4716
- GDB 10.2
- Mingw-w64 10.0.0
- GNU Make 4.2
- Vim 9.0
- Universal Ctags 20200824
- NASM 2.15.05
- binutils 2.39
- Cppcheck 2.8
安装步骤如下:
一、w64devkit 下载
二、添加环境变量
下载完成后解压压缩包,将文件夹中的 bin 目录添加到 PATH 环境变量,此步骤不展开讨论
添加完成后验证 MinGW 是否添加到 PATH 中:

2. gRPC 安装
这里使用 gRPC 最新版本源代码进行编译和安装,版本号为 v1.50.0, 以下为安装步骤:
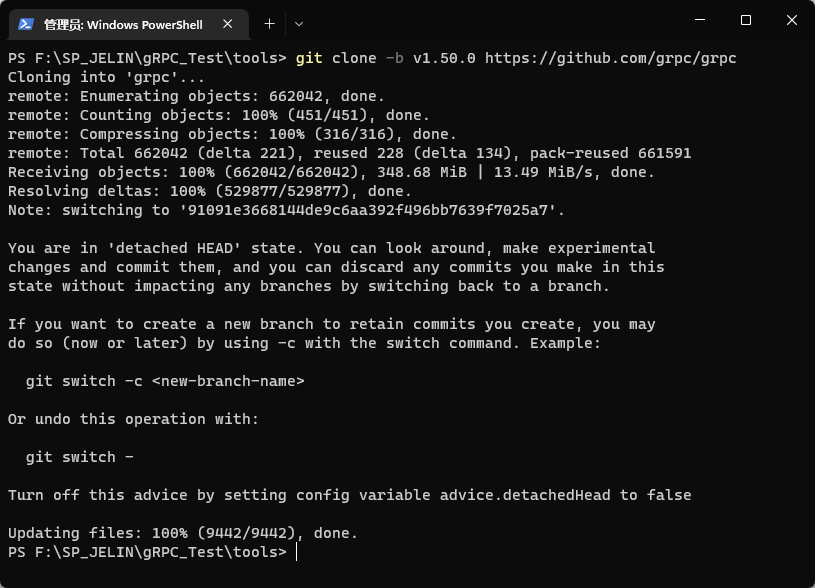
一、使用Git克隆gRPC到本地
在终端中打开某一文件夹,建议新建一个单独存放 gRPC 源代码的文件夹,输入:
git clone -b v1.50.0 https://github.com/grpc/grpc
二、安装依赖
gRPC 编译时需要安装一些第三方依赖,使用命令:
git submodule update --init
将会自动安装,但由于国内网络或者其他原因导致下载速度非常慢,所以我们需要手动修改"grpc/.gitmodules"将第依赖安装源更换为国内 gitee 同步仓库,下载效率将会大大改善,"grpc/.gitmodules"文件如下:
[submodule "third_party/abseil-cpp"]
	path = third_party/abseil-cpp
	url = https://gitee.com/suuair/abseil-cpp.git
[submodule "third_party/benchmark"]
	path = third_party/benchmark
	url = https://gitee.com/chahan/benchmark.git
[submodule "third_party/bloaty"]
	path = third_party/bloaty
	url = https://gitee.com/GgBoy_ssz/bloaty.git
[submodule "third_party/boringssl-with-bazel"]
	path = third_party/boringssl-with-bazel
	url = https://gitee.com/GgBoy_ssz/boringssl.git
[submodule "third_party/cares/cares"]
	path = third_party/cares/cares
	url = https://gitee.com/RicLee/c-ares.git
[submodule "third_party/envoy-api"]
	path = third_party/envoy-api
	url = https://gitee.com/RicLee/data-plane-api.git
[submodule "third_party/googleapis"]
	path = third_party/googleapis
	url = https://gitee.com/GgBoy_ssz/googleapis.git
[submodule "third_party/googletest"]
	path = third_party/googletest
	url = https://gitee.com/bosspoi/googletest.git
[submodule "third_party/libuv"]
	path = third_party/libuv
	url = https://gitee.com/RicLee/libuv.git
[submodule "third_party/opencensus-proto"]
	path = third_party/opencensus-proto
	url = https://gitee.com/RicLee/opencensus-proto.git
[submodule "third_party/opentelemetry"]
	path = third_party/opentelemetry
	url = https://gitee.com/EBServerStudy/opentelemetry-proto.git
[submodule "third_party/protobuf"]
	path = third_party/protobuf
	url = https://gitee.com/EBServerStudy/protobuf.git
[submodule "third_party/protoc-gen-validate"]
	path = third_party/protoc-gen-validate
	url = https://gitee.com/arzhe/protoc-gen-validate.git
[submodule "third_party/re2"]
	path = third_party/re2
	url = https://gitee.com/GgBoy_ssz/re2.git
[submodule "third_party/xds"]
	path = third_party/xds
	url = https://gitee.com/EBServerStudy/xds.git
[submodule "third_party/zlib"]
	path = third_party/zlib
	url = https://gitee.com/RicLee/zlib.git
	# When using CMake to build, the zlib submodule ends up with a
	# generated file that makes Git consider the submodule dirty. This
	# state can be ignored for day-to-day development on gRPC.
	ignore = dirty
- 打开 grpc/.gitmodules 文件,更新为上述内容
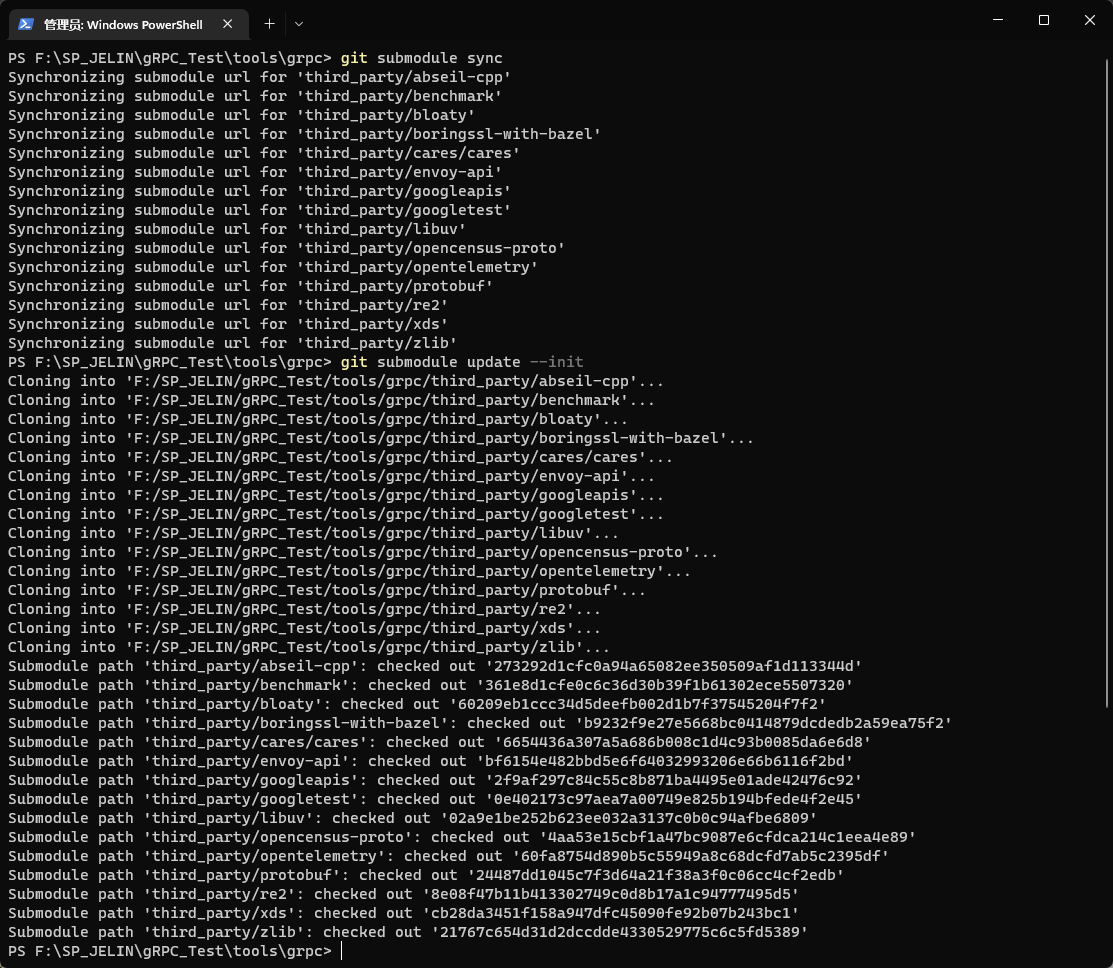
- 执行命令
git submodule sync 同步 URL - 执行命令
git submodule update --init 下载第三方依赖
二、编译和安装
- 在终端中进入 grpc 文件夹,输入
mkdir -p cmake/build 创建编译文件夹, - 构建代码,输入
cmake ../.. -G "MinGW Makefiles"生成 makefile 和相关文件 - 编译代码,输入
make -j - 安装 grpc, 输入
make install -j 默认安装到"C:\Program Files (x86)\grpc"这个目录下
3. 编译和运行测试程序
官方提供了一套测试样例,位于 grpc/examples/目录下,找到 cpp/helloworld 文件夹,这里存放我们需要测试的程序。
一、编译HelloWorld
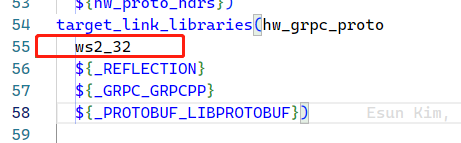
- 用终端打开 grpc/examples/cpp/helloworld 文件夹,输入
mkdir -p cmake/build 创建编译文件夹 - 打开 “CMakeLists.txt” 文件夹,将 ws2_32 链接到目标中。
- 构建代码,进入 cmake/build 文件夹,输入以下命令生成 Makefile 文件
cmake ../.. -DCMAKE_PREFIX_PATH="C:/Program Files (x86)/grpc/" -G "MinGW Makefiles"
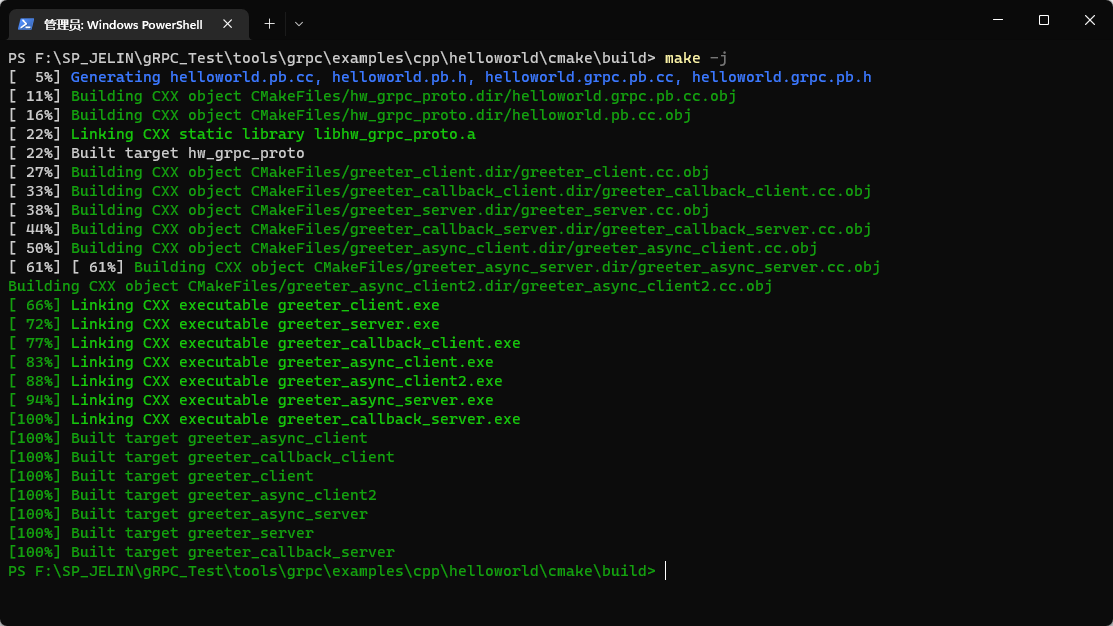
- 编译代码,输入
make -j
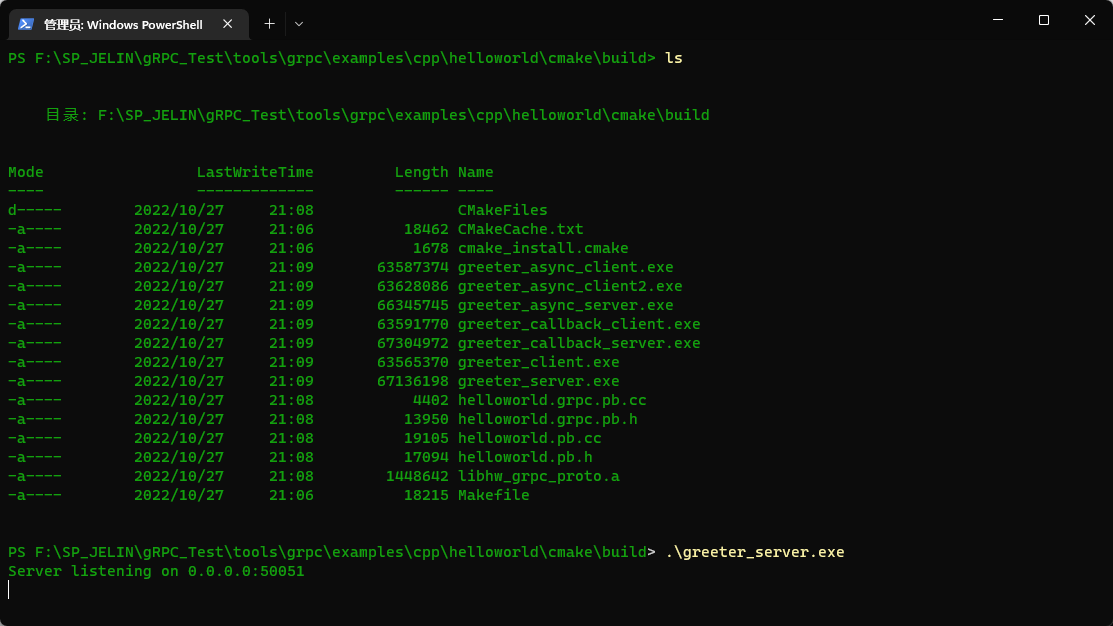
二、运行测试程序
运行服务器程序:./greeter_server
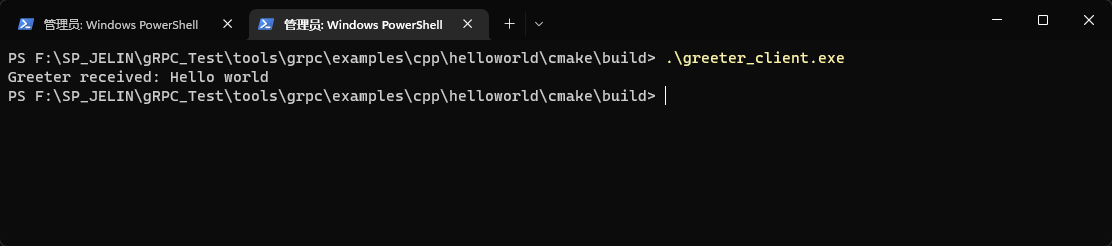
运行客户端程序:./greeter_client
4. 参考文章
- grpc/BUILDING.md at master · grpc/grpc (github.com)
- 【CMake】Win10 + CMake + MinGW 简单使用_zhaotun123的博客-CSDN博客_cmake mingw
- 如何在C++中使用GRPC | 落雁沙 (ithere.net)
- RPC框架:从原理到选型,一文带你搞懂RPC (qq.com)
- Quick start | C++ | gRPC