
ng serve是angular-cli的一个命令,用于在本地开发中启动一个测试服务器,自动编译和重新加载你的项目,并且在编译过程中,它会检查你代码中的一些错误,在控制台中提示你。
但是在实际项目,各个项目几乎必然会使用自己的服务器,为了在调试时能使ng serve和项目服务器并存,我们需要使用ng serve提供的代理服务器(Angular Serve Proxy)。
代理服务器主要是解决跨域问题。
想要使用代理服务器, 需要先配置proxy.conf.json文件.
打开或新建一个angular项目,在项目的根目录下新建一个proxy.conf.json文件
写上这些配置
{
    "/api": {
        "target": "http://localhost:8080",
        "secure": false,
        "changeOrigin": true,
        "logLevel": "debug"
    },
    "/method": {
        "target": "http://localhost:9090",
        "secure": false,
        "changeOrigin": true,
        "logLevel": "debug"
    }
}
“/api” 指的是匹配路径 已/api开头的请求都会被转换为target目标的地址,比如http://localhost:4200/api/users会被转换成 http://localhost:8080/api/users
target: 指定要转发请求的目标URL
secure:指定是否启用安全的HTTP协议(HTTPS), 为false时,允许不是https和安全证书无效的服务
changeOrigin: 非本地域, 当你的target地址不在本地域也就是不是localhost的时候, 需要启用这个设置.
loglevel: 日志级别,用于输出代理服务器的日志信息, 有这些值info(默认值), debug, warn, error, silent.
接下来在angular.json里为serve目标添加proxyConfig选项
"serve": {
          "builder": "@angular-devkit/build-angular:dev-server",
          "options": {
            "proxyConfig": "proxy.conf.json"
          }
        },
也可以配置package.json里的scripts
"scripts": {
    "start": "ng serve --proxy-config proxy.conf.json"
  }
接下来重新启动项目,代理服务器就能生效了.
我们可以测试一下
在本地用nodejs和express搭建一个服务器
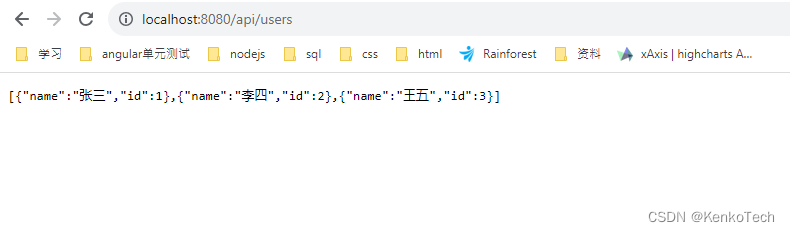
const express = require('express');
const app = express();

app.get('/api/users', (req, res) => {
    res.json([
        { name: '张三', id: 1 },
        { name: '李四', id: 2 },
        { name: '王五', id: 3 }
    ]);
})

app.listen('8080', () => {
    console.log('服务器已启动...');
})
启动服务器
打开网站试验一下
服务器生效了

接下来先把proxyConfig的配置取消掉, 看看正常情况下是什么样子的
"options": {
      "proxyConfig": ""
 }
启动项目,在组件里写下一些代码来测试
import { Component, ViewChild, ElementRef, OnInit } from '@angular/core';
import { HttpClient } from '@angular/common/http';

@Component({
  selector: 'app-root',
  templateUrl: './app.component.html',
  styleUrls: ['./app.component.css']
})
export class AppComponent implements OnInit {

  constructor(private http: HttpClient) {

  }

  ngOnInit(): void {

  }

  getData() {
    this.http.get('http://localhost:8080/api/users').subscribe((data) => {
        console.log(data);
    })
  }
}
Html
<div>Angular Serve Proxy</div>
<button (click)="getData()">get data</button>
点击按钮发起请求
跨域了,请求没成功


接下来重新配置proxyConfig选项,重启项目
"options": {
            "proxyConfig": "proxy.conf.json"
          }
修改getData方法里的url
getData() {
    this.http.get('/api/users').subscribe((data) => {
        console.log(data);
    })
  }
重新发起请求
请求成功,拿到数据。

总结一下:
Angular Serve Proxy是ng serve提供的一个代理服务器,主要有下面三种好处。
能在本地开发中解决CORS问题,绕过浏览器的同源策略设置。
能简化在本地开发过程中连接到在不同域名或端口的API服务器的流程。
能隐藏后端服务器细节,只暴露代理服务器,增强安全性。