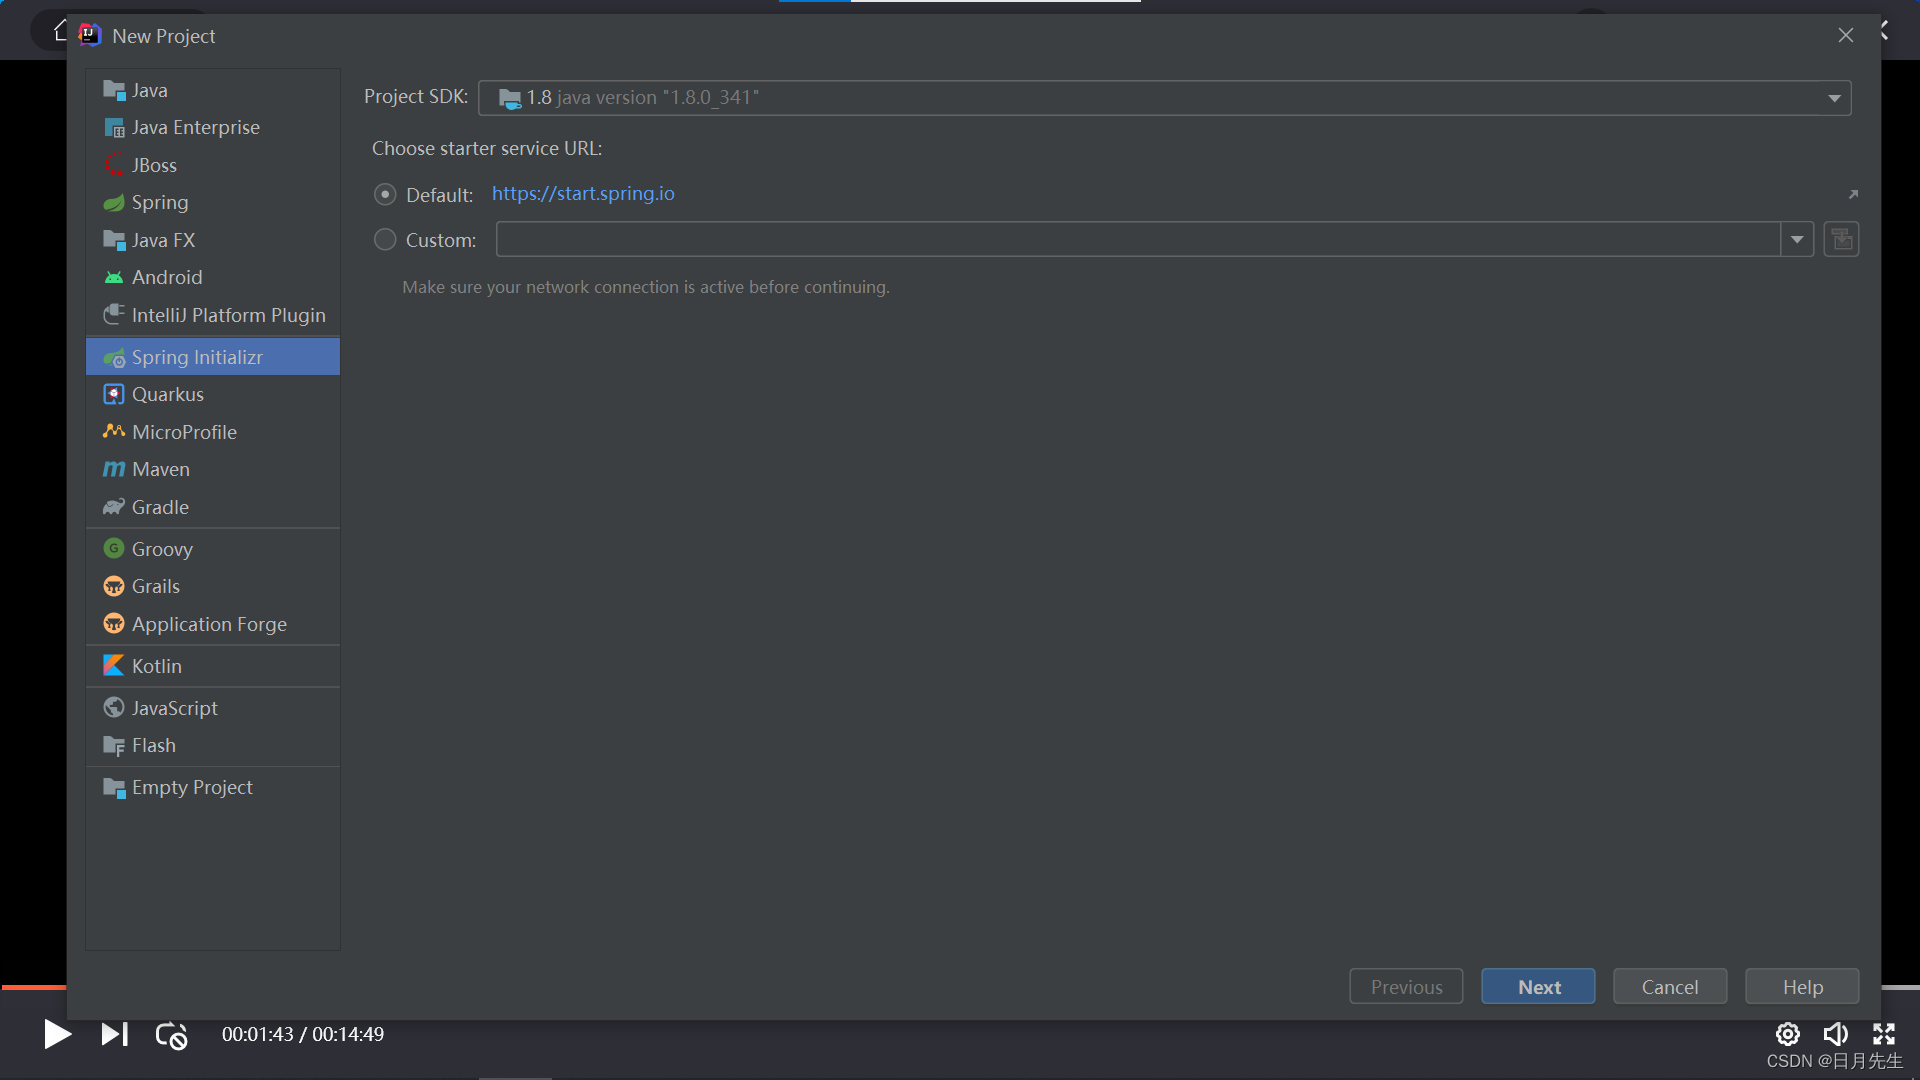
打开idea后,选择左侧对应的选项
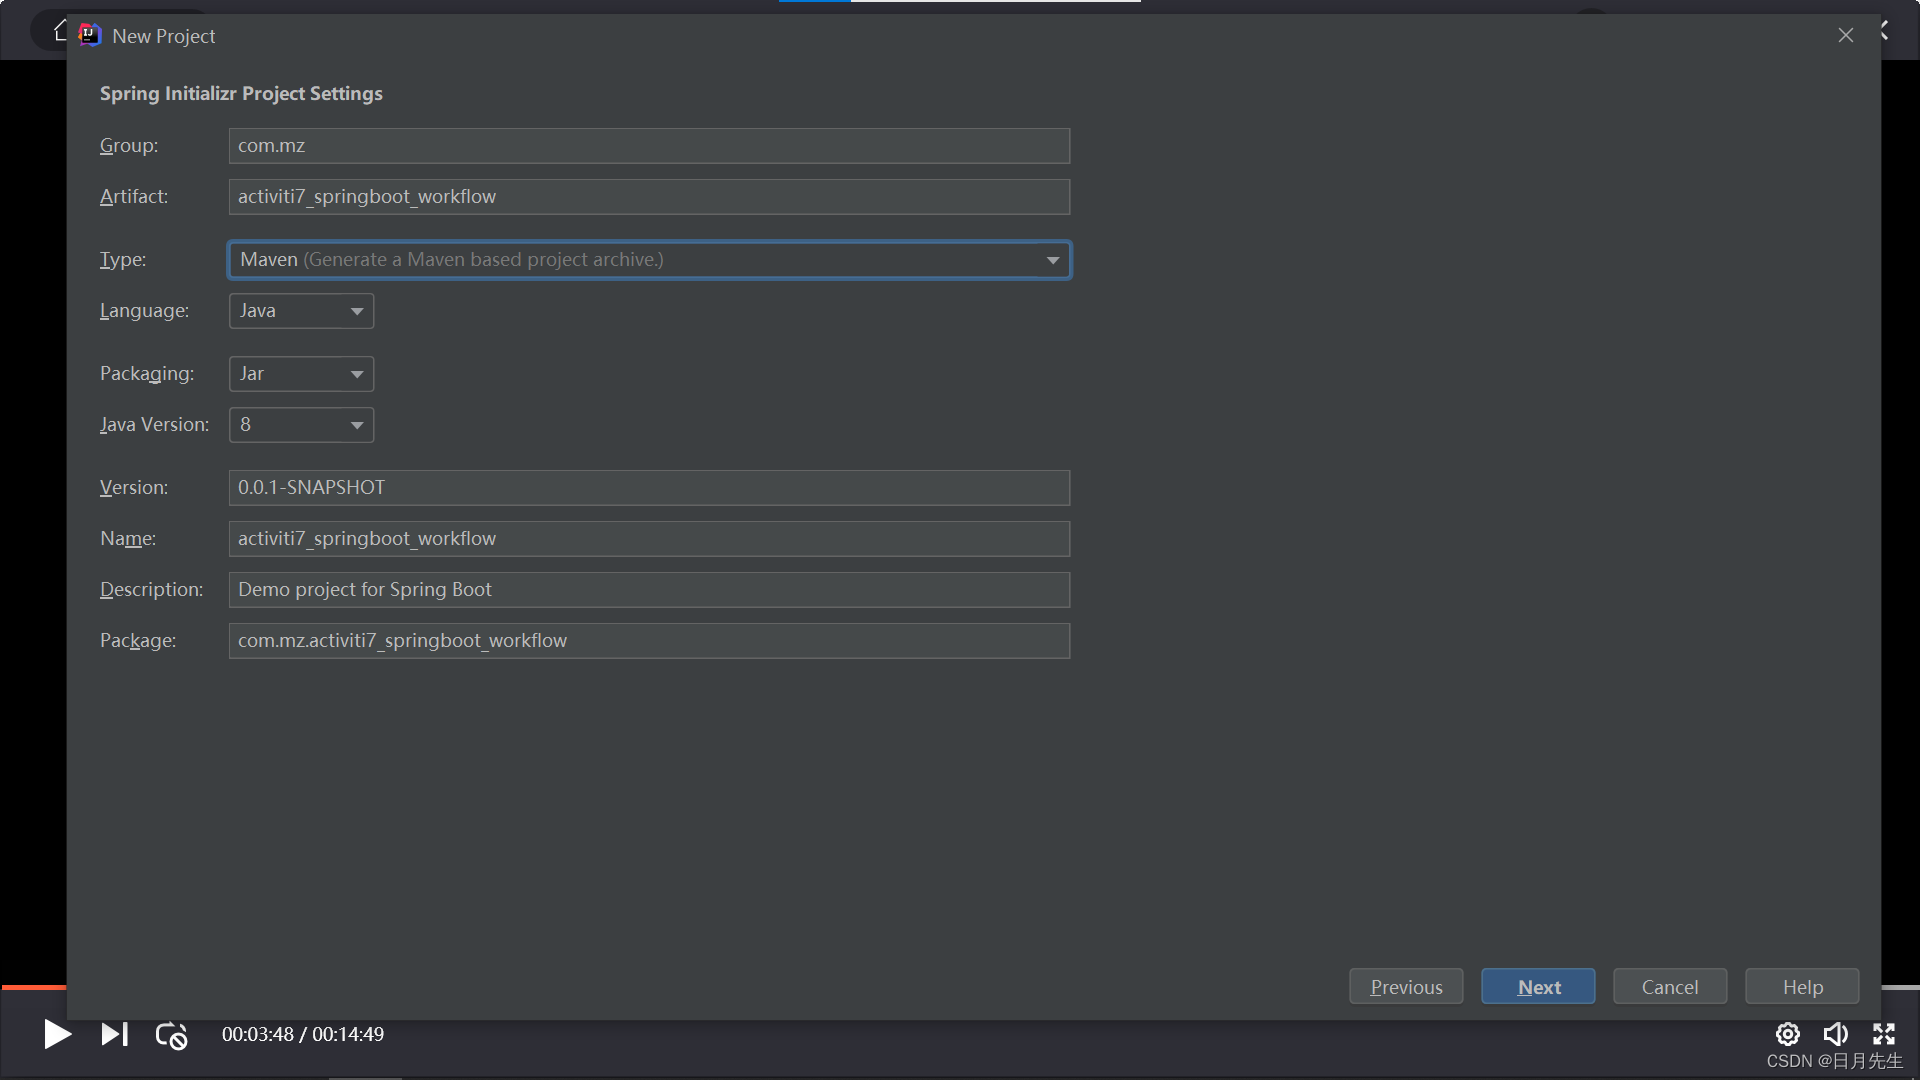
点击下一步之后,填写自定义的信息,需要注意的是Type那里要选择maven,这里可能默认是别的,Java version也要选择对,然后点击下一步
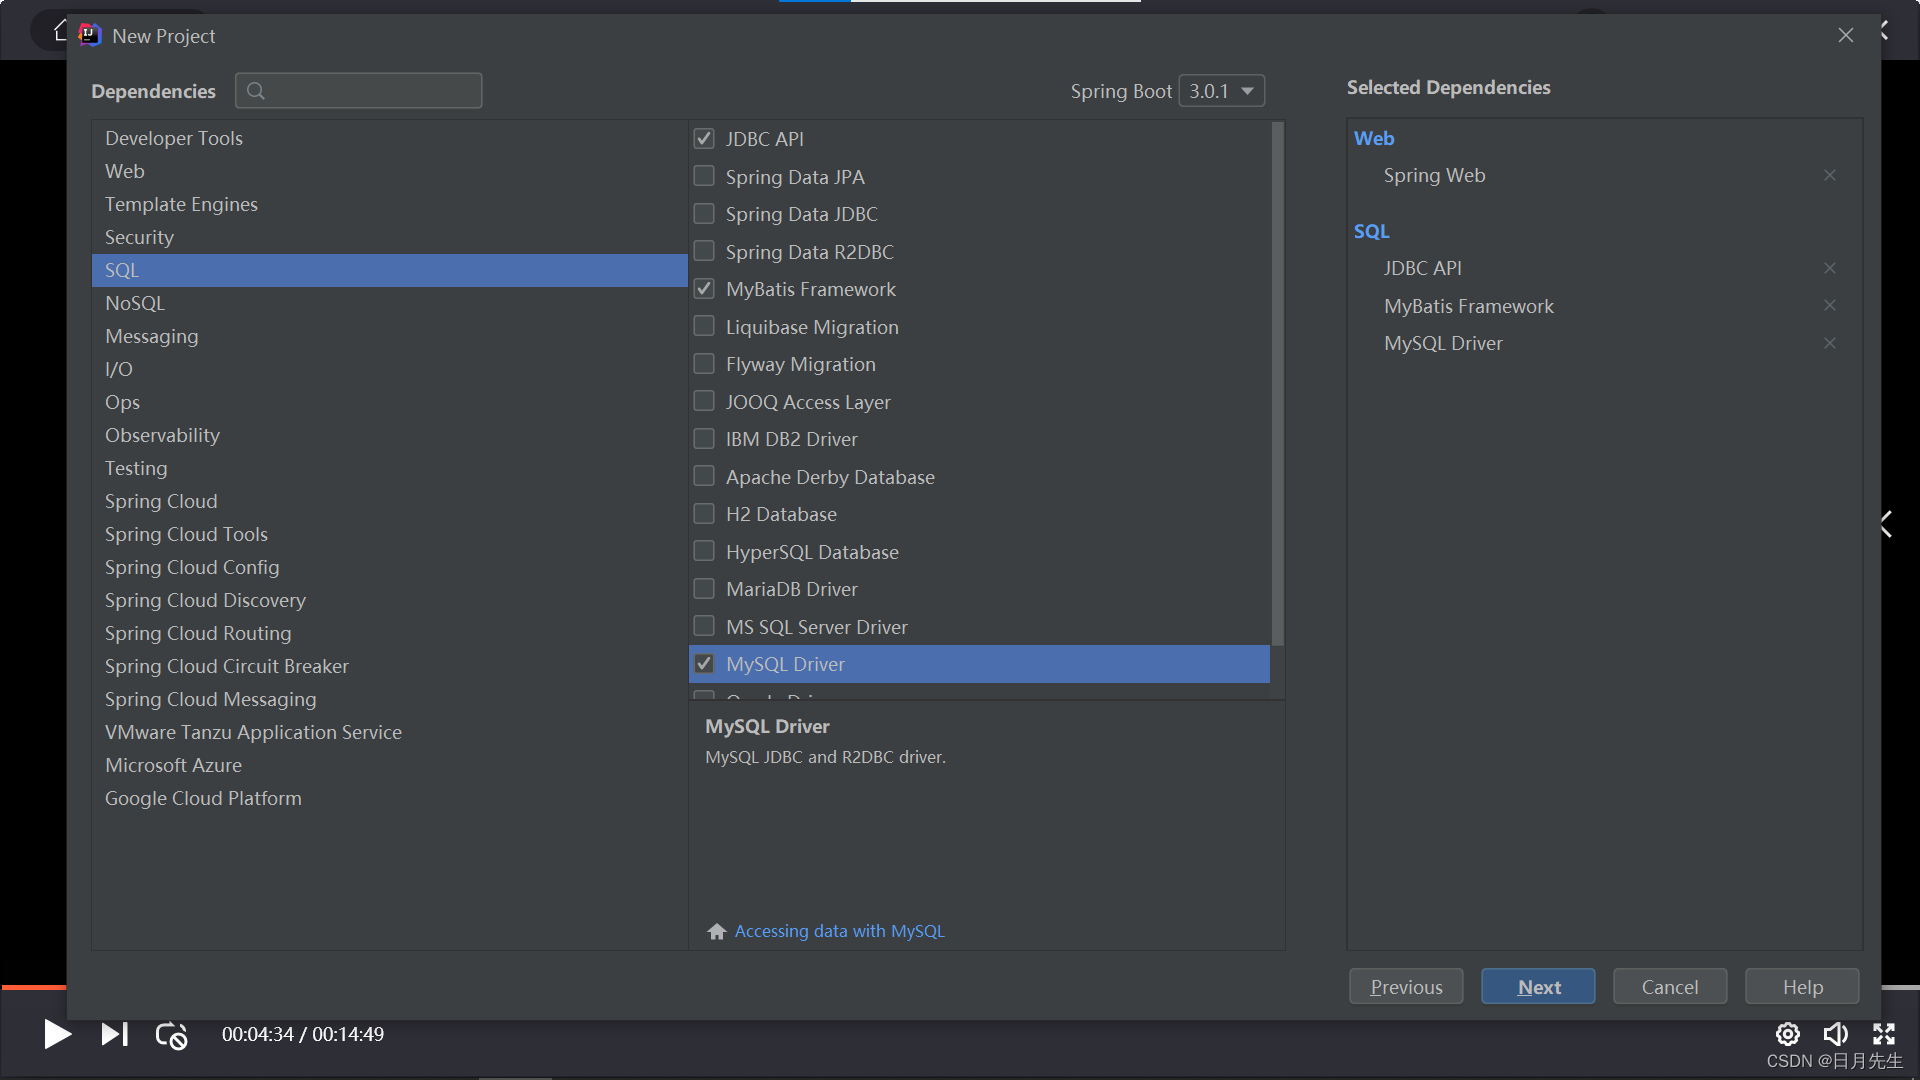
然后进入安装插件的界面,首先我的项目是web项目,所以有了一个spring web,项目就能正常运行了,因为我的项目还需要连接数据库,所以还要有JDBC API来连接数据库,mybatis framwork 他是一个连接数据库的插件,非常好用的,MySQL driver 他是连接数据库的驱动。然后点击下一步
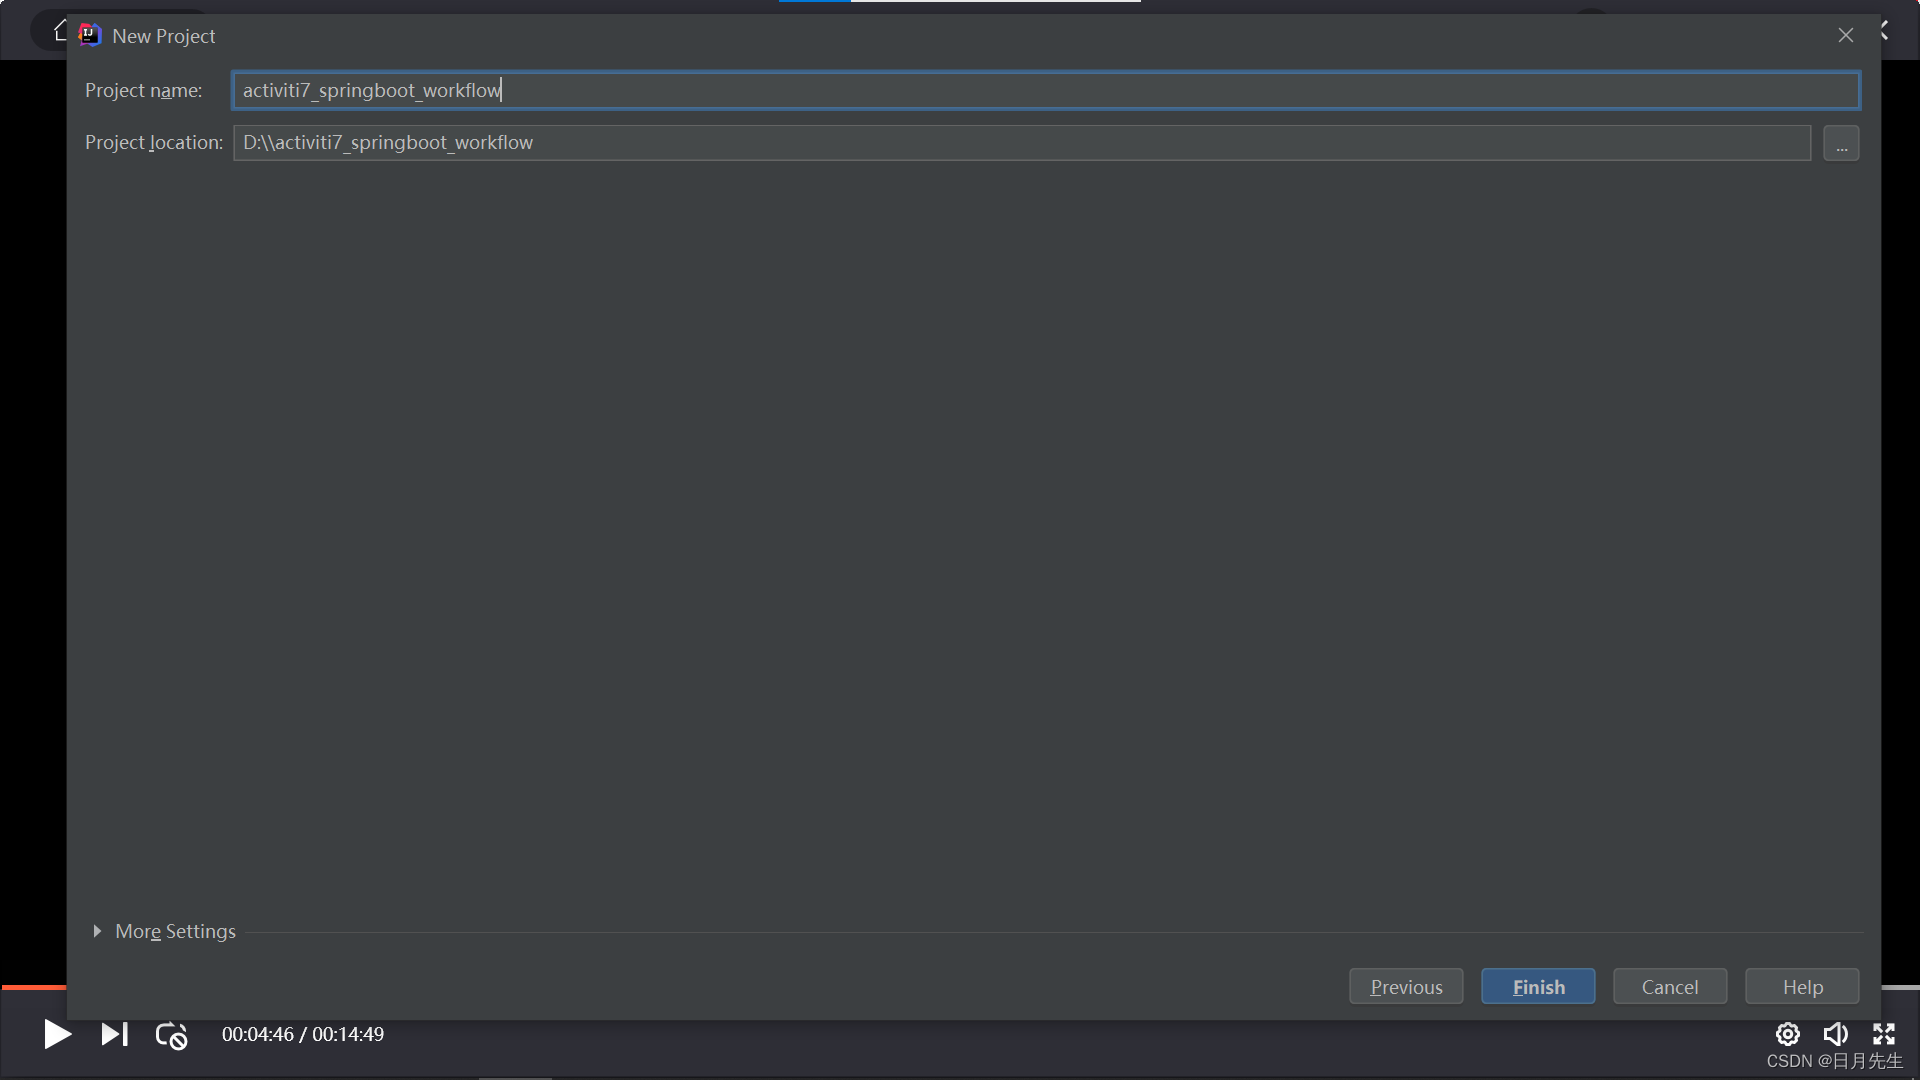
然后选择项目存放的路径,点击完成,等待项目的初始化
进去之后,首先点击File-setting,选择maven,改成已经配置好的maven,apply后去pom.xml中刷新一下maven

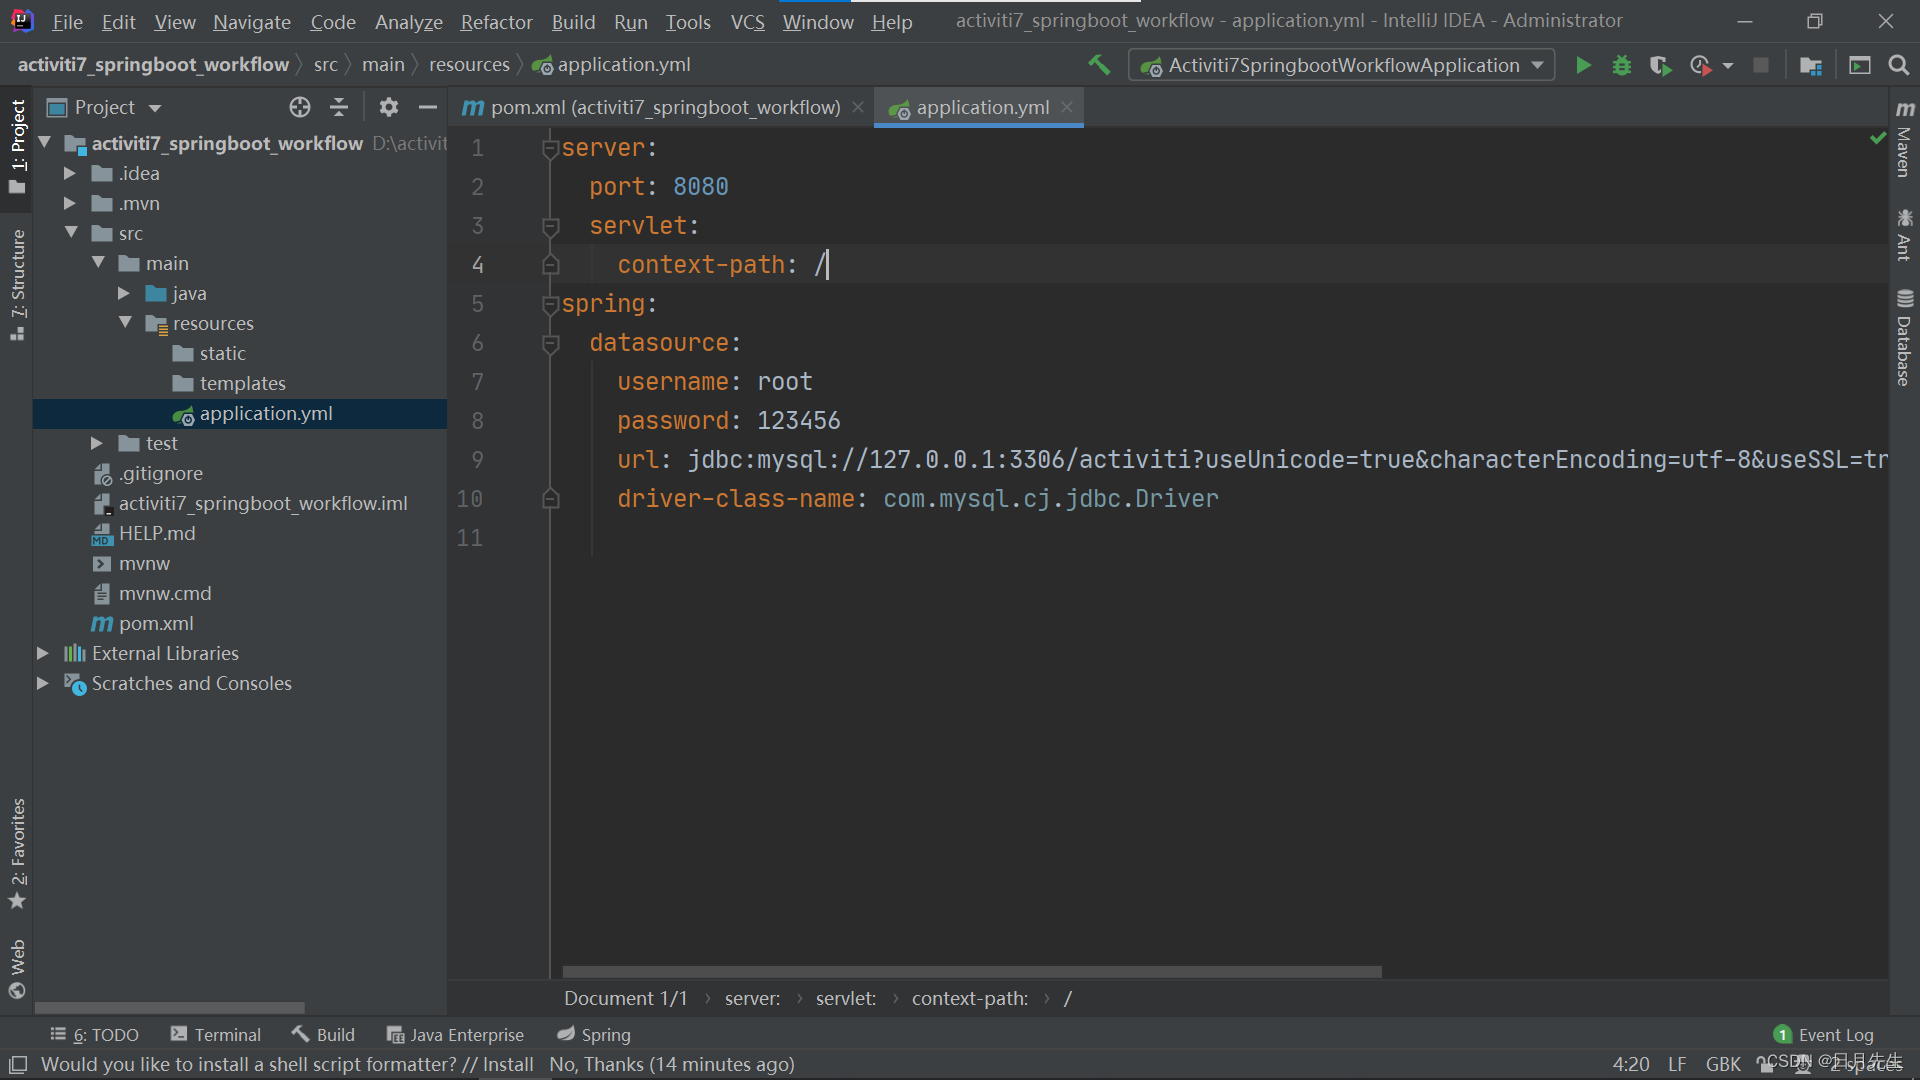
由于我们引入了数据库的依赖,所以我们要配置数据库的参数,讲application.properties改成后缀为yml,并写基本信息。其中context-path: / 是定义了文件访问的起始路径为根目录,而不需要加项目名
server:
port: 8080
servlet:
context-path: /
spring:
datasource:
username: root
password: 123456
url: jdbc:mysql://127.0.0.1:3306/activiti?useUnicode=true&characterEncoding=utf-8&useSSL=true&serverTimezone=UTC&nullCatalogMeansCurrent=true
driver-class-name: com.mysql.cj.jdbc.Driver
编写一个测试接口测试访问
如图创建一个HelloController的Java类,编写代码,其中,@RestController是相当于@Controller和@ResponseBody合在一起的作用
package com.mz.activiti7_springboot_workflow.controller;
import org.springframework.web.bind.annotation.RequestMapping;
import org.springframework.web.bind.annotation.RequestMethod;
import org.springframework.web.bind.annotation.RestController;
@RestController
public class HelloController {
@RequestMapping(value = "/hello" ,method = RequestMethod.GET)
public String hello(){
return "hello world!";
}
}

测试成功,spring boot项目测试完成