Lombok已经是很多Java项目最常用的库之一了,我也一直在用,但是仅限于@Data、@XxxConstructer、@Slf4j之类的注解,没有看过其它的注解。
直到前段时间看到别人的代码,使用了一个@SneakyThrows注解,搜索了一下,才发现也是Lombok的注解,而且解决了我的一个痛点,这才决定花点时间研究一下Lombok的其它注解。
Lombok的所有注解,可以去官网看看:https://projectlombok.org/features/
原理简述
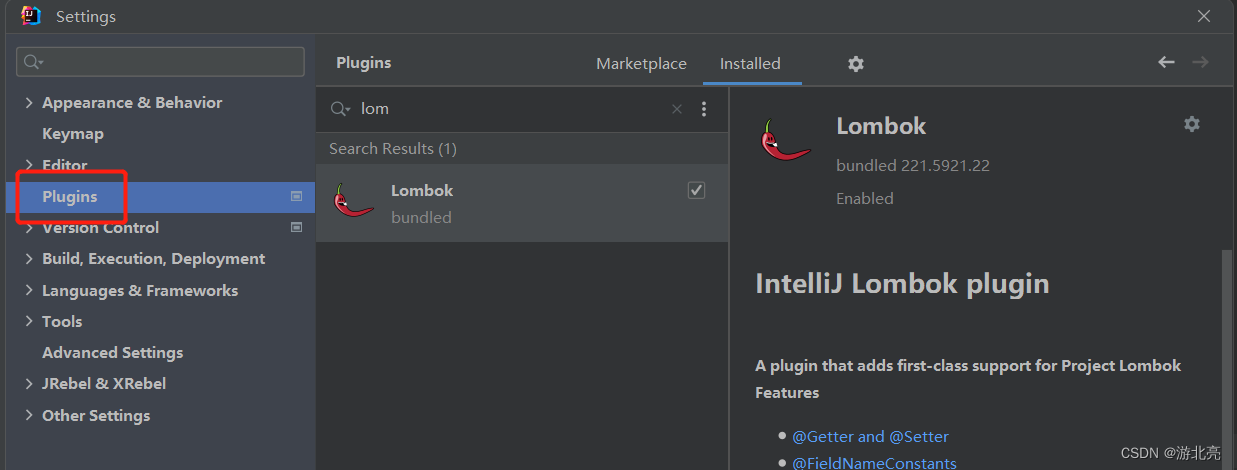
1、Lombok需要在IDE中安装插件(比如最新版的IDEA,安装完就已经默认集成了Lombok插件)
2、在项目的pom.xml里添加lombok依赖,并在相应的代码上添加lombok的注解
3、依赖于JSR 269: Pluggable Annotation Processing API,Lombok自定义了注解处理器,会在项目编译时,对有注解的代码,增加新的代码,再最终生成字节码,过程参考:https://developer.aliyun.com/article/995108
常用注解
下面介绍一下我常用的那些注解,部分我觉得用处不大的就不介绍,你可以参考官网明细列表
1、@val 和 @var
这2个是用于局部变量的类型推断注解,减少书写局部变量类型的代码:
- val是定义final类型的变量:
val a = 123;等效于final int a = 123; - var是定义普通变量:
var a = 123;等效于int a = 123;
注:从Java10开始,已经引入了var关键字和推断能力,不需要再使用lombok的var了
另:对var的类型推断,也有很多人反对,认为可读性差,这个见仁见智吧,我比较喜欢,尤其是类型名特别长的时候,而且好用的IDE(比如IDEA),是会自动显示出对应的变量类型的,如:

2、@NonNull
用于方法或构造函数的参数,减少书写判断参数是否null的代码,如:
public static String nonNullDemo2(@NonNull Integer arg) {


    return arg.toString();
}
上述代码,最终生成的实际代码如下,会自动添加判空抛异常的代码:
public static String nonNullDemo2(@NonNull Integer arg) {


    if (arg == null) {


        throw new NullPointerException("arg is marked non-null but is null");
    }
    return arg.toString();
}
注:也可以用于类的成员属性上,但是必须配合AllArgsConstructor或RequiredArgsConstructor使用,不推荐
3、@Data
这是一个组合注解,通常放在Dto、Entity之类的实体类对象上。
这个注解组合了:
- @ToString
- @EqualsAndHashCode
- @Getter
- 没被定义为final的字段上加 @Setter
- @RequiredArgsConstructor
以上注解作用,请参考下面对应注解的说明
4、@Getter/@Setter
自动生成指定字段的get/set方法,可以加在类上,影响该类的所有字段,也可以加在指定字段上,如:
public class GetterSetterDemo {


    @Getter
    public static class Dto1 {


        private int id;

        private String name;
    }

    @Setter
    public static class Dto2 {


        private int id;

        private String name;
    }

    public static class Dto3 {


        @Getter
        private int id;
        @Setter
        private String name;
    }
}
上述代码,生成的实际代码如下:
public class GetterSetterDemo {


    public static class Dto1 {


        private int id;
        private String name;

        public int getId() {


            return this.id;
        }
        public String getName() {


            return this.name;
        }
    }

    public static class Dto2 {


        private int id;
        private String name;

        public void setId(final int id) {


            this.id = id;
        }
        public void setName(final String name) {


            this.name = name;
        }
    }

    public static class Dto3 {


        private int id;
        private String name;

        public int getId() {


            return this.id;
        }
        public void setName(final String name) {


            this.name = name;
        }
    }
}
5、@Accessors(chain=true)
这个注解要配合@Setter使用,注解加了chain=true,表示每个set方法返回值是this对象本身,而不是默认的void,方便进行链式赋值,如:
@Setter
@Accessors(chain = true)
public class AccessorsDemo {


    private int id;
    private String name;
}
定义了这样一个类,我们可以链式赋值:
public AccessorsDemo TestAccessors() {


    return new AccessorsDemo()
            .setId(123)
            .setName("abc");
}
上面的class类的代码,最终生成的代码如下:
public class AccessorsDemo {


    private int id;
    private String name;

    public AccessorsDemo setId(final int id) {


        this.id = id;
        return this;
    }
    public AccessorsDemo setName(final String name) {


        this.name = name;
        return this;
    }
}
注1:之前我不知道有这个注解,一直喜欢用@Builder,后续再也不用@Builder了,全部改用这个注解
注2:@Accessors注解还有2个属性,我觉得意义不大,就不介绍了,看官网吧
6、@SneakyThrows
这个注解的作用是抑制方法里抛出的编译时异常。
我们写代码时,如果语句抛出了异常,要么自己加try,要么在方法的签名后面增加异常抛出声明,我是觉得比较恶心(C#就不需要)。
以前我都要手工套一个try{}catch(Exception ex){throw new RuntimeException(ex);},有这个注解再也不需要这么做了。
如:
@SneakyThrows
public int test1() {


    throw new Exception("abc");
}
最终生成的代码如下:
@SneakyThrows
public int test1() {


    try{


        throw new Exception("abc");
    } catch (UnsupportedEncodingException e) {


      throw Lombok.sneakyThrow(e);
    }
}
7、@Synchronized
对整个方法加锁,串行执行这个方法,
该注解默认定义一个私有的类变量,并用该变量对方法里的代码进行加锁。
- 静态方法,定义静态的类变量,作为加锁对象
- 类成员方法,定义类成员变量,作为加锁对象
- 默认所有静态方法共用同一个锁对象,所有成员方法共用同一个锁对象
- 注解的value参数,可以定义锁对象的变量名,以使用不同的锁对象
- 注意:类成员方法使用的是类成员变量作为锁对象,所以初始化的2个类,无法使用同一个锁
参考代码:
public class SynchronizedDemo {


    private static int num;

    @Synchronized
    @SneakyThrows
    public void syncMethod() {


        num++;
        System.out.println("before-num:" + num);
        Thread.sleep(3000);
        num++;
        System.out.println("after-num:" + num);
    }

    @Synchronized
    @SneakyThrows
    public static void syncStaticMethod() {


        num++;
        System.out.println("before-num:" + num);
        Thread.sleep(3000);
        num++;
        System.out.println("after-num:" + num);
    }

    @Synchronized
    @SneakyThrows
    public static void syncStaticMethod2() {


        num++;
        System.out.println("2-before-num:" + num);
        Thread.sleep(3000);
        num++;
        System.out.println("2-after-num:" + num);
    }
}
最终生成的代码如下:
public class SynchronizedDemo {


    private final Object $lock = new Object[0];
    private static int num;
    private static final Object $LOCK = new Object[0];

    public void syncMethod() {


        synchronized (this.$lock) {


            num++;
            System.out.println("before-num:" + Integer.valueOf(num));
            Thread.sleep(3000L);
            num++;
            System.out.println("after-num:" + Integer.valueOf(num));
        }
    }

    public static void syncStaticMethod() {


        synchronized ($LOCK) {


            num++;
            System.out.println("before-num:" + Integer.valueOf(num));
            Thread.sleep(3000L);
            num++;
            System.out.println("after-num:" + Integer.valueOf(num));
        }
    }

    public static void syncStaticMethod2() {


        synchronized ($LOCK) {


            num++;
            System.out.println("2-before-num:" + Integer.valueOf(num));
            Thread.sleep(3000L);
            num++;
            System.out.println("2-after-num:" + Integer.valueOf(num));
        }
    }
}
根据生成的代码可知,这个注解,内部方法互调,注解也是生效的;
不像Bean的那些注解,内部互调无效,必须通过代理调用。
8、@Cleanup
用于需要回收资源的局部变量上,减少书写finally代码,自行回收资源 的代码,
该注解要求变量有命名为close的方法,如果没有,可以自定义,如以下2个示例代码:
public class CleanupDemo {


    @SneakyThrows
    public static void test(HttpServletResponse response) {


        @Cleanup InputStream inputStream = new ByteArrayInputStream("I'm a string".getBytes());
        @Cleanup OutputStream outputStream = response.getOutputStream();
        inputStream.transferTo(outputStream);
    }
    @SneakyThrows
    public static void test2(HttpServletResponse response) {


        @Cleanup OutputStream outputStream = response.getOutputStream();
        @Cleanup("doClear") var tmp = new CleanClass();// 默认要求注解的变量有close方法,可以修改
        outputStream.write(tmp.now.getBytes());
    }

    // 定义一个带资源清理的类
    public static class CleanClass {


        public String now = LocalDateTime.now().format(DateTimeFormatter.ofPattern("yyyy-MM-dd HH:mm:ss.SSS"));
        public void doClear() {


            now = null;
        }
    }
}
上述代码,最终生成的实际代码如下,会自动添加finally代码去回收资源:
public class CleanupDemo {


    public static void test(HttpServletResponse response) {


        InputStream inputStream = new ByteArrayInputStream("I'm a string".getBytes());
        ServletOutputStream outputStream = response.getOutputStream();
        try {


            inputStream.transferTo(outputStream);
            if (Collections.singletonList(outputStream).get(0) != null) {


                outputStream.close();
            }
            if (Collections.singletonList(inputStream).get(0) != null) {


                inputStream.close();
            }
        } catch (Throwable th) {


            if (Collections.singletonList(outputStream).get(0) != null) {


                outputStream.close();
            }
            throw th;
        }
    }
    public static void test2(HttpServletResponse response) {


        ServletOutputStream outputStream = response.getOutputStream();
        CleanClass tmp = new CleanClass();
        try {


            outputStream.write(tmp.now.getBytes());
            if (Collections.singletonList(tmp).get(0) != null) {


                tmp.doClear();
            }
            if (Collections.singletonList(outputStream).get(0) != null) {


                outputStream.close();
            }
        } catch (Throwable th) {


            if (Collections.singletonList(tmp).get(0) != null) {


                tmp.doClear();
            }
            throw th;
        }
    }
    public static class CleanClass {


        public String now = LocalDateTime.now().format(DateTimeFormatter.ofPattern("yyyy-MM-dd HH:mm:ss.SSS"));
        public void doClear() {


            this.now = null;
        }
    }
}
9、@ToString
自动重写Object.toString()方法,生成一个拼接所有字段的toString()方法,如:
@ToString
public class ToStringDemo {


    private int id;
    private final String name = "";
    private final Environment env = null;
}
最终生成的代码:
public class ToStringDemo {


    private int id;
    private final String name = "";
    private final Environment env = null;

    public String toString() {


        int i = this.id;
        Objects.requireNonNull(this);
        return "ToStringDemo(id=" + i + ", name=" + "" + ", env=" + this.env + ")";
    }
}
10、@EqualsAndHashCode
自动重写Object.hashCode() 和 Object.equals()方法
如:
@EqualsAndHashCode
public class EqualsAndHashCodeDemo {


    private int id;
    private String name;
}
最终生成的代码:
public class EqualsAndHashCodeDemo {


    private int id;
    private String name;

    public boolean equals(final Object o) {


        if (o == this) {


            return true;
        }
        if (o instanceof EqualsAndHashCodeDemo) {


            EqualsAndHashCodeDemo other = (EqualsAndHashCodeDemo) o;
            if (other.canEqual(this) && this.id == other.id) {


                Object this$name = this.name;
                Object other$name = other.name;
                return this$name == null ? other$name == null : this$name.equals(other$name);
            }
            return false;
        }
        return false;
    }

    protected boolean canEqual(final Object other) {


        return other instanceof EqualsAndHashCodeDemo;
    }

    public int hashCode() {


        int result = (1 * 59) + this.id;
        Object $name = this.name;
        return (result * 59) + ($name == null ? 43 : $name.hashCode());
    }
}
注:这个注解有个坑,hashCode和equals这2个方法,都只比较当前类的所有字段,
如果这是个子类,这2个方法也只比较自己定义的字段,不会比较父类字段,
所以如果你的类是子类,要把注解改成:@EqualsAndHashCode(callSuper = true) 避免比较出问题,或把对象作为key加入Map时导致数据丢失。
11、@NoArgsConstructor, @RequiredArgsConstructor, @AllArgsConstructor
- @NoArgsConstructor: 自动生成无参构造函数
- @AllArgsConstructor: 把类所有字段作为参数,自动生成构造函数
- @RequiredArgsConstructor: 为所有定义为final的字段,自动生成有参构造函数
这个最好用,尤其是那些@Service、@Component的spring Bean类,用了这个注解,就不需要再去用@Autowired注解了,如:
@RequiredArgsConstructor
public class RequiredArgsConstructorDemo {


    private int id;
    private final String name;
    private final Environment env;
}
生成代码如下,构造函数里没有id参数:
public class RequiredArgsConstructorDemo {


    private int id;
    private final String name;
    private final Environment env;

    public RequiredArgsConstructorDemo(final String name, final Environment env) {


        this.name = name;
        this.env = env;
    }
}
12、@Slf4j
自动为类生成一个日志成员变量,其实日志相关的注解有好多个,参考 分别指向不同的日志框架。
我用的最多的就是@Slf4j,如:
@Slf4j
public class Slf4jDemo {


    public void doLog() {


        log.debug("DEBUG日志:当前时间:{}", LocalDateTime.now());
        log.info("INFO日志:当前时间:{}", LocalDateTime.now());
        log.warn("warn日志:当前时间:{}", LocalDateTime.now(), new Exception("我是异常"));
        log.error("error日志:当前时间:{}", LocalDateTime.now(), new Exception("我是异常"));
    }
}
最终生成的代码:
public class Slf4jDemo {


    private static final Logger log = LoggerFactory.getLogger(Slf4jDemo.class);

    public void doLog() {


        log.debug("DEBUG日志:当前时间:{}", LocalDateTime.now());
        log.info("INFO日志:当前时间:{}", LocalDateTime.now());
        log.warn("warn日志:当前时间:{}", LocalDateTime.now(), new Exception("我是异常"));
        log.error("error日志:当前时间:{}", LocalDateTime.now(), new Exception("我是异常"));
    }
}
13、@Builder
自动生成builder()方法,进行链式赋值,最后生成对象,看最终代码还创建了内部类,比较复杂。
推荐改用上面的 @Accessors(chain=true)
实际代码
所有的代码已经上传到Github,可以参考:https://github.com/youbl/study/tree/master/study-codes/lombok-demo
争论问题
确实网上非常多,比如:
- Lombok是个黑盒,导致代码可读性不好,我反而觉得代码量少了,代码可读性更高了。
如果你了解了它的原理,就更不是问题了。
举个简单的例子,你调用了jdk封装的方法,如果不研究方法源码,也没有深入了解这个方法做了什么,可能有什么坑,那么它就跟Lombok差不多,你一样会在使用中出现各种问题。 - Lombok污染性太强,团队里有一个人在用,就会导致其它人不得不用。
这是个问题,但是现在Lombok的使用已经越来越广泛了,我接触过的公司、团队,没发现不使用的,连IDEA也默认集成了,之前跟Lombok类似的2个库,我是没见过有团队在使用。
当然也可能是我眼见比较少,如果你确实讨厌Lombok,可以使用Delombok插件解决这个问题。