记录WordPress安装后我常用的插件
- 一、WordPress安装
- 二、插件使用
-
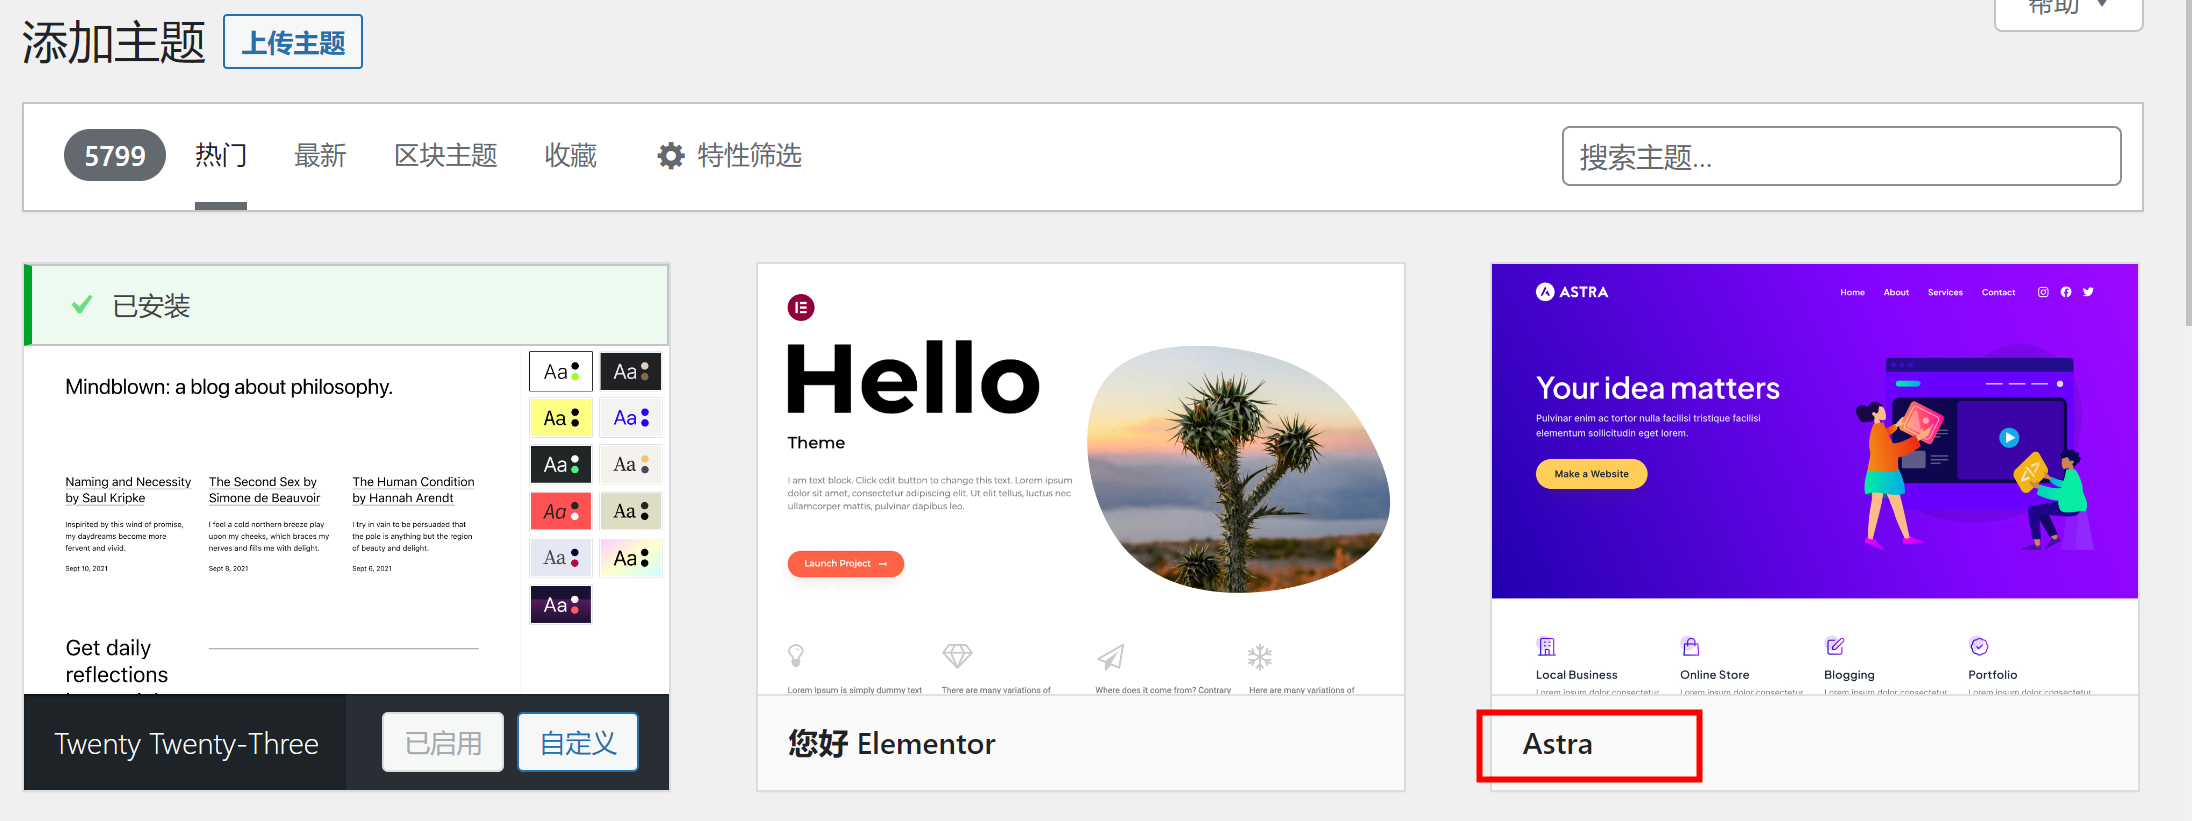
- 1.添加Astra主题
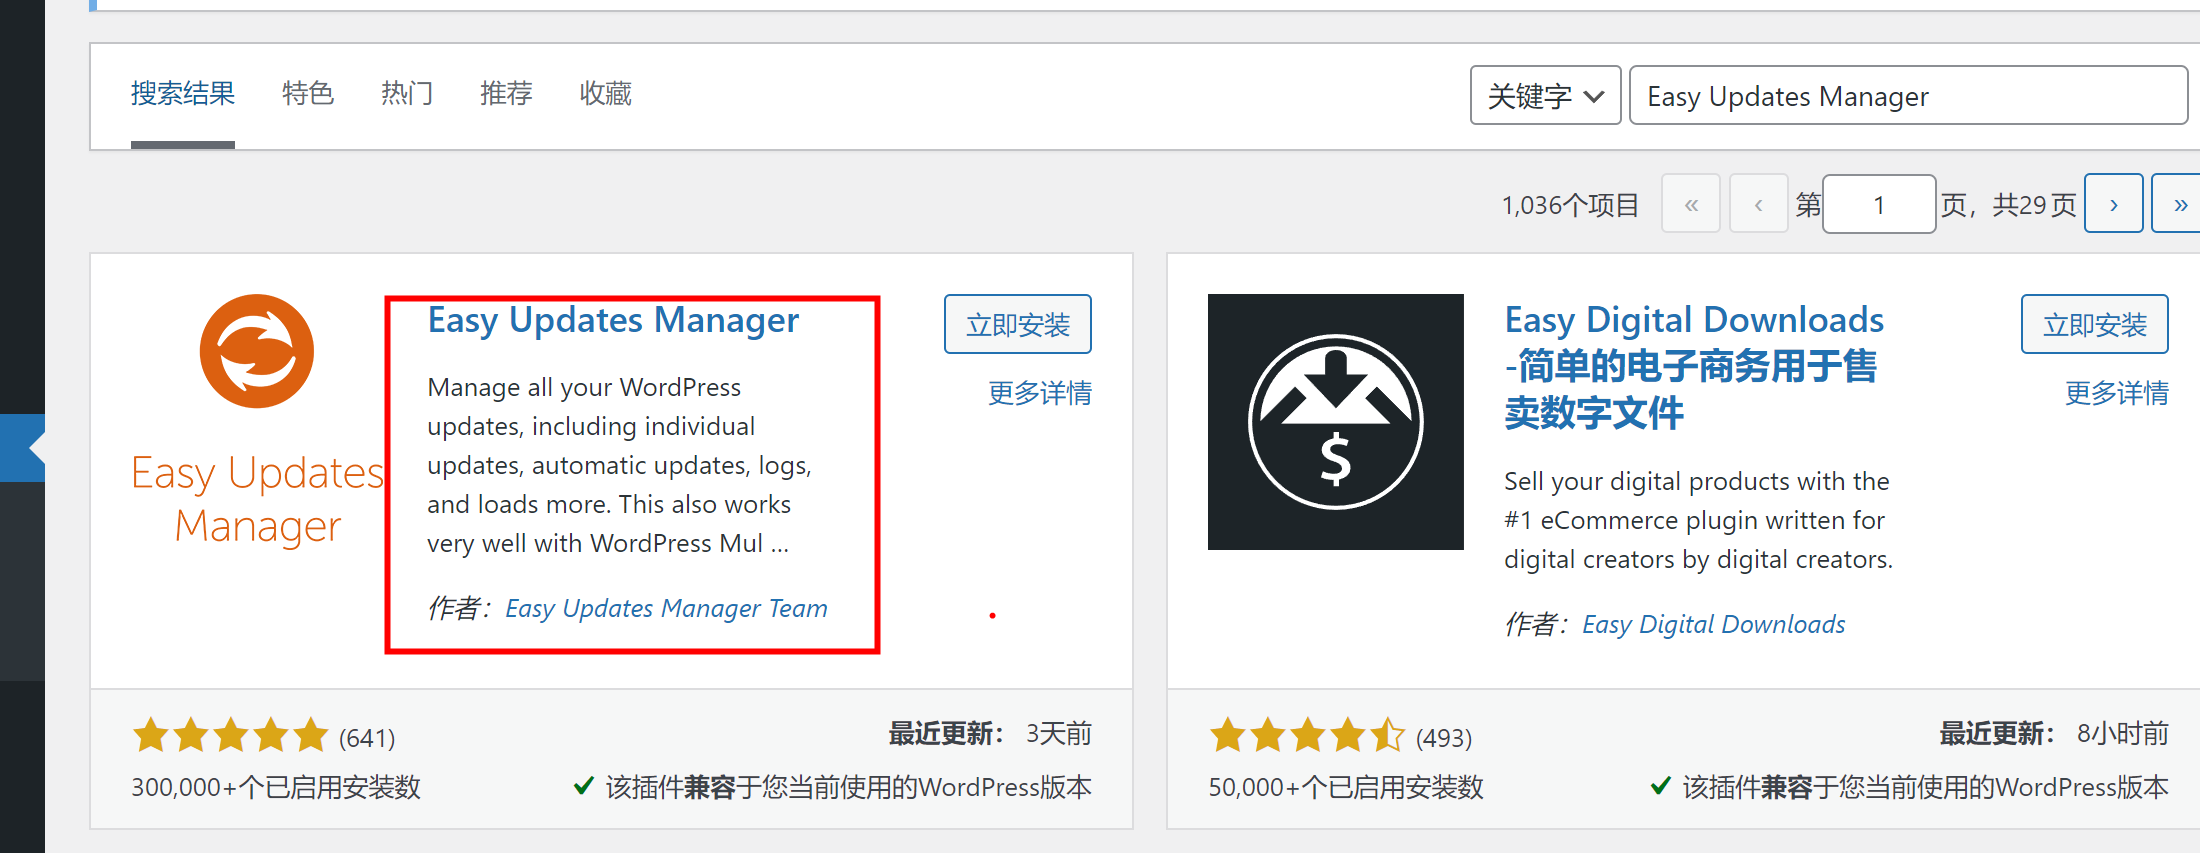
- 2.Easy Updates Manager
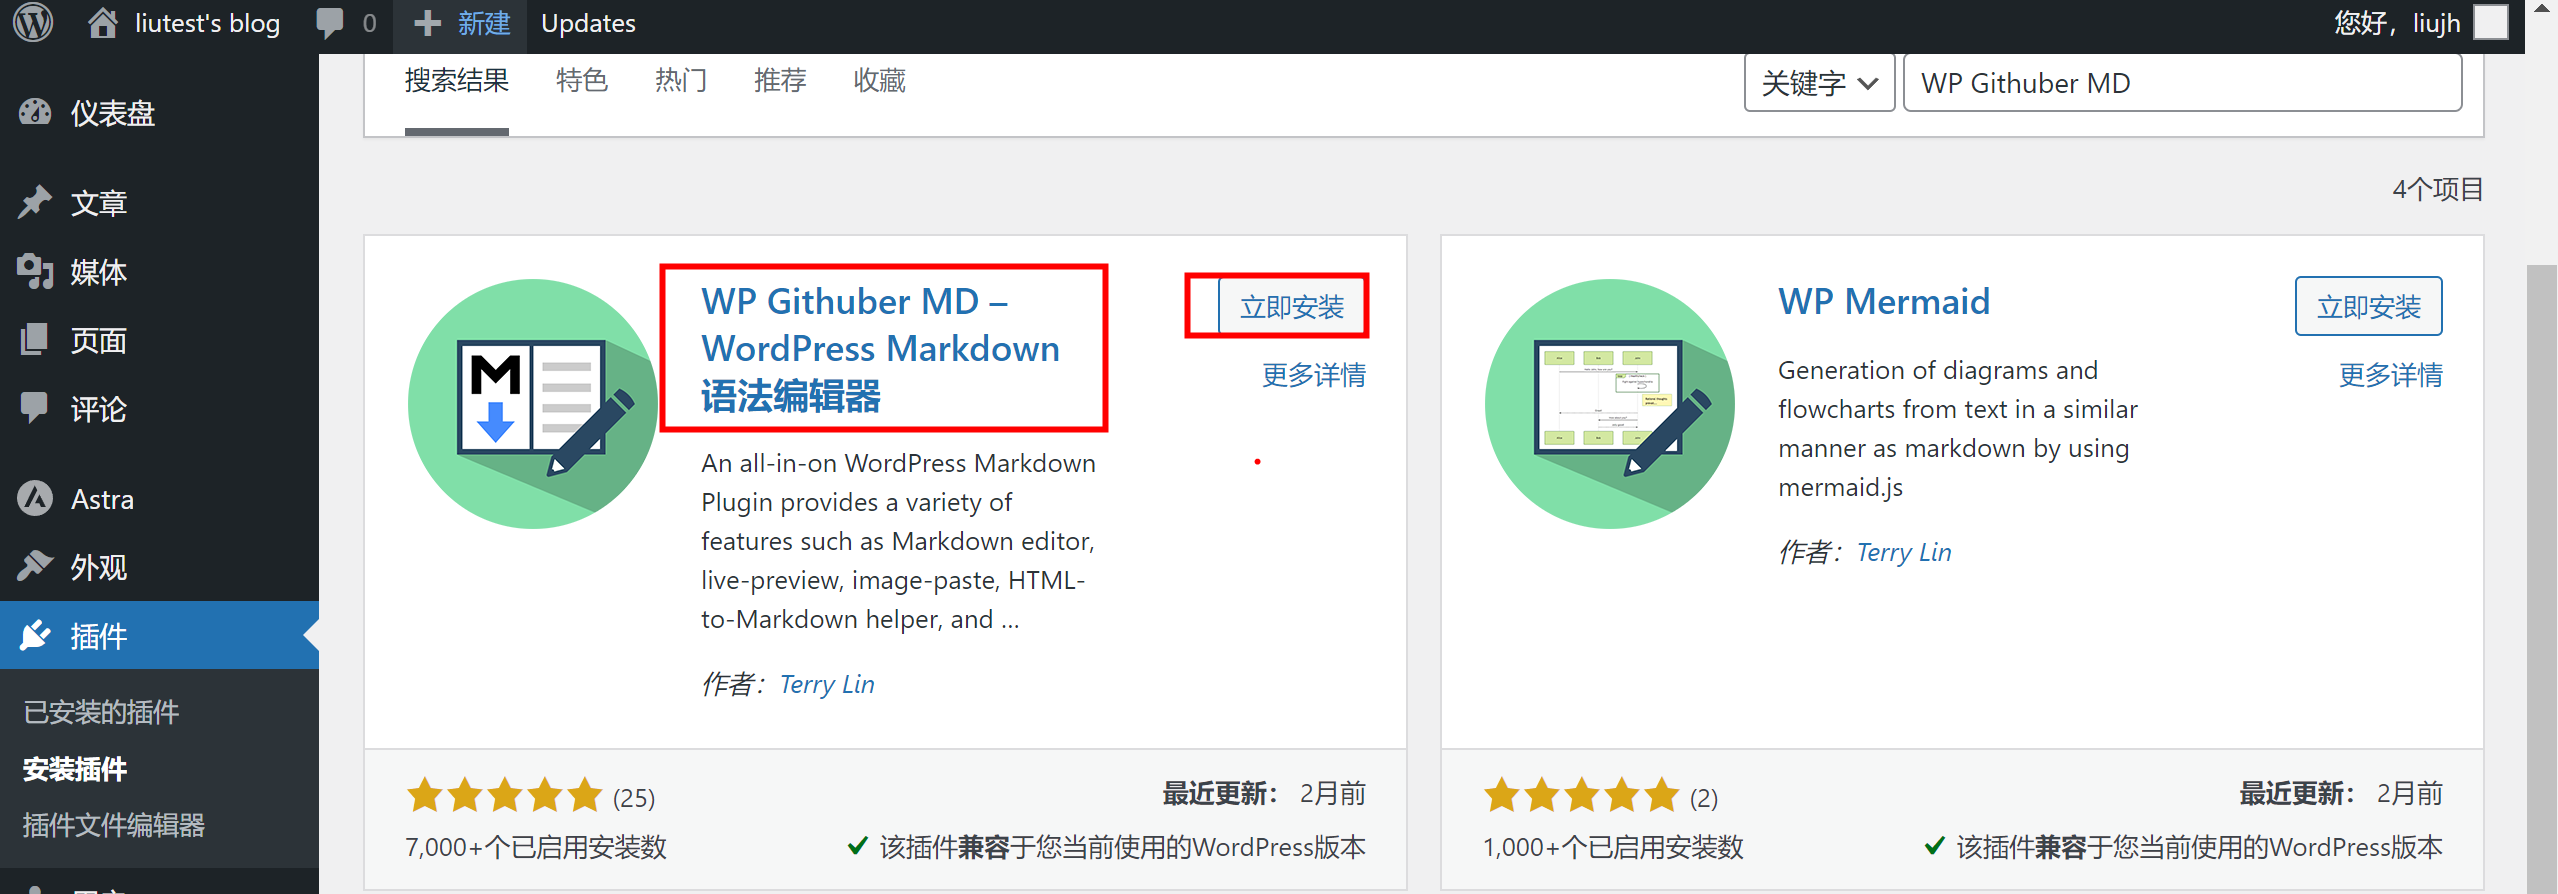
- 2.WP Githuber MD
- 3.WP-Optimize – Cache, Clean, Compress
- 4. WP-PostViews或Post Views Counter
- 5. Easy Table of Contents
- 5. UpdraftPlus Backup/Restore
- 6.WP Super Cache
- 7.Media Cleaner
- 8.WP Favorite Posts
- 8.File Upload Types by WPForms
- 9. Members
- 10. Disable Autosave & Disable Post Revision
- 11.禁用自动草稿(auto-draft)功能
- 12.额外css
- 三、其他
WordPress安装后我常用的插件
一、WordPress安装
很久之前记录的安装过程,用Docker搭建WordPress博客,记录了安装版本wordpress4.6的过程,有点旧,旧的版本使用UEditor插件作为默认的写文章插件,但现在基本上流行markdown插件了,因此这里的安装过程整体上面的步骤一样,只是换了下新版本6.2,同时换了下mardown插件,基本步骤一致,其他的详见上面的用Docker搭建WordPress博客
##下载镜像
docker pull mysql:5.7.36
docker pull wordpress:6.2

##启动
docker run -v /data/wordpressDir/mysqldata:/var/lib/mysql --privileged=true --name wordpress_mysql -e MYSQL_ROOT_PASSWORD=Sendi_2023! -p 13306:3306 -d mysql:5.7.36 --character-set-server=utf8mb4 --collation-server=utf8mb4_unicode_ci
docker run -v /data/wordpressDir/www/html:/var/www/html --privileged=true --name wordpress --link wordpress_mysql:mysql -p 8080:80 -d wordpress:6.2
二、插件使用
1.添加Astra主题
添加Astra主题然后启用
2.Easy Updates Manager
一个禁用自动更新的插件,为了防止Wordpress乱更新,将自己设置好的主题或插件改得乱七八糟。
安装好后直接设置
找到仪表盘->Updates options进行设置,我是直接全禁用,需要更新的时候再打开,你可以看看其他选项

2.WP Githuber MD
一个为 WordPress 网站提供全功能 Markdown 语法的插件,作者:Terry Lin这个,在插件库搜索WP Githuber MD进行安装即可
安装后就可以先进行一系列的markdown编写设置了
此插件自带停用内容修订、停用自动储存功能。
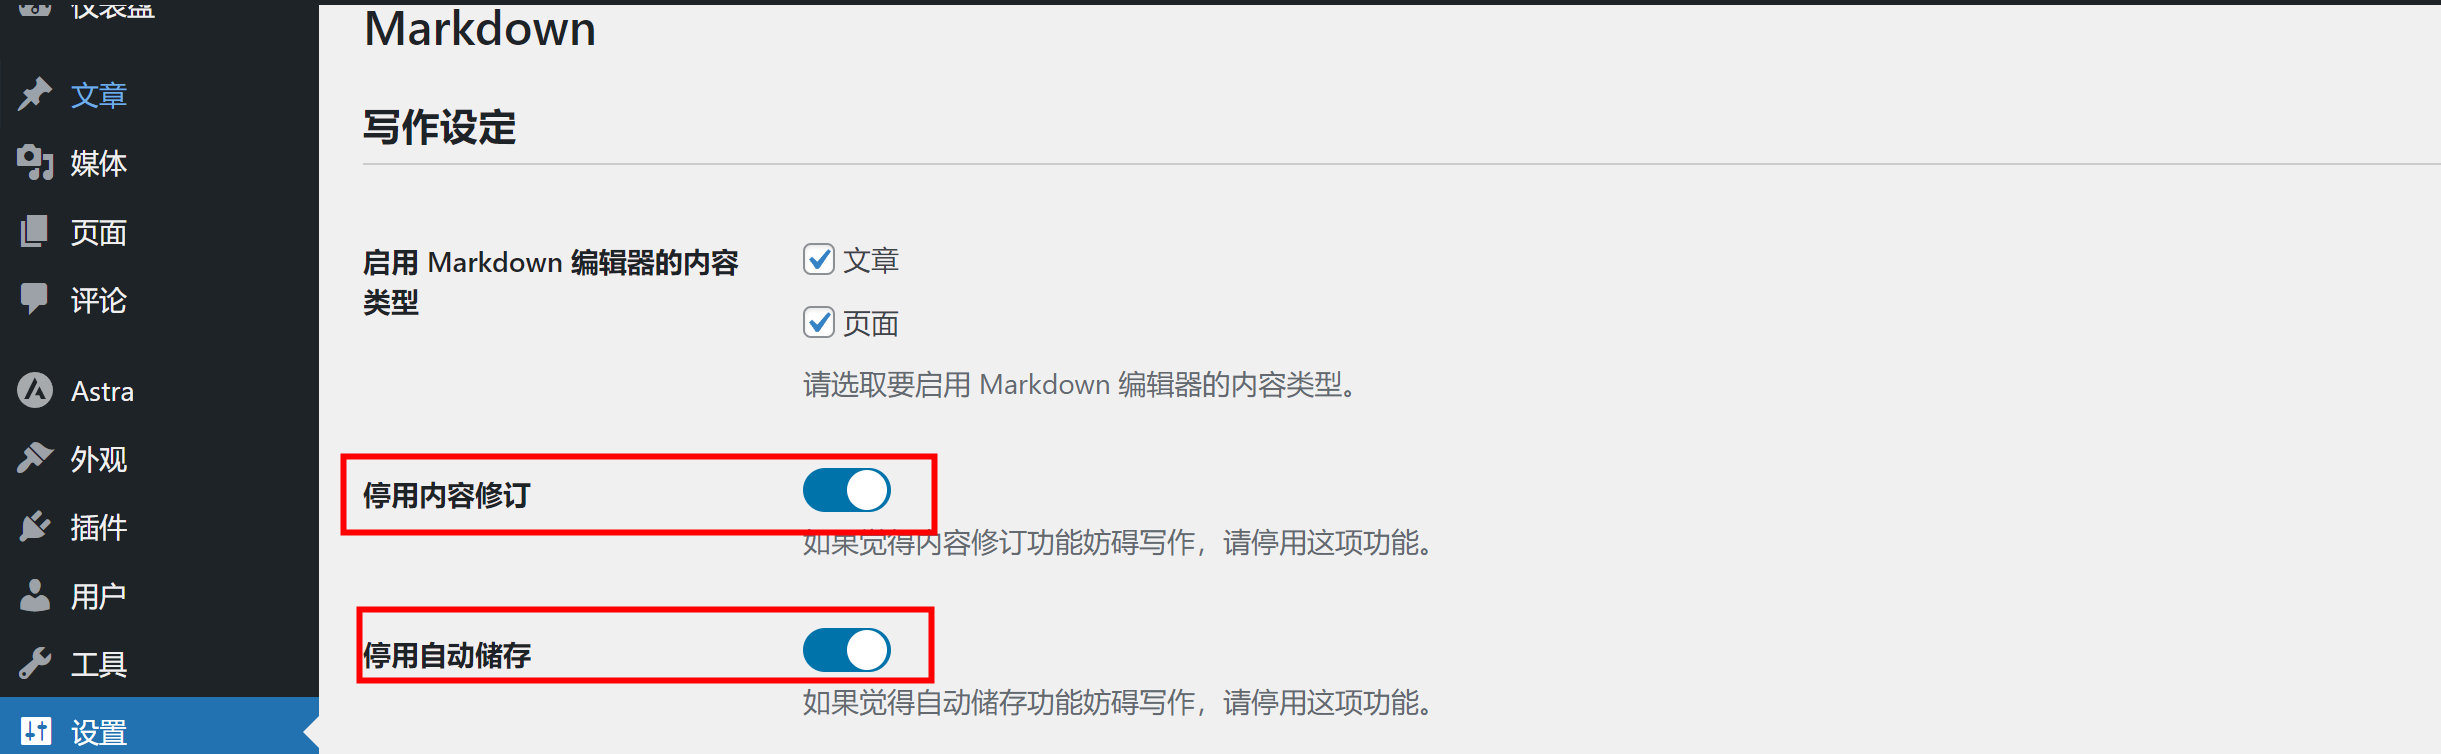
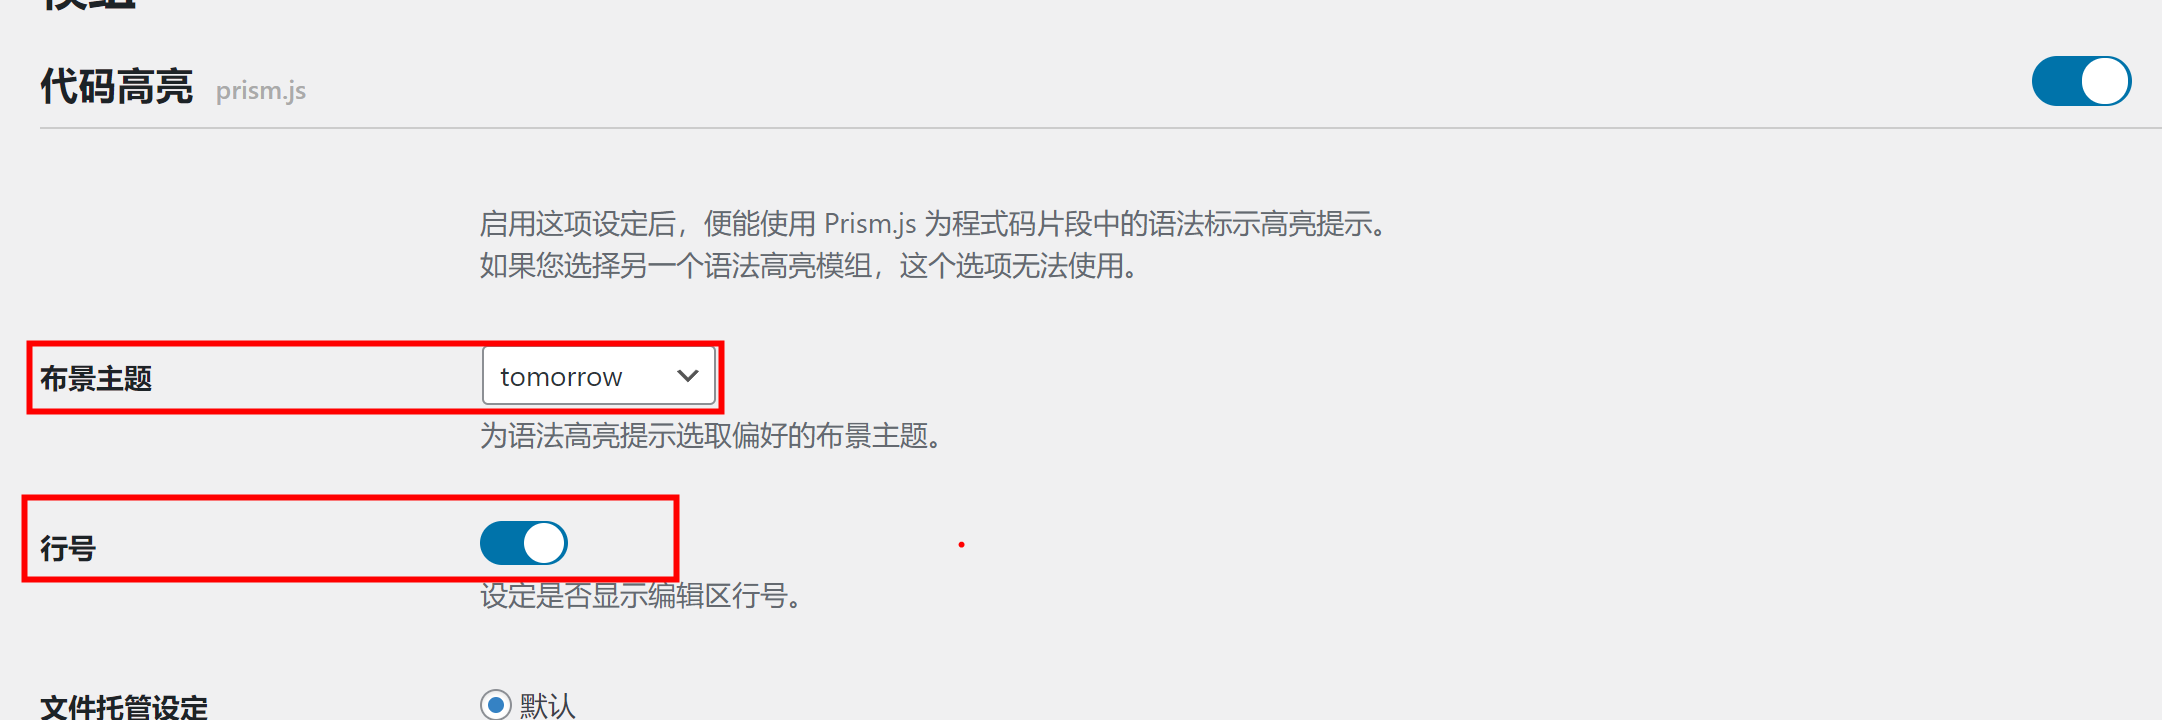
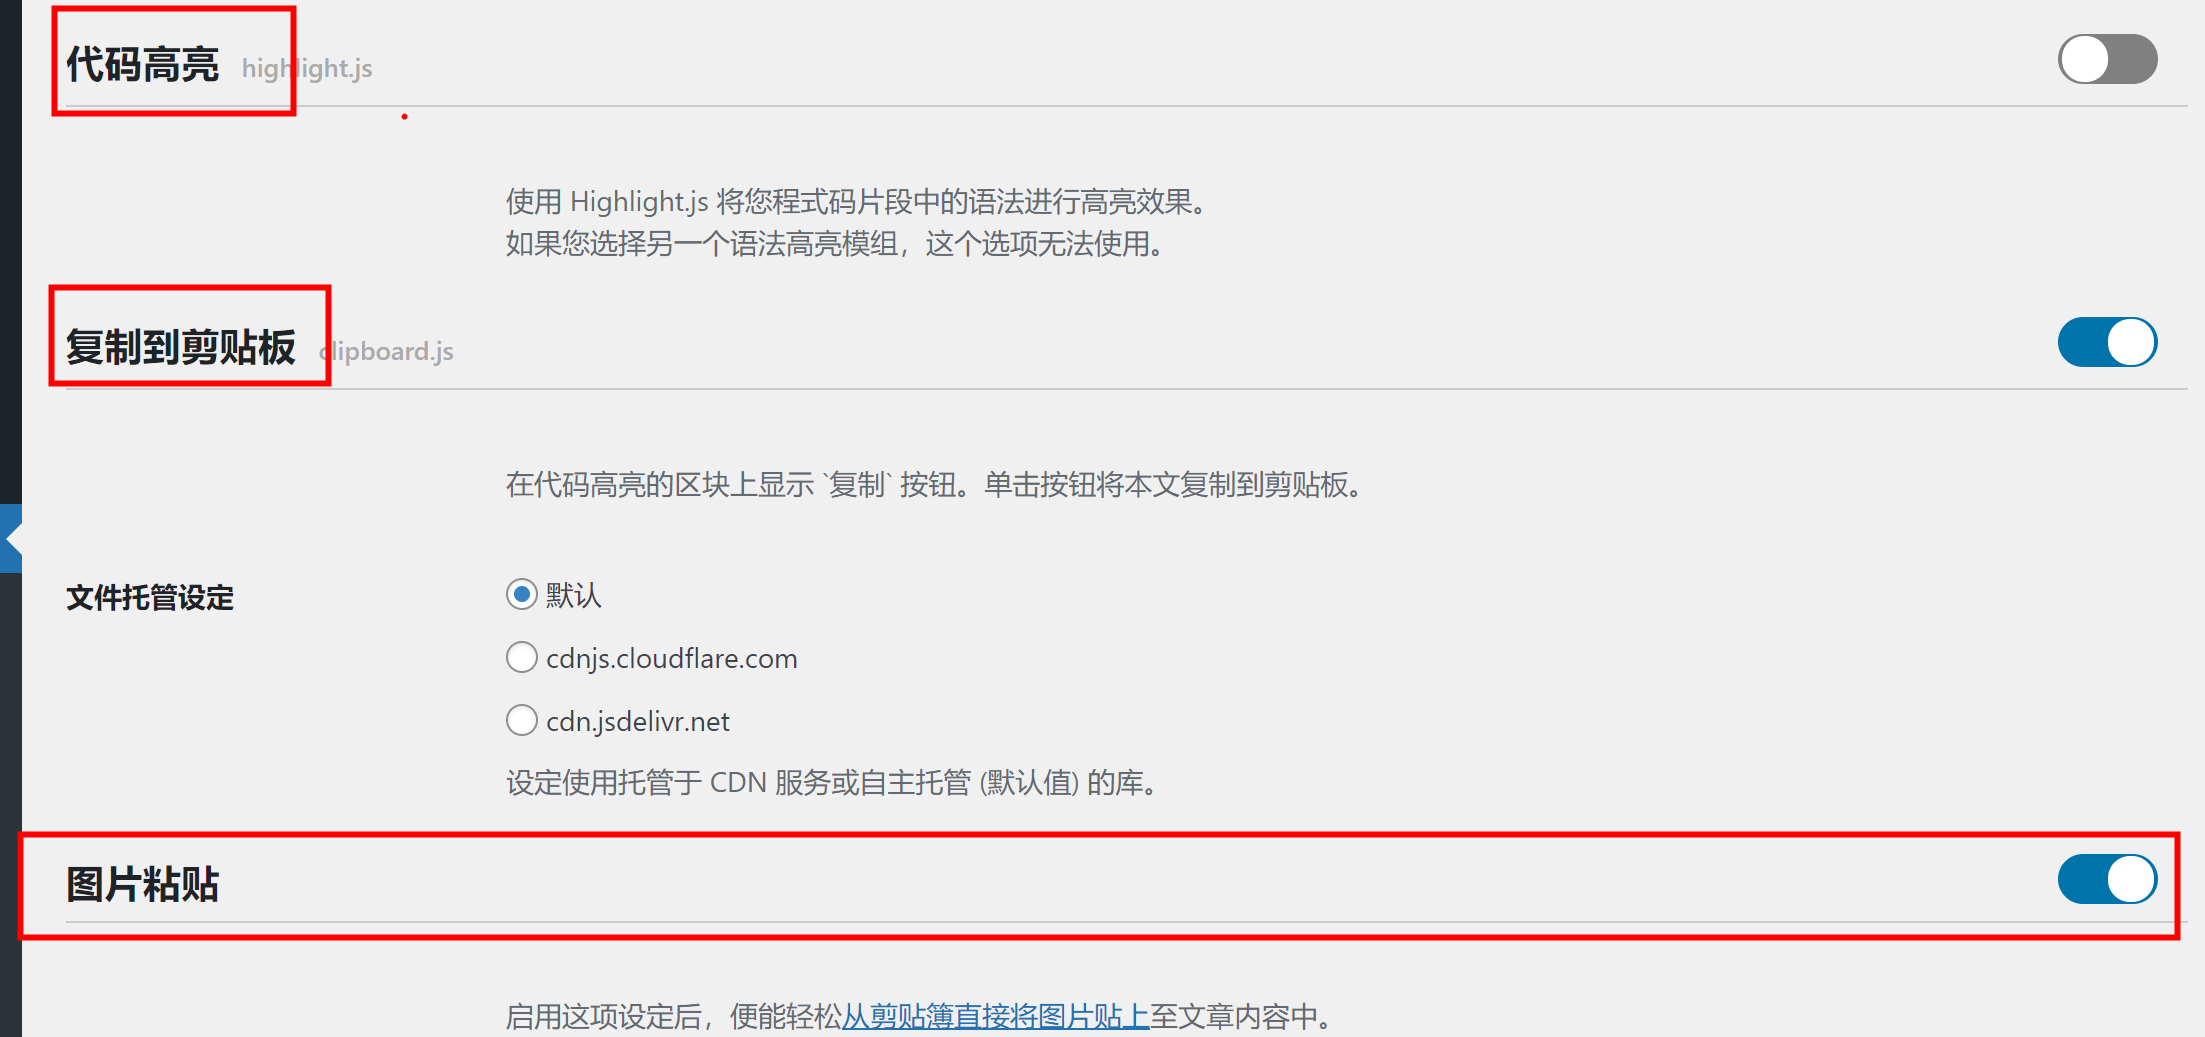
也可以设置代码高亮、复制到剪贴板、图片粘贴、行号、主题布景等
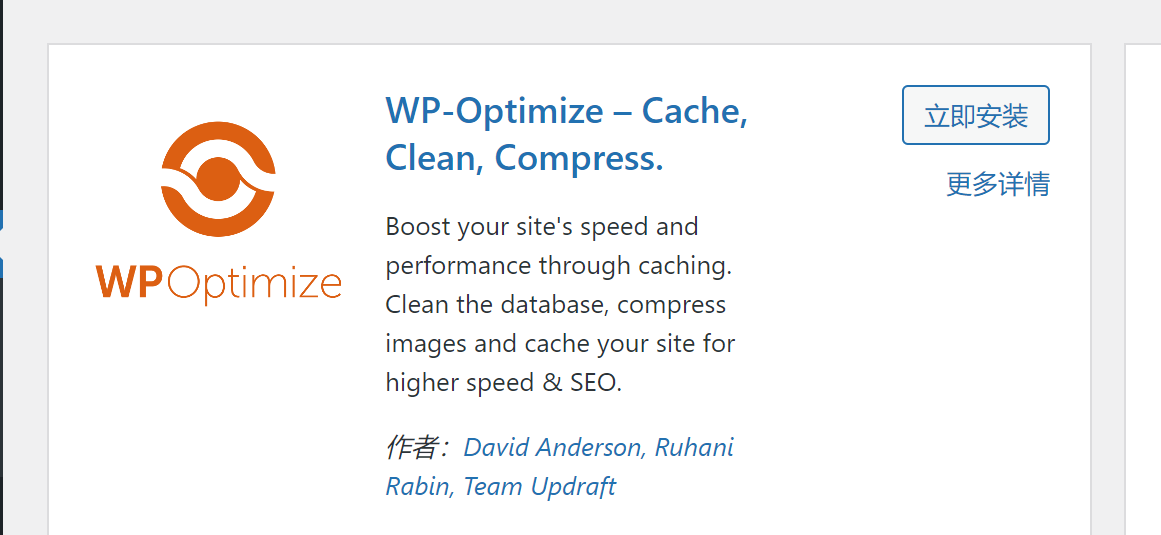
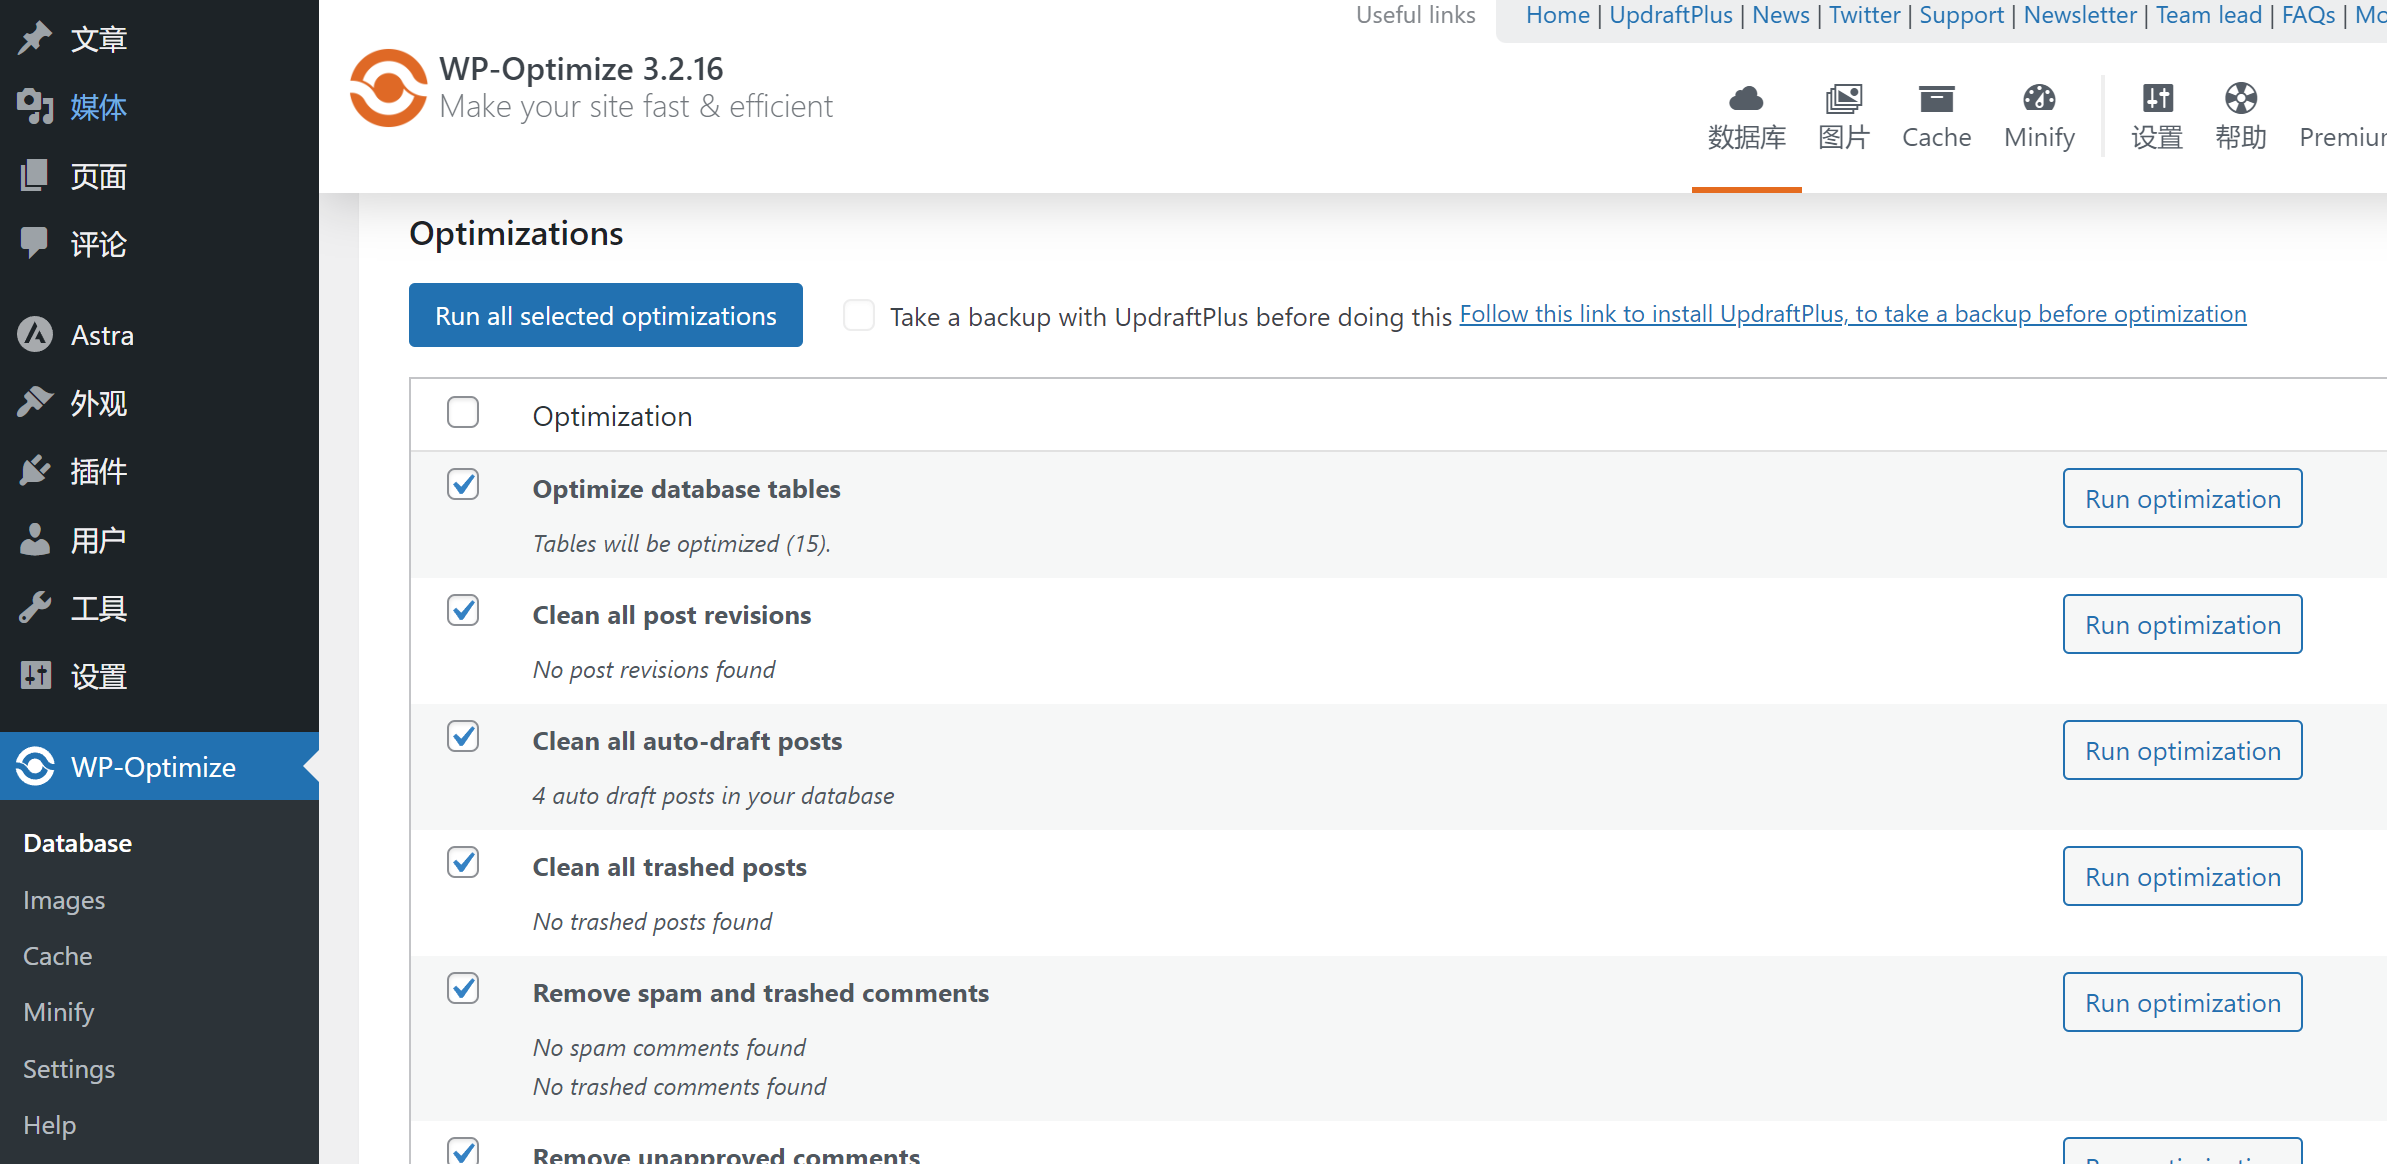
3.WP-Optimize – Cache, Clean, Compress
Boost your site’s speed and performance through caching. Clean the database, compress images and cache your site for higher speed & SEO.
此插件可以清理缓存、数据库修订和草稿记录,优化数据库等,安装此主要用于清理修订记录和草稿记录
可以手工清理,也可以自动定动任务清理
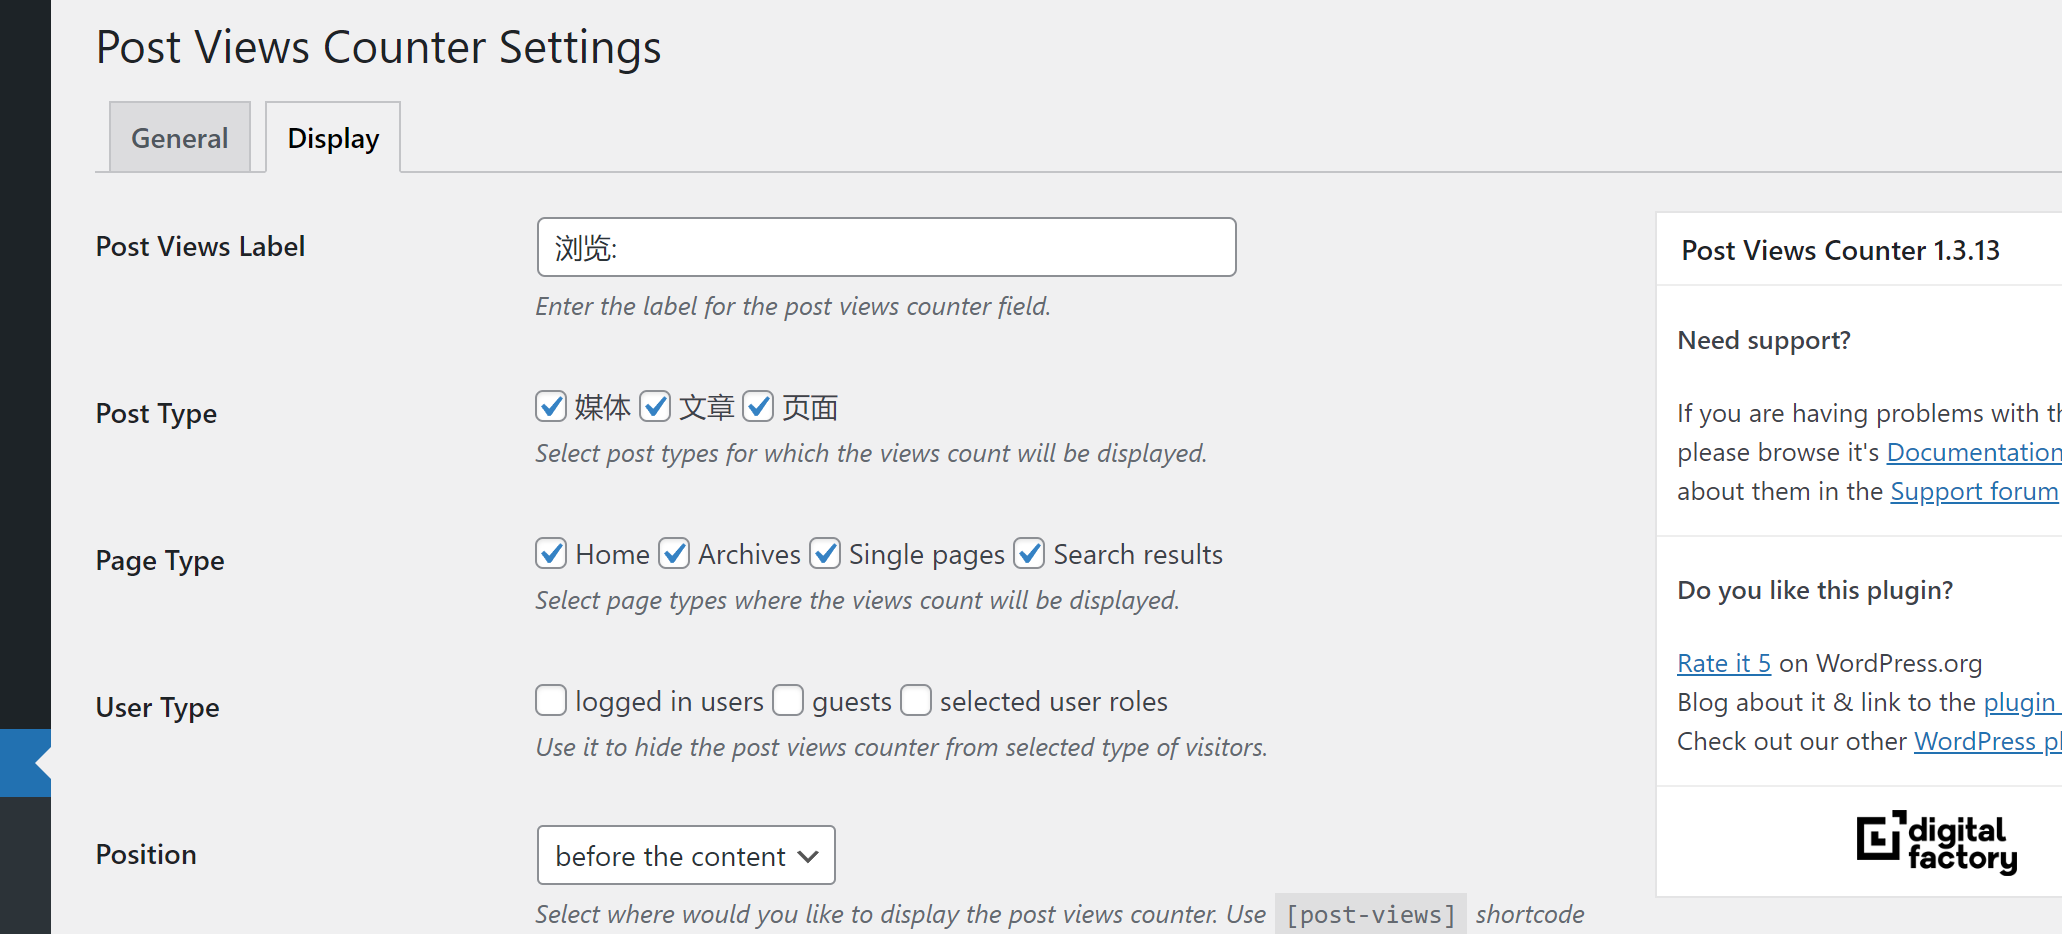
4. WP-PostViews或Post Views Counter
文章浏览量计数器(Post Views Counter)或WP-PostViews
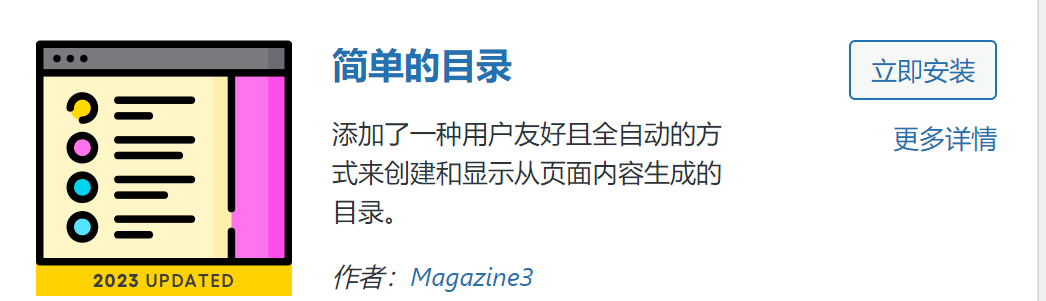
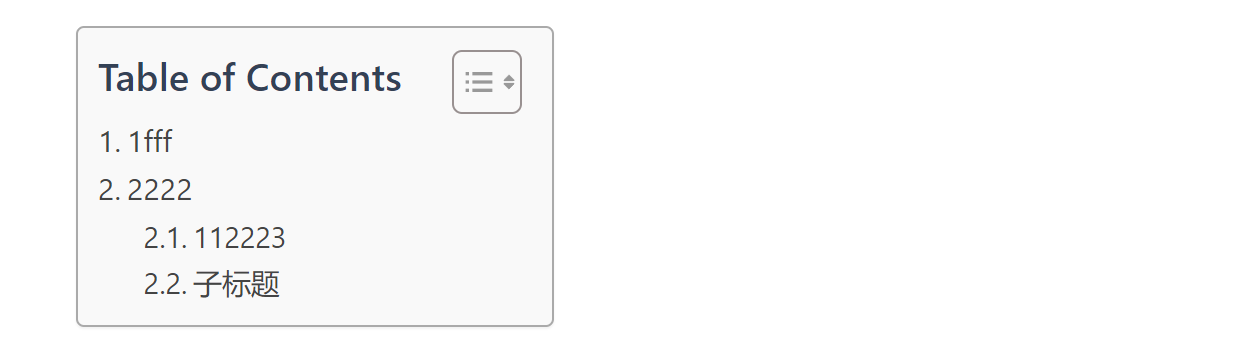
5. Easy Table of Contents
简单的目录插件
效果:
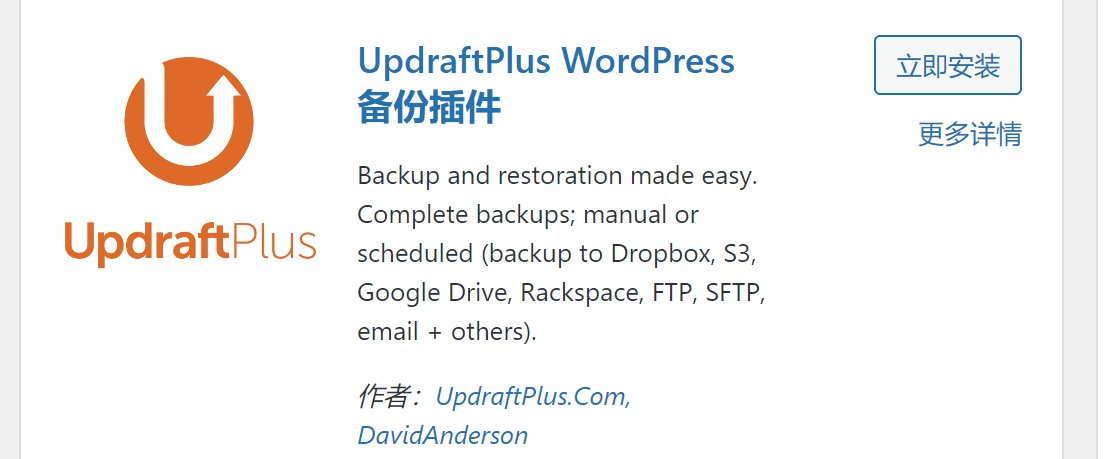
5. UpdraftPlus Backup/Restore
UpdraftPlus WordPress 备份插件
6.WP Super Cache
缓存插件

7.Media Cleaner
媒体清理插件
8.WP Favorite Posts
收藏插件
8.File Upload Types by WPForms
上传类型插件,可以设置一些wordpress默认没有支持的文件上传到媒体中心
9. Members
Members – Membership & User Role Editor Plugin: 角色管理插件
默认wordpress只支持5个角色,通过此插件控制支持更多更灵活的角色控制
10. Disable Autosave & Disable Post Revision
禁用修改历史和自动保存插件,你可以试试,我由于安装了WP Githuber MD,自带了这两个功能,因此这两个插件没安装
11.禁用自动草稿(auto-draft)功能
这个没有找到现成的插件,因此使用网上的代码修改的解决方案
打开 wp-admin/includes/post.php,找到如下代码
$post_id = wp_insert_post(
    array(
        'post_title'  => __( 'Auto Draft' ),
        'post_type'   => $post_type,
        'post_status' => 'auto-draft',
    ),
    false,
    false
);
$post = get_post( $post_id );
上面的代码先是清除七天以前的自动草稿,然后插入一条新草稿,将其注释,并添加以下代码:
/* 修改开始*/
global $wpdb;
global $current_user; // 获取当前登录管理用户
$post = $wpdb->get_row( "SELECT * FROM $wpdb->posts WHERE post_status = 'auto-draft' AND post_type = '$post_type' AND post_author = $current_user->ID ORDER BY post_date ASC, ID ASC LIMIT 1" ); // 获取最早一条自动草稿
if ( !$post ) {


//没有记录添加一条草稿记录
$post_id = wp_insert_post( array( 'post_title' => __( 'Auto Draft' ), 'post_type' => $post_type, 'post_status' => 'auto-draft' ) );
$post = get_post( $post_id );
}
/* 修改结束 */
12.额外css
使用Astra主题,默认的样式文字特别大,需要自己调一下样式适合自己喜欢的,通过外观->自定义->额外css进行设置,然后发布,以下是我自己改过的,记录给我个人使用(不一定适合你)
/*全局字体大小14px*/
html{


	font-size: 14px;
}

/*文章内容的标题h1字体大小*/
h1, .entry-content h1 {


	font-size: 20px;
}

/*文章内容的标题h2字体大小*/
h2, .entry-content h2 {


	font-size: 16px;
}

/*文章内容的标题h3字体大小*/
h3, .entry-content h3 {


	font-size: 14px;
}

/*下边框调整*/
.widget {


	margin-bottom: 1em;
}

/*引用的样式调整*/
blockquote {


	display: block;
	padding: 16px;
	margin: 0 0 24px;
	border-left: 8px solid #dddfe4;
	background: #eef0f4;
	overflow: auto;
	word-break: break-	word!important;
}

p {


	font-size: 16px;
	color: #4d4d4d;
	font-weight: 400;
	line-height: 26px;
	margin: 0 0 16px;
	overflow: hidden;
	overflow-x: auto;
}

/*引用的样式的P标签样式调整*/
blockquote p {


	font-size: 14px;
	line-height: 22px;
	color: #555666;
	font-weight: 400;
	margin-bottom: 0;
}

.entry-content blockquote p {


	margin-bottom: 0em;
}

/*代码的样式调整*/
code {


	color: #c7254e;
	background-color: #f9f2f4;
	border-radius: 2px;
	font-size: 14px;
}

code[class*=language-], pre[class*=language-]{


	font-size: 12px;
}

.ast-page-builder-template.ast-right-sidebar #secondary {


	padding-right: 20px;
}

.ast-right-sidebar #secondary {


	padding-left: 10px;
}

.ast-builder-menu-1 .menu-item.current-menu-item > .menu-link, .ast-builder-menu-1 .inline-on-mobile .menu-item.current-menu-item > .ast-menu-toggle, .ast-builder-menu-1 .current-menu-ancestor > .menu-link {


	color: #000000;
}

.ast-single-post .entry-content a, .ast-comment-content a:not(.ast-comment-edit-reply-wrap a) {


	text-decoration: none;
}

/*收藏插件的样式调整*/
.wpfp-span:not(:first-child) {


	display: none;
}
三、其他
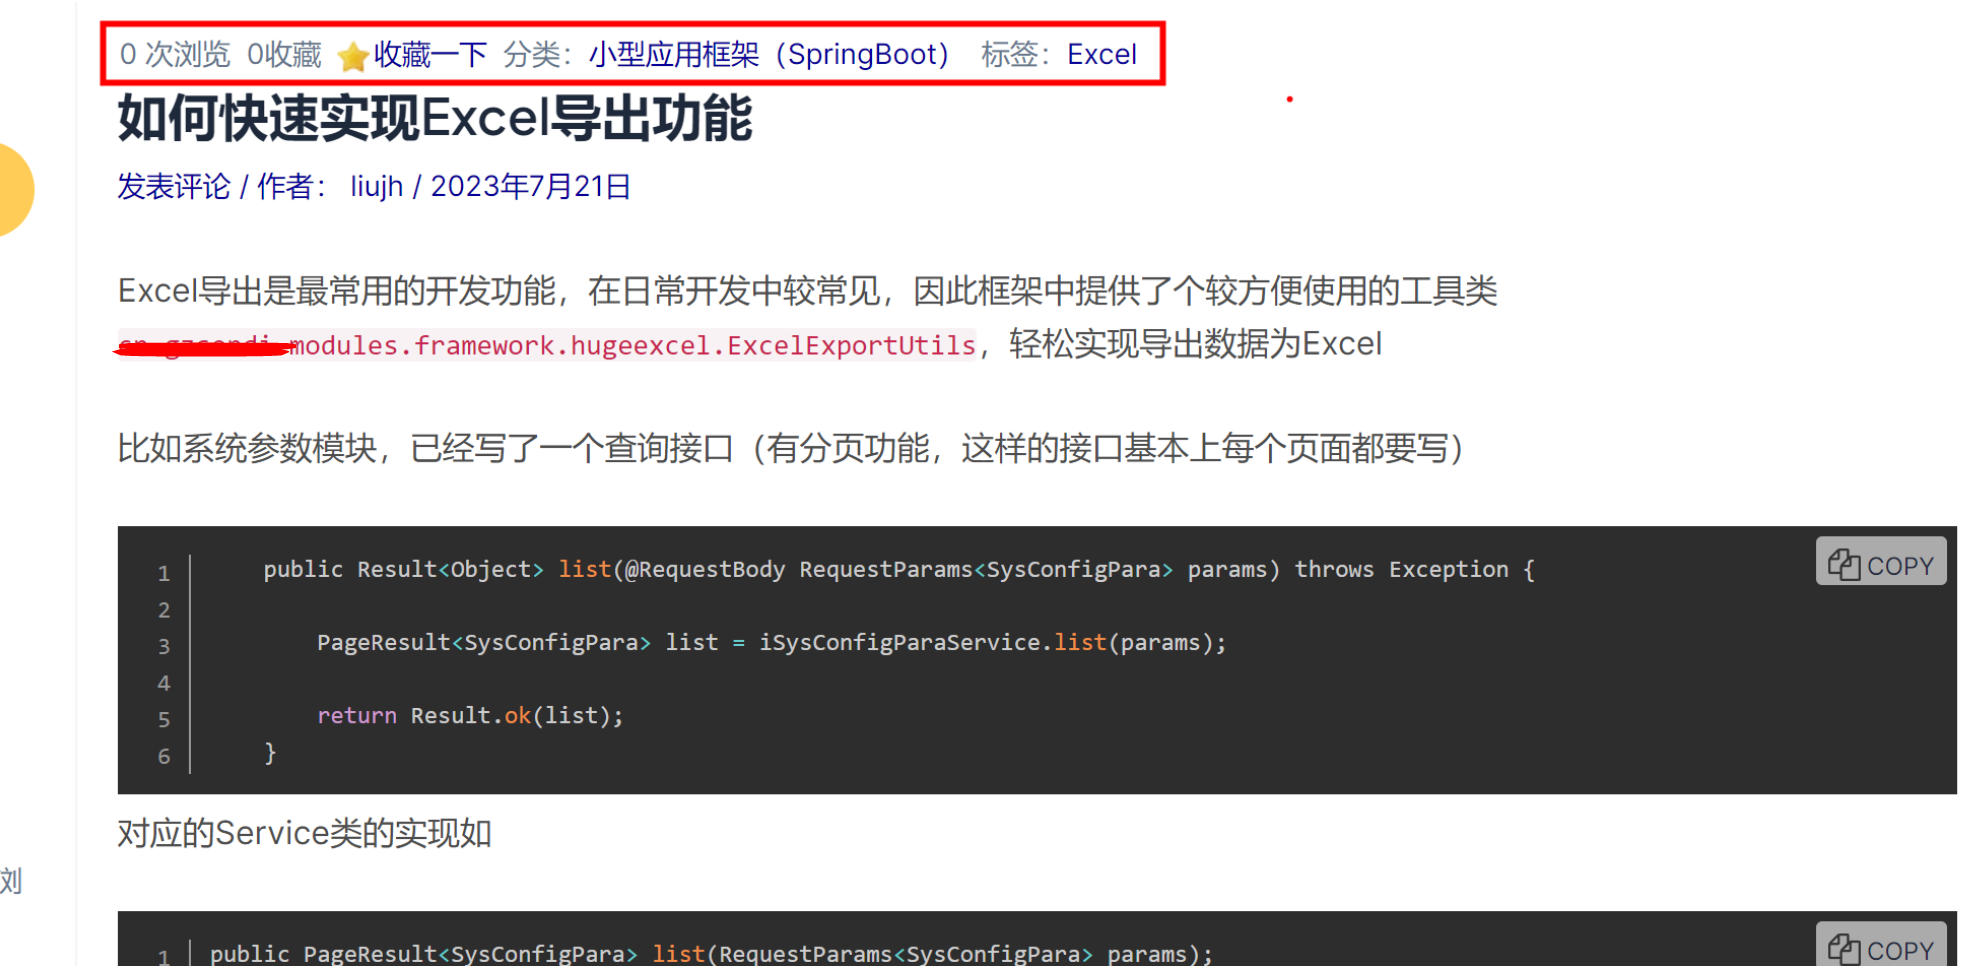
1.单篇文章内格外修改
通过使用代码修改,找到外观->主题文件编辑器->文章页面(single.php),在代码里面加入如下标签代码进行自定义一些效果
<span style="position: absolute; top: 2em; left: 1.5em;"><?php if(function_exists('the_views')) {
the_views(); } ?> <?php if(function_exists('wpfp_get_post_meta')) {
echo wpfp_get_post_meta(get_the_ID()) ."收藏 " ;} ?><?php
if (is_user_logged_in() && function_exists('wpfp_link')) {
wpfp_link();
}
?> 分类:<?php the_category(','); ?> <?php the_tags(); ?></span>
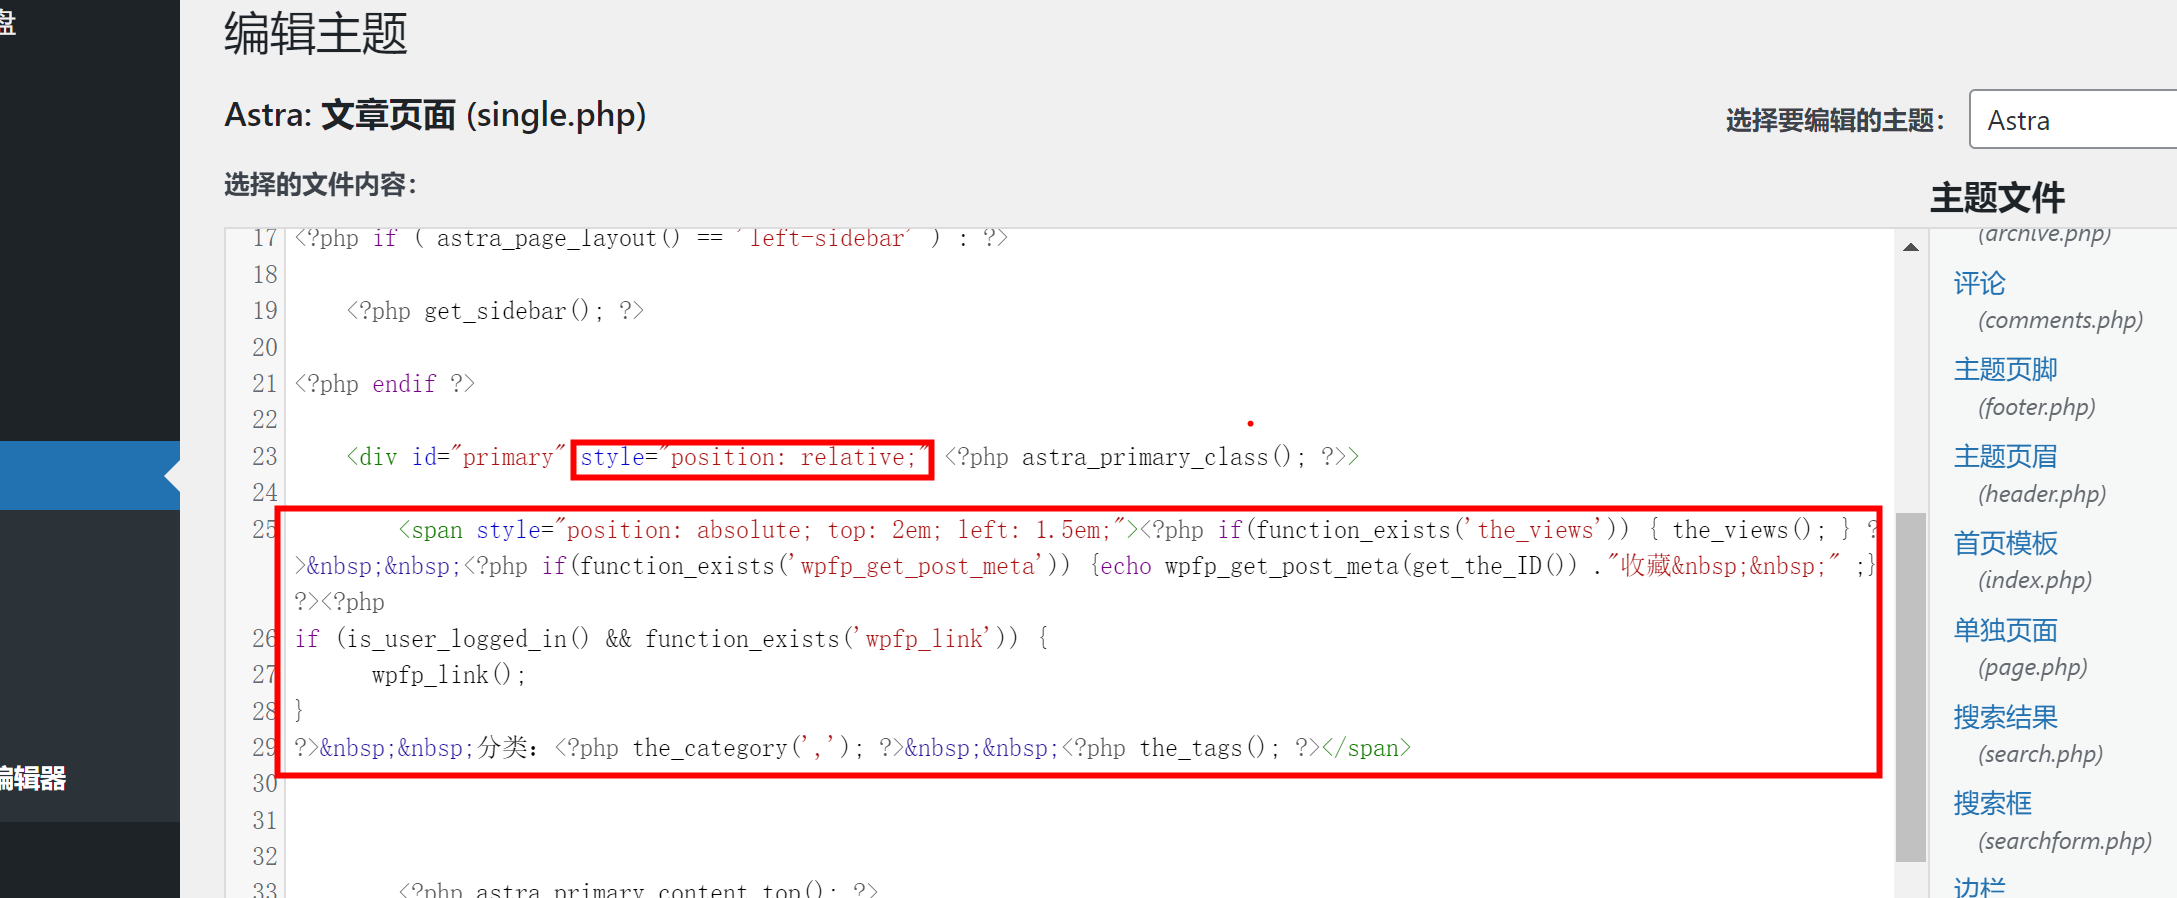
效果如:
2.媒体上传文件类型限制解决办法
修改wp-config.php文件,在其中增加一行语句:
define( 'ALLOW_UNFILTERED_UPLOADS', true );
以上的是全局开放所有文件格式可以上传的方法,只开放部分的没有测试出来