本博文实现了opencv显示一副大图的功能。当图像太大时,在特定的窗口内无法完全显示图像的内容。
此时只要用鼠标拖动图像可见部分的任一点,就可以扩大显示图像内容。
闲言少说,直接贴上代码:
// MainDemo.cpp : Defines the entry point for the console application.
#include "stdio.h"
#include "highgui.h"
#include "cv.h"
#include <iostream>
using namespace std;


#define default_width 720
#define default_height 480 //图片的宽高超过此界限时认为是大图片

const char * filename= "beijing.bmp";

CvPoint first = cvPoint(0,0);
CvPoint  last = cvPoint(0,0);//鼠标按下和抬起时的点

CvRect rect;//显示的图像在原图中的区域

int src_x = 0;
int src_y = 0;	//ROI左上角点

IplImage * img;
int img_width,img_height;	//读入的图片的宽高

int window_height ;
int window_width  ;		//窗口的宽高
IplImage * dst_image;	//显示的图片


void on_mouse(int event ,int x, int y,int flags, void* param)
{
	switch(event)
	{
		case CV_EVENT_LBUTTONDOWN:
			{
				first.x = x;
				first.y = y;
			}
			break;
		case CV_EVENT_LBUTTONUP:
			{
				last.x = x;
				last.y = y;

				src_x -= last.x - first.x;
				src_y -= last.y - first.y;

				if(src_x < 0)src_x = 0;
				else if(src_x > img_width - window_width)src_x = img_width - window_width;
				else ;
				if(src_y < 0 ) src_y = 0;
				else if(src_y > img_height - window_height)src_y = img_height - window_height;
				else;
				cout<<"左上角点:"<<endl;
				cout<<"x:"<<src_x<<endl;
				cout<<"y:"<<src_y<<endl;
				rect = cvRect(src_x, src_y,window_width , window_height);

				cvSetImageROI(img , rect);
				//将矩形区内的图像复制出来
				cvCopy(img,dst_image);
				cvResetImageROI(img);
				cvShowImage("image", dst_image);
			}
			break;
		default: break;
	}
}

int main()
{
	img = cvLoadImage(filename,1);
	img_width = img->width;
	img_height = img->height;
	//如果图片没有大于默认大小,则可以直接调用opencv的显示函数
	if(img_height <= default_height && img_width <= default_width)
	{
		cvNamedWindow("image",CV_WINDOW_AUTOSIZE);
		cvShowImage("image",img);
		cvWaitKey(0);
		cvReleaseImage(&img);
		cvDestroyAllWindows();
		return 0;
	}
	//如果存在长或宽大于默认值,则需要添加滚动条
	//如果不添加滚动条,直接拖动也可以实现
	//记录鼠标的拖动
	else
	{
		window_height = default_height;
		window_width  = default_width;

		//假如列或者宽小于默认值,则需要调整

		if(img_height < default_height){window_height = img_height;}
		if(img_width  < default_width){ window_width  = img_width; }

		//设置ROI,将ROI内的区域拷贝出来
	     dst_image = cvCreateImage(cvSize(window_width,window_height),img->depth,img->nChannels);
	     rect = cvRect(src_x, src_y,window_width,window_height);

		cvSetImageROI(img , rect);
		//将矩形区内的图像复制出来
		cvCopy(img,dst_image);
		cvResetImageROI(img);
		cvNamedWindow("image",1);
		cvResizeWindow("image",window_width,window_height);
		cvShowImage("image", dst_image);

		//下面开始处理鼠标事件
		//鼠标buttondown和buttonup分别记下其位置,然后由此可以计算出移动的距离
		cvSetMouseCallback("image",on_mouse ,0);
		cvWaitKey(0);
		cvReleaseImage(&img);
		cvDestroyAllWindows();
	}
	return 0 ;
}
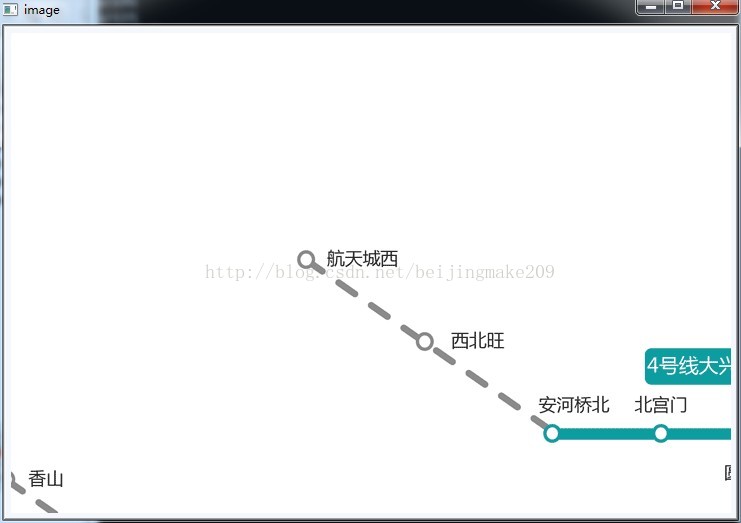
显示结果如下:
初次显示图像:
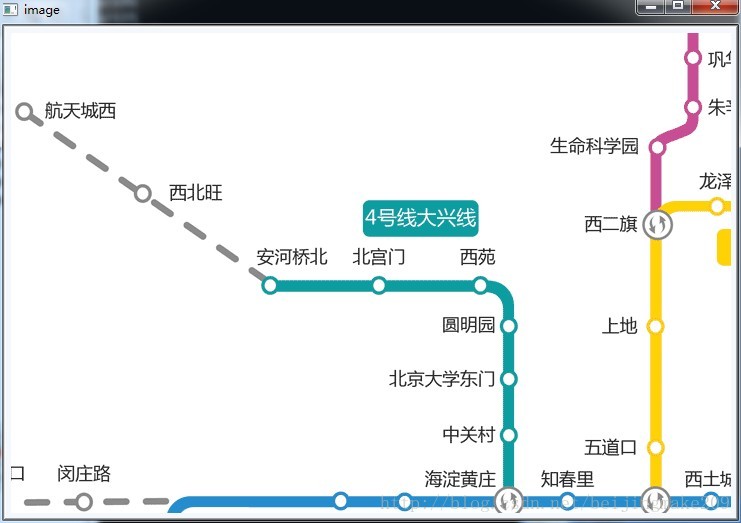
拖动鼠标后显示的结果:
源代码下载地址:http://download.csdn.net/detail/beijingmake209/7342749