参考:
https://blog.csdn.net/m0_45692110/article/details/122628664
https://huaweicloud.csdn.net/635607c3d3efff3090b58eb4.html
一、虚拟机准备
controller和compute虚拟机,使用centos7操作系统,下面给出一些需要修改的地方,其他都可以使用默认,点击下一步即可
controller:
一块磁盘200G
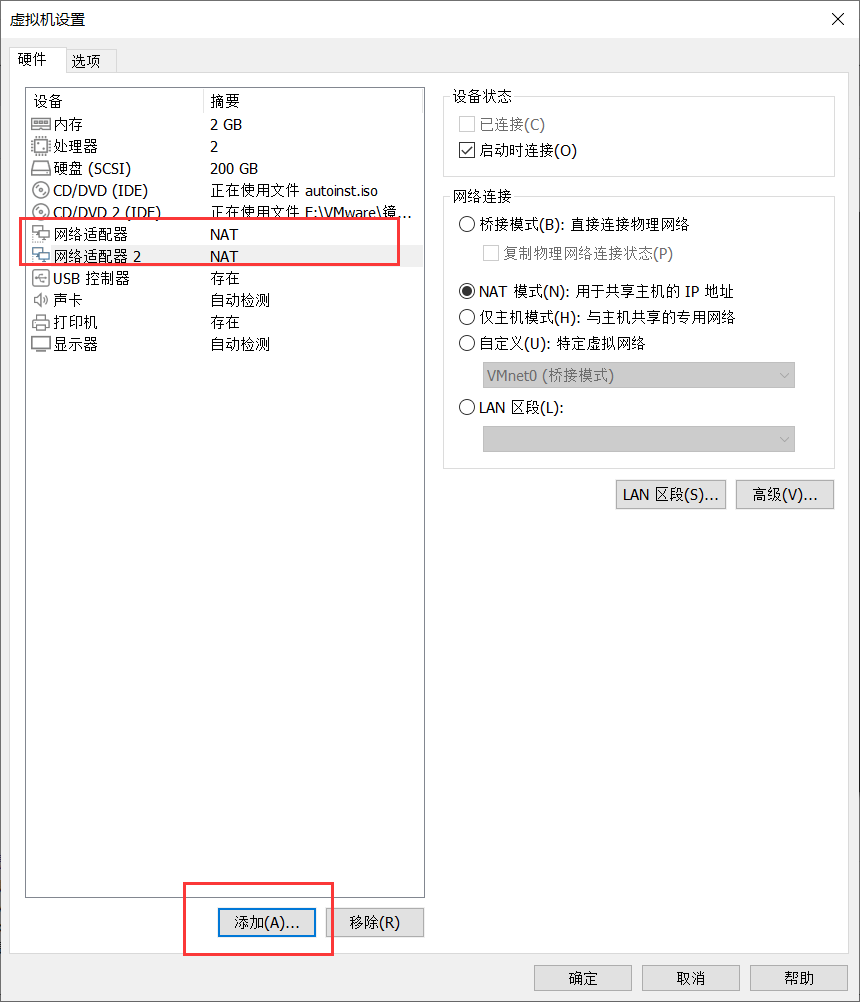
两块网卡:
192.168.100.10
192.168.200.10
compute:
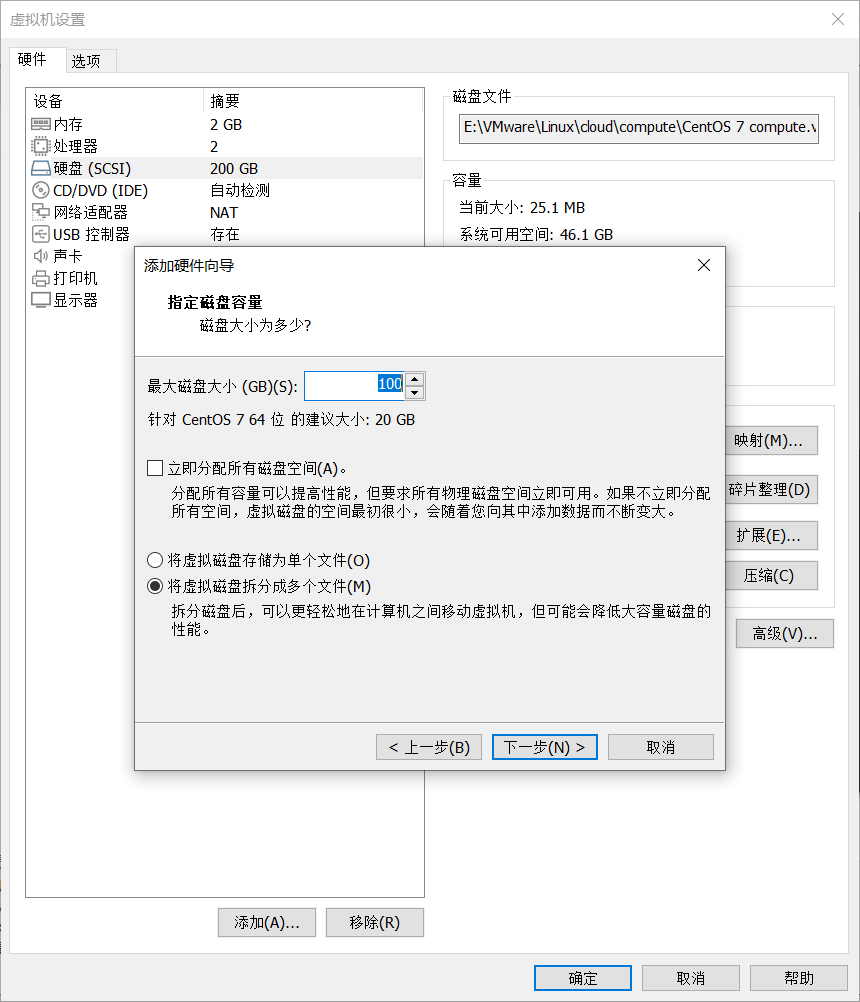
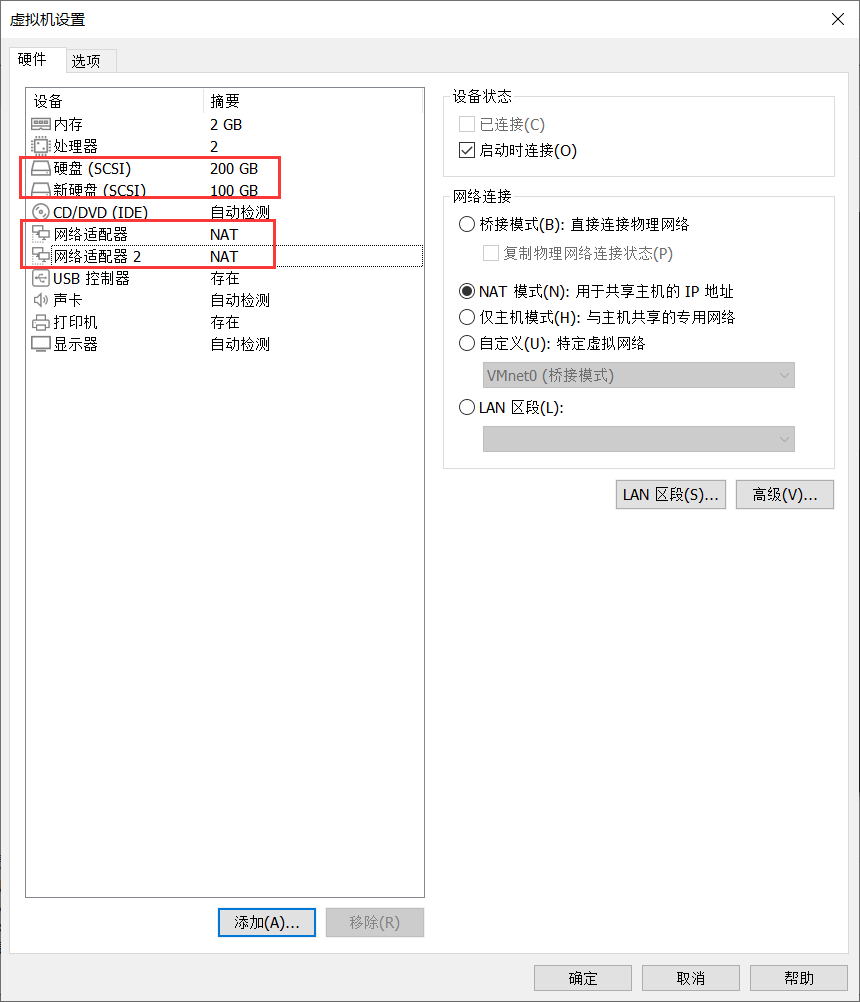
两块磁盘:200G+100G
两块网卡:
192.168.100.20
192.168.200.20
1.controller
(1)创建虚拟机
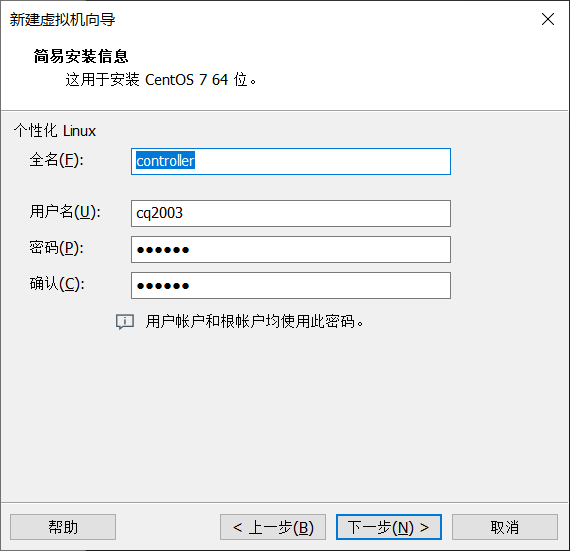
全名:登录时看到的名字
用户名:虚拟机终端中显示的名字
密码:123456
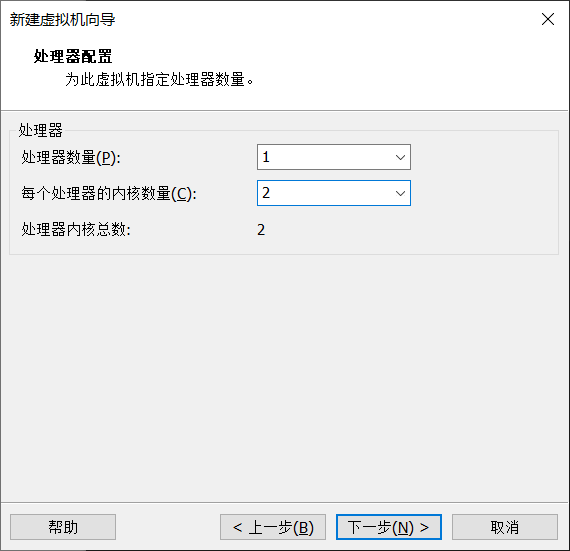
设置处理器内核
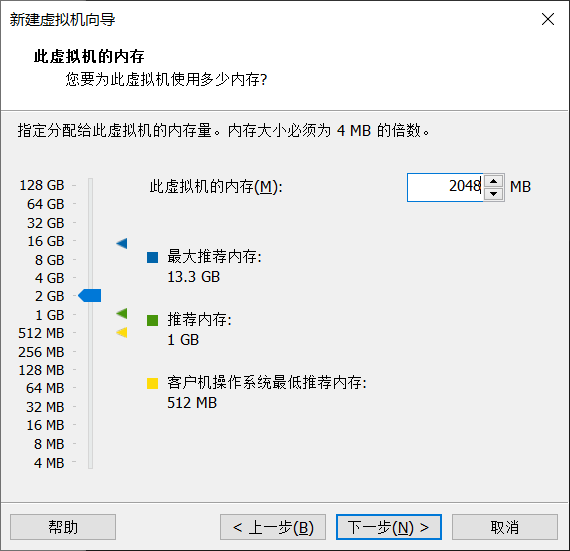
设置内存2G
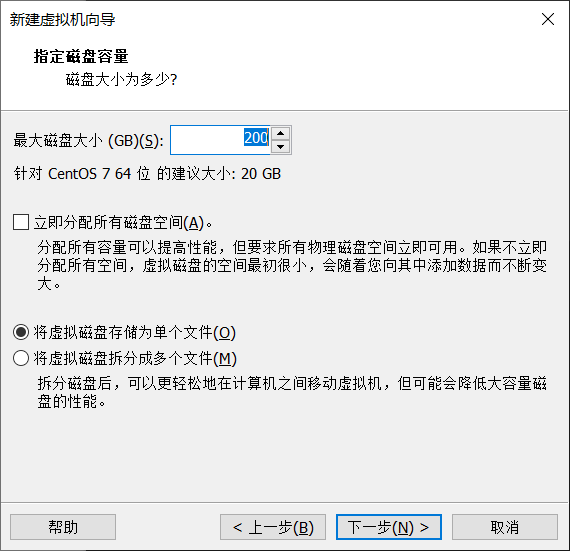
设置磁盘200G
添加两块网卡
(2)虚拟机配置
①修改主机名
hostnamectl set-hostname controller
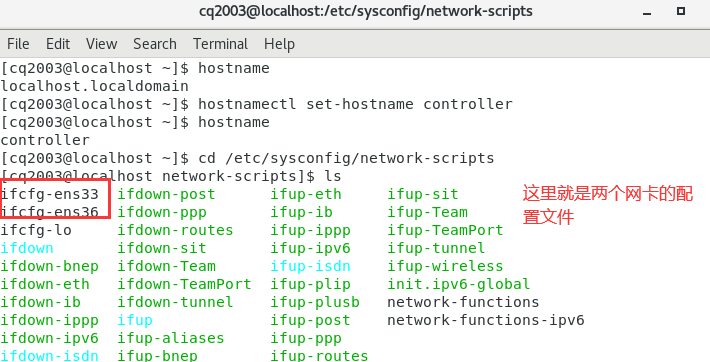
②查看网卡
cd /etc/sysconfig/network-scripts
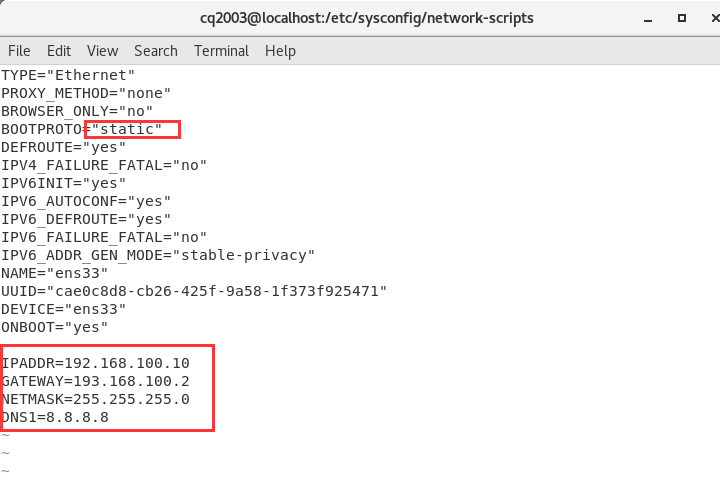
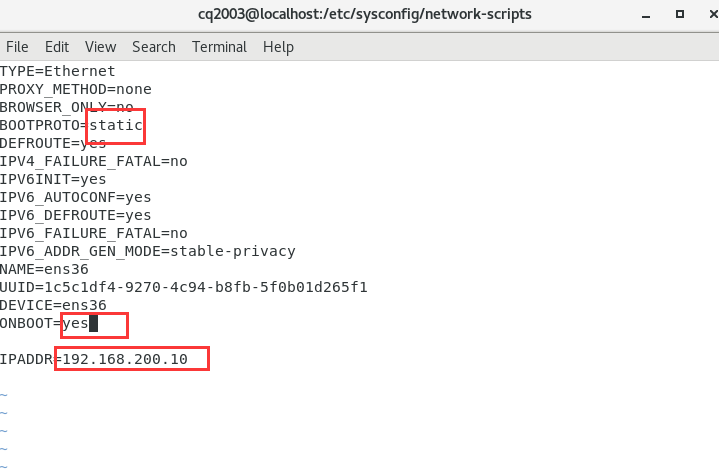
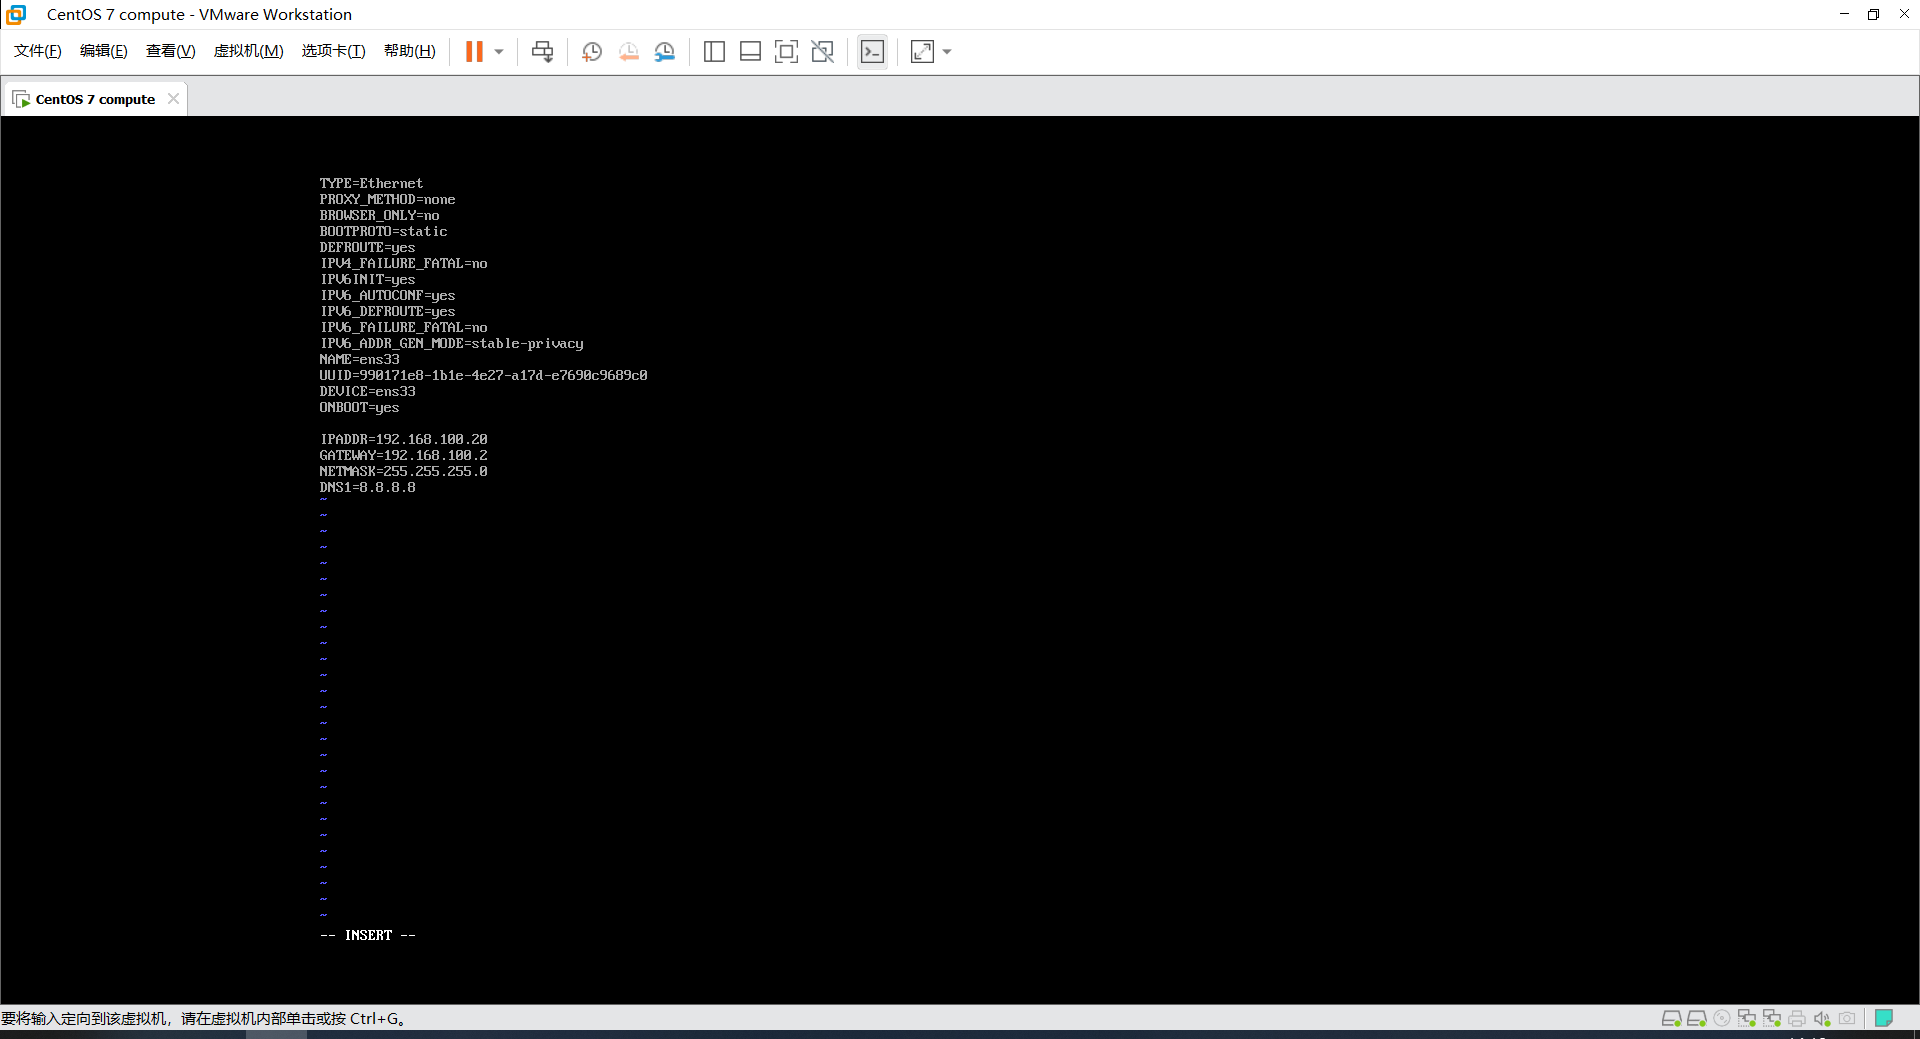
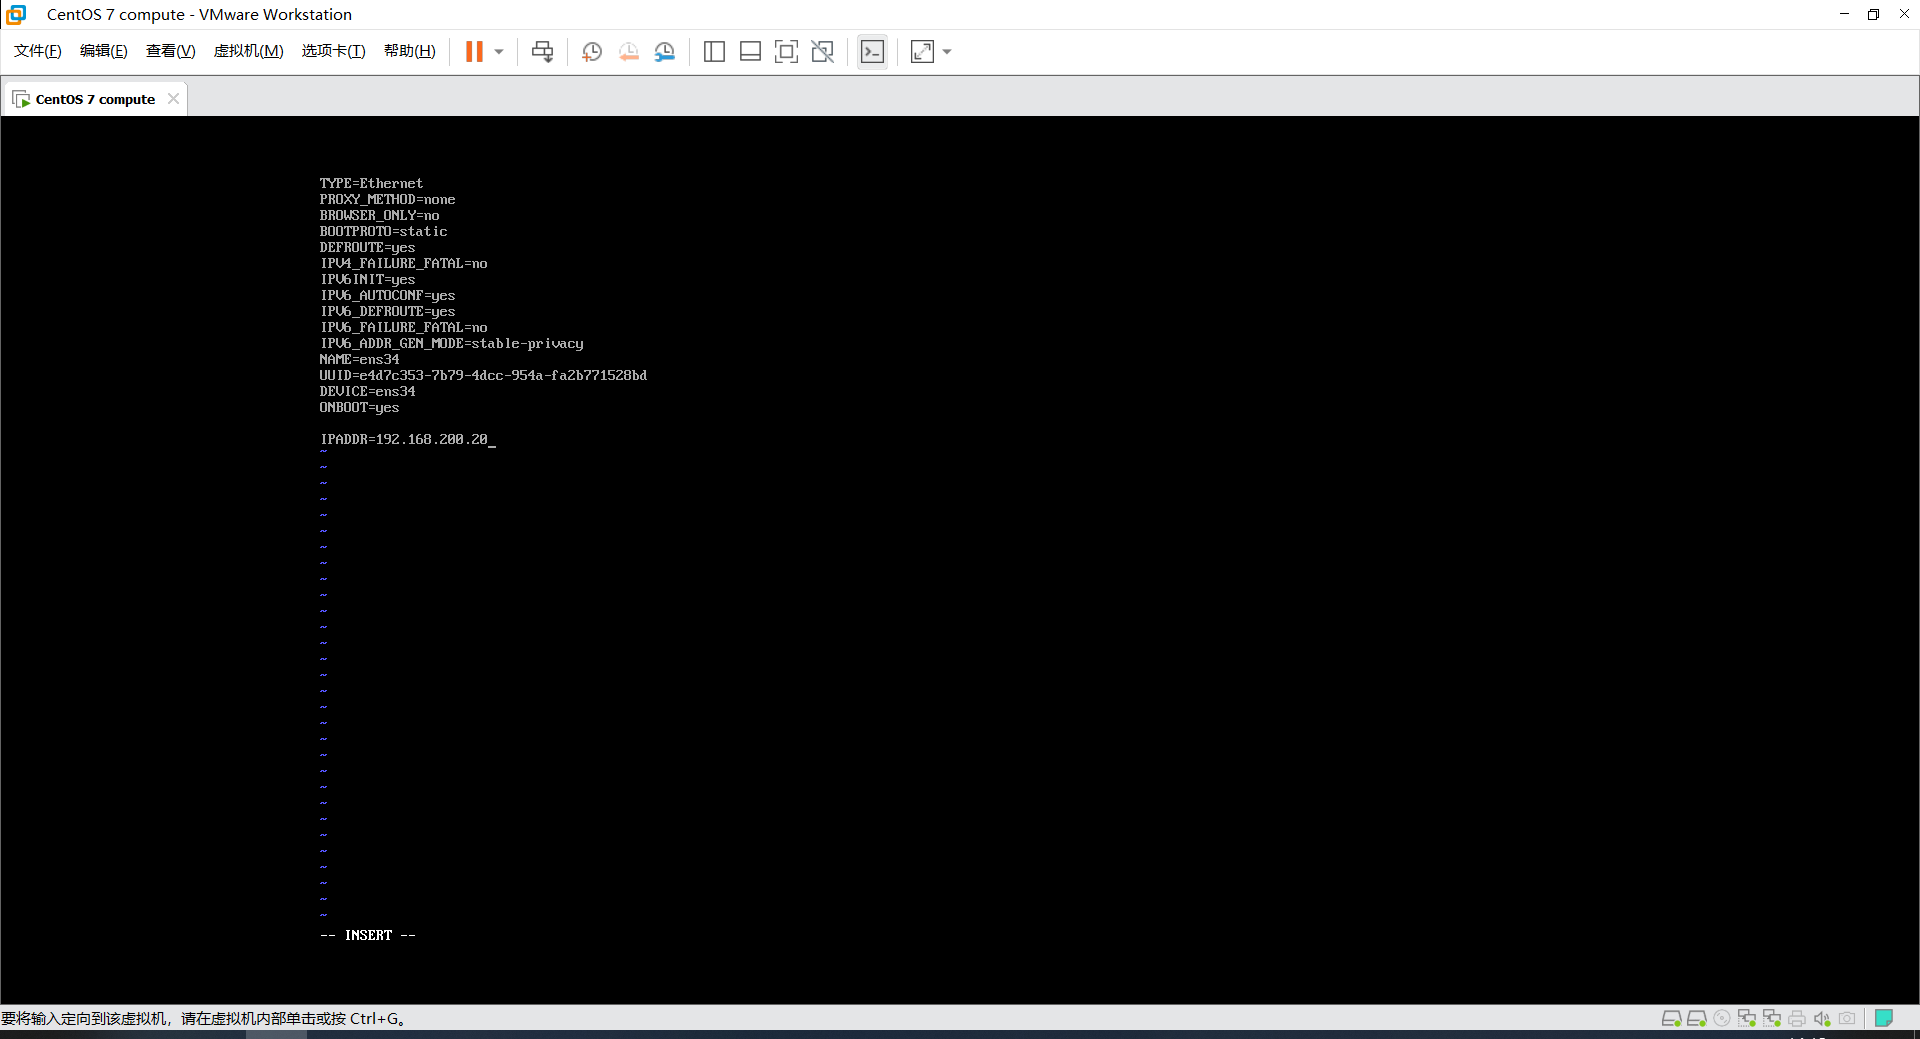
③编辑网卡配置文件,设置网卡ip地址
详情见https://www.cnblogs.com/Studywith/p/16946297.html,其中对网络的配置有较详细解释
网卡1:
192.168.100.10
网卡2:
192.168.200.10
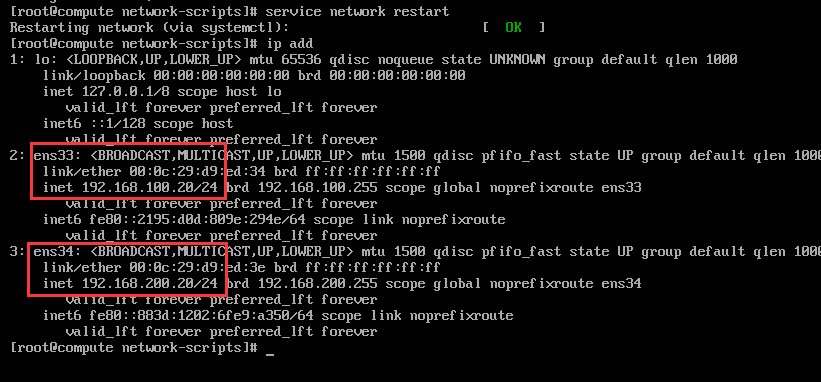
④重启网卡
service network restart #重启虚拟机网卡
reboot #重启虚拟机
ip addr #查看网络信息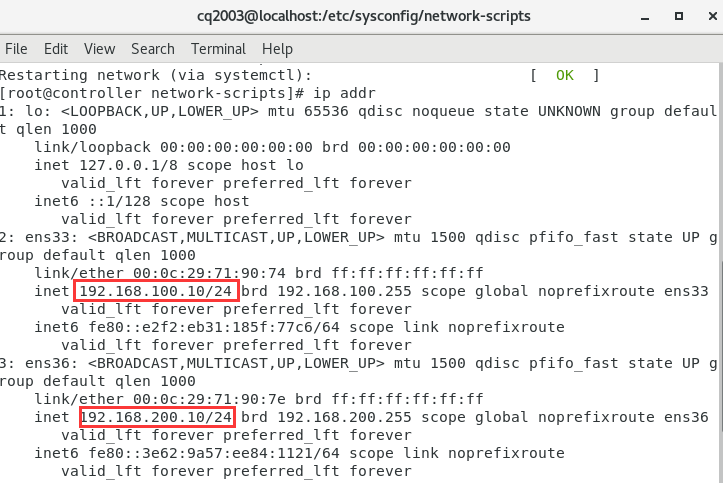
2.compute
(1)创建虚拟机
基本一致,完成创建后额外添加一块100GB硬盘和一块网卡
这里使用稍后安装操作系统的方式(controller使用的是简易安装),学习一下这种方式
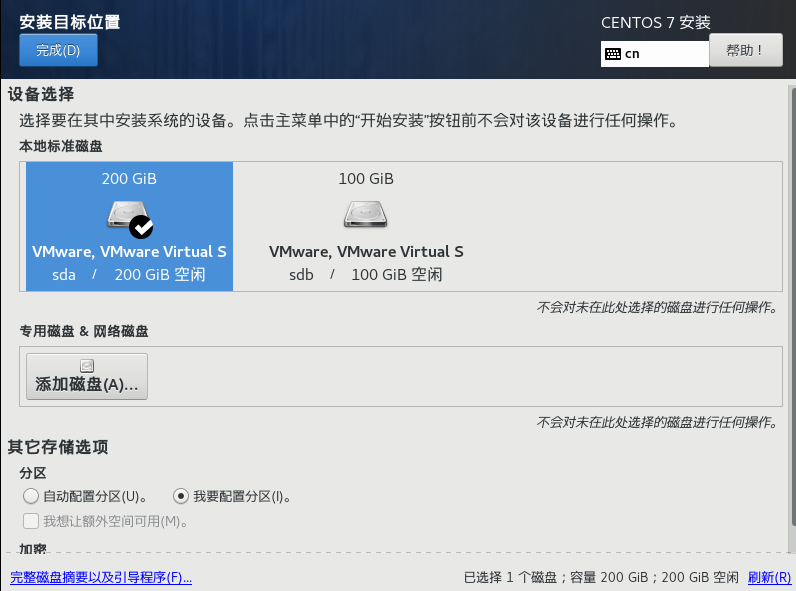
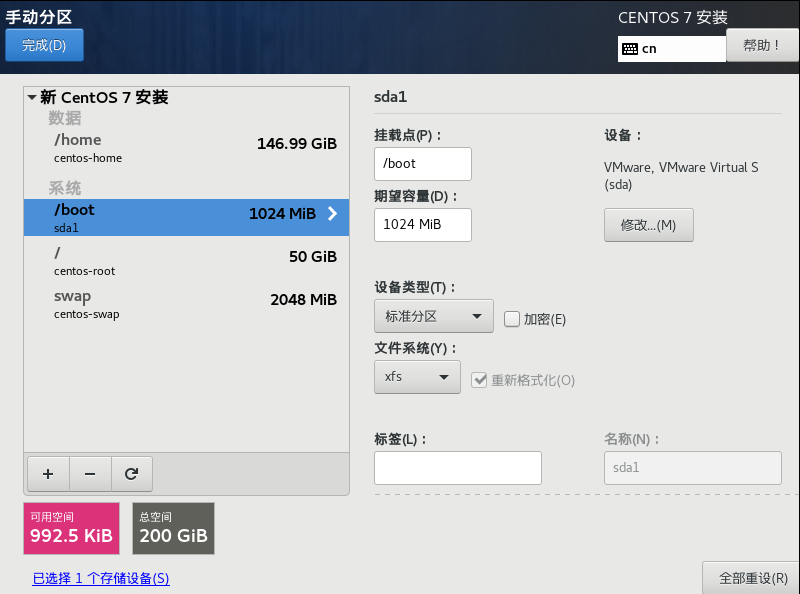
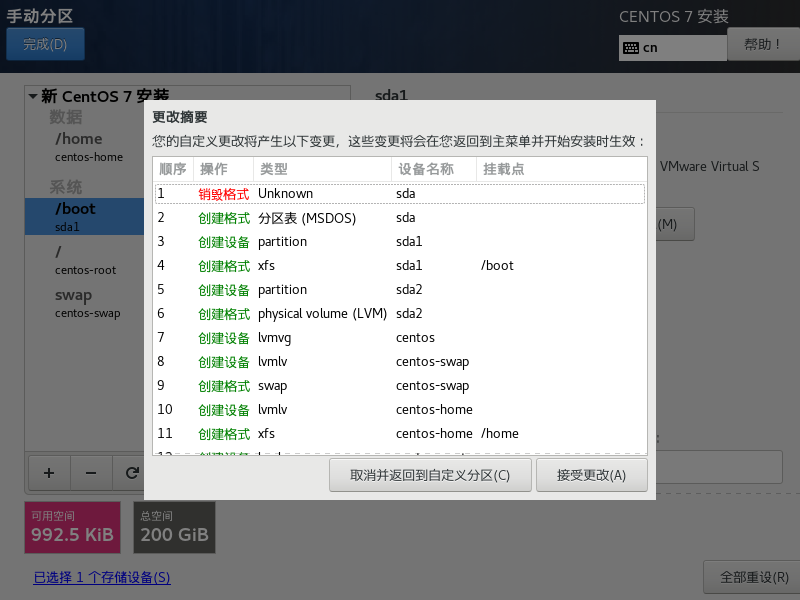
①磁盘分区
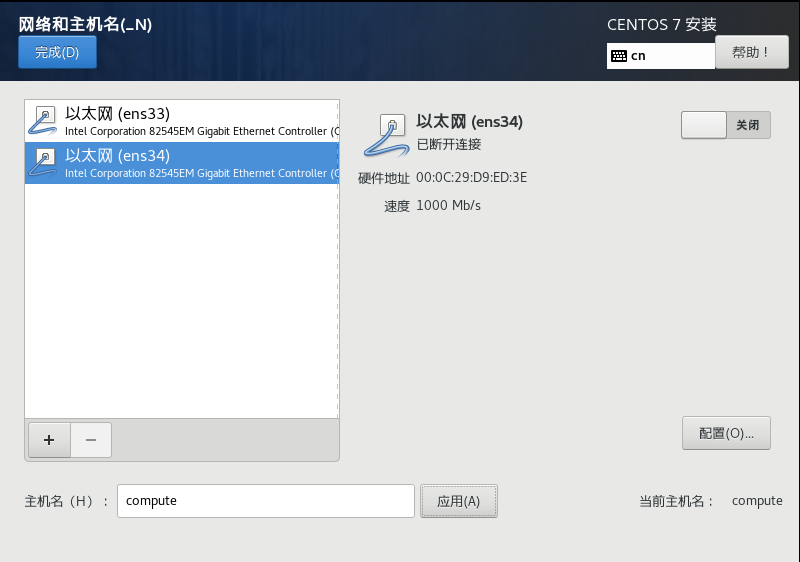
②设置主机名
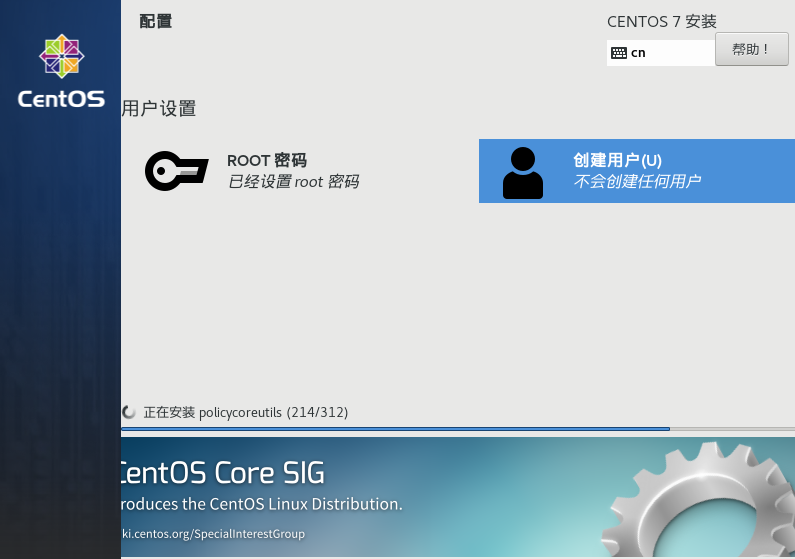
③等待安装
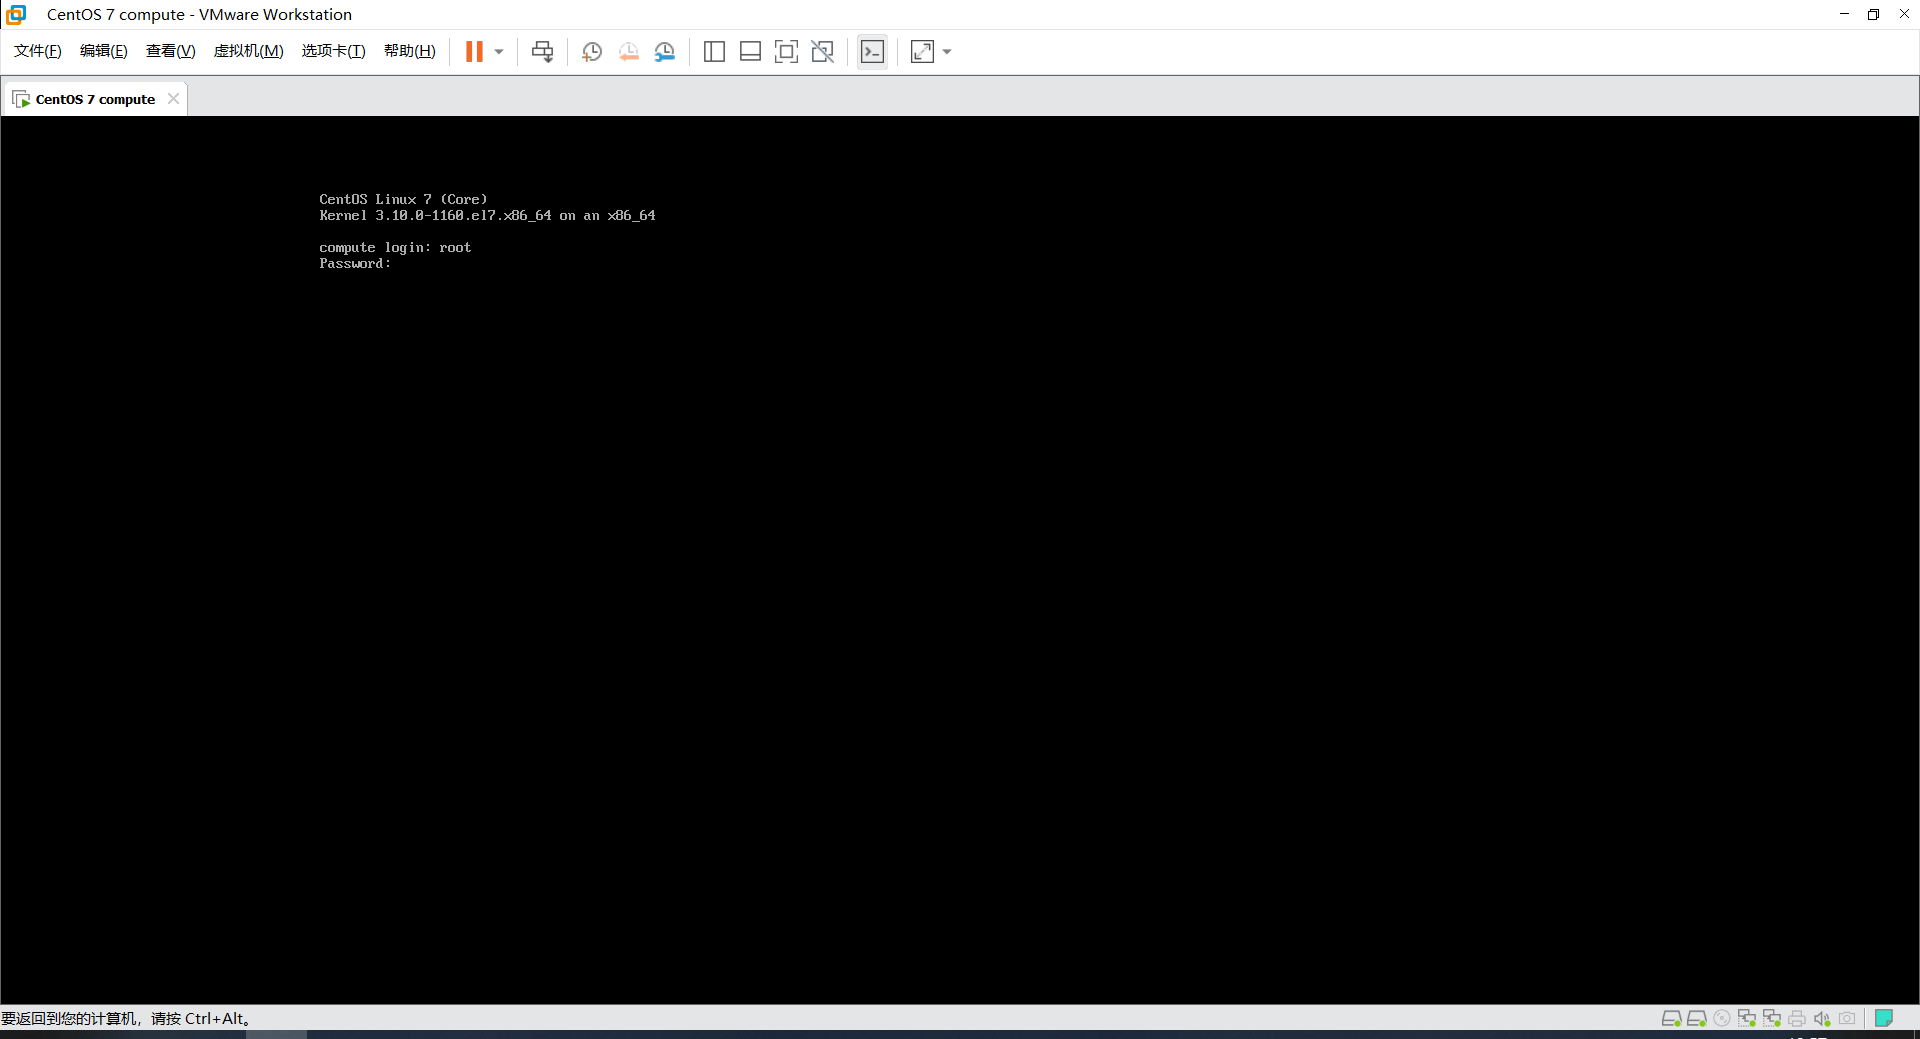
这里没有创建初始用户,直接使用root(密码:123456)账号(不像简易安装会创建一个初始用户)
(2)虚拟机配置
发现这样安装没有图形界面,虽然用不到图形界面,直接命令行就可以完成配置,但可以参考安装一下:https://blog.csdn.net/m0_55336071/article/details/124680623
网卡1:
192.168.100.20
网卡2:
192.168.200.20
二、云平台搭建
1.准备
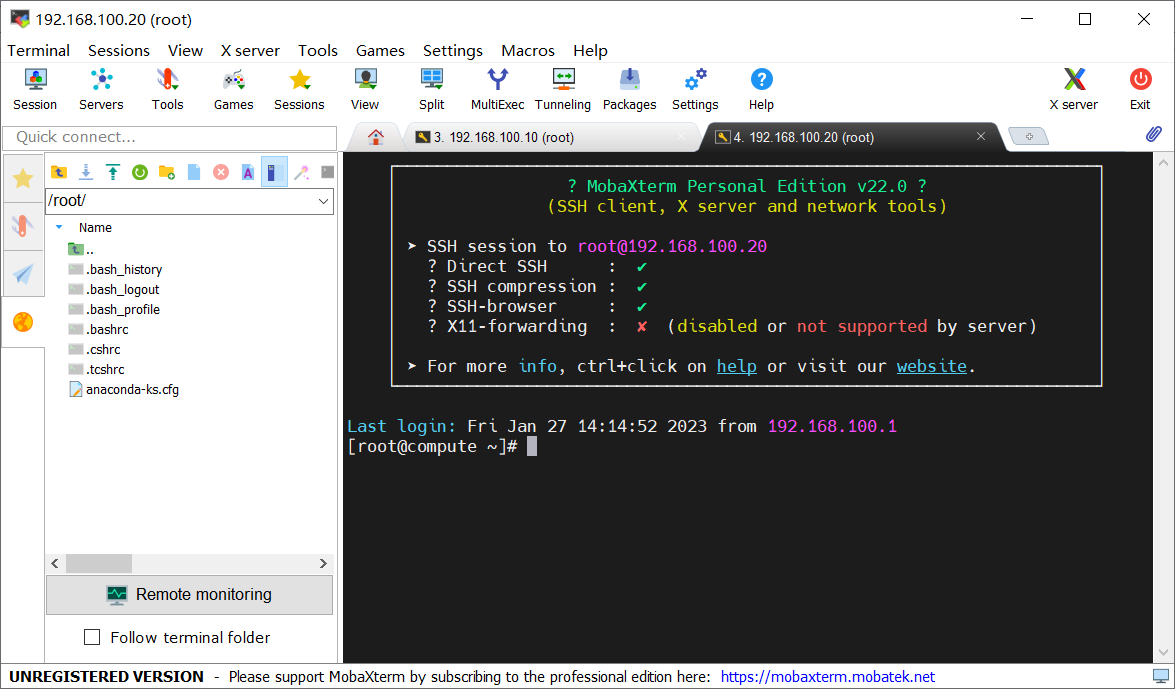
(1)MobaXterm连接虚拟机
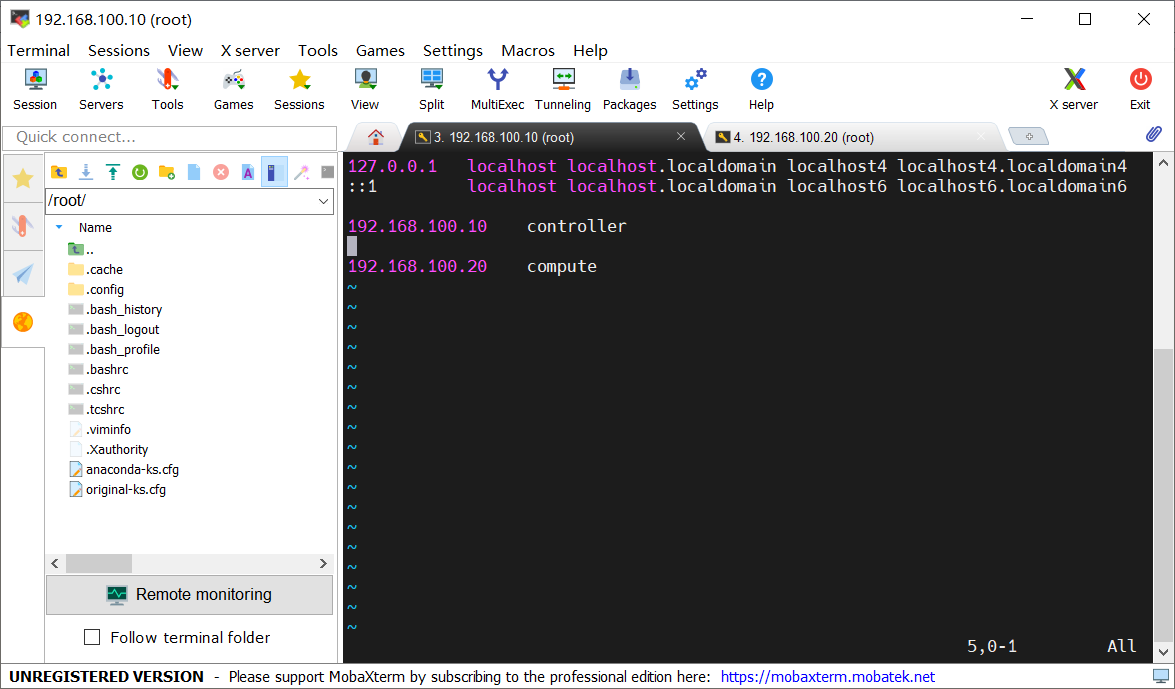
(2)配置host地址映射
直接使用域名(controller,compute)来代替IP地址
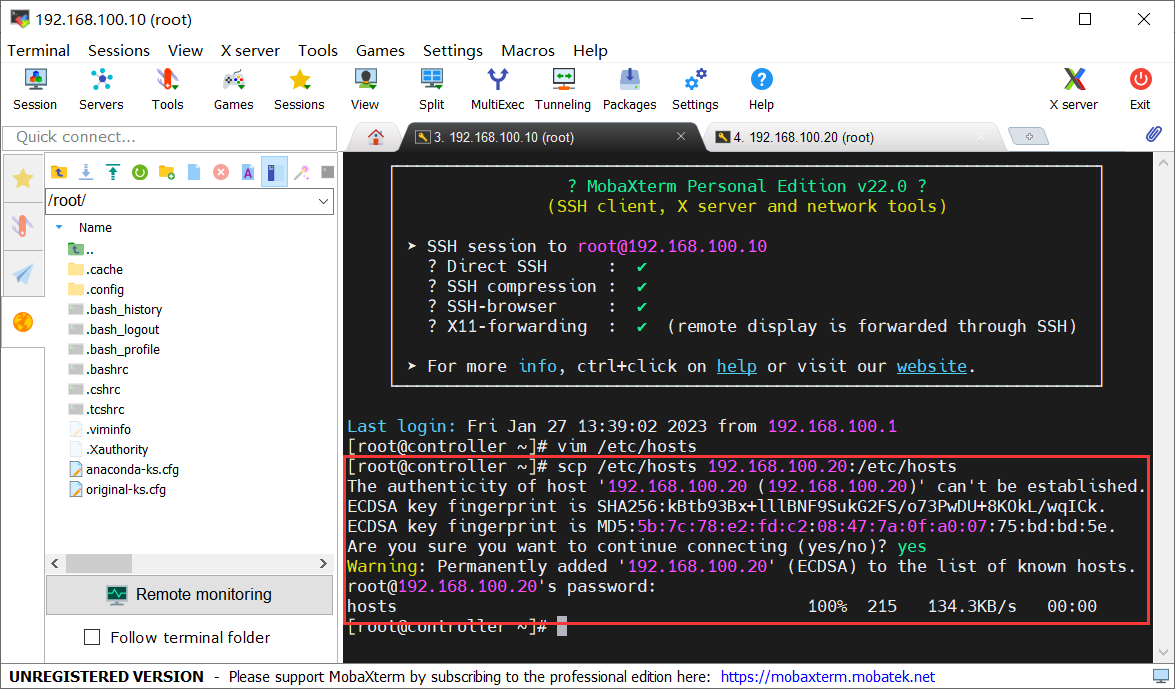
使用scp命令将文件传输到compute
scp /etc/hosts 192.168.100.20:/etc/hosts
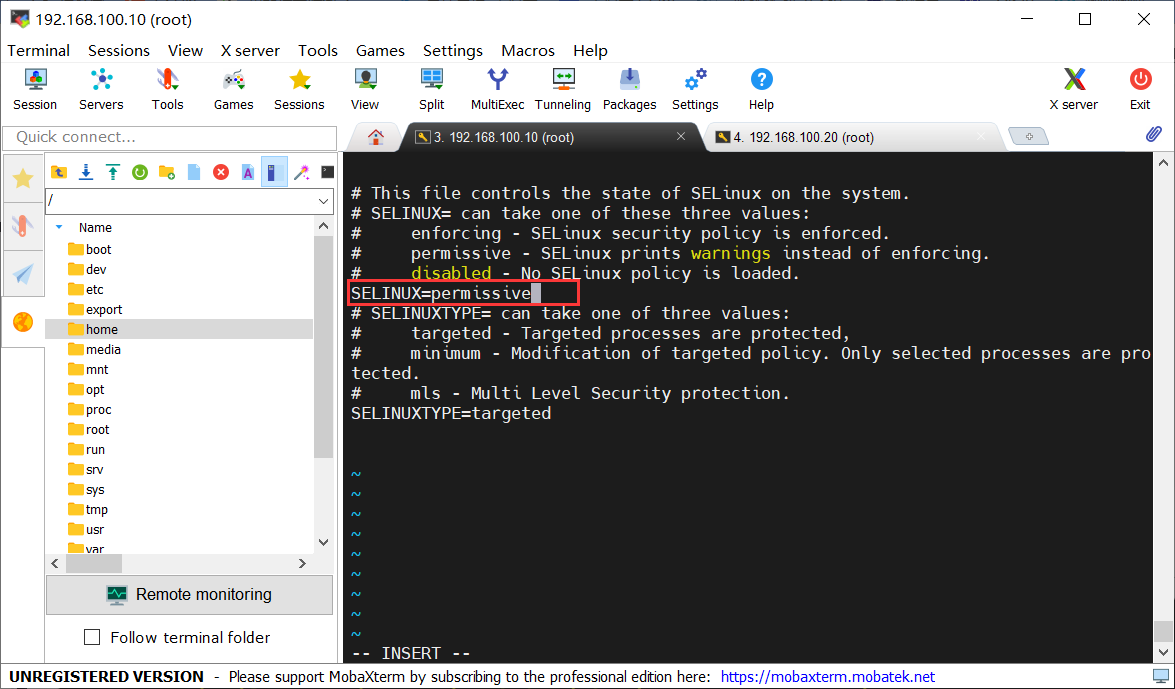
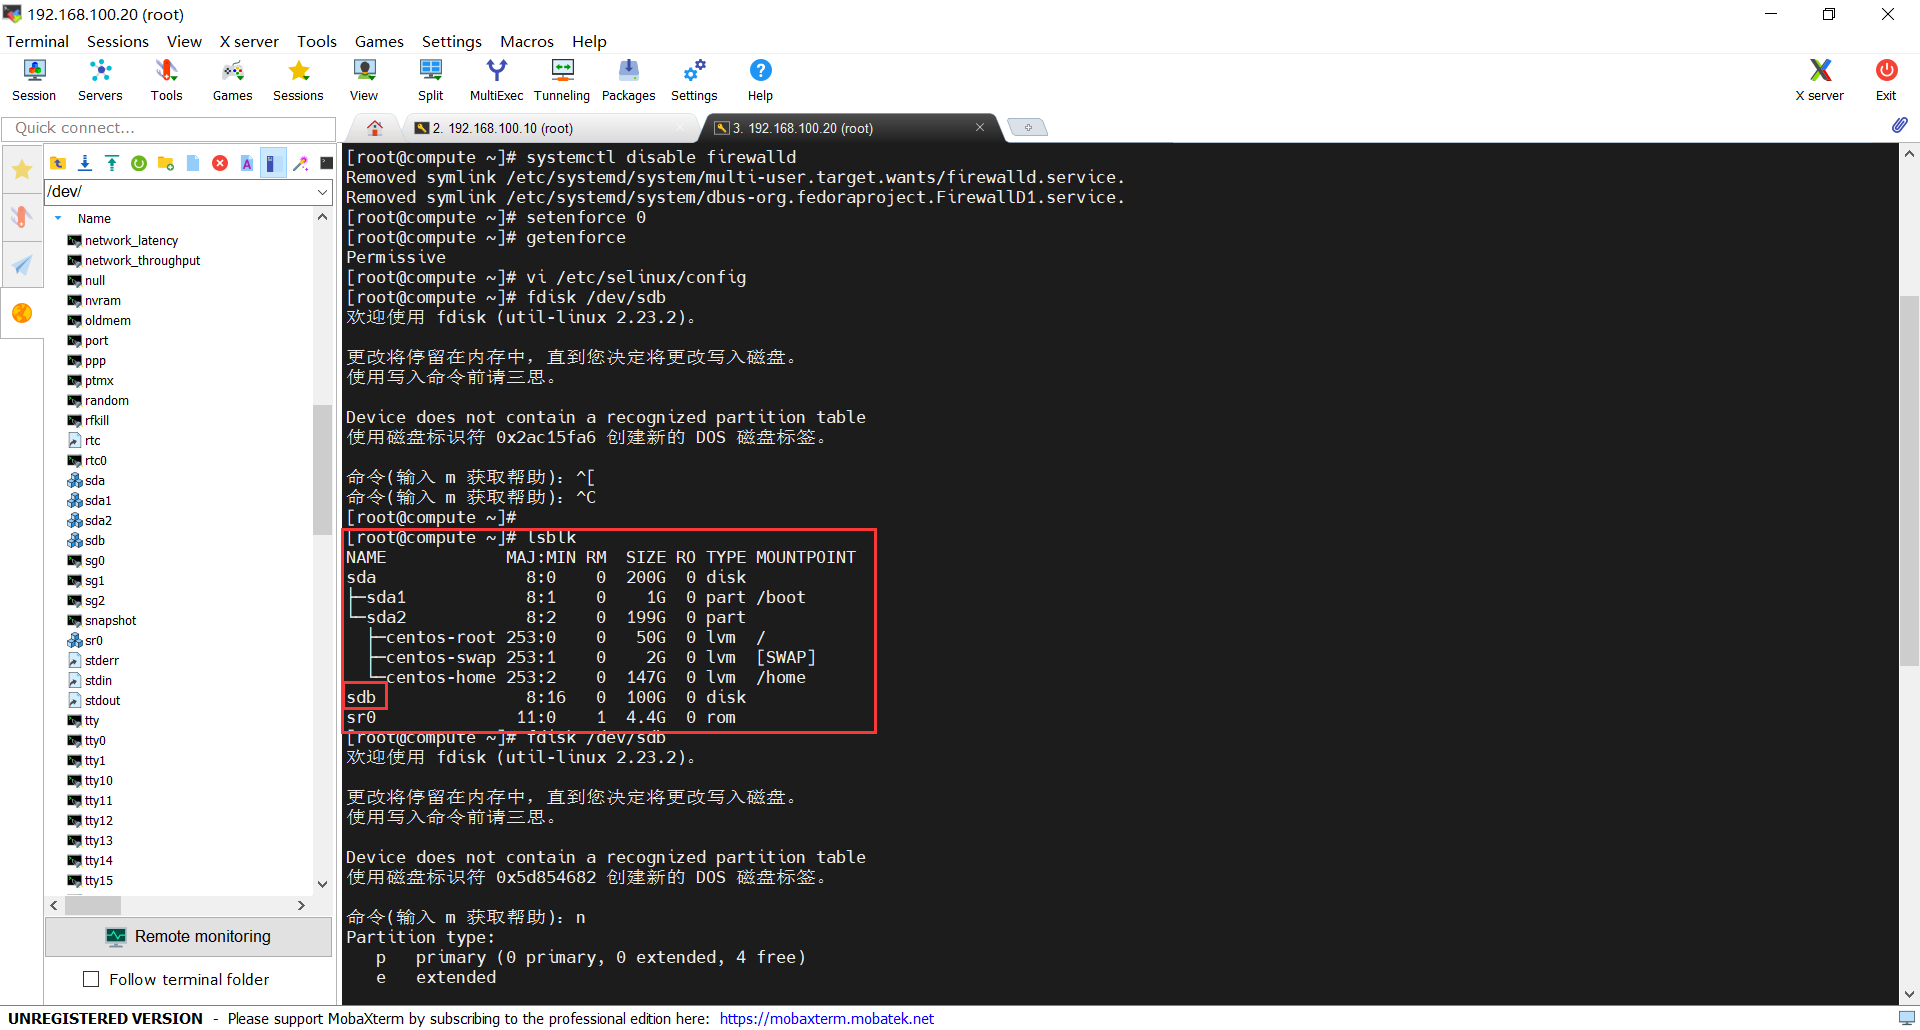
(3)关闭防火墙和selinux
[root@controller ~]# systemctl stop firewalld        #关闭防火墙
[root@controller ~]# systemctl disable firewalld        #设置防火墙开机不自启
Removed symlink /etc/systemd/system/multi-user.target.wants/firewalld.service.
Removed symlink /etc/systemd/system/dbus-org.fedoraproject.FirewallD1.service.
[root@controller ~]# setenforce 0        #临时关闭selinux防火墙,0表示关闭,1表示开启
[root@controller ~]# getenforce        #查看selinux防火墙的状态
Permissive
[root@controller ~]# vi /etc/selinux/config         #非临时性
[root@controller ~]#
(4)上传镜像文件
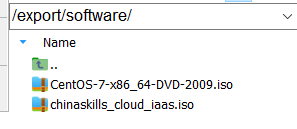
创建文件夹,将镜像上传
云镜像:
链接:https://pan.baidu.com/s/1HdlmcOqVhNPuT0OFf_wBCA
提取码:6h2o
--来自百度网盘超级会员V2的分享centos7:
链接:https://pan.baidu.com/s/1rMX23XtNwmoASi3KLXFbRg
提取码:7mnf
--来自百度网盘超级会员V2的分享
chinaskills_cloud_iaas.iso镜像包含OpenStack Q版本私有云平台搭建的各项软件包、依赖包、安装脚本等,同时还提供了CentOS7.2、CentOS7.5等云主机qcow2镜像
(1)挂载镜像
mount -o loop "/export/software/CentOS-7-x86_64-DVD-2009.iso" /mnt/
mkdir /opt/centos  #该文件夹存储centos系统
mkdir /opt/cloud   #该文件夹存储OpenStack镜像
cp -rf /mnt/* /opt/centos/  #转移
umount /mnt/  #解除写保护
mount -o loop "/export/software/chinaskills_cloud_iaas.iso" /mnt/
cp -rf /mnt/* /opt/cloud/   #转移
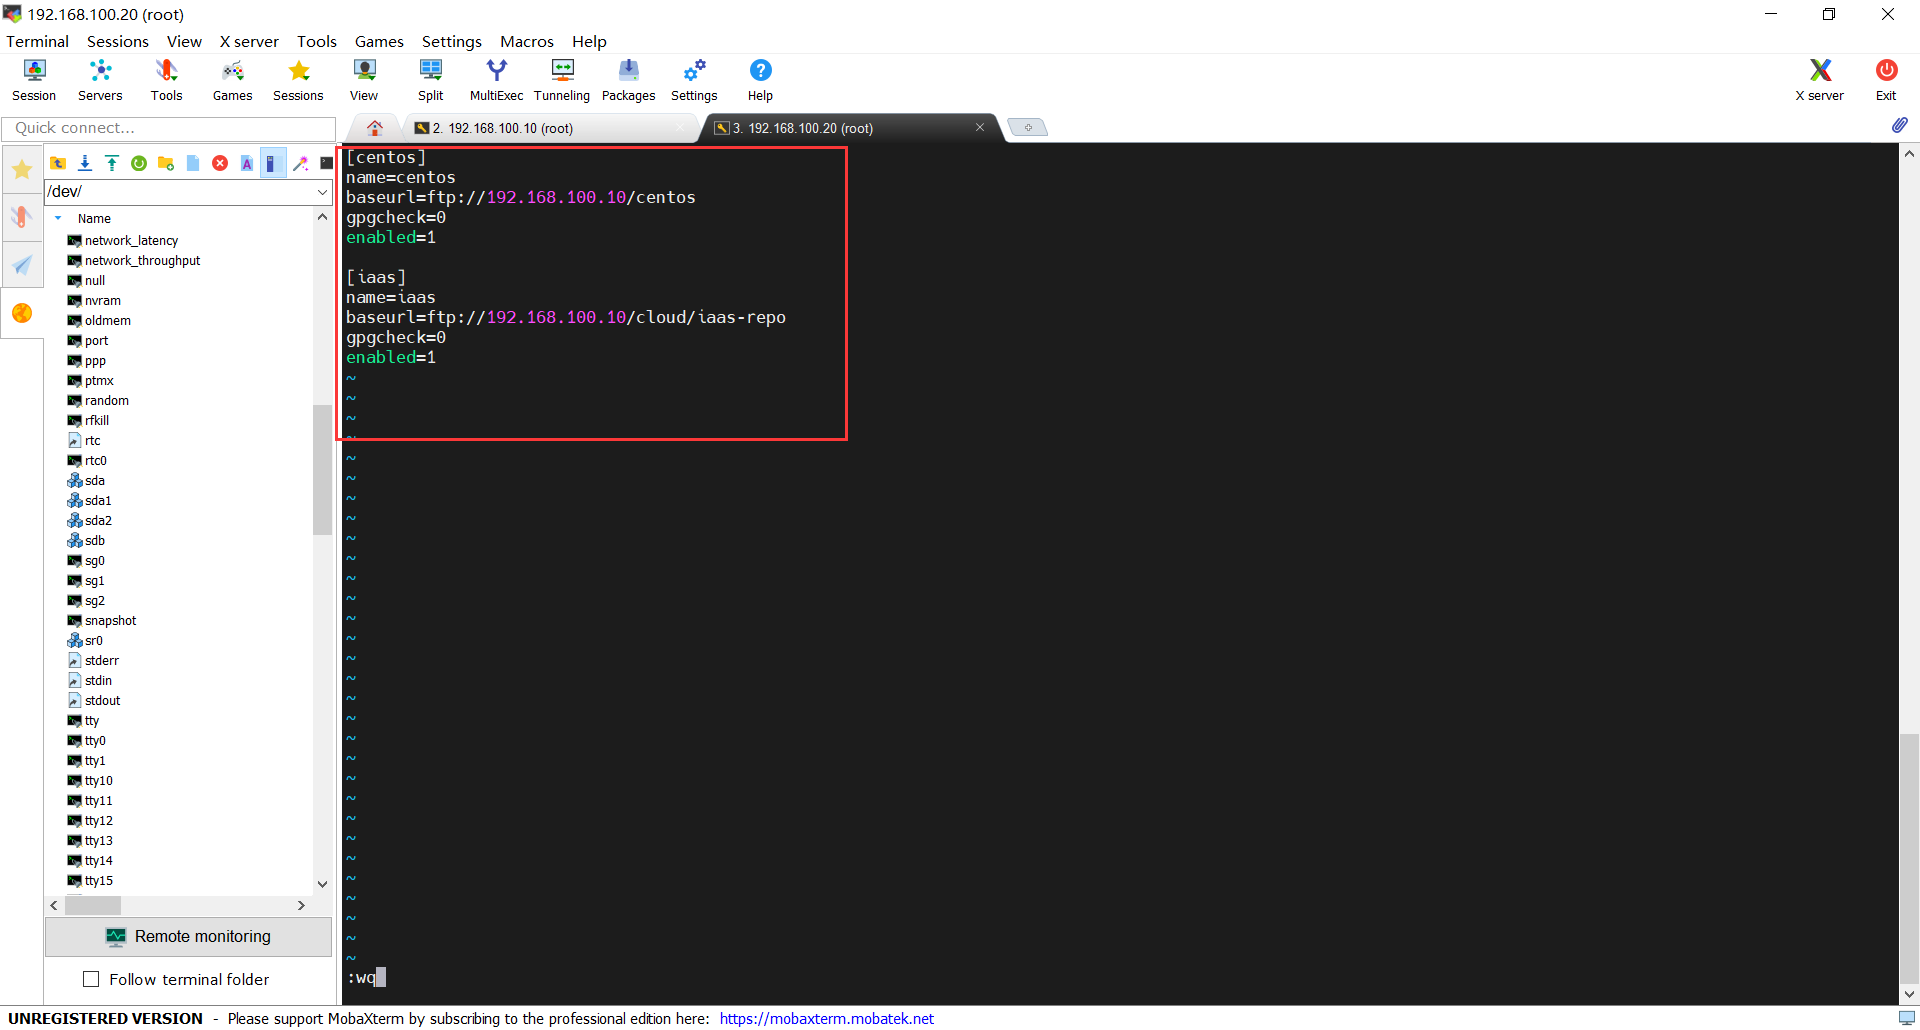
umount /mnt/剩下的命令基本不用修改,也不会出错,就直接对着原博客抄命令了,编辑镜像源配置文件时注意不要出错,对应自己的镜像存储位置:https://blog.csdn.net/m0_45692110/article/details/122628664
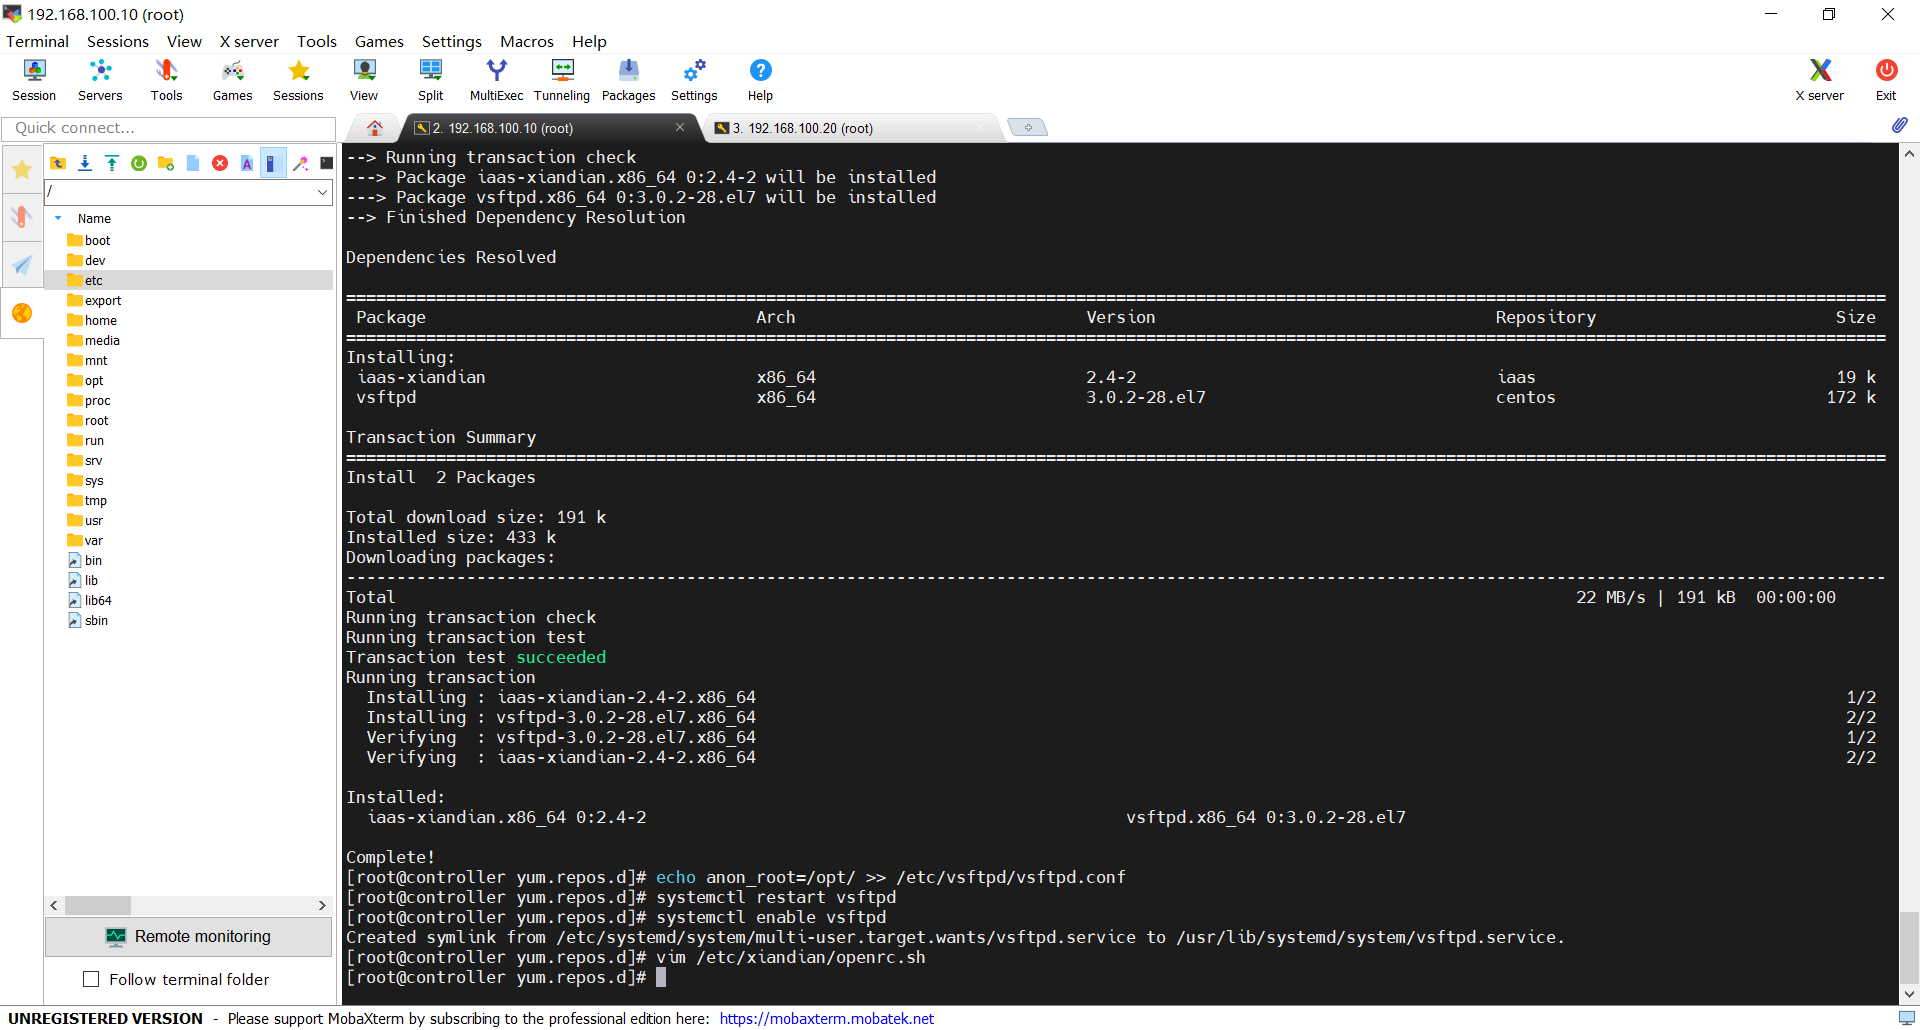
修改镜像源
完成配置
(2)compute配置
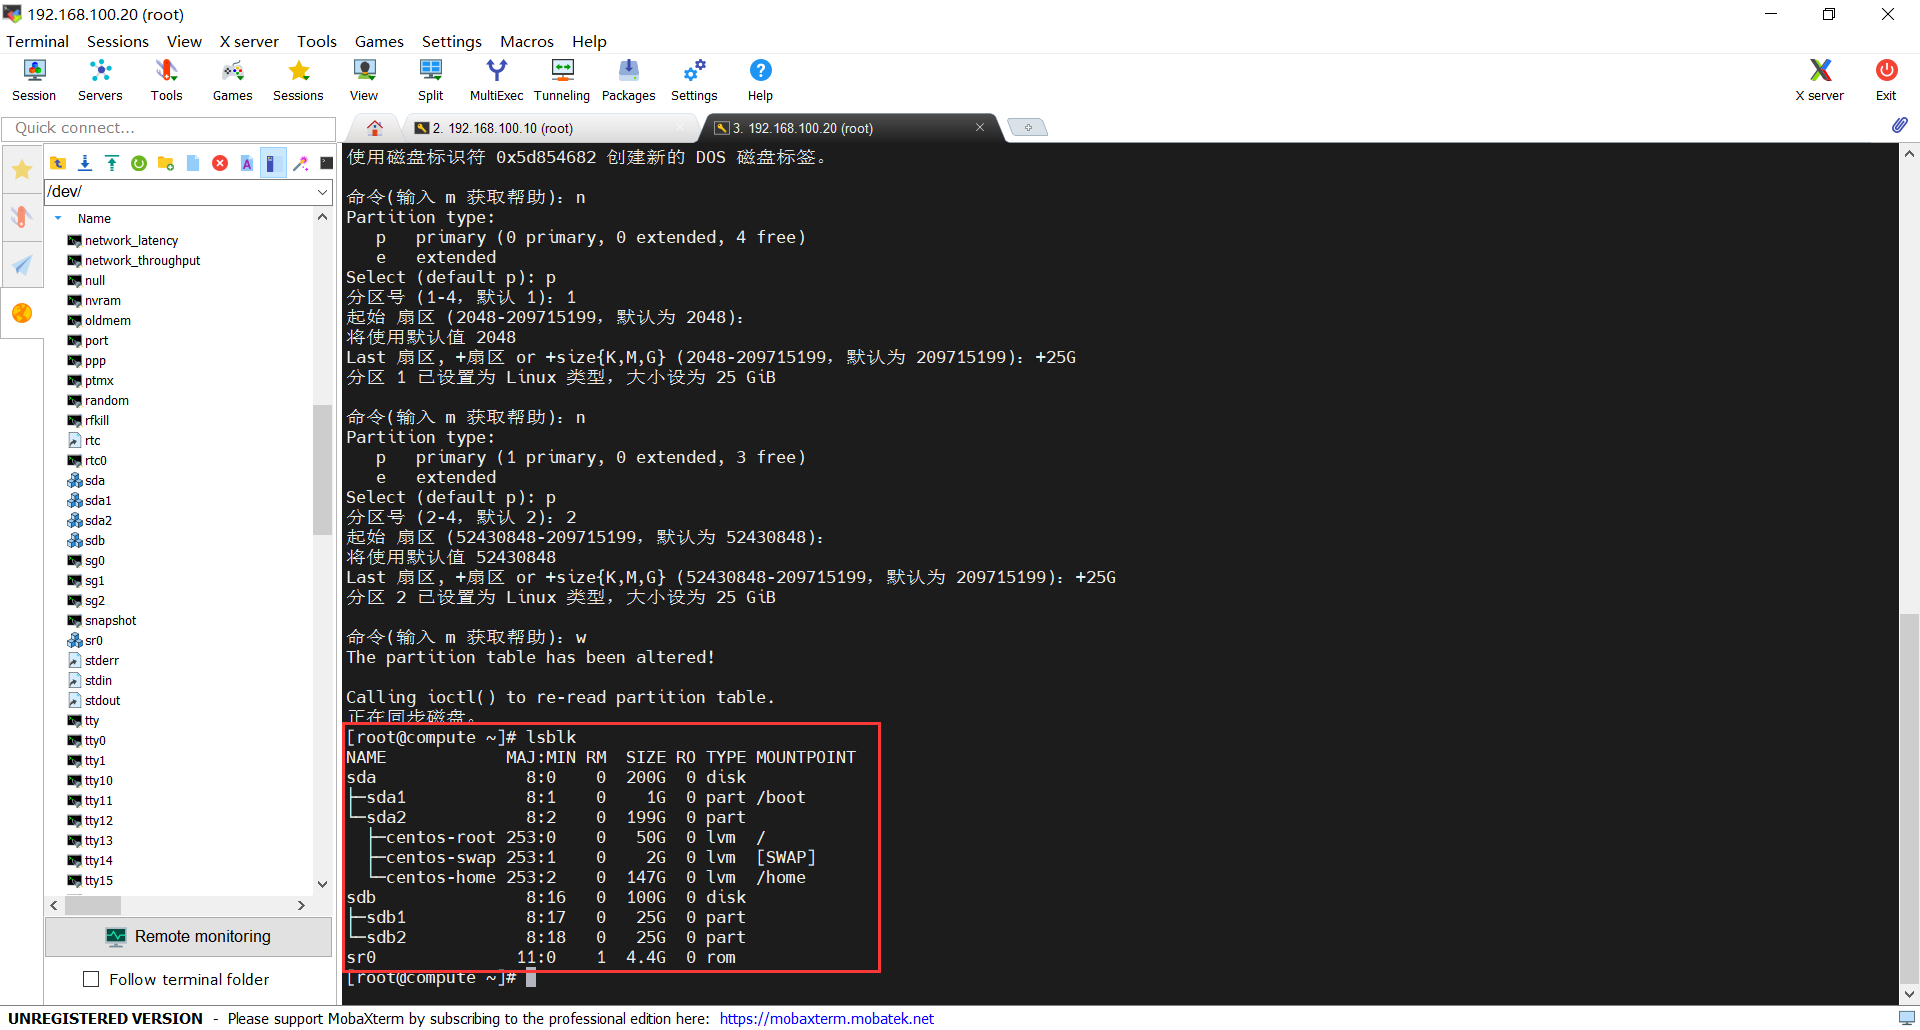
查看磁盘分区情况
分区sdb命令后
镜像源使用controller中配置好的
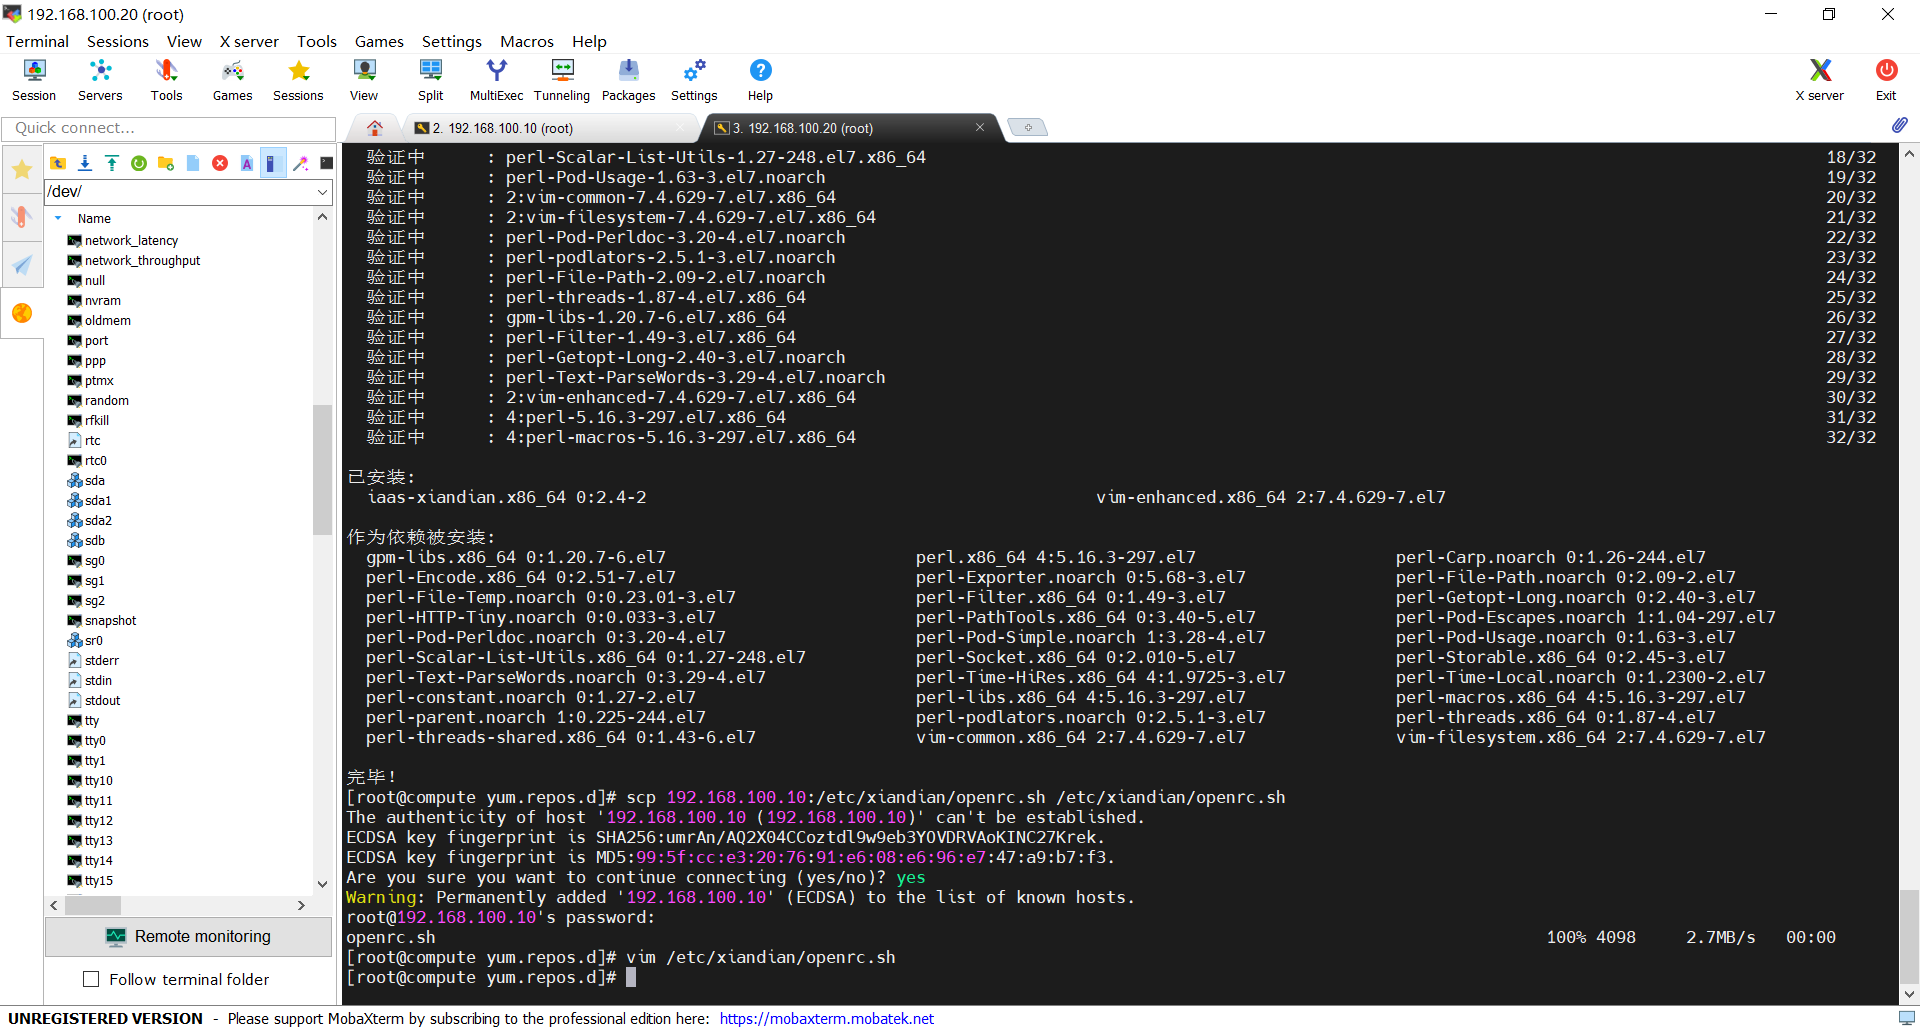
完成配置
(3)OpenStack脚本执行
这里执行iaas-install-neutron-controller.sh时报错file not found,这个是因为版本冲突的问题,解决方法如下:https://ask.csdn.net/questions/7746766
(4)完成
