1.简介
Spring Boot Admin为项目常用的监控方式,可以动态的监控服务是否运行和运行的参数,如类的调用情况、流量等。其中分为server与client:
- server: 提供展示UI与监控服务。
- client:加入server,被监控的项目。
同时在监控的过程中spring-boot-starter-actuator也被经常提及,actuator使用后,会在被项目内部打上探针,提供一系列的监控api接口,如堆内存、栈内存等。下文数据为actuator提供。
如果企业开发的项目较小,不想选Prometheus+Grafana这种比较耗费资源和工作量的解决方案,Spring Boot Admin是您不二的选择。
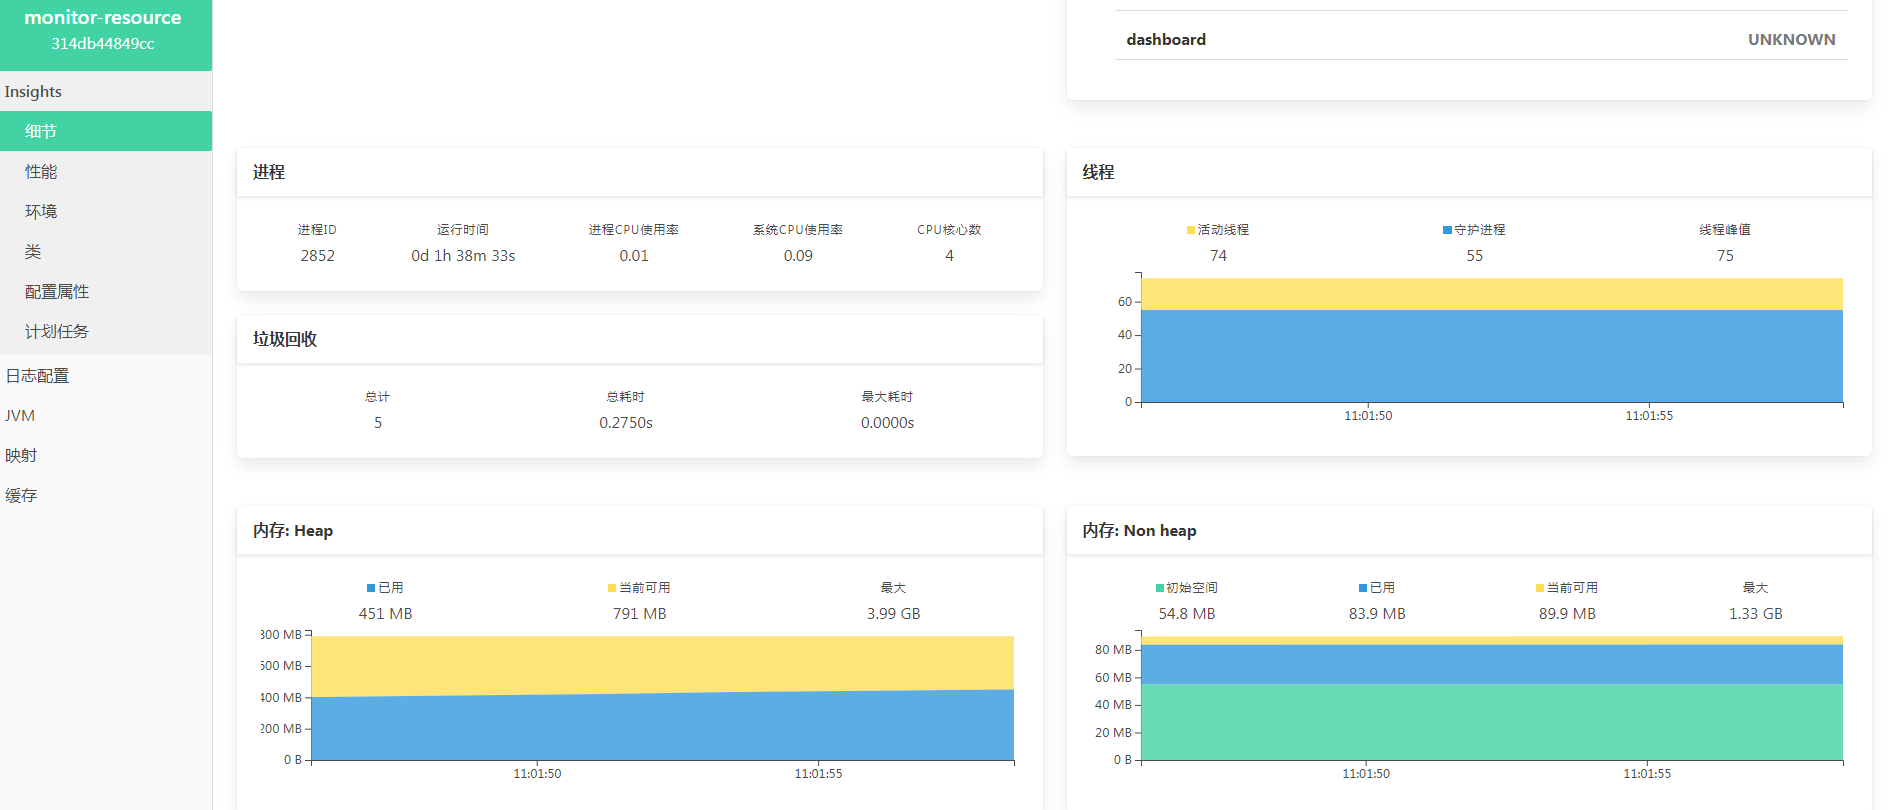
由上图可知,Spring Boot Admin可以掌握进程、线程、内存、项目是否健康等基础指标。已经符合日常的常用需求了。下文将介绍如何将Spring Boot Admin整合进日常项目,
2.整合springboot
Spring Boot Admin生效需要分别部署server端和client端,下文将分别介绍。
2.1 server端
2.1.1 准备springboot项目
首先需要先准备springboot项目,无论是在git上下载还是新建都可以。
2.1.2 修改pom文件
在pom.xml中加入Spring Boot Admin的依赖信息,由于使用了spring cloud alibaba生态,所以这里将nacos包也加入了,请自行选择加入。
        <dependency>
            <groupId>org.springframework.boot</groupId>
            <artifactId>spring-boot-starter-web</artifactId>
            <optional>true</optional>
        </dependency>

        <dependency>
            <groupId>de.codecentric</groupId>
            <artifactId>spring-boot-admin-starter-server</artifactId>
            <version>2.2.0</version>
        </dependency>

        <!-- SpringCloud Alibaba Nacos -->
        <dependency>
            <groupId>com.alibaba.cloud</groupId>
            <artifactId>spring-cloud-starter-alibaba-nacos-discovery</artifactId>
        </dependency>
        <!-- SpringCloud Alibaba Nacos Config -->
        <dependency>
            <groupId>com.alibaba.cloud</groupId>
            <artifactId>spring-cloud-starter-alibaba-nacos-config</artifactId>
        </dependency>
    </dependencies>
2.1.3 修改yml文件
如果项目为新增的springboot项目,需要修改yml配置文件,项目才可以启动
server:
  port: 8008
  servlet:
    context-path: /monitor
spring:
  application:
    name: monitor-resource # Eureka页面显示
2.1.4 修改启动类
在Application启动类中加入@EnableAdminServer注解。表示该项目为监控的服务器端。
@SpringBootApplication
@EnableAdminServer
public class MonitorApplication {


    public static void main(String[] args) {


        SpringApplication.run(MonitorApplication.class, args);
    }

}
以上结束后,Spring Boot Admin的服务器端就完成配置了,启动项目,访问ip:端口/context-path就可以访问了。根据上文配置,我们访问localhost:8088/monitor即可完成。下文是部署成功后的页面样式。
2.2.client端
如果其他springboot项目想被监控,那么就需要连接server服务,下文将介绍如何配置。
2.2.1 修改pom文件
在pom.xml中加入Spring Boot Admin client端的依赖。
        <dependency>
            <groupId>org.springframework.boot</groupId>
            <artifactId>spring-boot-starter-actuator</artifactId>
        </dependency>
        <dependency>
            <groupId>de.codecentric</groupId>
            <artifactId>spring-boot-admin-starter-client</artifactId>
            <version>2.2.0</version>
        </dependency>
2.2.2 修改yml文件
在有context-path情况下,需要加入spring.boot配置,否则报错。本文附带nacos的配置,请根据需要参考配置信息。
server:
  port: 8008
  servlet:
    context-path: /monitor
spring:
  application:
    name: monitor-resource
  boot:
    admin:
      client:
        api-path:
        url: http://127.0.0.1:8008/monitor  # 这里为server地址,如果有context-path需要加入
        instance:
          prefer-ip: true # 使用ip注册进来
        management-url: /monitor
  cloud:
    nacos:
      discovery:
        # 服务注册地址
        server-addr: ip:8848
        metadata:   # 如果有context-path需要加上,否者报错
          management:
            context-path: ${server.servlet.context-path}/actuator
      config:
        # 配置中心地址
        server-addr: ip:8848
        # 配置文件格式
        file-extension: yml
management:  # actuator配置
  endpoint:
    health:
      show-details: always
  endpoints:
    enabled-by-default: true
    web:
      exposure:
        include: '*'
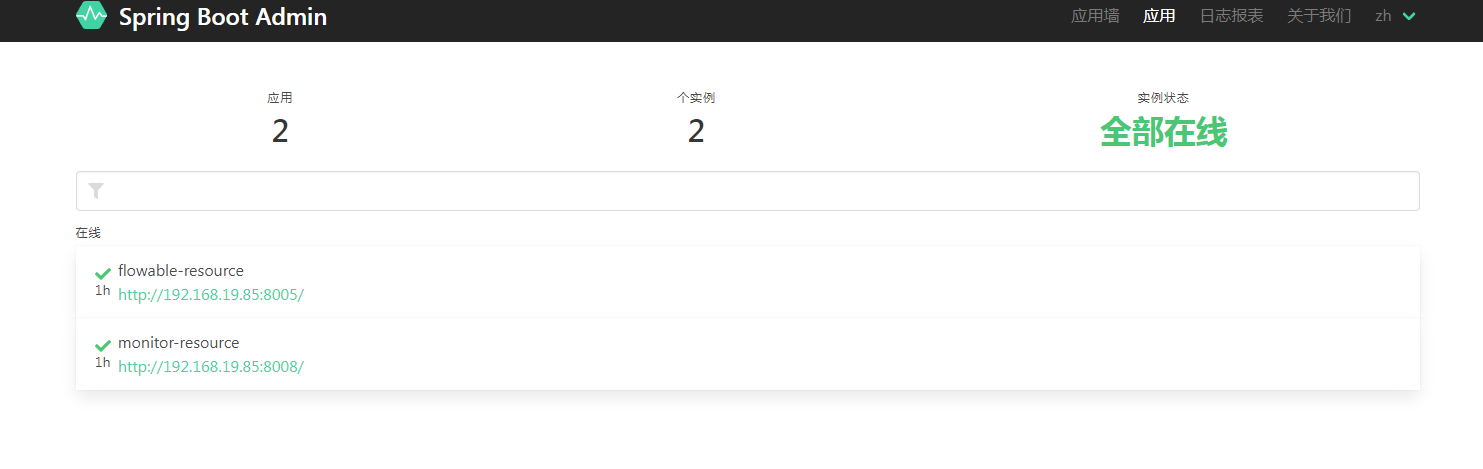
以上就完成了Spring Boot Admin客户端的配置,启动后即可加入监控server服务,再次访问sever服务,展示的页面展示如下:

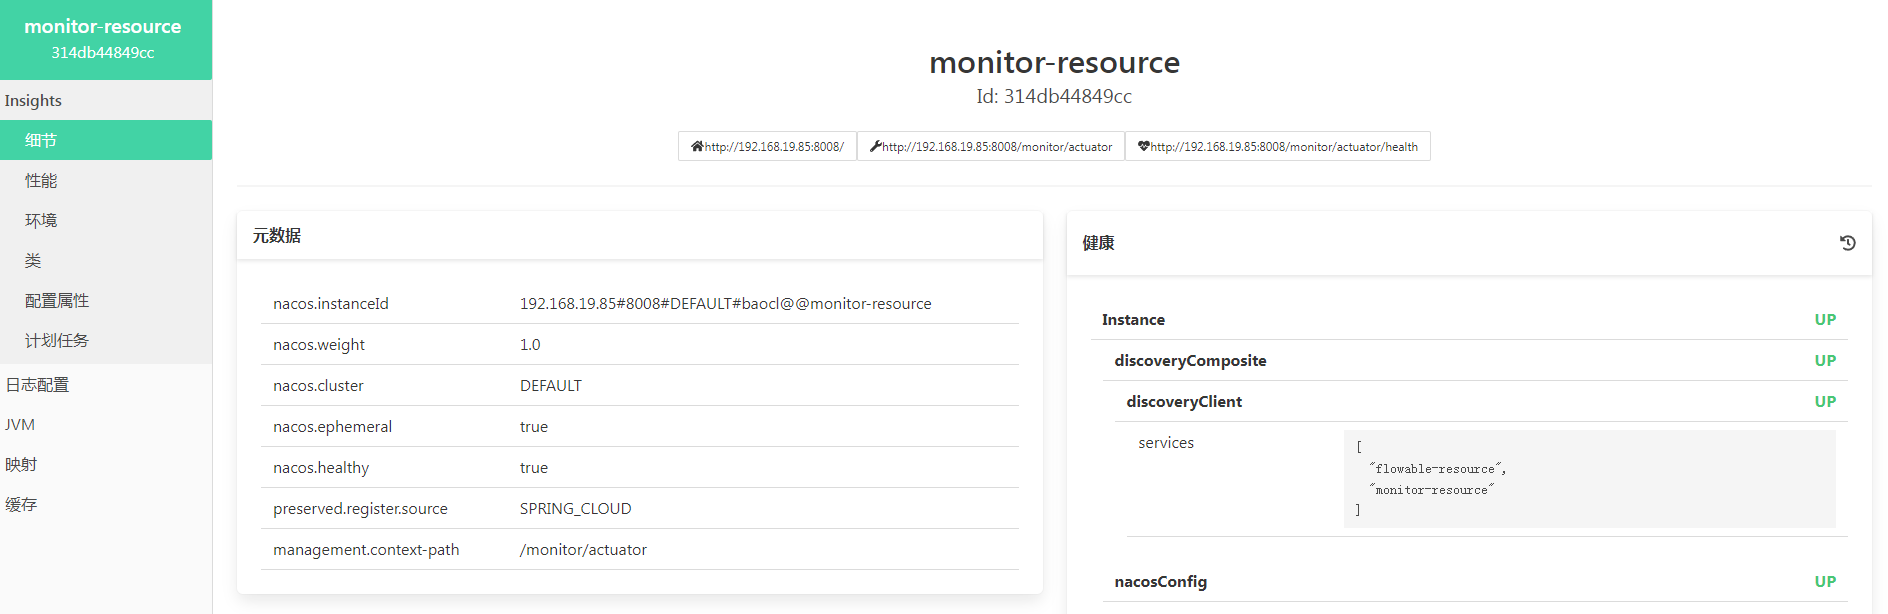
通过页面反馈的数据,已经可以满足日常需求。
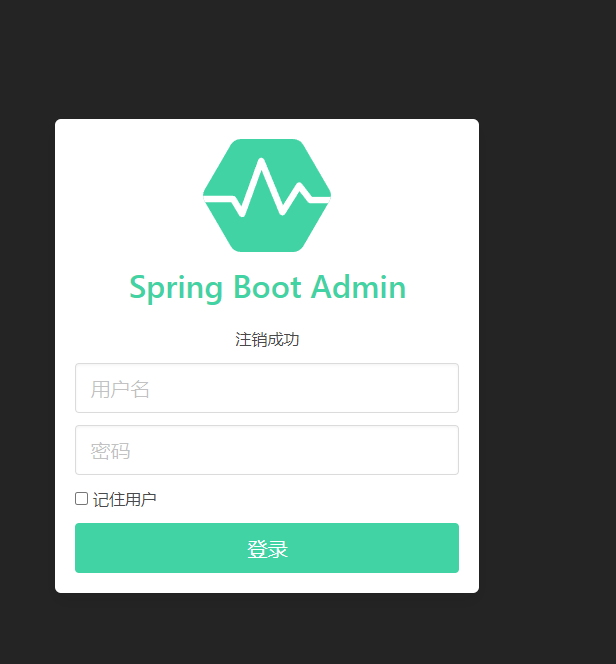
3.Security
对于日常项目来说,很多信息都是涉密的,如果暴漏给外部人员,就会产生极大的安全问题,因为监控平台包括了服务器信息、接口信息等重要信息,所以建议添加密码控制。下文将介绍如何给Spring Boot Admin添加密码验证。
3.1 修改pom文件。
这里我们打开server项目,使用了SpringSecurity技术,加入依赖信息。
        <dependency>
            <groupId>org.springframework.boot</groupId>
            <artifactId>spring-boot-starter-security</artifactId>
        </dependency>
4.2 修改application.xml文件
加入spring.security配置,这里是访问监控平台的账号密码。
spring:
  security:
    user:
      name: "admin"
      password: "1qaz@WSX"
4.3 新增登入登出配置
避免使用默认访问地址,防止其他人员轻易找到监控入口,这里自定义了访问页面。
@Configuration
public class SecuritySecureConfig extends WebSecurityConfigurerAdapter {


    private final String adminContextPath;

    public SecuritySecureConfig(AdminServerProperties adminServerProperties) {


        this.adminContextPath = adminServerProperties.getContextPath();
    }

    @Override
    protected void configure(HttpSecurity http) throws Exception {


        // @formatter:off
        SavedRequestAwareAuthenticationSuccessHandler successHandler = new SavedRequestAwareAuthenticationSuccessHandler();
        successHandler.setTargetUrlParameter( "redirectTo" );

        http.authorizeRequests()
                .antMatchers( adminContextPath + "/assets/**" ).permitAll()
                .antMatchers( adminContextPath + "/login" ).permitAll()
                .anyRequest().authenticated()
                .and()
                .formLogin().loginPage( adminContextPath + "/login" ).successHandler( successHandler ).and()
                .logout().logoutUrl( adminContextPath + "/logout" ).and()
                .httpBasic().and()
                .csrf().disable();
    }
}
以上配置完成,重启服务,再次访问上方配置的地址,可以发现,需要使用账号密码才可以登录。