StableDiffusion XL 1.0 Gradio Demo WebUI
7月27日,Stability AI 发布了 StableDiffusion XL 1.0 版本,立即体验一下吧。
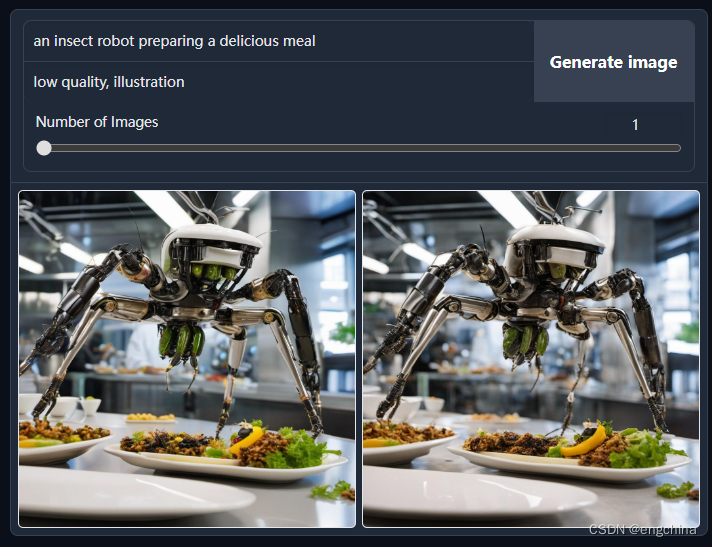
0. 先展示几张 StableDiffusion XL 生成的图片


1. 什么是 Stable Diffusion XL Gradio Demo WebUI
一个基于Gradio库的 Stable Diffusion 的 Web UI 界面。
2. Github 地址
https://github.com/TonyLianLong/stable-diffusion-xl-demo
3. 安装 Miniconda3
下载 Conda 安装脚本,
wget https://repo.anaconda.com/miniconda/Miniconda3-latest-Linux-x86_64.sh
运行安装脚本,
bash Miniconda3-latest-Linux-x86_64.sh
按提示操作。当提示是否初始化 Conda 时,输入 “yes”,
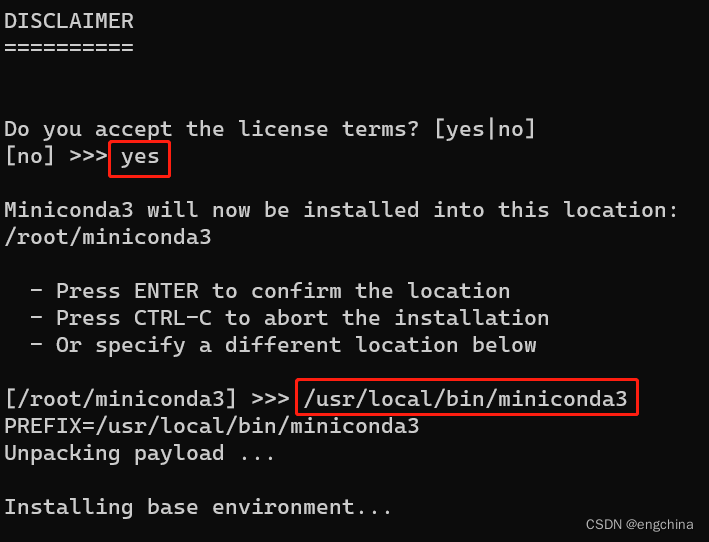
安装完成后,关闭当前终端并打开新终端,这将激活 Conda,
sudo su - root
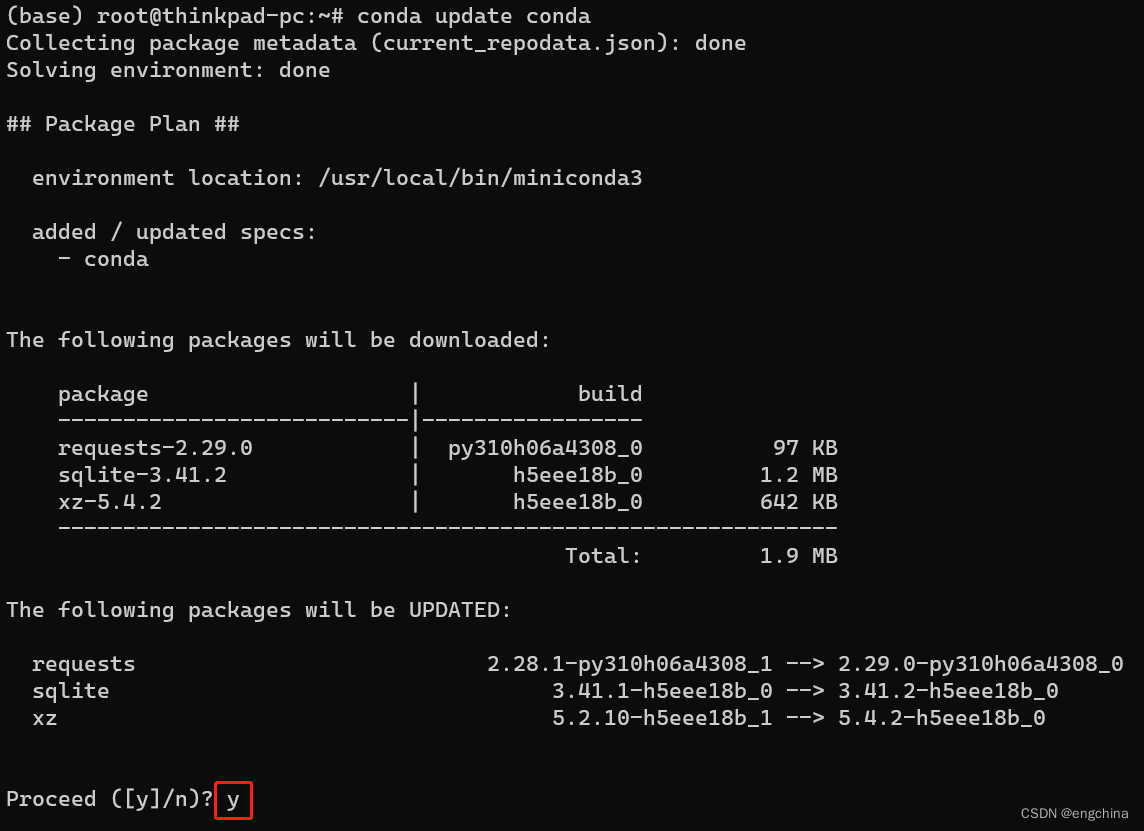
更新 Conda 至最新版本,
conda update conda

4. 创建虚拟环境
conda create -n sdxldemo python==3.10.6 -y
conda activate sdxldemo
5. 安装 Stable Diffusion XL Gradio Demo WebUI
克隆代码和安装依赖库,
git clone https://github.com/FurkanGozukara/stable-diffusion-xl-demo; cd stable-diffusion-xl-demo
pip install torch torchvision torchaudio --index-url https://download.pytorch.org/whl/cu118
pip install xformers==0.0.21.dev564
pip install -r requirements2.txt
设置 huggingface access_token,
vi app2.py

---
access_token = "hf_ovfazhEBOXmTpUsfdfdshfdydZIfMNJVKrcZ"
---
6. 启动 Stable Diffusion XL Gradio Demo WebUI
修改 app2.py,将 0.9 修改为 1.0,
if model_dir:
# Use local model
model_key_base = os.path.join(model_dir, "stable-diffusion-xl-base-1.0")
model_key_refiner = os.path.join(model_dir, "stable-diffusion-xl-refiner-1.0")
else:
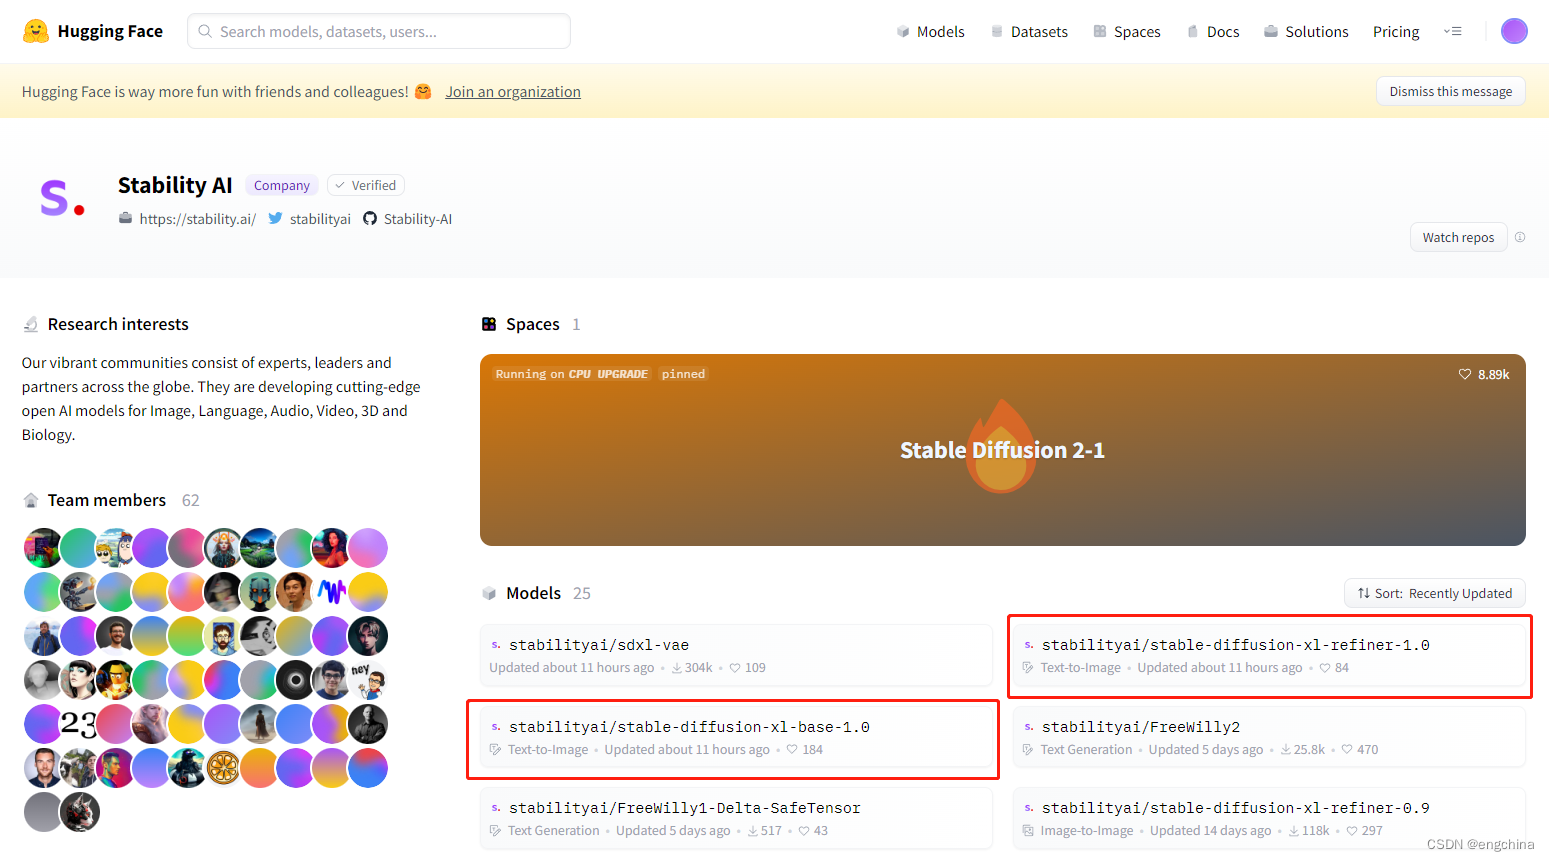
model_key_base = "stabilityai/stable-diffusion-xl-base-1.0"
model_key_refiner = "stabilityai/stable-diffusion-xl-refiner-1.0"
启动,
export ENABLE_REFINER=true
python app2.py
7. 访问 Stable Diffusion XL Gradio Demo WebUI
使用浏览器打开 http://localhost:7860/,并生成一张图片试试,你感觉怎么样?

完结!