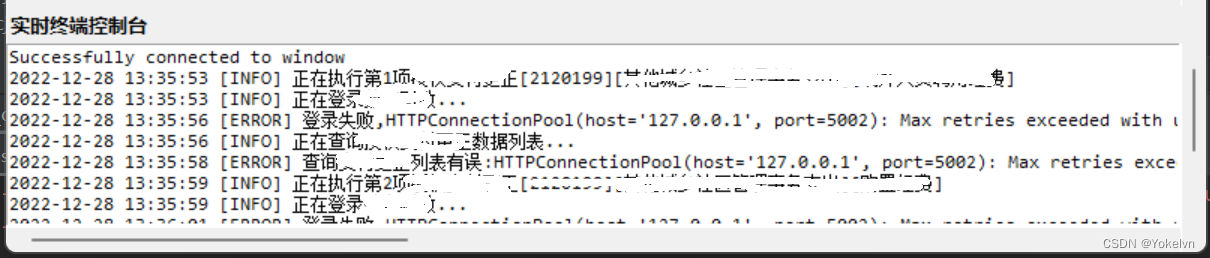
用Tkinter实现类似实时控制台输出的简单界面:
实现步骤如下:
1.创建主窗口
window = tk.Tk()   # 生成主窗口,命名 window
window.title('支付更正信息查看窗口')  # 定义主窗口标题
window.geometry('800x600')  # 定义主窗口的长宽
2.创建Frame,使用pack布局
fm_t = tk.Frame(window)     # text
fm_t.pack(fill='both', expand='yes')
使fm_t自适应占满窗口可以用
fill=‘both’, expand=‘yes’
3.设置label和水平、垂直滚动条
l2 = tk.Label(fm_t, text='实时终端控制台', font=('微软雅黑', 10, 'bold'), width=500, justify='left', anchor='w')   # justify控制对其方向,anchor控制位置 共同使文本靠左
l2.pack()
s2 = tk.Scrollbar(fm_t)      # 设置垂直滚动条
b2 = tk.Scrollbar(fm_t, orient='horizontal')    # 水平滚动条
s2.pack(side='right', fill='y')     # 靠右,充满Y轴
b2.pack(side='bottom', fill='x')    # 靠下,充满x轴
4.创建Text文本控件
self.text = tk.Text(fm_t, font=('Consolas', 9), undo=True, autoseparators=False,
       wrap='none', xscrollcommand=b2.set, yscrollcommand=s2.set)  # , state=DISABLED, wrap='none'表示不自动换行
self.text.pack(fill='both', expand='yes')
self.text.insert('end', 'Successfully connected to window')
s2.config(command=self.text.yview)  # Text随着滚动条移动被控制移动
b2.config(command=self.text.xview)
Text控件也自适应填充Frame
5.窗口执行
window.mainloop() # 主窗口循环运行
6.控制台输出函数
# 控制台输出
def ternimal_print(self, msg, info_type):
	self.text.insert('end', "\n%s [%s] %s" % (time.strftime('%Y-%m-%d %H:%M:%S'), info_type.upper(), msg))
    self.text.update()
这里设置了输出格式
一定要加text.update() 才能让Text文本框更新
这里就完成了Tkinter实时控制台输出窗口!!
Text控件小功能–撤销和恢复按钮
# 定义撤销和恢复方法,调用edit_undo()和 edit_redo()方法
def backout():
    text.edit_undo()
def regain():
    text.edit_redo()