功能:
一、实现从当前界面跳转到另一个界面
二、在文本输出中携带用户名
1、创建Activity_A.java
package com.example.myapplication;
import androidx.appcompat.app.AppCompatActivity;
import android.content.Intent;
import android.os.Bundle;
import android.view.View;
import android.widget.Button;
import android.widget.EditText;
public class Activity_A extends AppCompatActivity {
EditText bUser;
EditText bPwd;
Button bBu;
@Override
protected void onCreate(Bundle savedInstanceState) {
super.onCreate(savedInstanceState);
setContentView(R.layout.activity_a);
//初始化
bUser=findViewById(R.id.b_user);
bPwd=findViewById(R.id.b_pwd);
bBu=findViewById(R.id.b_bu);
bBu.setOnClickListener(new View.OnClickListener() {
@Override
public void onClick(View view) {
//获取用户名和密码
String user=bUser.getText().toString().trim();
String pwd=bPwd.getText().toString().trim();
//创建意图(显示意图)
//this:表示本类,class :某个类
Intent myIntent=new Intent(Activity_A.this,Activity_B.class);
//使用intent传递数据
//创建Bundle对象传递数据
Bundle myBundle=new Bundle();
//通过键值对的方式设置数据
myBundle.putString("user",user);
//将数据设置给意图 .putExtras
myIntent.putExtras(myBundle);
//启动意图
startActivity(myIntent);
}
});
}
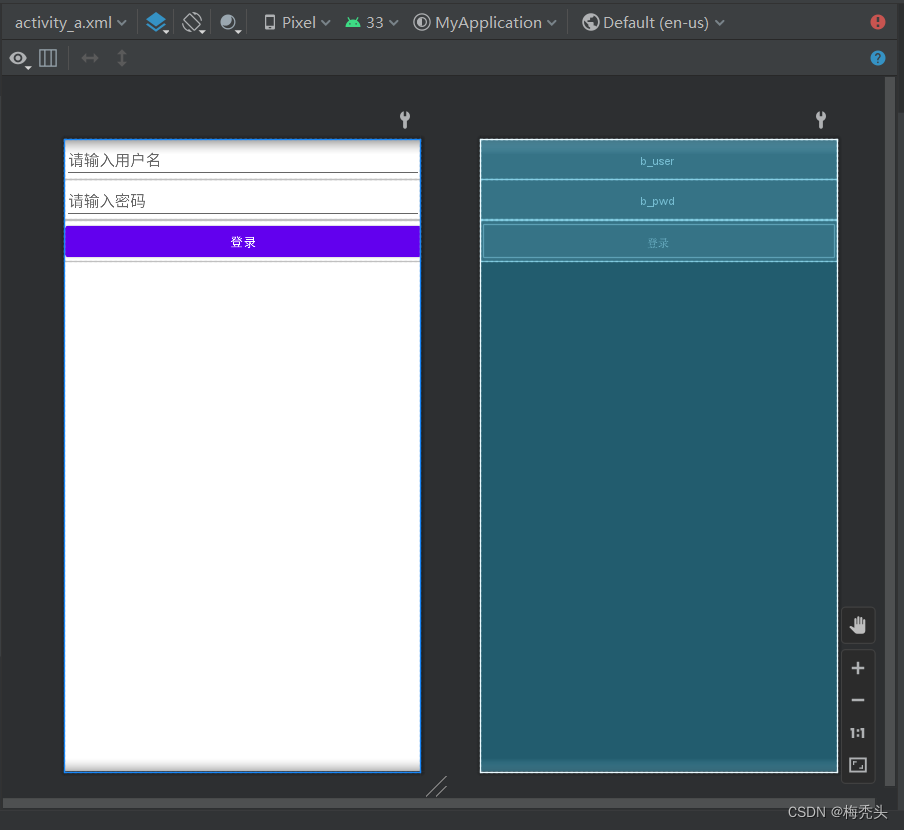
}2、创建Activity_A.java的配置文件activity_a.xml,此处为设计UI界面的代码
<?xml version="1.0" encoding="utf-8"?>
<LinearLayout xmlns:android="http://schemas.android.com/apk/res/android"
    android:layout_width="match_parent"
    android:layout_height="match_parent"
    android:orientation="vertical">

    <EditText
        android:layout_width="match_parent"
        android:layout_height="wrap_content"
        android:id="@+id/b_user"
        android:hint="请输入用户名"/>

    <EditText
        android:layout_width="match_parent"
        android:layout_height="wrap_content"
        android:id="@+id/b_pwd"
        android:hint="请输入密码"/>
    <Button
        android:layout_width="match_parent"
        android:layout_height="wrap_content"
        android:id="@+id/b_bu"
        android:text="登录"/>

</LinearLayout>
效果如下:
3、创建Activity_B.java
package com.example.myapplication;

import androidx.appcompat.app.AppCompatActivity;

import android.content.Intent;
import android.os.Bundle;
import android.widget.EditText;
import android.widget.TextView;
import android.widget.Toast;

public class Activity_B extends AppCompatActivity {

    TextView bText;

    @Override
    protected void onCreate(Bundle savedInstanceState) {
        super.onCreate(savedInstanceState);
        setContentView(R.layout.activity_b);

        bText=findViewById(R.id.b_text);

        //获取到的意图
        Intent myIntent=getIntent();

        //从意图中获取额外信息  .getExtras()
        Bundle myBundle= myIntent.getExtras();

        //通过键值对的方式取出数据
        String strUser=myBundle.getString("user");
        Toast.makeText(this, strUser, Toast.LENGTH_SHORT).show();
    }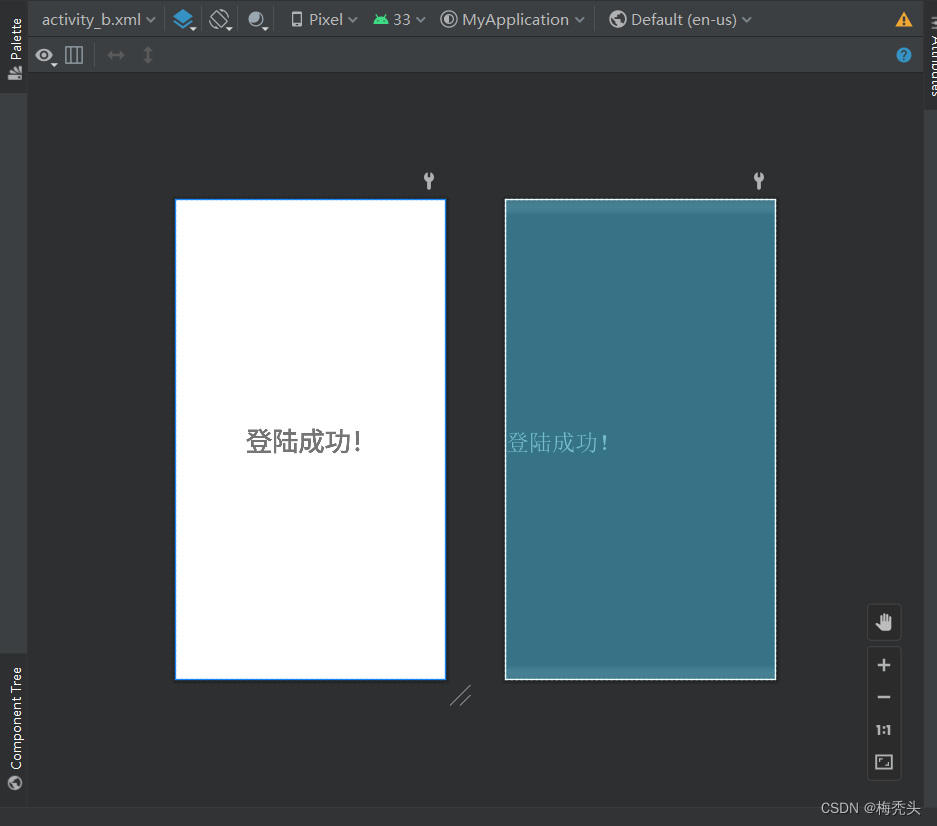
}4、创建Activity_B.java的配置文件activity_b.xml,此处为设计跳转页面的UI界面代码
<?xml version="1.0" encoding="utf-8"?>
<LinearLayout xmlns:android="http://schemas.android.com/apk/res/android"
android:layout_width="match_parent"
android:layout_height="match_parent"
android:orientation="vertical">
<TextView
android:layout_width="match_parent"
android:layout_height="match_parent"
android:id="@+id/b_text"
android:gravity="center"
android:textSize="40sp"
android:textStyle="bold"
android:text="登陆成功!"/>
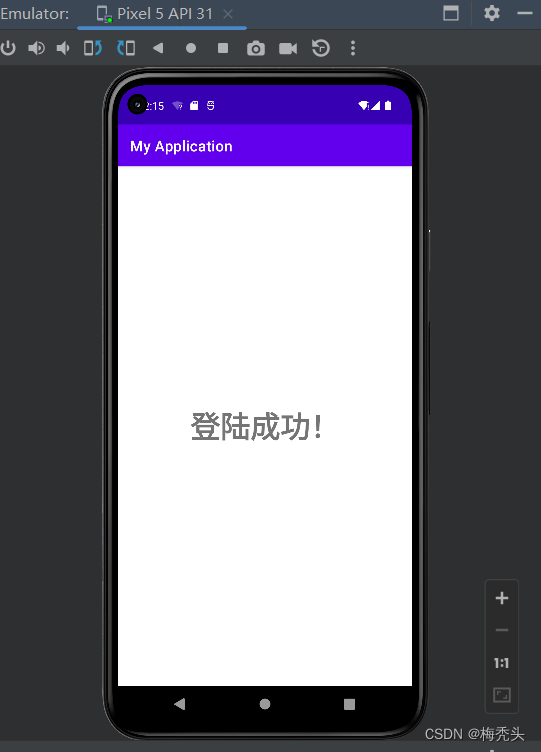
</LinearLayout>效果如下:
5、启动项目,效果如下:
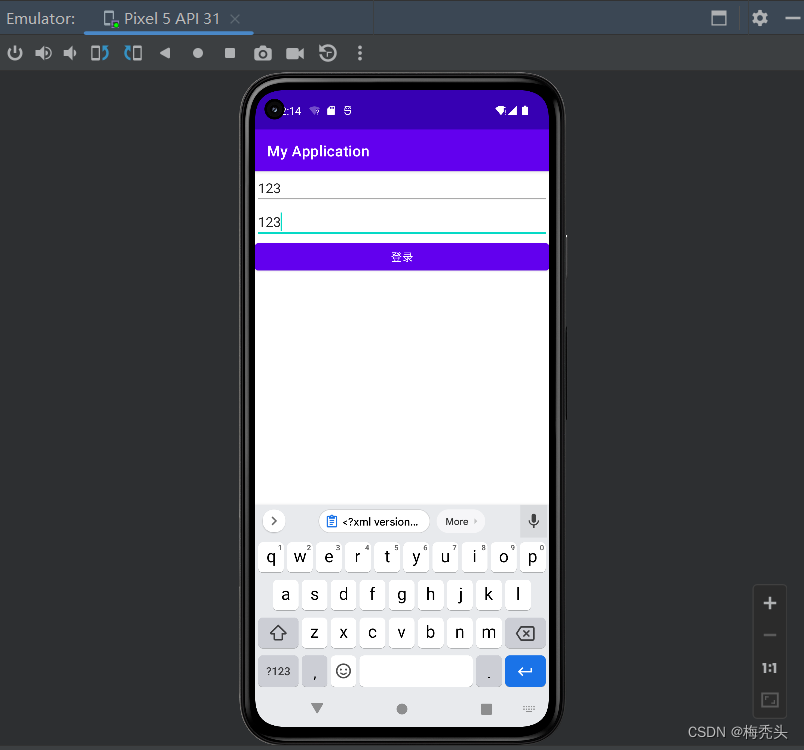
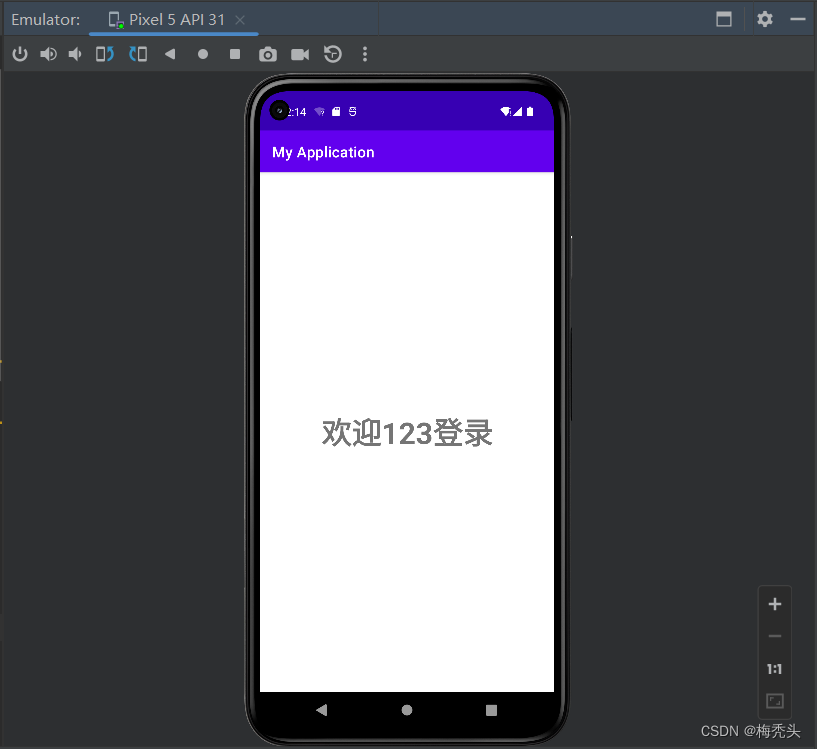
点击登录后执行Activity_B.java的代码,显示activity_b.xml的UI界面信息 ,效果如下:
如果需要携带上用户名,则需在Activity_B.java加上这句代码即可:bText.setText("欢迎"+strUser+"登录");
bText: 在文本框id,在java中设置id对应的变量
strUser: 接收数据的对象
package com.example.myapplication;

import androidx.appcompat.app.AppCompatActivity;

import android.content.Intent;
import android.os.Bundle;
import android.widget.EditText;
import android.widget.TextView;
import android.widget.Toast;

public class Activity_B extends AppCompatActivity {

    TextView bText;

    @Override
    protected void onCreate(Bundle savedInstanceState) {
        super.onCreate(savedInstanceState);
        setContentView(R.layout.activity_b);

        bText=findViewById(R.id.b_text);

        //获取到的意图
        Intent myIntent=getIntent();

        //从意图中获取额外信息  .getExtras()
        Bundle myBundle= myIntent.getExtras();

        //通过键值对的方式取出数据
        String strUser=myBundle.getString("user");
        Toast.makeText(this, strUser, Toast.LENGTH_SHORT).show();

        //给TextView设置文本
        bText.setText("欢迎"+strUser+"登录");
    }
}
效果如下