1、pyinstaller的说明:
pyinstaller 能够在 Windows、Linux、Mac 等操作系统下将 Python 源文件打包,通过对源文件打包, Python 程序可以在没有安装 Python 的环境中运行,也可以作为一个独立文件方便传递和管理。
PyInstaller 支持 Python 2.7 和 Python 3.3+。可以在 Windows、Mac 和 Linux 上使用,但是并不是跨平台的,而是说要是希望打包成 .exe 文件,需要在Windows 系统上运行 PyInstaller 进行打包工作;打包成 Mac App,需要在 Mac OS 上使用,Linux 也一样,不能在一端上打另外两端的包,还有 Mac m1 的打包不能给 Mac intel 的使用,相反也一样,运行会报错:Error:Bad CPU type in executable。
pyinstaller 不需要自己写 setup.py 文件,只需要在工作目录中输入打包命令即可。最后会生成 build 和 dist 文件夹,启动文件在 dist 文件夹下。
2、pyinstaller的安装
pip install -i https://pypi.tuna.tsinghua.edu.cn/simple pyinstaller3、打包命令
pyinstaller [项目启动文件]其他参数(按需求选择):
- -F 表示在 dist 文件夹下只生成单个可执行文件(内部包含所有依赖),不加默认会在 dist 生成一大堆依赖文件+可执行文件。
- -D 与 -F 相反用法
- -w 表示去掉控制台窗口,如果你的程序是有界面的,可以不写这个参数。但是测试情况下建议先加上这个参数,因为如果打包不成功,运行时报错信息会在控制台上输出,没有控制台就看不到报错信息。
- -c 表示去掉窗框,使用控制台
- -p 表示自己定义需要加载的类路径,项目中包含多个自建模块的时候需要加上 -p aaa.py -p bbb.py -p ccc.py
- -i 表示可执行文件的图标,后面跟图标的路径
- --hidden-import 后面跟模块名如 queue,用于告诉打包程序某个模块我用不着你不用打包进去
3.1、将项目和代码打包多个文件的命令
windows下:
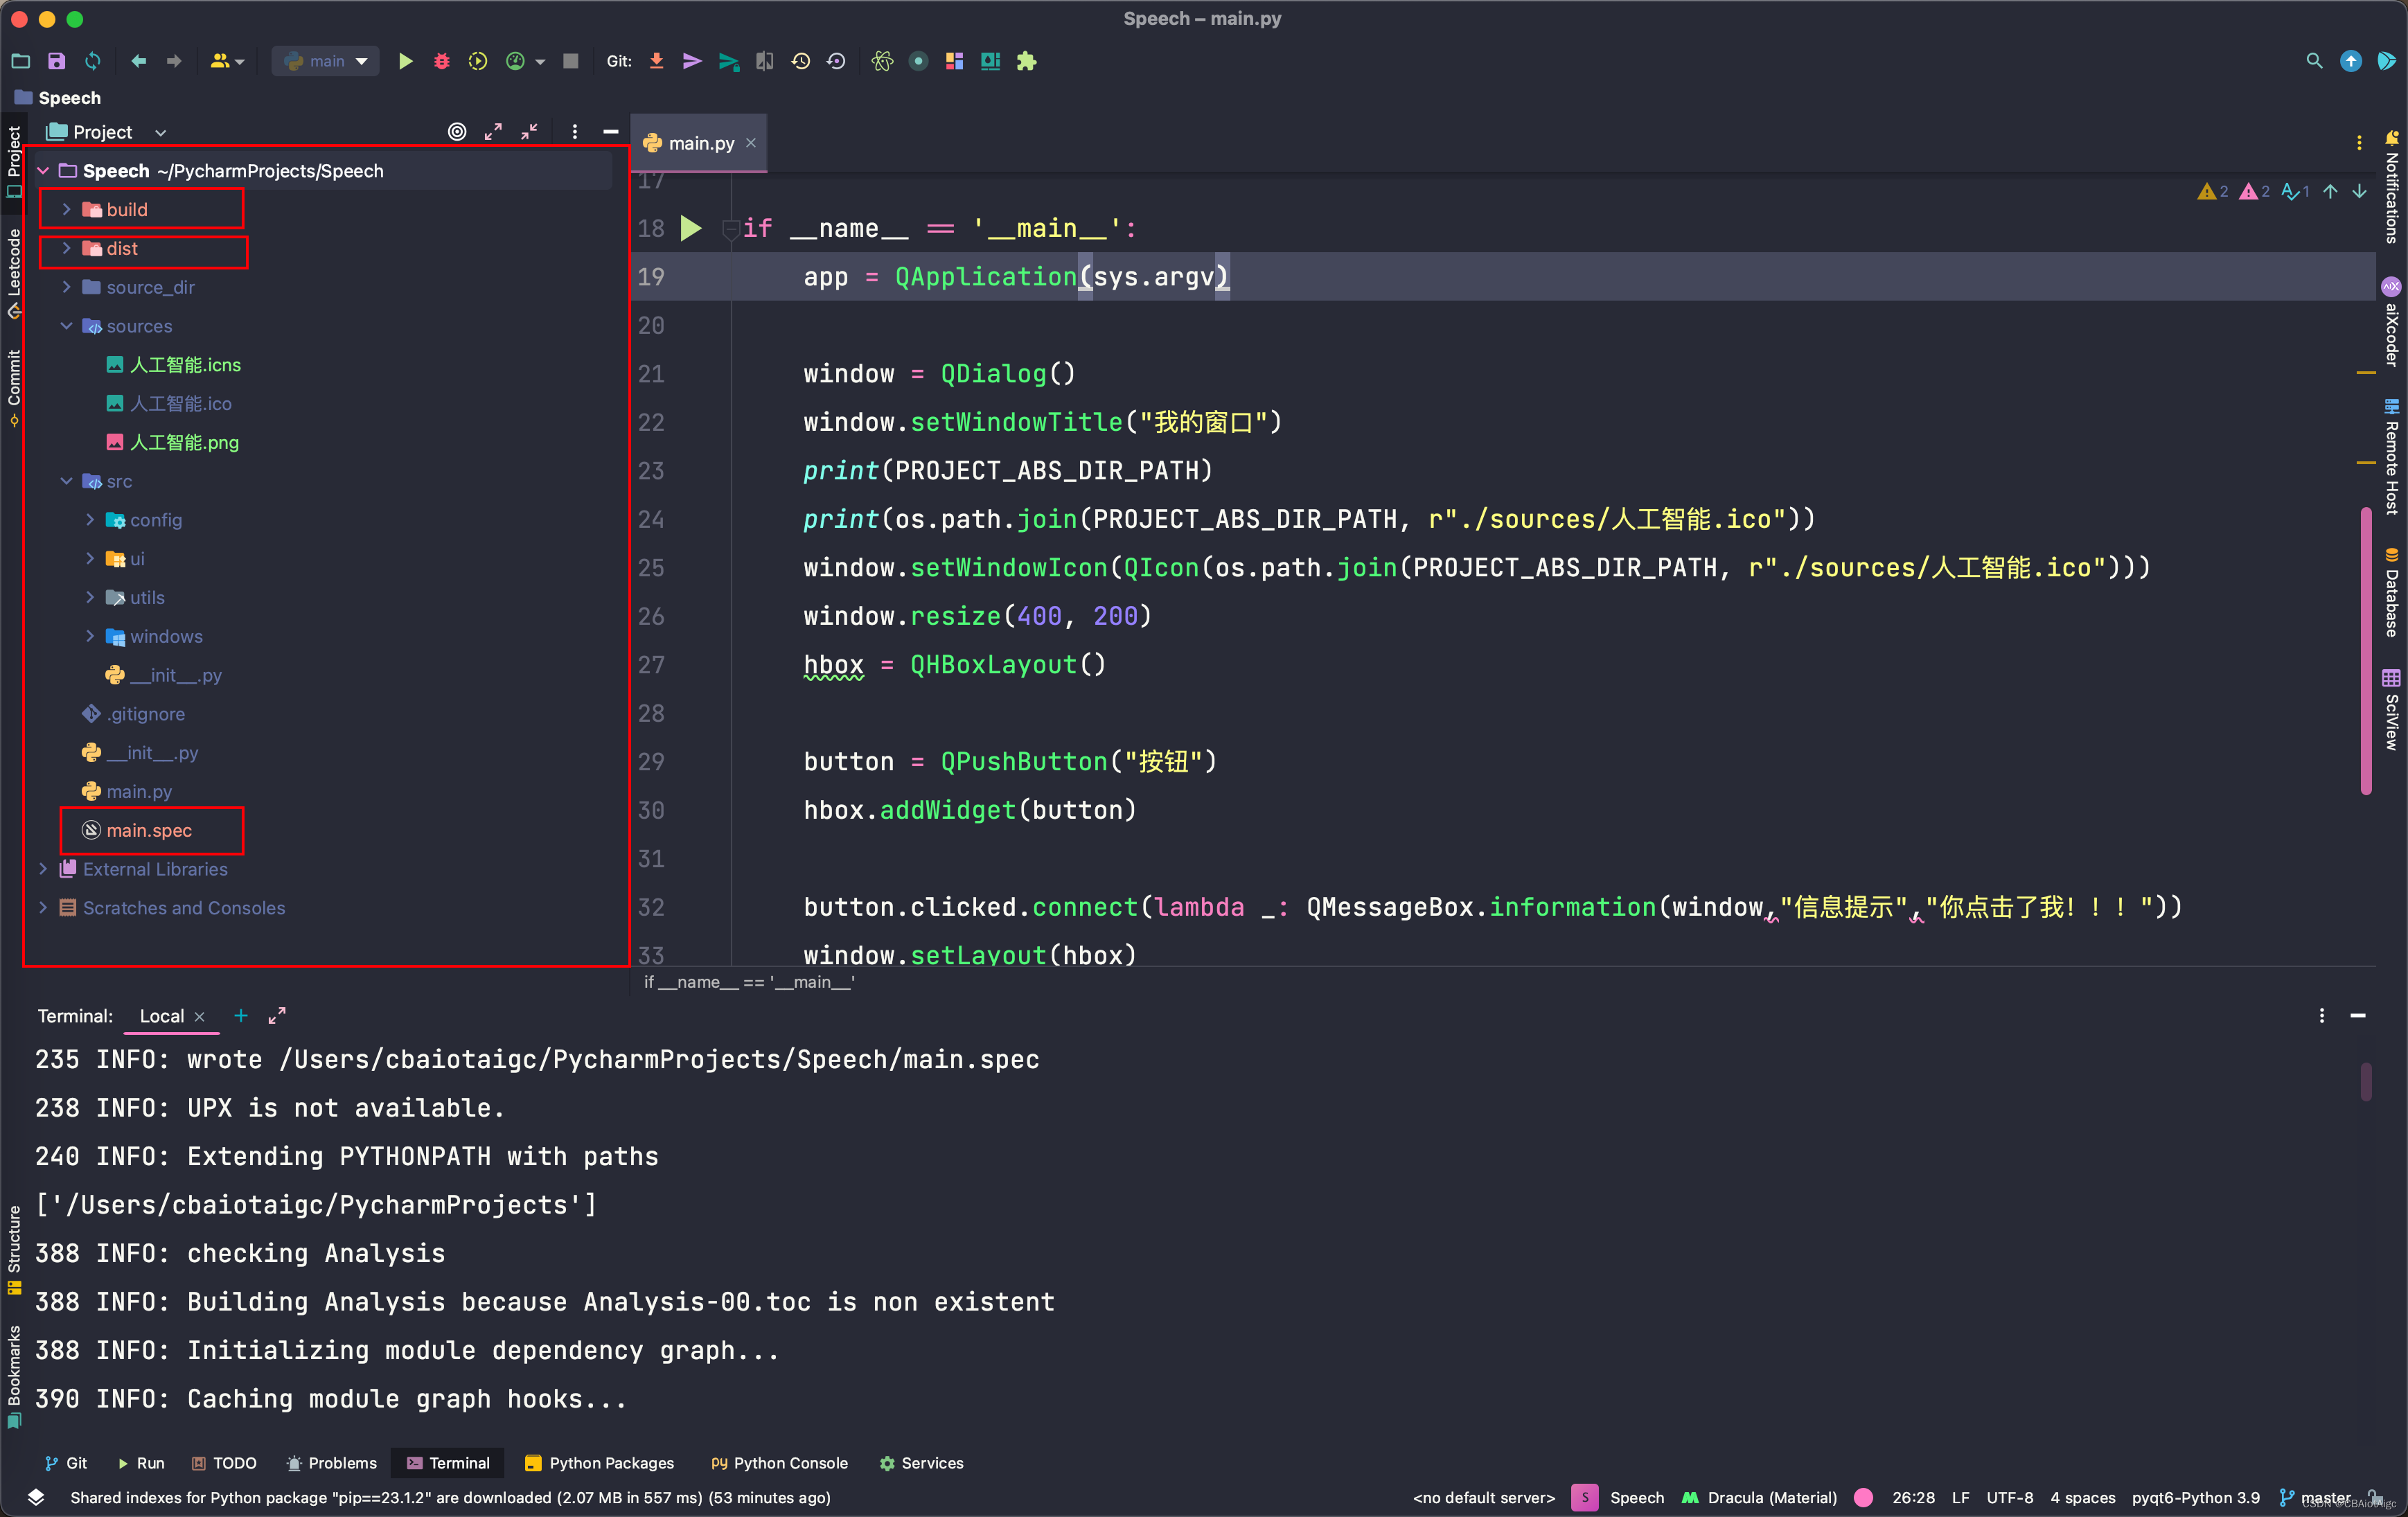
项目结构:

命令:
pyinstaller -D main.py -i ./sources/人工智能.ico -w![]()

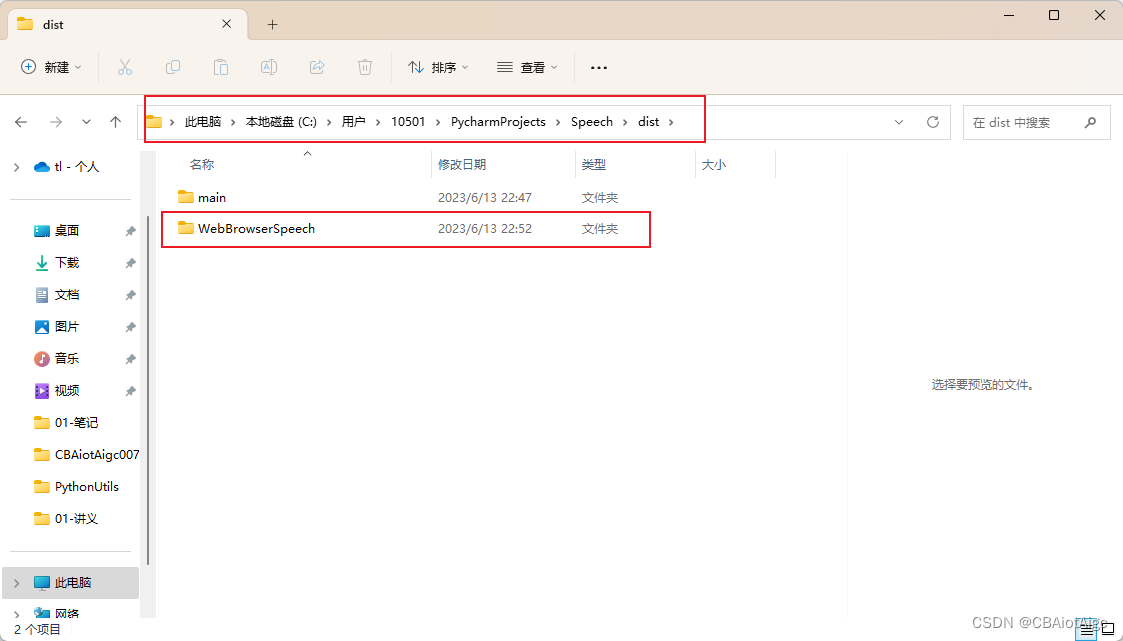
新增的文件: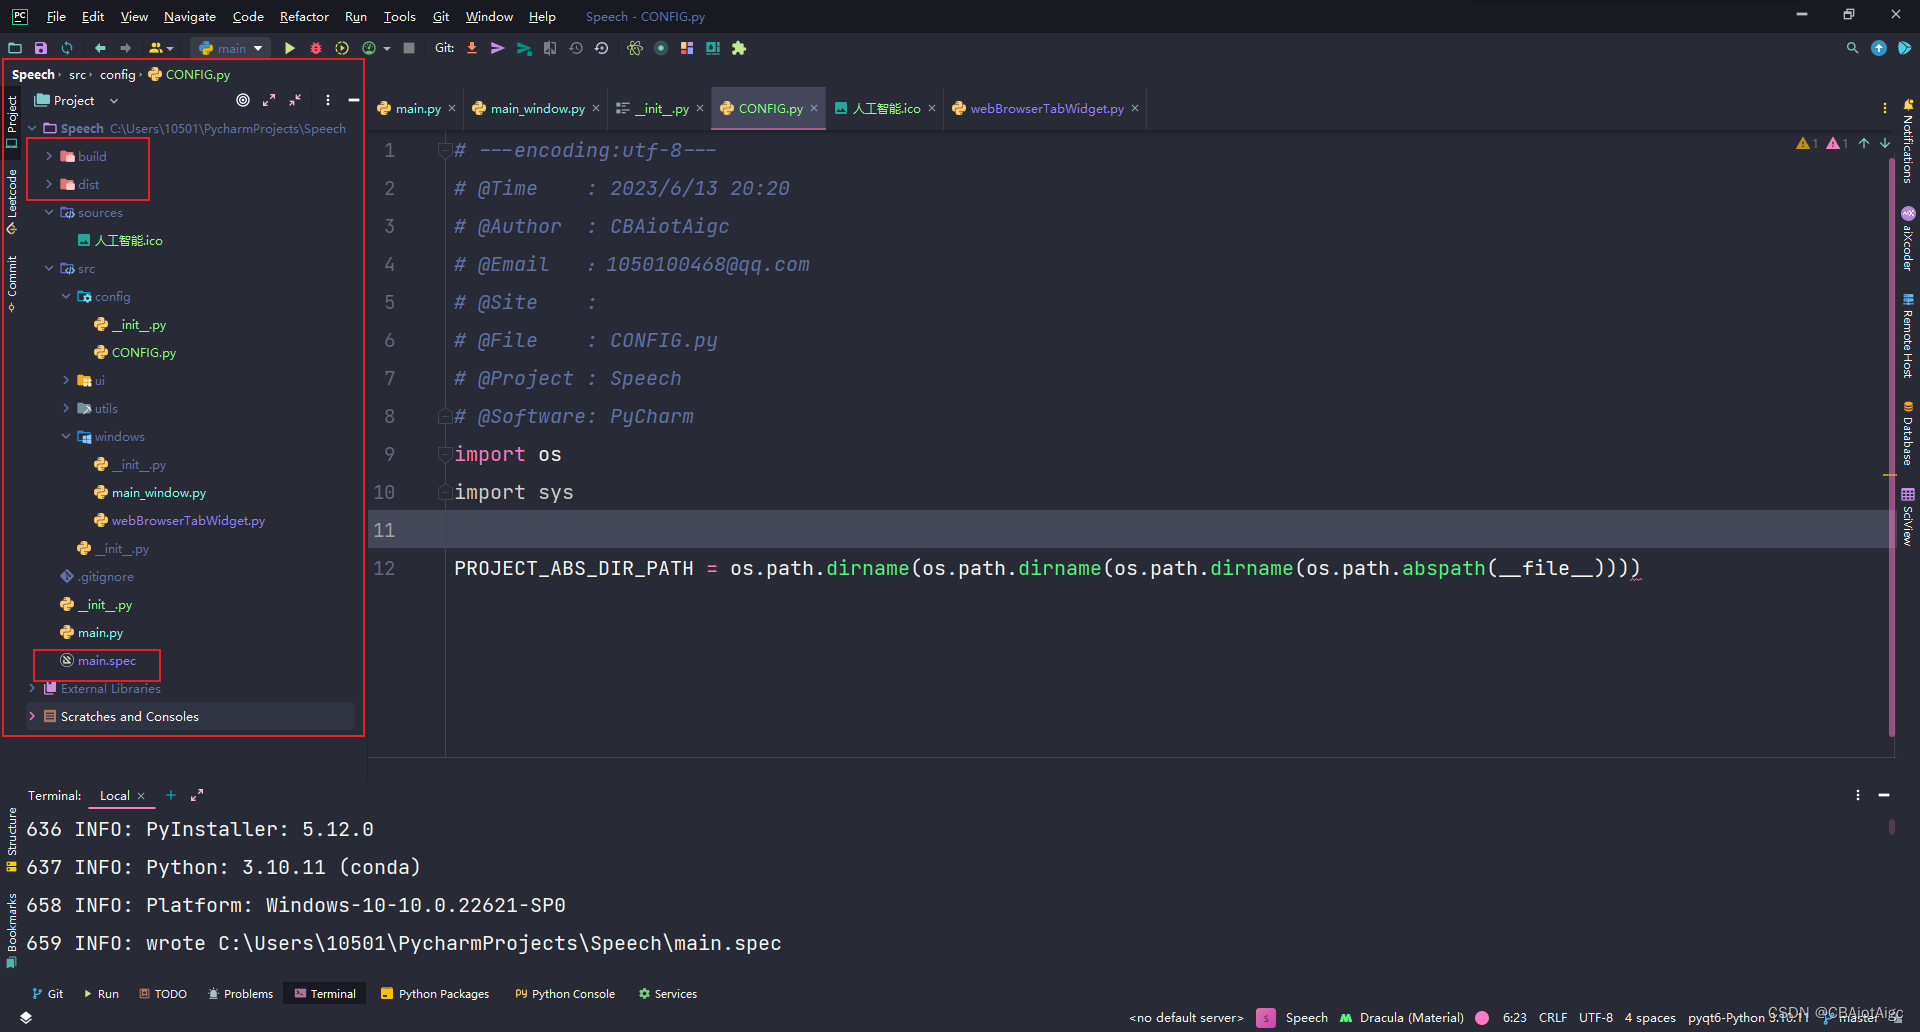
目标exe的可执行文件就在dist文件夹下:

对上述生成的main.spec里的内容进行查看:
# -*- mode: python ; coding: utf-8 -*-


block_cipher = None


a = Analysis(
    ['main.py'],
    pathex=[],
    binaries=[],
    datas=[],
    hiddenimports=[],
    hookspath=[],
    hooksconfig={},
    runtime_hooks=[],
    excludes=[],
    win_no_prefer_redirects=False,
    win_private_assemblies=False,
    cipher=block_cipher,
    noarchive=False,
)
pyz = PYZ(a.pure, a.zipped_data, cipher=block_cipher)

exe = EXE(
    pyz,
    a.scripts,
    [],
    exclude_binaries=True,
    name='main',
    debug=False,
    bootloader_ignore_signals=False,
    strip=False,
    upx=True,
    console=False,
    disable_windowed_traceback=False,
    argv_emulation=False,
    target_arch=None,
    codesign_identity=None,
    entitlements_file=None,
    icon=['sources\\人工智能.ico'],
)
coll = COLLECT(
    exe,
    a.binaries,
    a.zipfiles,
    a.datas,
    strip=False,
    upx=True,
    upx_exclude=[],
    name='main',
)
下面是针对main.spec的说明:
# -*- mode: python ; coding: utf-8 -*-


block_cipher = None


a = Analysis(
    ['main.py'],
    pathex=[], # 此列表为项目绝对路径
    binaries=[],
    datas=[],  # 此处可以添加静态资源,格式为('SOURCE_DIR/TO/YOUR_FILES_PATH','TARGET_DIR_PATH/')
    hiddenimports=[],
    hookspath=[],
    hooksconfig={},
    runtime_hooks=[],
    excludes=[],
    win_no_prefer_redirects=False,
    win_private_assemblies=False,
    cipher=block_cipher,
    noarchive=False,
)
pyz = PYZ(a.pure, a.zipped_data, cipher=block_cipher)

exe = EXE(
    pyz,
    a.scripts,
    [],
    exclude_binaries=True,
    name='main', # 程序exe的名称
    debug=False,
    bootloader_ignore_signals=False,
    strip=False,
    upx=True, # 打包的时候进行压缩,False表示不压缩
    console=False, #此处console=True表示,打包后的可执行文件双击运行时屏幕会出现一个cmd窗口,不影响原程序运行,如不需要执行窗口,改成False即可
    disable_windowed_traceback=False,
    argv_emulation=False,
    target_arch=None,
    codesign_identity=None,
    entitlements_file=None,
    icon=['sources\\人工智能.ico'], #程序图标,要绝对路径,也可以不是相对路径
)
coll = COLLECT(
    exe,
    a.binaries,
    a.zipfiles,
    a.datas,
    strip=False,
    upx=True,
    upx_exclude=[],
    name='main', #程序文件夹名称
)
更改main.spec文件:
注意:要将源码复制到dist目录里,不然程序无法运行!!!

# -*- mode: python ; coding: utf-8 -*-


block_cipher = None


a = Analysis(
    ['main.py'],
    pathex=[], # 此列表为项目绝对路径
    binaries=[],
    datas=[('./src/','./src'),# 将源码输入进dist文件夹中,以保证程序正常运行
    ('./sources/','./sources/'), # 静态资源
    ('./source_dir/美女.png','./target_dir/')],# 此处可以添加静态资源,格式为('SOURCE_DIR/TO/YOUR_FILES_PATH','TARGET_DIR_PATH/')

    hiddenimports=[],
    hookspath=[],
    hooksconfig={},
    runtime_hooks=[],
    excludes=[],
    win_no_prefer_redirects=False,
    win_private_assemblies=False,
    cipher=block_cipher,
    noarchive=False,
)
pyz = PYZ(a.pure, a.zipped_data, cipher=block_cipher)

exe = EXE(
    pyz,
    a.scripts,
    [],
    exclude_binaries=True,
    name='Speech演讲专用软件', # 程序exe的名称
    debug=False,
    bootloader_ignore_signals=False,
    strip=False,
    upx=True, # 打包的时候进行压缩,False表示不压缩
    console=False, #此处console=True表示,打包后的可执行文件双击运行时屏幕会出现一个cmd窗口,不影响原程序运行,如不需要执行窗口,改成False即可
    disable_windowed_traceback=False,
    argv_emulation=False,
    target_arch=None,
    codesign_identity=None,
    entitlements_file=None,
    icon=['sources\\人工智能.ico'], #程序图标,要绝对路径,也可以不是相对路径
)
coll = COLLECT(
    exe,
    a.binaries,
    a.zipfiles,
    a.datas,
    strip=False,
    upx=True,
    upx_exclude=[],
    name='WebBrowserSpeech', #程序文件夹名称
)
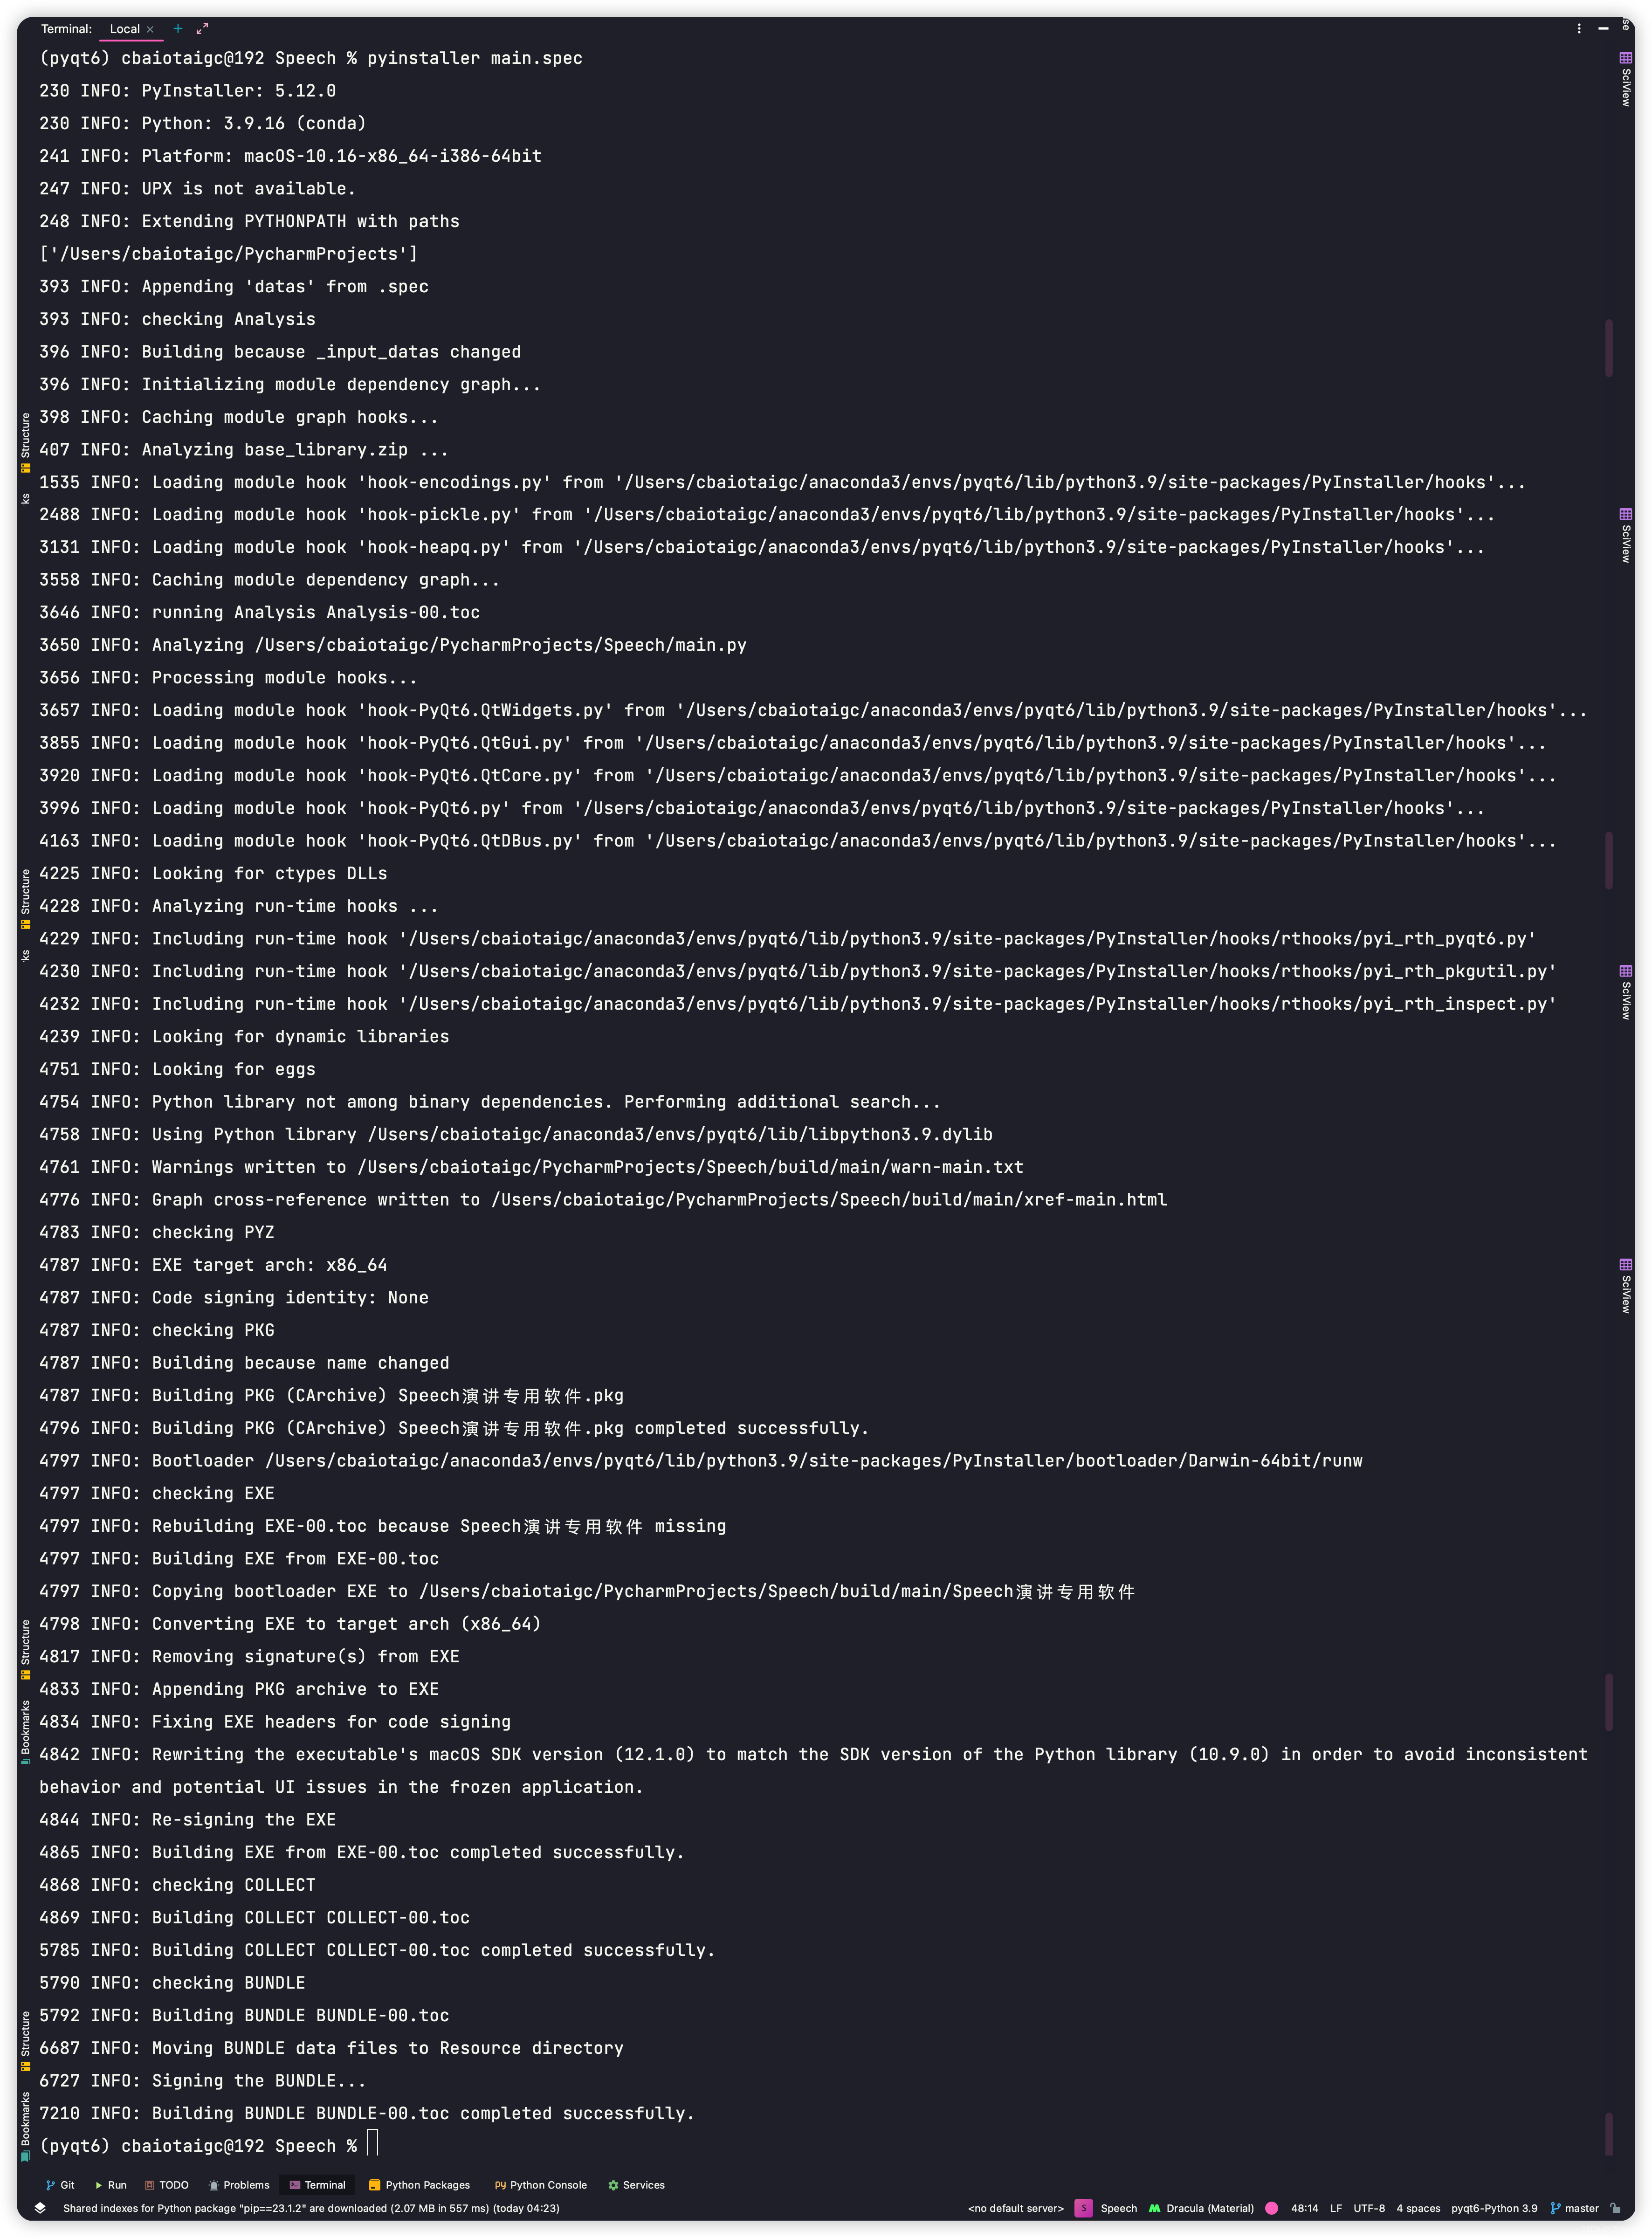
然后重新执行下面的命令:
pyinstaller main.spec![]()

结果变成下面的:

运行结果:

大功告成!!!
Mac下:
项目结构:
pyinstaller -D main.py -w -i ./sources/人工智能.icns
 新增的文件:
 目标mac上的可执行文件就在dist文件夹下:

更改main.spec文件:
# -*- mode: python ; coding: utf-8 -*-


block_cipher = None


a = Analysis(
    ['main.py'],
    pathex=[],
    binaries=[],
    datas=[('./source_dir/美女.png','./target_dir/')],
    hiddenimports=[],
    hookspath=[],
    hooksconfig={},
    runtime_hooks=[],
    excludes=[],
    win_no_prefer_redirects=False,
    win_private_assemblies=False,
    cipher=block_cipher,
    noarchive=False,
)
pyz = PYZ(a.pure, a.zipped_data, cipher=block_cipher)

exe = EXE(
    pyz,
    a.scripts,
    [],
    exclude_binaries=True,
    name='Speech演讲专用软件',
    debug=False,
    bootloader_ignore_signals=False,
    strip=False,
    upx=True,
    console=False,
    disable_windowed_traceback=False,
    argv_emulation=False,
    target_arch=None,
    codesign_identity=None,
    entitlements_file=None,
    icon=['sources/人工智能.icns'],
)
coll = COLLECT(
    exe,
    a.binaries,
    a.zipfiles,
    a.datas,
    strip=False,
    upx=True,
    upx_exclude=[],
    name='WebBrowserSpeech',
)
app = BUNDLE(
    coll,
    name='WebBrowserSpeech.app',
    icon='./sources/人工智能.icns',
    bundle_identifier=None,
)
然后执行下面的命令:
pyinstaller main.spec