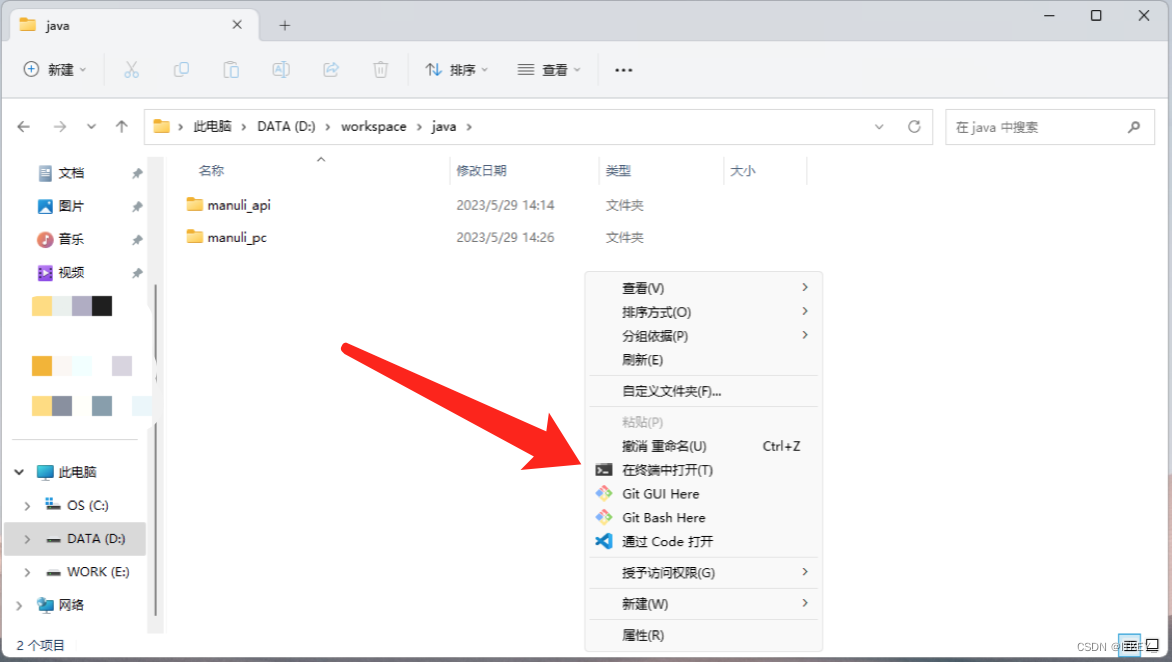
在windows 11中,可以在【此电脑】中任意文件夹中鼠标右键,可能直接在当前目录打开【终端】。用久也感觉还是很方便的。
与是在macOS中,我也想得到类似的功能。如何实现记录下来。
实战过程
我的实战环境是:
操作系统:macOS Venture 13.4
终端:iTerm2
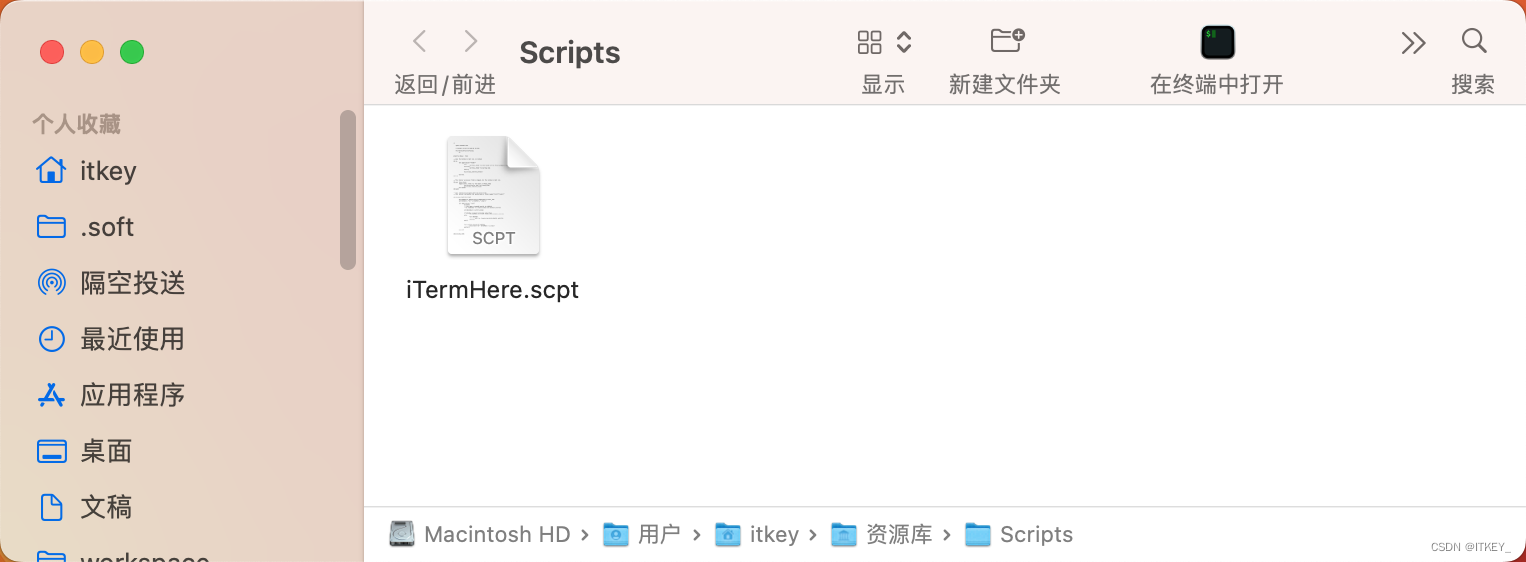
iTermHere.scpt
使用你喜欢的任意文本编辑器创建一个脚本:
~/Library/Scripts/iTermHere.scpt
这个脚本路径保存在哪里都可以,选一个你喜欢的路径就可以了。
脚本的内容如下:
(*

    Open Terminal Here

    A toolbar script for Mac OS X 10.3+

    Written by Brian Schlining
	*)


property debug : false

-- when the toolbar script icon is clicked
--
on run
	tell application "Finder"
		try
			set this_folder to (the target of the front window) as alias
		on error
			set this_folder to startup disk
		end try

		my process_item(this_folder)

	end tell
end run


-- This handler processes folders dropped onto the toolbar script icon
--
on open these_items
	repeat with i from 1 to the count of these_items
		set this_item to item i of these_items
		my process_item(this_item)
	end repeat
end open


-- this subroutine processes does the actual work
-- this version can handle this weirdo case: a folder named "te'st"ö te%s`t"

on process_item(this_item)

	set thePath to quoted form of POSIX path of this_item
	set theCmd to "cd " & thePath & ";clear;"

	tell application "iTerm"
		activate
		-- just open a terminal and cd to thePath
		--set newWindow to (create window with default profile)

		set aWindow to current window

		if aWindow is equal to missing value then
			set aWindow to (create window with default profile)
		else
			tell aWindow
				set t to (create tab with default profile)
			end tell
		end if


		tell current session of aWindow
			write text "cd " & thePath & ";clear;"
		end tell

	end tell


end process_item
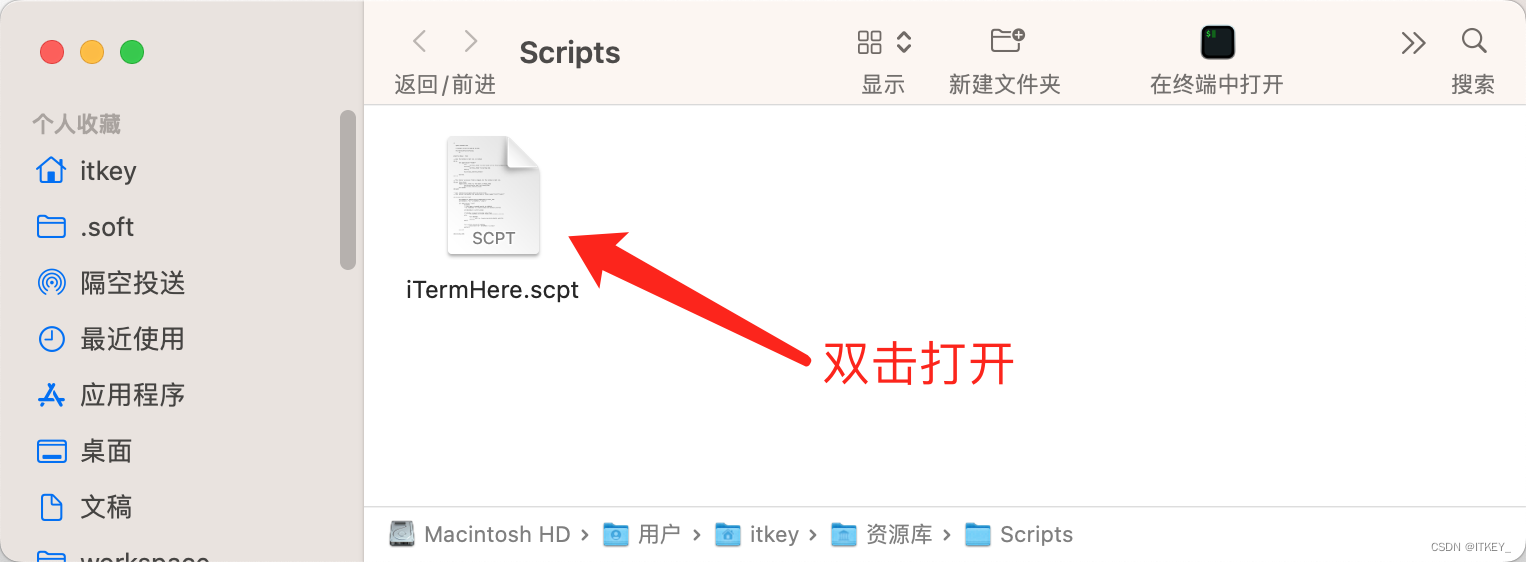
脚本编译器打开脚本
我这里直接双击文件就可以使用脚本编辑器打开脚本了。
导出成程序
文件 ==> 导出…

文件格式:应用程序
位置:应用程序
代码签名:签名以在本地运行
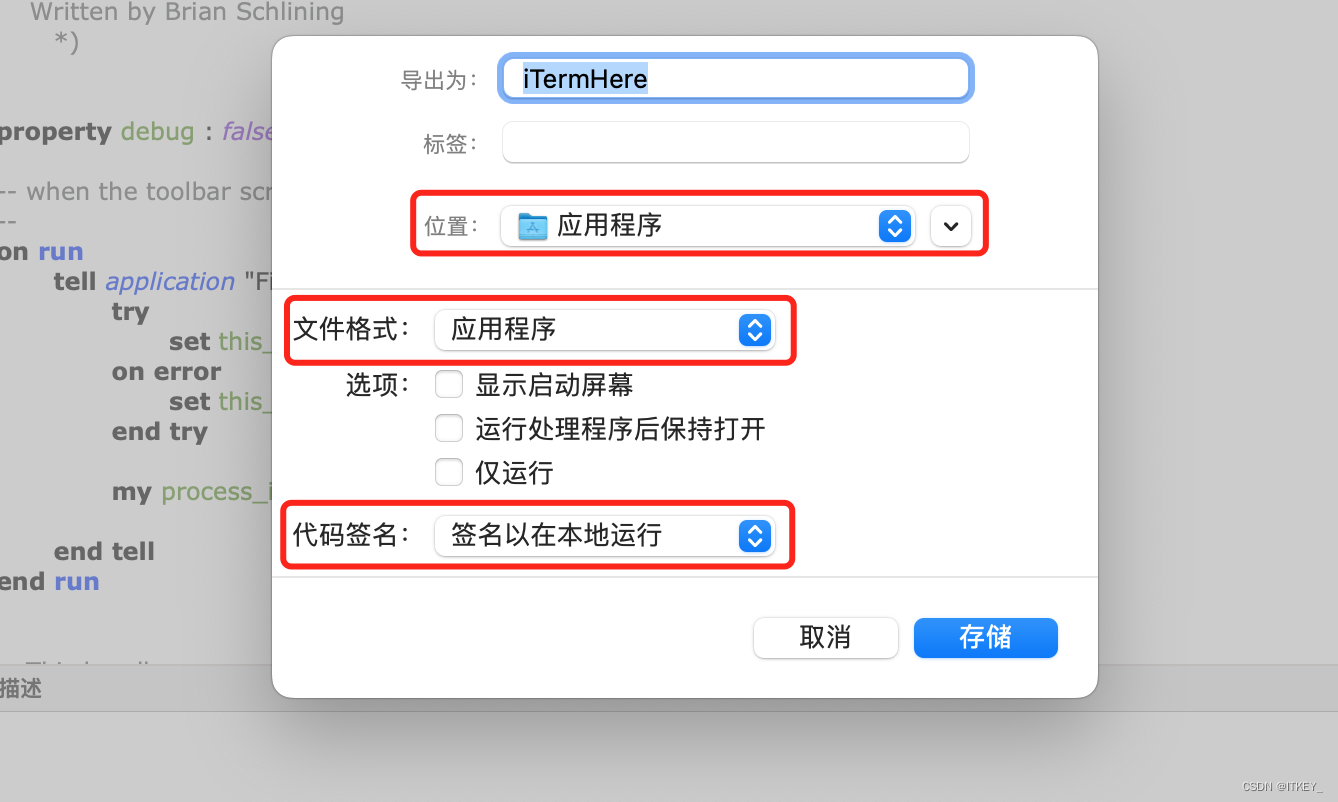
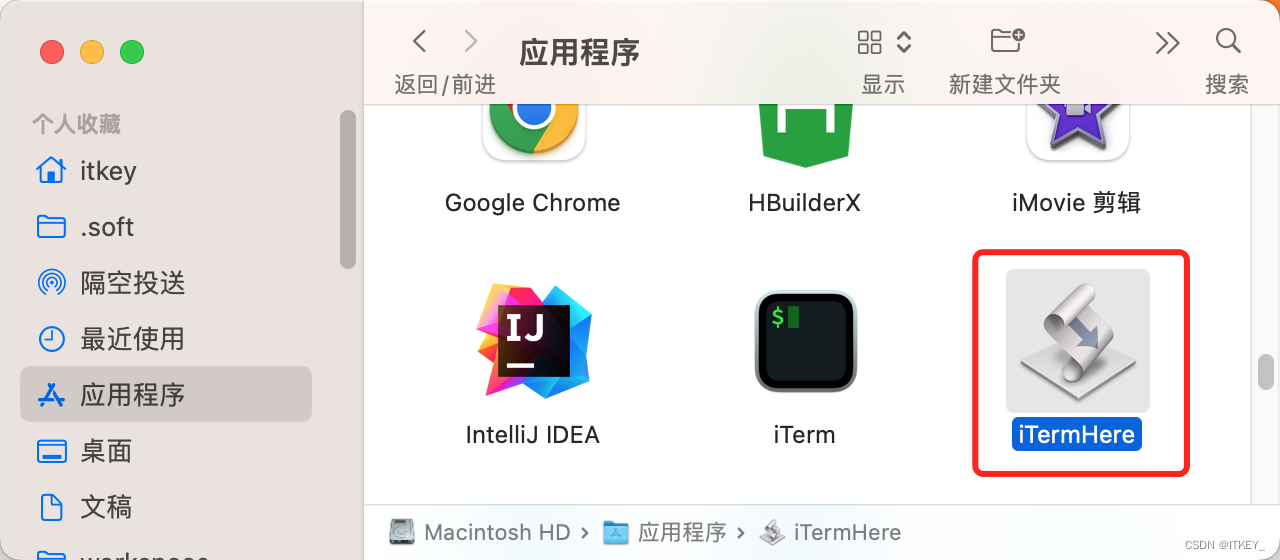
点击存储后,在应用程序中就会出现iTermHere这个程序了。
定义图标
可以选择程序,按⌘+i显示简介,在这里我们可以修改图标。如果你有图标资源,直接拖到这里就可以了。
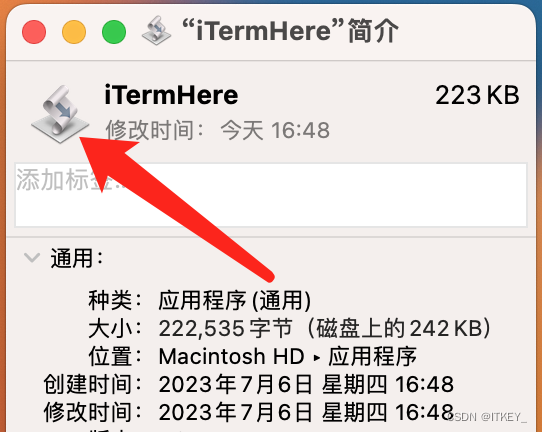
我这里想用iTerm一样的图标,可以复制他的图标操作如下:
在左上角⌘+c 复制,⌘+v 粘贴就可以了。

这样我们就可以自定好图标了。
如果名称不喜欢也可以重命名的,我这里就修改成 【在终端中打开】。

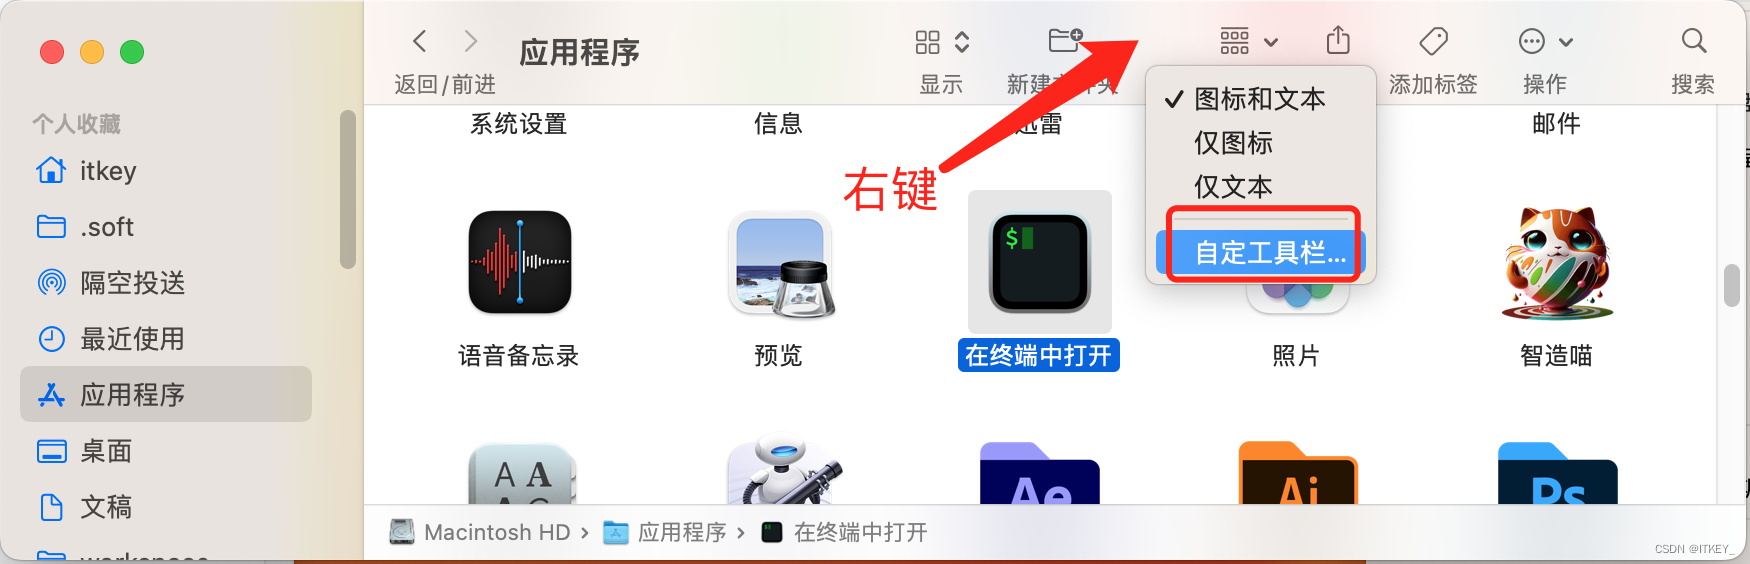
添加到访达工具栏
在访达中鼠标右键菜单中选 自定义工具栏...
然后 重新开启一个访达并打开应用程序,并把【在终端中打开】使用鼠标拖到顶端的小方框之中。
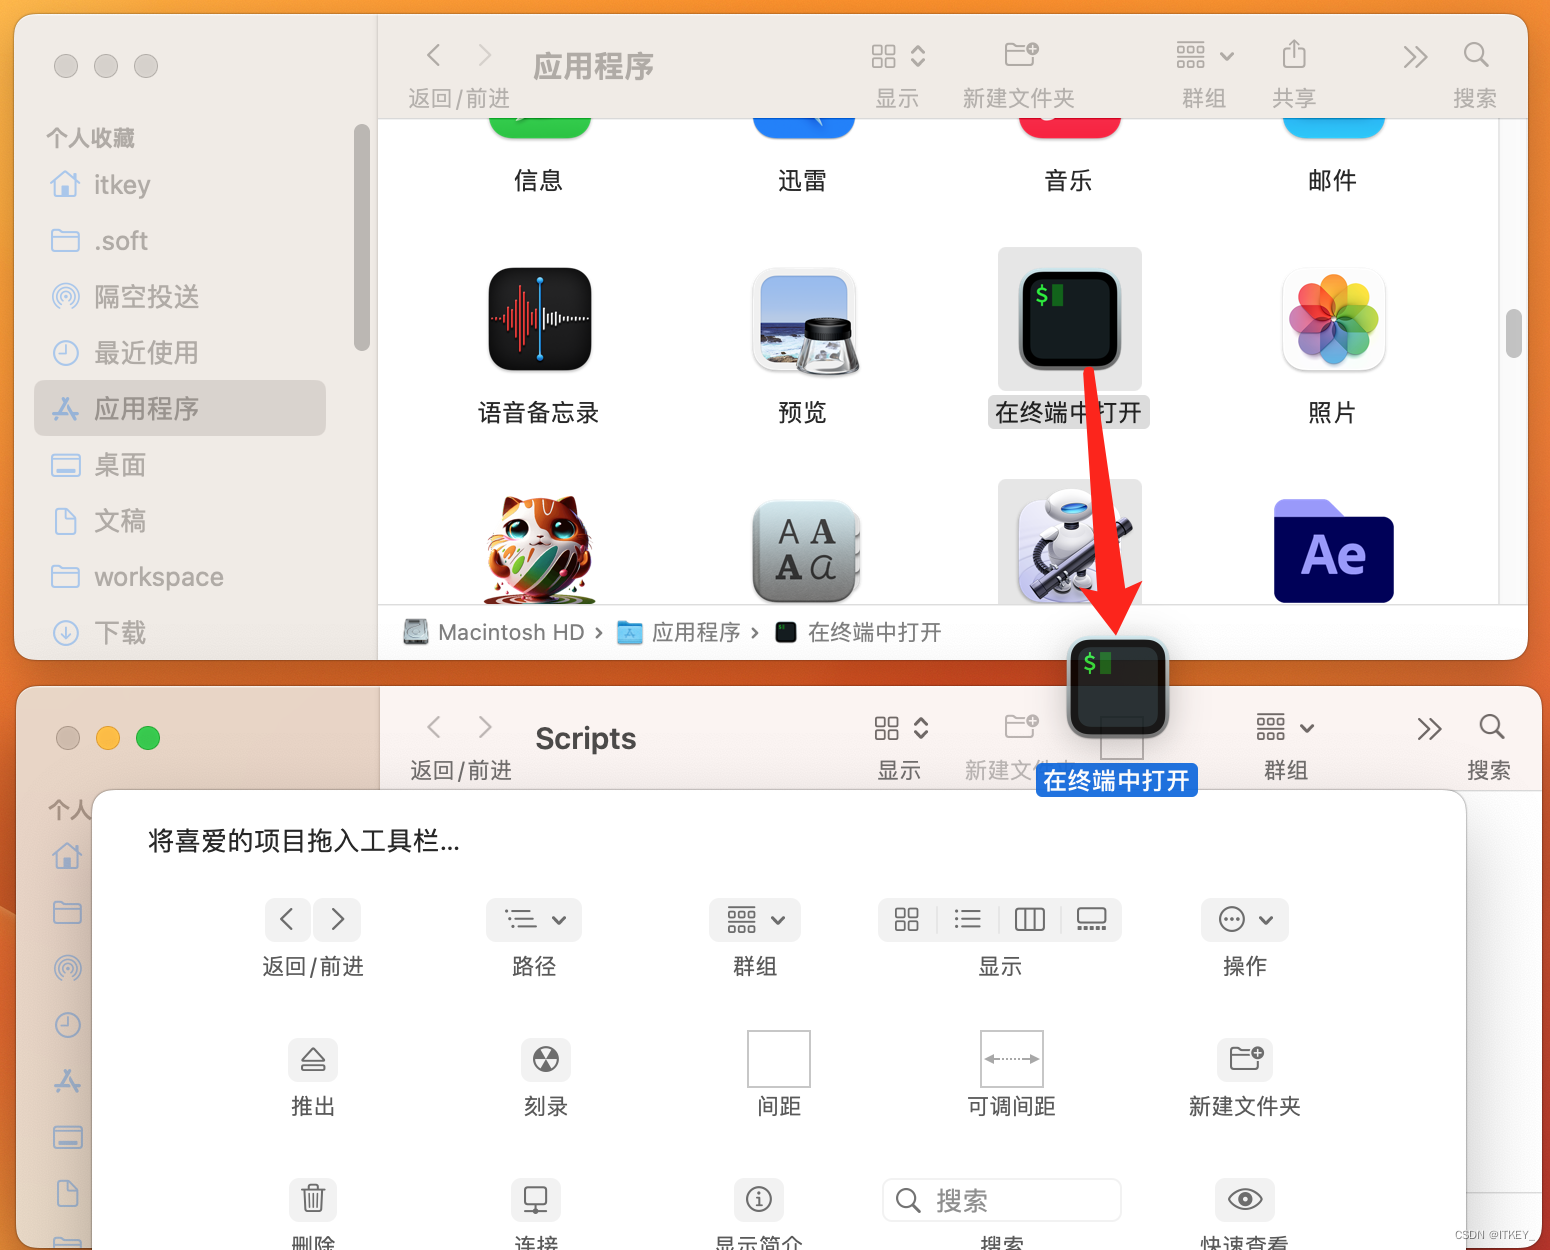
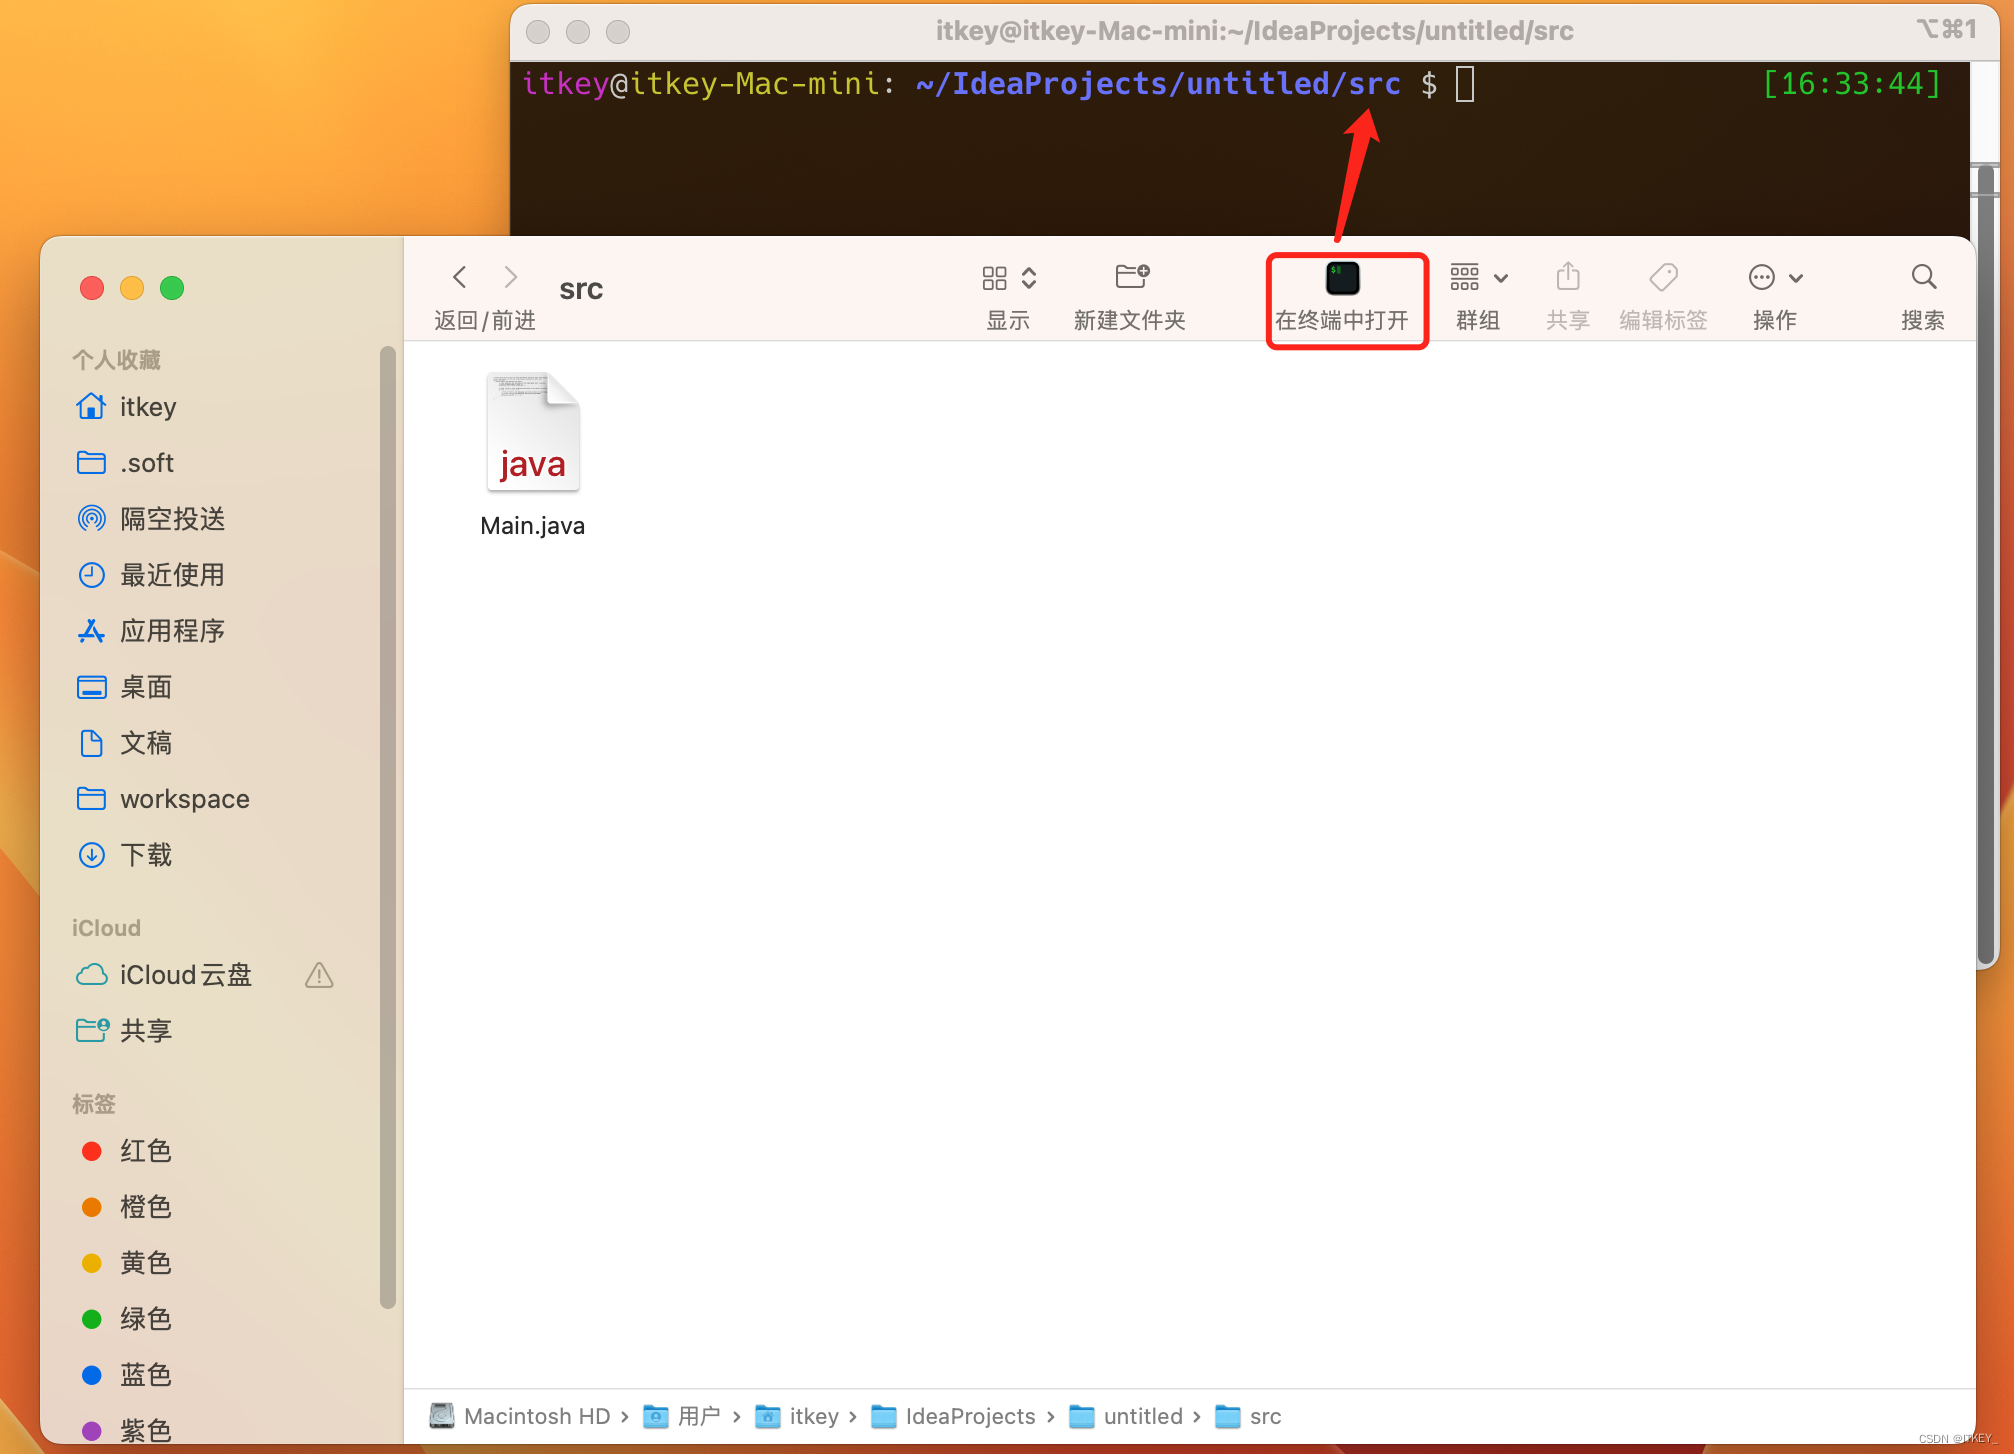
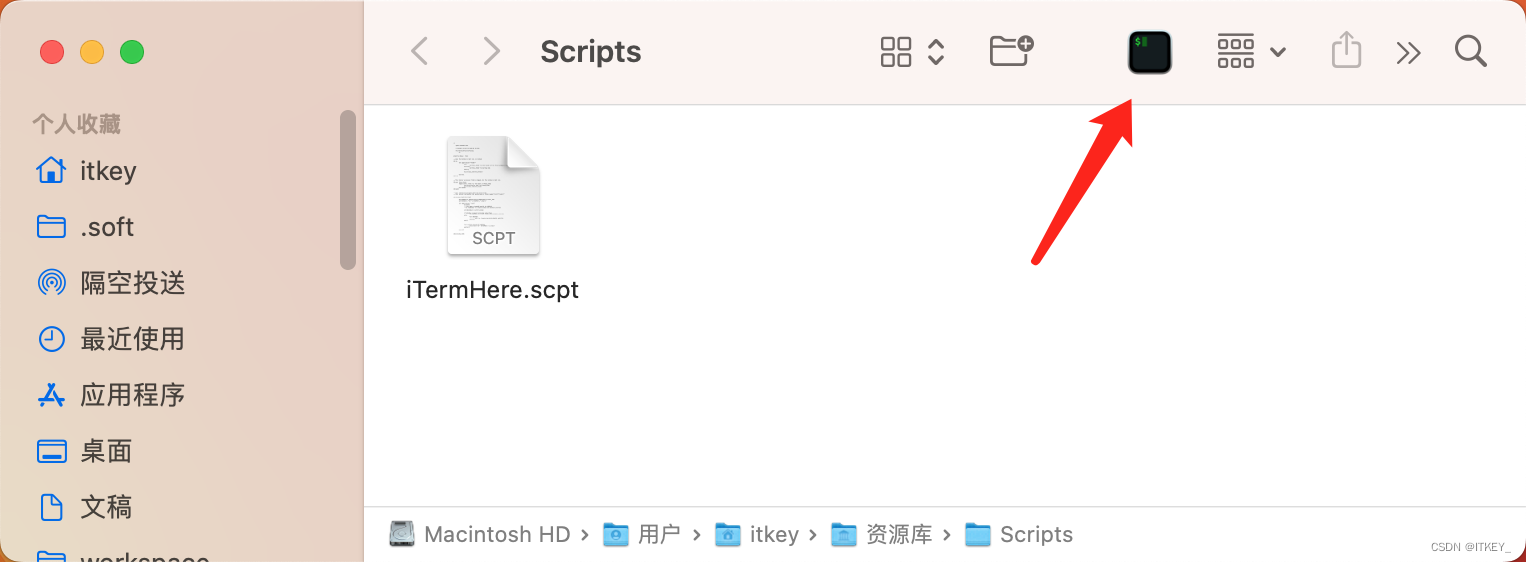
最终效果如下:
1.显示标签时
2.只显示图标时
补充1:iTerm2自带
以上步骤做完以后,我无意中发现其实iTerm2本身也自带类型的功能。
操作如下:
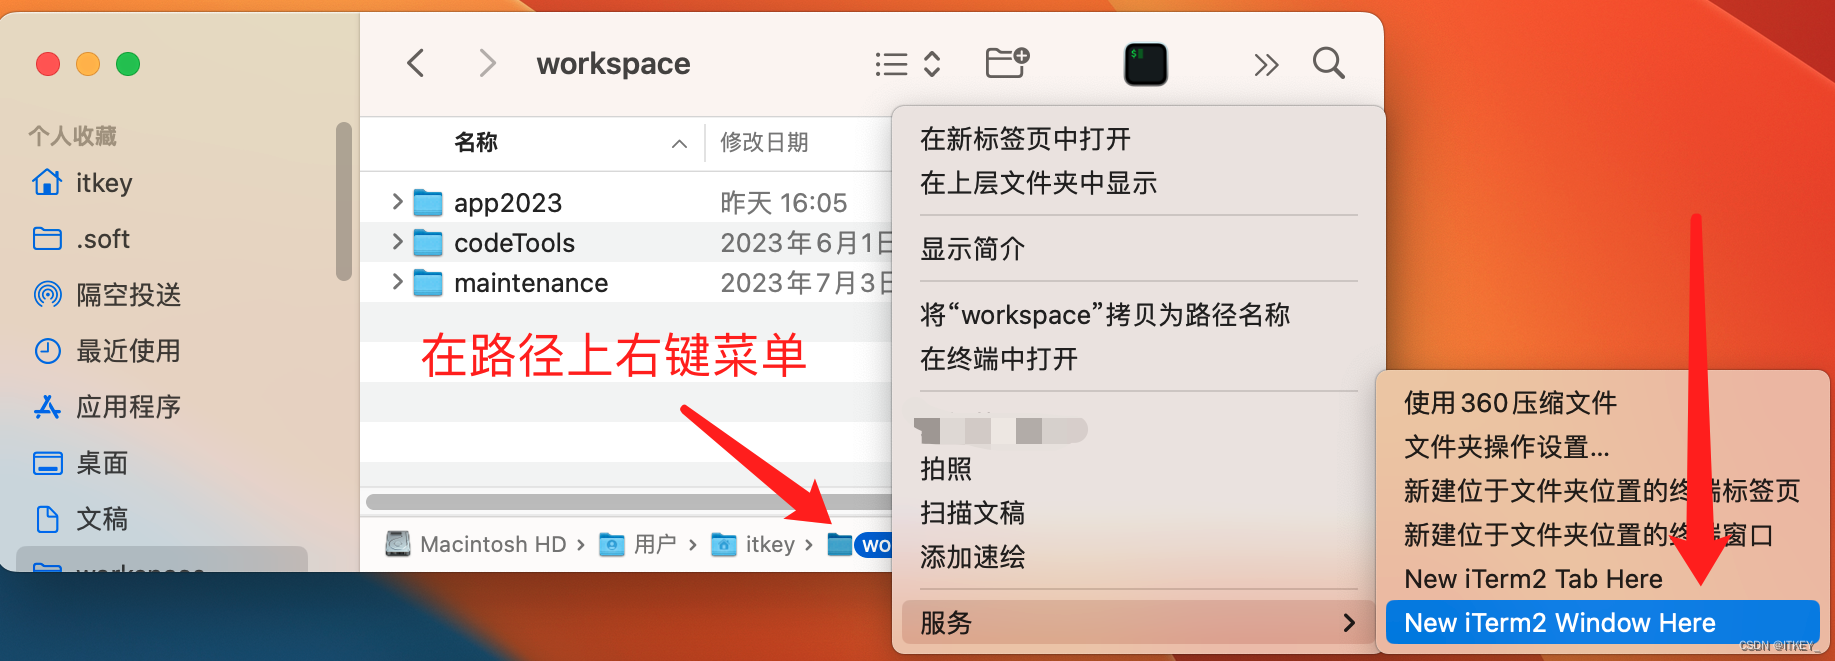
确实也可以做到,就是操作略烦琐了一些。
我们上面的方法只需要鼠标左键点一下,就可以完成了。而这种方法要
- 鼠标右键
- 选 到服务
- 左键点到 相关菜单
需要多出两步,好在默认就有这个功能,不用折腾。
补充2: macOS自带
这是我的问题了,我后来发现原来macOS本身也自带这个功能。操作如下:
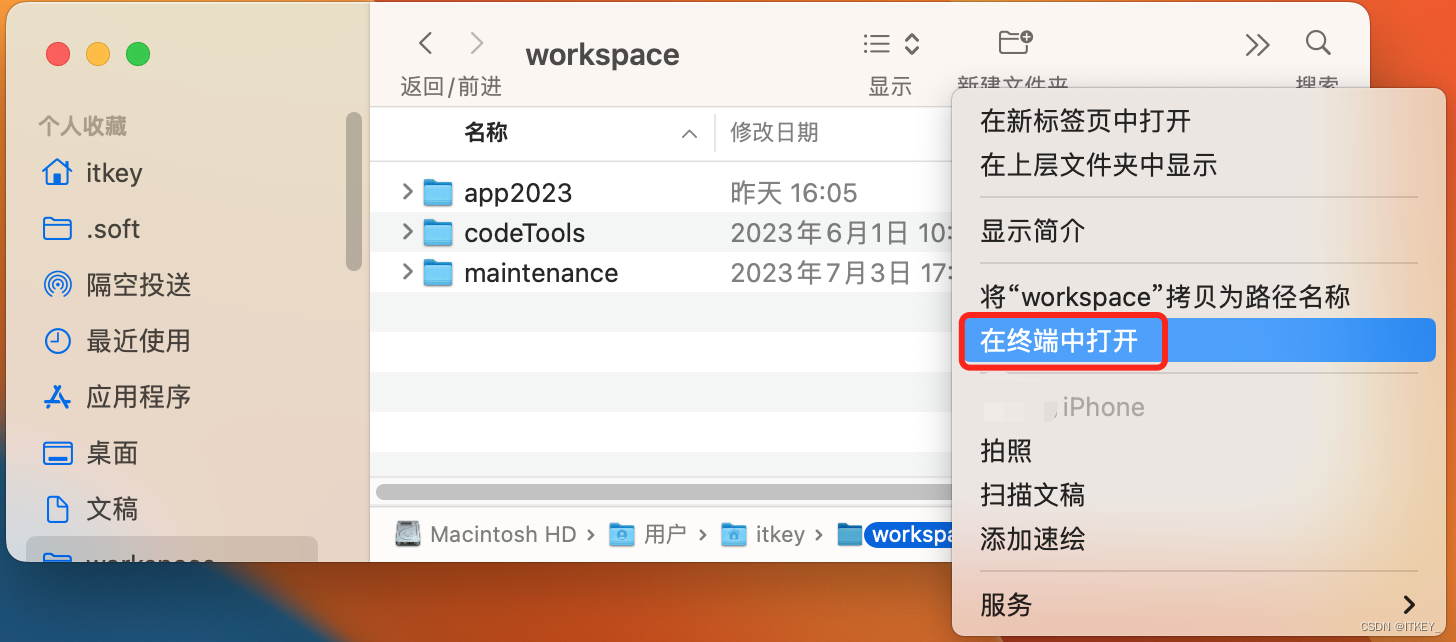
原来它一直都在,只是我不知道。
总结
操作略麻烦,但是可以一劳永逸。用起来还是非常的方便的。而且通过这个方法,我们可以做更多的自定义工具条,比如:使用vscode打开此目录之类的。
参考
《Integrate iTerm2 v.3 with Your Mac’s Finder》
https://schlining.medium.com/integrate-iterm2-v-3-with-your-macs-finder-f3825acd3e0b