前言
前2章已经讲述 openresty 安装及使用
这章主要讲述 openresty 环境下 lua-protobuf 安装及使用
1:环境
ubuntu18
lua-protobuf https://github.com/starwing/lua-protobuf
protobuf https://github.com/protocolbuffers/protobuf/releases/tag/v3.9.1 ##最的版本自行选择
openresty http://openresty.org/cn/download.html
2:安装openresty
1>openresty
安装官方说明安装即可
http://openresty.org/cn/linux-packages.html
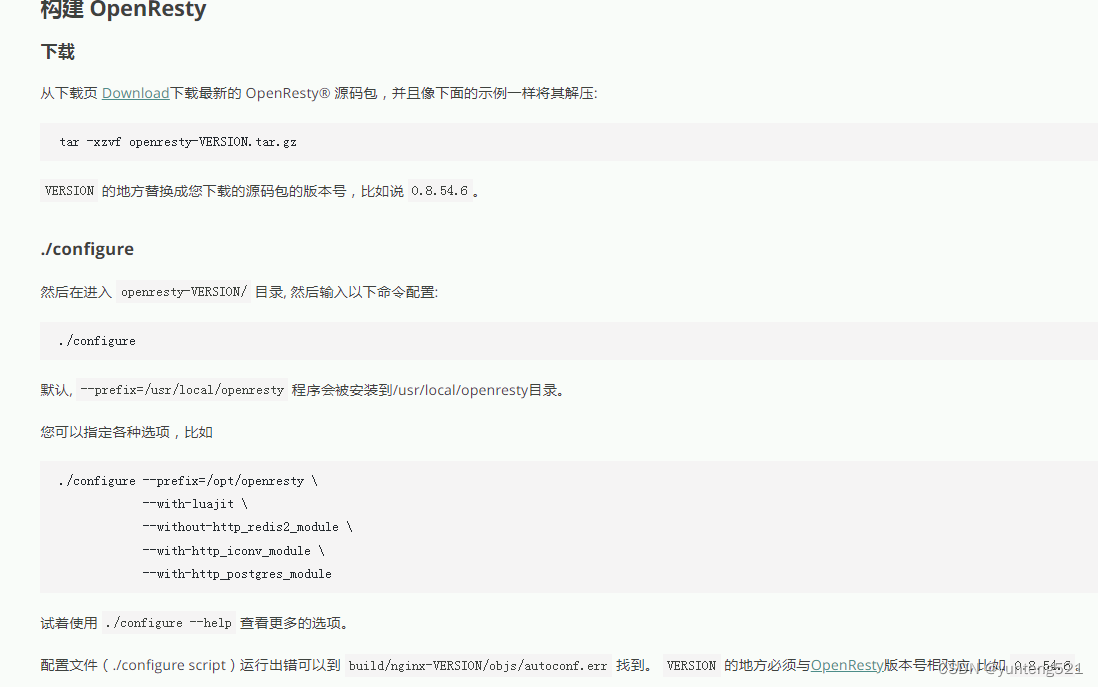
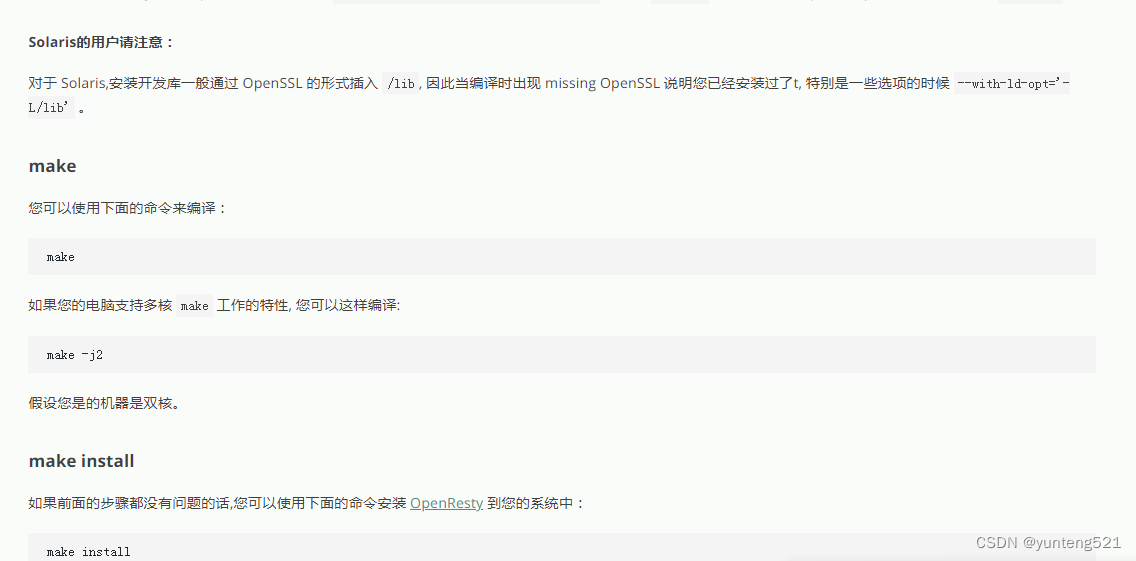
2>源代码安装
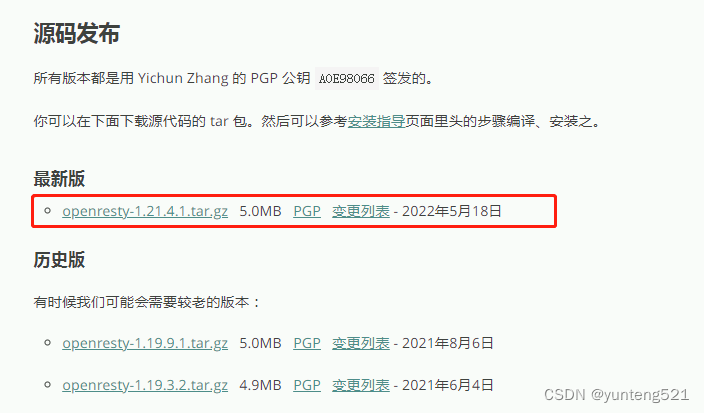
源码 下载地址 :http://openresty.org/cn/download.html
安装说明 : http://openresty.org/cn/installation.html
在 Linux 上,通常需要使用 sudo 来获取 root 权限来完成安装。
安装依赖 (先 sudo apt-get update 更换国内源 速度快点)
sudo apt-get install libpq-dev
sudo apt-get install libpcre3-dev libssl-dev perl make build-essential curl
$HOME/software/openssl-OpenSSL_1_1_1u  源码解压缩文件夹 目录下包含 config文件  下面的是 OK 的
ubuntu@ubuntu:~/software/openresty-1.21.4.1$ ./configure --prefix=$HOME/openresty --with-luajit --without-http_redis2_module --with-http_iconv_module --with-http_postgres_module --with-openssl=$HOME/software/openssl-OpenSSL_1_1_1u

增加环境变量
cd ~
vim .bashrc
PATH=/usr/local/openresty/nginx/sbin:$PATH
export PATH

启动openresty
cd ~
mkdir work
cd work
mkdir src_lua ###后面的lua脚本全放到这目录下
mkdir conf
vim nginx.conf
内容如下
worker_processes  1;
error_log logs/error.log;
events {


    worker_connections 1024;
}
http {


    server {


        listen 8080;
	lua_code_cache off; ###lua_code_cache on;#调试模式(即关闭lua脚本缓存)  //生产环境 on  #修改lua文件不需要重新,立即生效

		keepalive_timeout 60s;  # 配置段: http, server, location 指定每个 TCP 连接最多可以保持多长时间。Nginx 的默认值是 75 秒,
		#有些浏览器最多只保持 60 秒,所以可以设定为 60 秒。若将它设置为 0,就禁止了 keepalive 连接。
        client_body_timeout 20s;# 配置段: http, server, location 指定客户端与服务端建立连接后发送 request body 的超时时间。
		#如果客户端在指定时间内没有发送任何内容,Nginx 返回 HTTP 408(Request Timed Out)
		client_header_timeout 10s;# 配置段: http, server, location  客户端向服务端发送一个完整的 request header 的超时时间。
		#如果客户端在指定时间内没有发送一个完整的 request header,Nginx 返回 HTTP 408(Request Timed Out)
        location /test {


            default_type text/html;
            content_by_lua_block {


                ngx.say("<p>hello, world</p>");
 		ngx.say("nginx prefix ==> ",ngx.config.prefix());
            }
        }

	location /testlua {


		proxy_set_header            X-real-ip $remote_addr;                                           # 可直接获取客户端IP
		proxy_set_header            X-Forwarded-For $proxy_add_x_forwarded_for;    # 通过代理服务器获取客户端IP
			#lua_code_cache off; ###lua_code_cache on;#调试模式(即关闭lua脚本缓存)  //生产环境 on
           content_by_lua_file src_lua/http.lua;
        }

	location /testproto {


		proxy_set_header            X-real-ip $remote_addr;                                           # 可直接获取客户端IP
		proxy_set_header            X-Forwarded-For $proxy_add_x_forwarded_for;    # 通过代理服务器获取客户端IP
			#lua_code_cache off; ###lua_code_cache on;#调试模式(即关闭lua脚本缓存)  //生产环境 on
           content_by_lua_file src_lua/testprotobuf.lua;
        }
    }
}
启动命令 pwd 两边有单引号
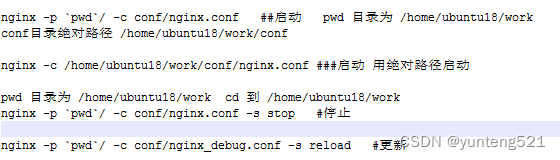
cd ~/work
nginx -p pwd/ -c conf/nginx.conf #启动,指定加载脚本
nginx -p pwd/ -c conf/nginx.conf -s stop #停止
nginx -p pwd/ -c conf/nginx_debug.conf -s reload #重加载
或自行创建sh
如启动start.sh 内容如下
nginx -p pwd/ -c conf/nginx.conf
验证配置
nginx -t ##验证默认配置文件
nginx -t -c ~/work/conf/nginx.conf ###验证自定义配置文件
2:安装lua-protobuf
下载解压 https://github.com/starwing/lua-protobuf 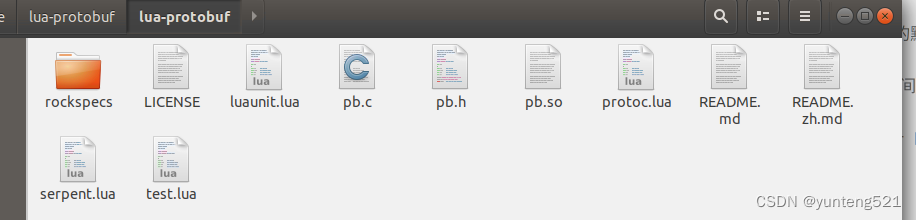
gcc -O2 -shared -fPIC pb.c -o pb.so -I /usr/local/openresty/luajit/include/luajit-2.1
/usr/local/openresty/luajit/include/luajit-2.1 确认位置是否一样或换个位置
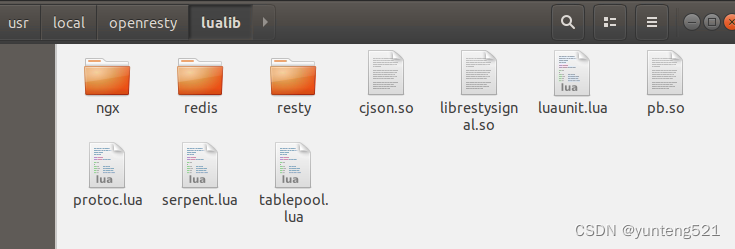
拷贝4个文件到lualib 目录下
sudo cp pb.so /usr/local/openresty/lualib
sudo cp protoc.lua /usr/local/openresty/lualib
sudo cp luaunit.lua /usr/local/openresty/lualib
sudo cp serpent.lua /usr/local/openresty/lualib
4:protobuf 用例
protobuf 编码解码 参考
网上抄个别人的
login.proto
syntax = "proto3";
package msg;

import "account.proto";  //proto full name

message Login_C {


    Account account = 1;
}

message Login_S {


    bool result = 1;
}
account.proto
syntax = "proto3";
package msg;

message Account {


    string username = 1;
    string password = 2;
}
编译命令
./protoc -I ./ -o proto.pb ./account.proto ./login.proto
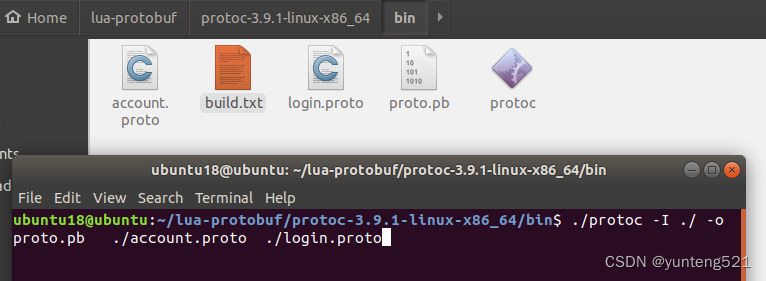
把生成的proto.pb 拷贝到 src_lua/pb目录下
两个 .proto文件不需要,只所以拷贝过来是为了查看方便

5:测试
1>测试脚本
testprotobuf.lua
local lu = require "luaunit"
local pb = require "pb"
local pbio = require "pb.io"
local buffer = require "pb.buffer"
local slice = require "pb.slice"
local conv = require "pb.conv"
local protoc = require "protoc"
local serpent = require "serpent"
--ngx.say("123")
local path = ngx.config.prefix() .. "src_lua/pb/proto.pb"
--ngx.config.prefix()); --/home/ubuntu18/work/
--local P = protoc.new()
local file, msg = io.open(path, "rb")
if file ~= nil then
local buffer = file:read("*a")
pb.load(buffer)
file:close()
else
ngx.log(ngx.ERR, "读取文件失败: ", msg)
ngx.say("读取文件失败: ", msg)
return
end
ngx.say("124")
--ngx.say("pb.type",pb.type)
local data = {
account = {
username = "test",
password = "123456"
}
}
local data1 ={
result = 0
}
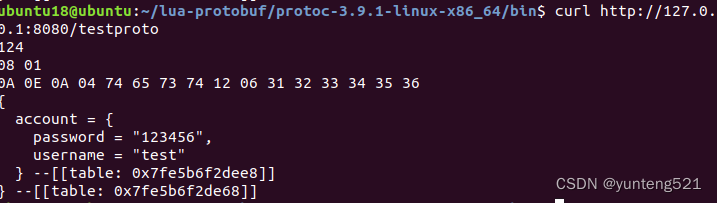
local bytes = pb.encode("msg.Login_S", data1) --08 01
local bytes1 = assert(pb.encode("msg.Login_C", data)) --0A 0E 0A 04 74 65 73 74 12 06 31 32 33 34 35 36
ngx.say(pb.tohex(bytes))
ngx.say(pb.tohex(bytes1))
local data2 = pb.decode("msg.Login_C", bytes1)
ngx.say(serpent.block(data2))
--[[
{
account = {
password = "123456",
username = "test"
} --table: 0x7fe5b6f2c808
} --table: 0x7fe5b6f2c788
--]]
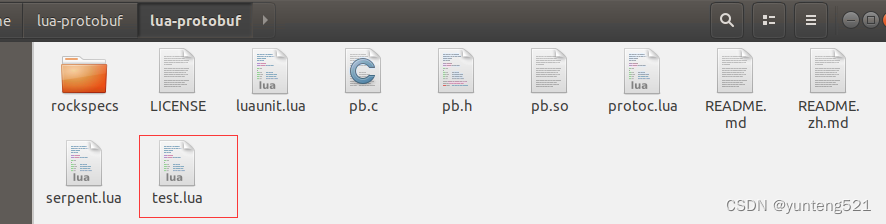
lua脚本写法可以参考 lua-protobuf 下的test.lua
2>运行
curl http://127.0.0.1:8080/testproto
6:DEMO工程 后续如有需要再上传
如果觉得有用,麻烦点个赞,加个收藏