一 私服的作用,为什么要使用私服?
内网访问,内网团队使用一个服务缓存节省外网宽带。
微服务开发中加速 Maven 项目构建,加快团队合作,提高工作效率
允许上传和下载私有库,并且不被外部访问,安全 稳定。
方便内部项目服务的依赖引用,而不需要其他项目的完整源代码。
1.1 Nexus下载
快速搭建 maven 私服
官网地址:Download Repository OSS 但是速度巨慢;
建议使用百度云盘
小编分享的链接:https://pan.baidu.com/s/1Wgcv_A6YzWuC1NUAhshUcg 提取码:arei
1.2 搭建配置nexus服务
1.解压下载的 nexus-3.31.1-01-win64.zip 压缩包 解压完之后会有两个文件夹

2.进入到文件夹 nexus-3.31.1-01\bin 目录下
3.打开命令窗口 执行 nexus.exe /install nexus 将其安装到Windows服务中

我是因为已经安装过了服务 所以 再次执行 nexus.exe /install nexus 的时候会出现这两行提示
Service is already stopped.
Installed service 'nexus'.
4.使用 nexus.exe /start 或者/stop 进行开启和关闭服务
服务启动之后默认的端口是8081 访问地址:http://localhost:8081/#browse/welcome
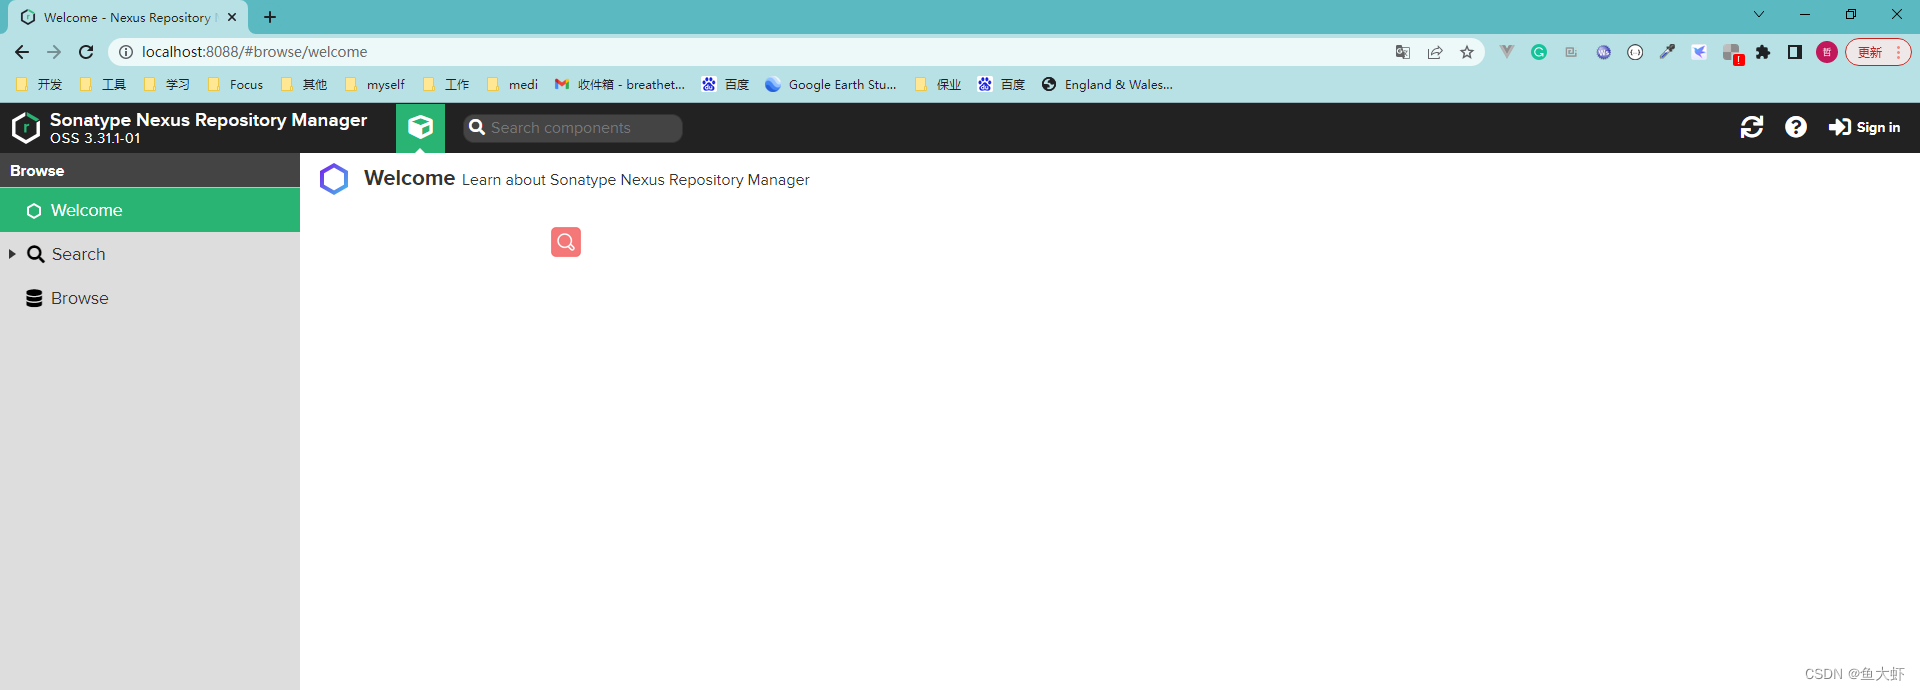
我这里因为端口冲突 我把端口改成了 8088 下文都将是8088
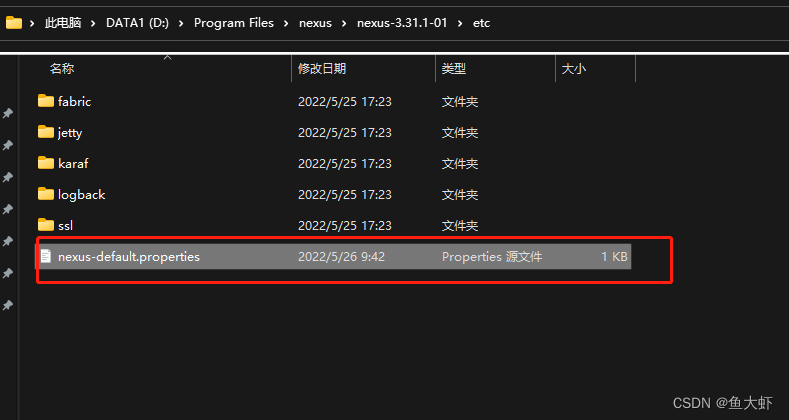
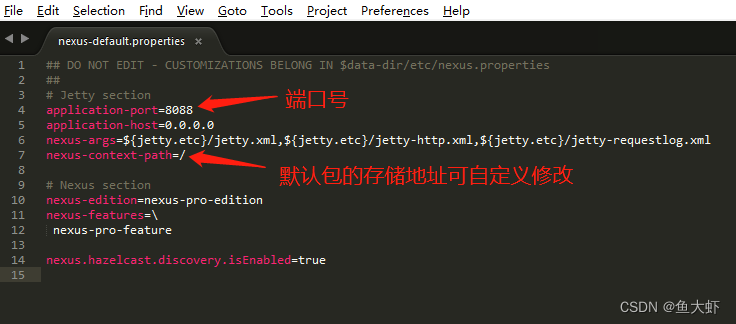
修改端口可以编辑 nexus-3.31.1-01\etc\nexus-default.properties 默认的配置文件
5.登录 点击右上角 sign in 进行登录 默认用户名是 admin

第一次登录 密码会随机生成 在\nexus\sonatype-work\nexus3 目录下有一个password文件中
登陆进去即可修改密码了
二 使用私服
2.1 私服介绍
hosted,本地存储。像官方仓库一样提供本地私库功能
proxy,提供代理其它仓库的类型
group,组类型,能够组合多个仓库为一个地址提供服务
maven-central:maven中央库,默认从https://repo1.maven.org/maven2/拉取jar
maven-releases:私库打包发行版jar
maven-snapshots:私库快照(调试版本)jar
maven-public:仓库分组,把上面三个仓库组合在一起对外提供服务,在本地maven基础配置settings.xml中使用。
Hosted有三种方式:Releases、Snapshot、Mixed
Releases: 一般是已经发布的Jar包
Snapshot: 未发布的版本
Mixed:混合的
2.2登录之后左侧会出现一个设置的图标点击进行配置仓库
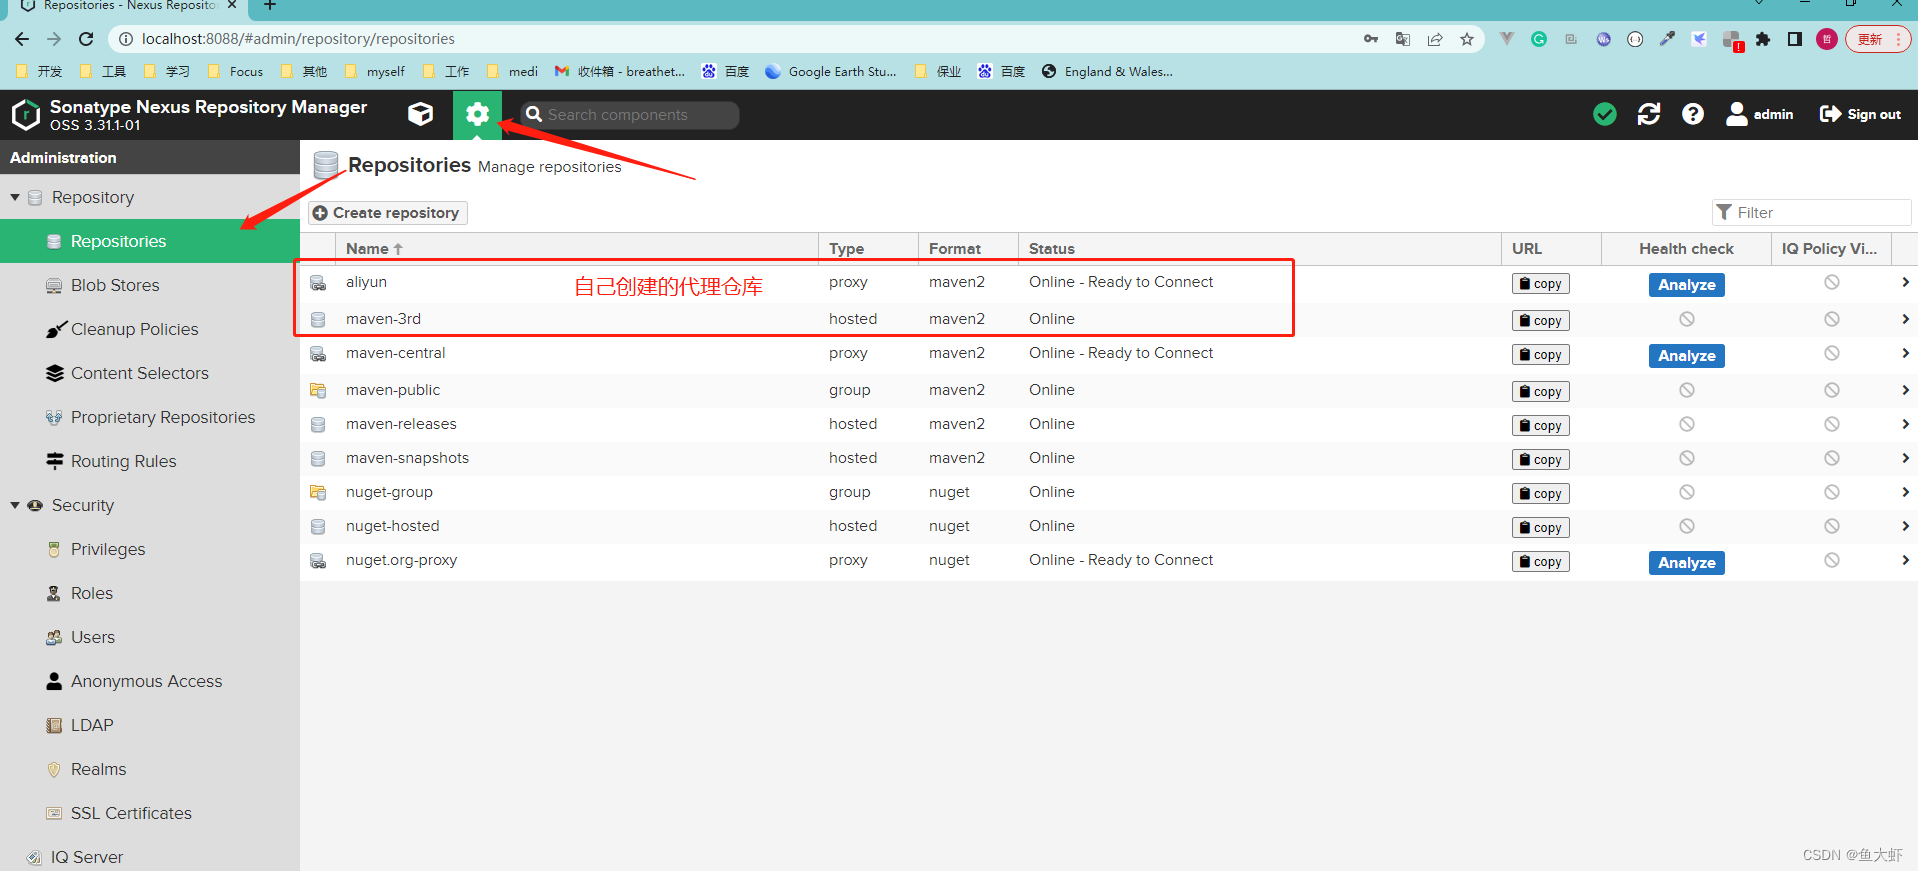
点击 Create repository创建代理 仓库

配置阿里云镜像代理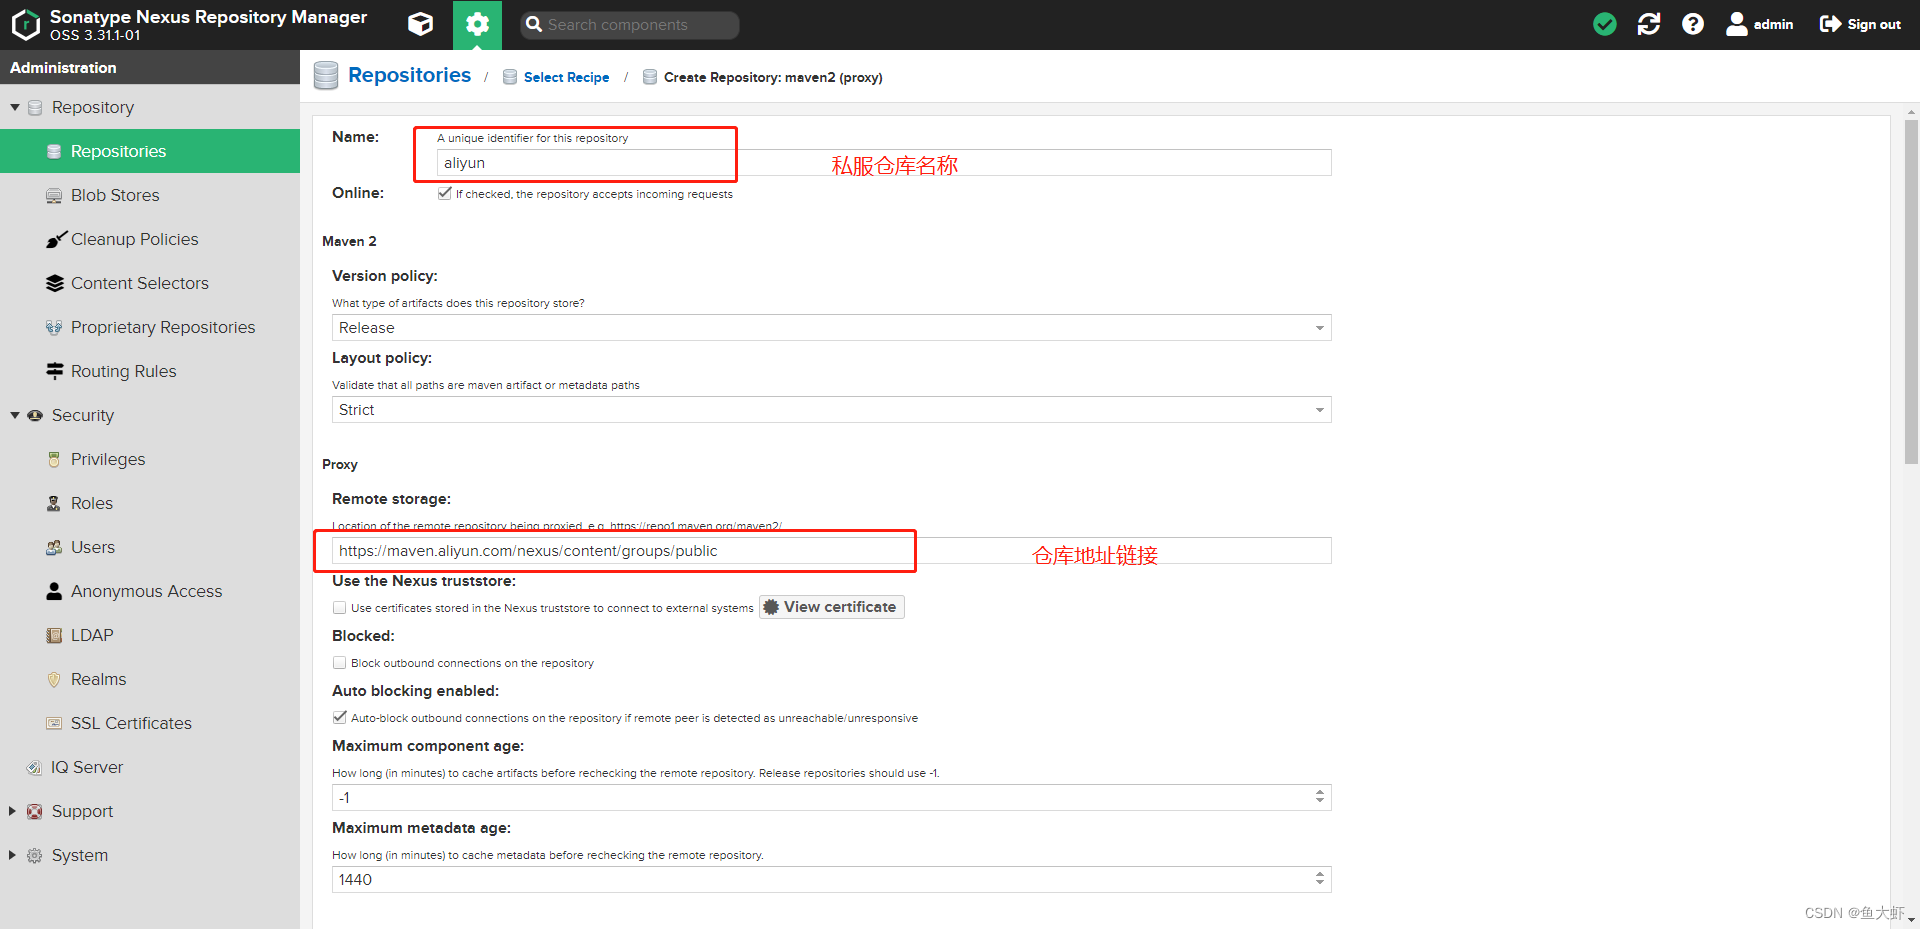
阿里云镜像仓库服务详见:仓库服务
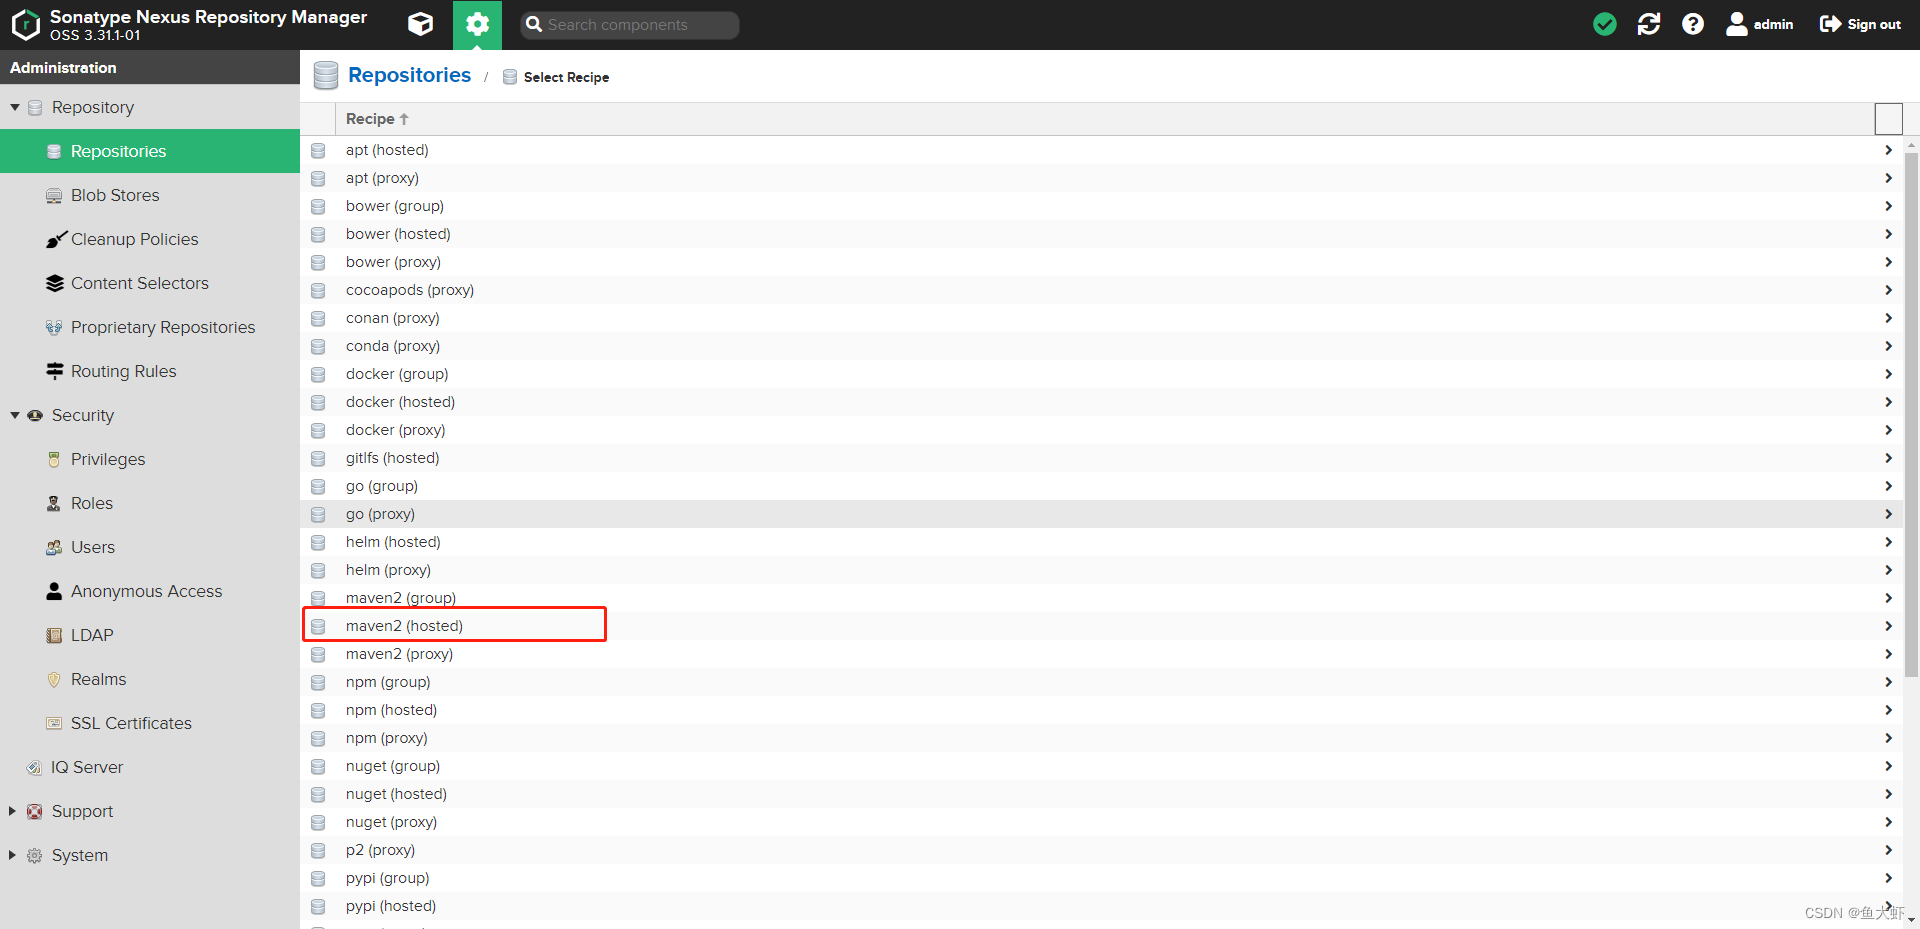
再创建一个hosted本地仓储用来存放release版本jar

最后双击列表中的maven-public
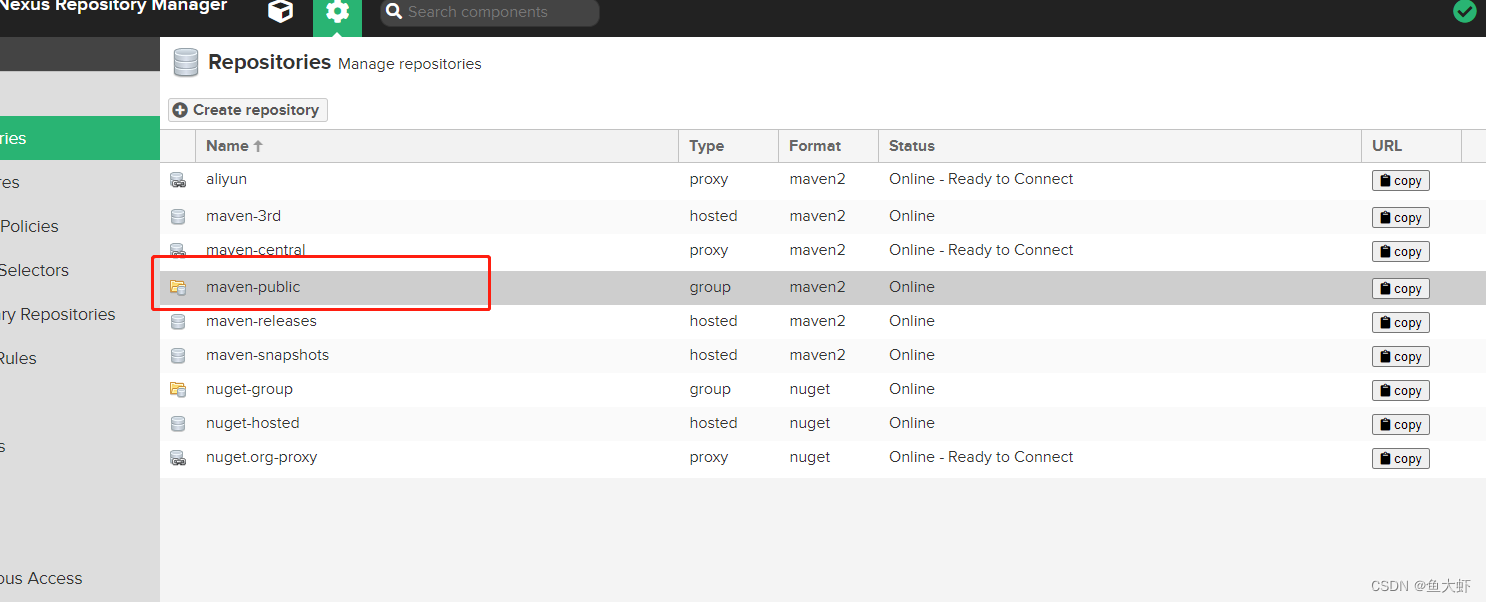
设置阿里云镜像优先使用

三 在Maven中使用私服
1.安装配置maven
官网下载:Maven – Download Apache Maven

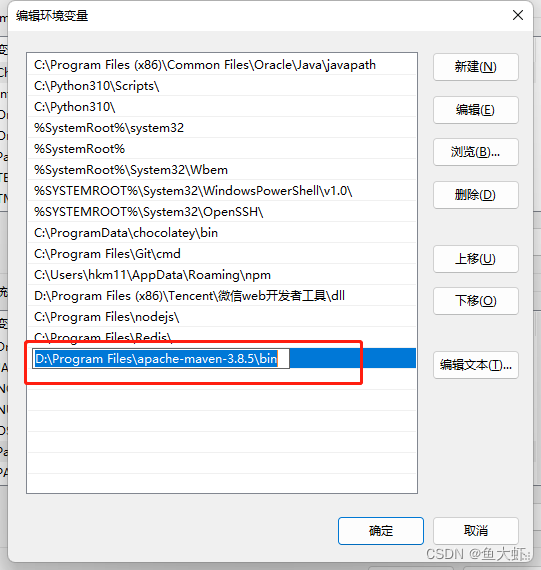
2.解压 apache-maven-3.8.5-bin.zip 文件到指定目录 我这里解压到 D:\Program Files 路径
配置环境变量
检查maven配置 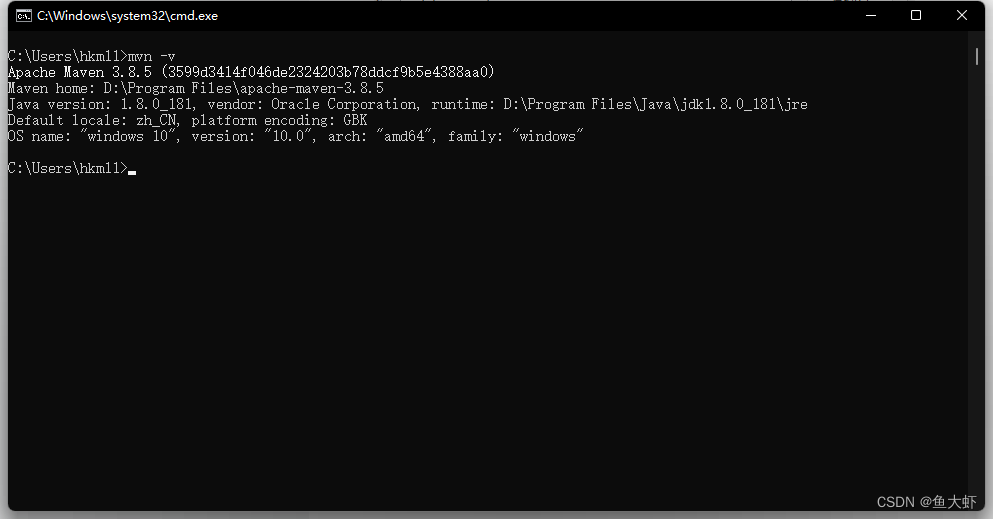
3.设置maven配置在 conf下的settings.xml文件
<?xml version="1.0" encoding="UTF-8"?>

<settings xmlns="http://maven.apache.org/SETTINGS/1.2.0"
          xmlns:xsi="http://www.w3.org/2001/XMLSchema-instance"
          xsi:schemaLocation="http://maven.apache.org/SETTINGS/1.2.0 https://maven.apache.org/xsd/settings-1.2.0.xsd">

    <!-- 构建系统本地仓库的路径 -->
  <localRepository>D://repo</localRepository>

  <pluginGroups>
    <!-- pluginGroup
     | Specifies a further group identifier to use for plugin lookup.
    <pluginGroup>com.your.plugins</pluginGroup>
    -->
  </pluginGroups>

  <!-- proxies
   | This is a list of proxies which can be used on this machine to connect to the network.
   | Unless otherwise specified (by system property or command-line switch), the first proxy
   | specification in this list marked as active will be used.
   |-->
  <proxies>

  </proxies>

  <!-- servers
   | This is a list of authentication profiles, keyed by the server-id used within the system.
   | Authentication profiles can be used whenever maven must make a connection to a remote server.
   |-->
  <servers>
    <!-- 配置本地仓库访问私服的权限  nexus的 登录用户名密码 -->
    <server>
        <id>maven-releases</id>
        <username>admin</username>
        <password>admin</password>
    </server>
    <server>
        <id>maven-snapshots</id>
        <username>admin</username>
        <password>admin</password>
    </server>

  </servers>

  <mirrors>

     <!-- 配置本地仓库资源来源 -->
    <mirror>
        <id>maven-public</id>
        <mirrorOf>*</mirrorOf>
        <url>http://localhost:8088/repository/maven-public/</url>
    </mirror>
  </mirrors>

  <profiles>

      <!-- 属性列表配置 -->
      <profile>
        <id>my-profile</id>
        <properties>
          <maven.compiler.source>1.8</maven.compiler.source>
          <maven.compiler.target>1.8</maven.compiler.target>
          <maven.compiler.compilerVersion>1.8</maven.compiler.compilerVersion>
        </properties>
        <!-- 远程仓库列表 maven用来填充构建系统本地仓库所使用的一组远程仓库 -->
        <repositories>
          <repository>
            <id>maven-central</id>
            <url>http://localhost:8088/repository/maven-central/</url>
            <releases>
                <enabled>true</enabled>
            </releases>
            <snapshots>
                <enabled>false</enabled>
            </snapshots>
          </repository>

          <repository>
            <id>maven-releases</id>
            <url>http://localhost:8088/repository/maven-releases/</url>
            <releases>
                <enabled>true</enabled>
            </releases>
            <snapshots>
                <enabled>false</enabled>
            </snapshots>
          </repository>

          <repository>
            <id>maven-snapshots</id>
            <url>http://localhost:8088/repository/maven-snapshots/</url>
            <releases>
                <enabled>true</enabled>
            </releases>
            <snapshots>
                <enabled>true</enabled>
            </snapshots>
          </repository>
      </repositories>

    <pluginRepositories>
      <pluginRepository>
        <id>maven-public</id>
        <url>http://localhost:8088/repository/maven-public</url>
      </pluginRepository>
    </pluginRepositories>

    </profile>
  </profiles>

  <activeProfiles>
   <activeProfile>my-profile</activeProfile>
  </activeProfiles>

</settings>
4.项目部署和发布的话需要配置: 在pom.xml中添加 distributionManagement 配置
<!--  maven仓库配置 deploy时可推送到配置的仓库中	-->
	<distributionManagement>
		<repository>
			<id>maven-releases</id>
			<name>Nexus Releases Repository Pro</name>
			<url>http://localhost:8088/repository/maven-releases/</url>
		</repository>

		<snapshotRepository>
			<id>maven-snapshots</id>
			<name>Nexus Snapshots Repository Pro</name>
			<url>http://localhost:8088/repository/maven-snapshots/</url>
		</snapshotRepository>
	</distributionManagement>
在项目中使用pom.xml进行下载依赖配置的话可以使用:
项目中使用的maven如果已经在settings.xml中配置过后就无需在配置此项
    <repositories>
		<repository>
			<id>repository</id>
			<url>http://localhost:8088/repository/maven-public/</url>
			<releases>
				<enabled>true</enabled>
			</releases>
			<snapshots>
				<enabled>false</enabled>
			</snapshots>
		</repository>
	</repositories>
	<pluginRepositories>
		<pluginRepository>
			<id>central</id>
			<url>http://localhost:8088/repository/maven-central/</url>
			<releases>
				<enabled>true</enabled>
			</releases>
			<snapshots>
				<enabled>false</enabled>
			</snapshots>
		</pluginRepository>
	</pluginRepositories>
5.可直接在项目中打包部署和发布
maven命令介绍:
package命令完成了项目编译、单元测试、打包功能,但并没有把打好的可执行jar包(war包或其它形式的包)布署到本地maven仓库和远程maven私服仓库
install命令完成了项目编译、单元测试、打包功能,同时把打好的可执行jar包(war包或其它形式的包)布署到本地maven仓3库,但没有布署到远程maven私服仓库
deploy命令完成了项目编译、单元测试、打包功能,同时把打好的可执行jar包(war包或其它形式的包)布署到本地maven仓库和远程maven私服仓库

如果自己配置的maven一直无法通过idea编译则可以把settings.xml配置文件直接放到idea默认的maven配置文件下进行替换
6.测试在idea中deploy打包部署你的项目:

如果出现 MojoExecutionException 错误
[ERROR] Failed to execute goal org.apache.maven.plugins:maven-deploy-plugin:2.7:deploy (default-deploy) on project demo: Deployment failed: repository element was not specified in the POM inside distributionManagement element or in -DaltDeploymentRepository=id::layout::url parameter -> [Help 1]
[ERROR]
[ERROR] To see the full stack trace of the errors, re-run Maven with the -e switch.
[ERROR] Re-run Maven using the -X switch to enable full debug logging.
[ERROR]
[ERROR] For more information about the errors and possible solutions, please read the following articles:
[ERROR] [Help 1] http://cwiki.apache.org/confluence/display/MAVEN/MojoExecutionException
[ERROR]
[ERROR] After correcting the problems, you can resume the build with the command
[ERROR] mvn <args> -rf :demo
请认真检查你的pom.xml 中 distributionManagement 配置是否正确。
7.再次进行打包 全部出现 SUCCESS 说明已经成功部署到了私服仓库
登录到你的nexus私服便可查看部署的jar


全部都在 恭喜你 成功了 Congratulations