Ubuntu16.04安装GitFS
导师最近要求自己能利用fuse将某个应用虚拟成文件系统,就像GitFS一样,在本地对文件夹的任何修改,都会被提交到远程服务器。因此打算先使用一下GitsFS,感受一下这种文件系统。对于GitFS的安装可谓是非常艰辛下面记录一下自己的安装方法。
一、安装pygit2
pygit2是github上一个项目,github地址,他的官方install地址。参考的是intall页面的Quick install部分的安装方法,进行pygit2的安装。
① 安装libgit2
进入/usr/local目录,执行以下命令:
$ wget https://github.com/libgit2/libgit2/archive/v0.27.0.tar.gz
$ tar xzf v0.27.0.tar.gz
$ cd libgit2-0.27.0/
$ cmake .
cmake时报错: Could NOT find OpenSSL
参考网页编译时提示 Could NOT find OpenSSL 的解决方法 , 安装 openssl 的编译依赖,问题解决。
接着执行一下命令,完成libgit2的安装:
$ make
$ sudo make install
② 安装pygit2
安装完pygit2以后,需要import一下pygit2的包,以验证pygit2是否安装成功!
$ pip install pygit2
...
$ python -c 'import pygit2'
发现跟官网提示一样,真的报错了:
$ python -c 'import pygit2'
Traceback (most recent call last):
  File "<string>", line 1, in <module>
  File "pygit2/__init__.py", line 29, in <module>
    from _pygit2 import *
ImportError: libgit2.so.0: cannot open shared object file: No such file or directory
这发生在Ubuntu中,libgit2库安装在/ usr / local / lib目录中,但链接程序不在那里查找。 为了解决这个问题需要进行ldconfig:
$ sudo ldconfig再次执行$ python -c 'import pygit2' ,系统不会报错,问题得到解决。

官网提示说,如果问题还是没有解决,请在其github上issue部分留言,Issue 。
二、安装GitFS
GitFS也是github上的一个项目,github地址 ,官方文档 GitFS Doc 。按照其install提示,发现安装失败!在执行sudo apt-get install gitfs 时提示,无法定位软件包gitfs。
也参考了GtiFS给出的 python安装包 里面的安装方法,发现执行pip3 install gitfs ,一直报错:
Command “python setup.py egg_info” failed with error code 1 in /tmp/pip-install-_ubicjzf/pygit2/
于是放弃,在 issue部分 找到了如何自己编译安装的方法,并成功!参考的issue话题为 installing on debian 8.8 。
① 下载GitFS包,做好编译前的准备工作
依次执行以下代码:
$ apt install unzip build-essential checkinstall automake python-virtualenv libffi-dev python3-dev libgit2-dev
$ wget https://github.com/PressLabs/gitfs/archive/master.zip
$ unzip master.zip
$ rm master.zip
$ mv gitfs-master gitfs
$ cd gitfs
# Fix subversion reference for virtualenv:
$ sed -i -e 's|python3.4|python3|g' Makefile
添加必要的文件:
“gitfs.spec”文件,内容如下:
Release: 1
Requires: python3-minimal, python-fusepy, python-pygit2, python-setuptools, gcc, python3-dev, python-raven
“description-pak” 文件,内容如下:
Version controlled file system② 编译GitFS
下面对GitFS进行编译:
$ makemake操作后提示wheel版本不兼容!
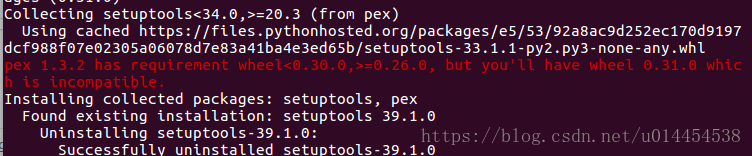
于是删除 /home/lucy/gitfs/build/virtualenv/lib/python3.5/site-packages 下的已经下载好的 wheel 0.31.0 相关文件。更改 ./Makefile 文件去掉wheel:

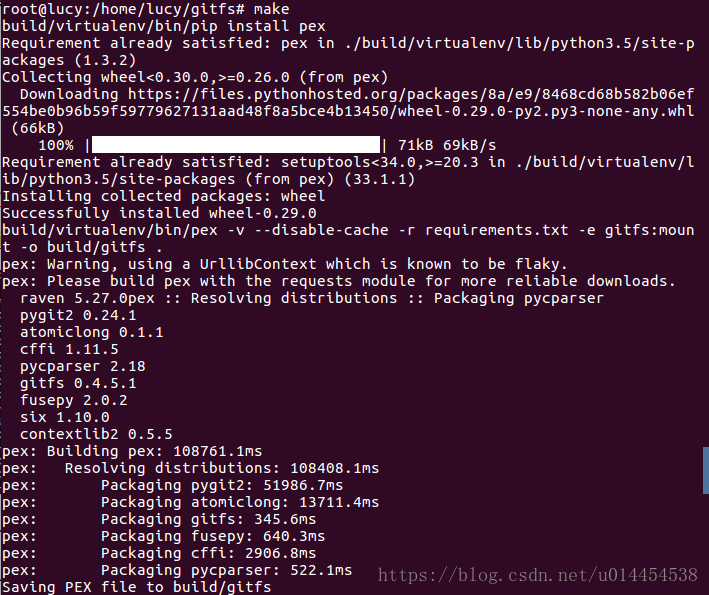
重新执行make操作,出现新的错误:
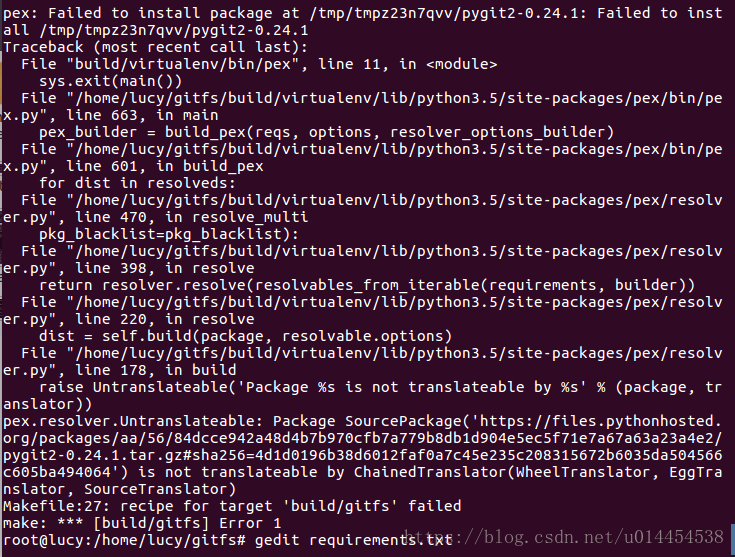
修改/home/lucy/gitfs/requirements.txt,将pygit2版本修改为0.27.0,因为安装pygit2的版本就是0.27.0 。make成功!
③ 安装GtiFS
下面进行GitFS的安装:
$ checkinstall -D --fstrans --default --reset-uids "--maintainer=MyName" --pakdir=.. --pkgname=gitfs --pkgrelease=1 --install=no make install运行结果如下:
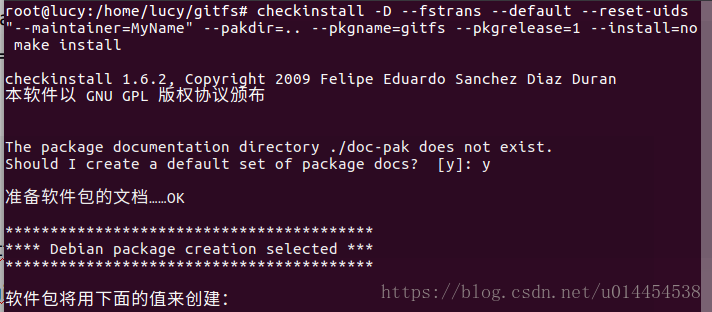

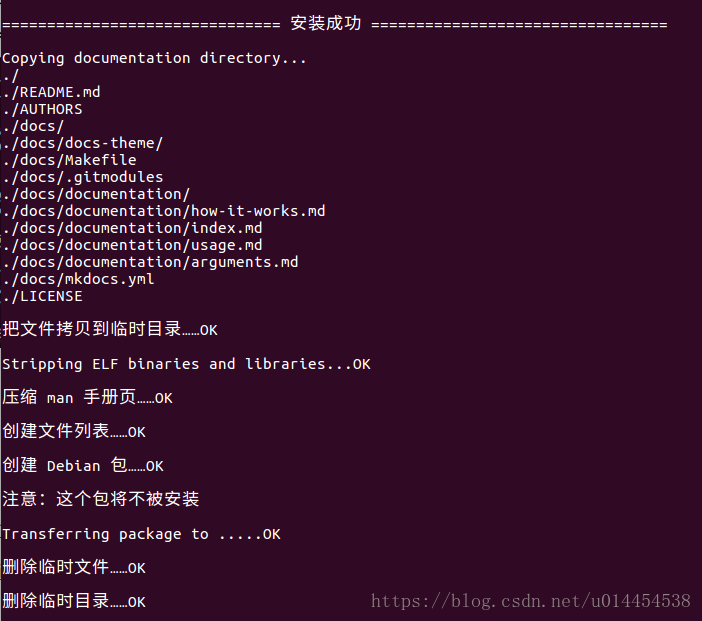
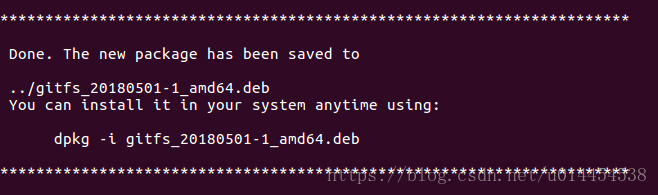
根据运行结果可知,GitFS被安装到了 /usr/local/bin 目录下,而且还生成了一个.deb 的安装包,下面给出.deb 安装包的百度云链接:
链接: https://pan.baidu.com/s/1pXsmPL_aQc-H10DC5UgQeQ
密码: 33m3
④ 运行GtiFS:
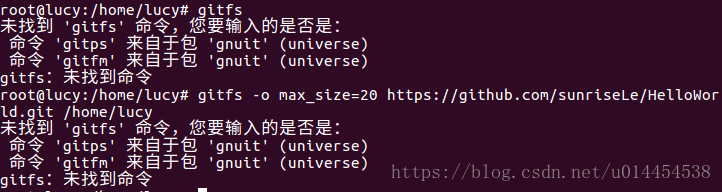
- 使用gitfs命令,提示gitfs未安装:
根据install的结果,发现/usr/local/bin目录下没有gitfs文件,于是重新执行:$ install -m 0755 build/gitfs /usr/local/bin/gitfs,/usr/local/bin目录出现gitfs文件,gitfs命令成功:
- gitfs使用报错:

运行挂载命令
$ gitfs https://github.com/sunriseLe/HelloWorld.git /tmp/mnt-point提示FileNotFoundError:

进入/var/lib/gitfs,提示没有那个文件或目录:

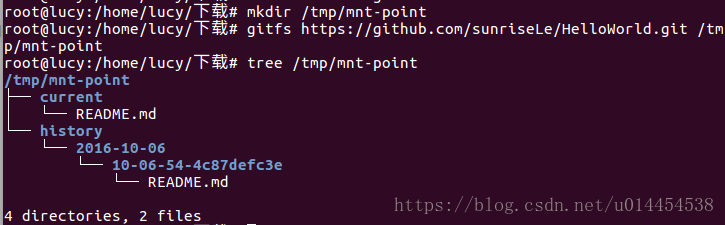
使用mkdir命令创建/var/lib/gitfs 目录,再执行挂载命令,执行成功:
$ gitfs https://github.com/sunriseLe/HelloWorld.git /tmp/mnt-point参考网页gitfs实现对挂载文件的操作:
至此,gitfs的安装已经大功告成!