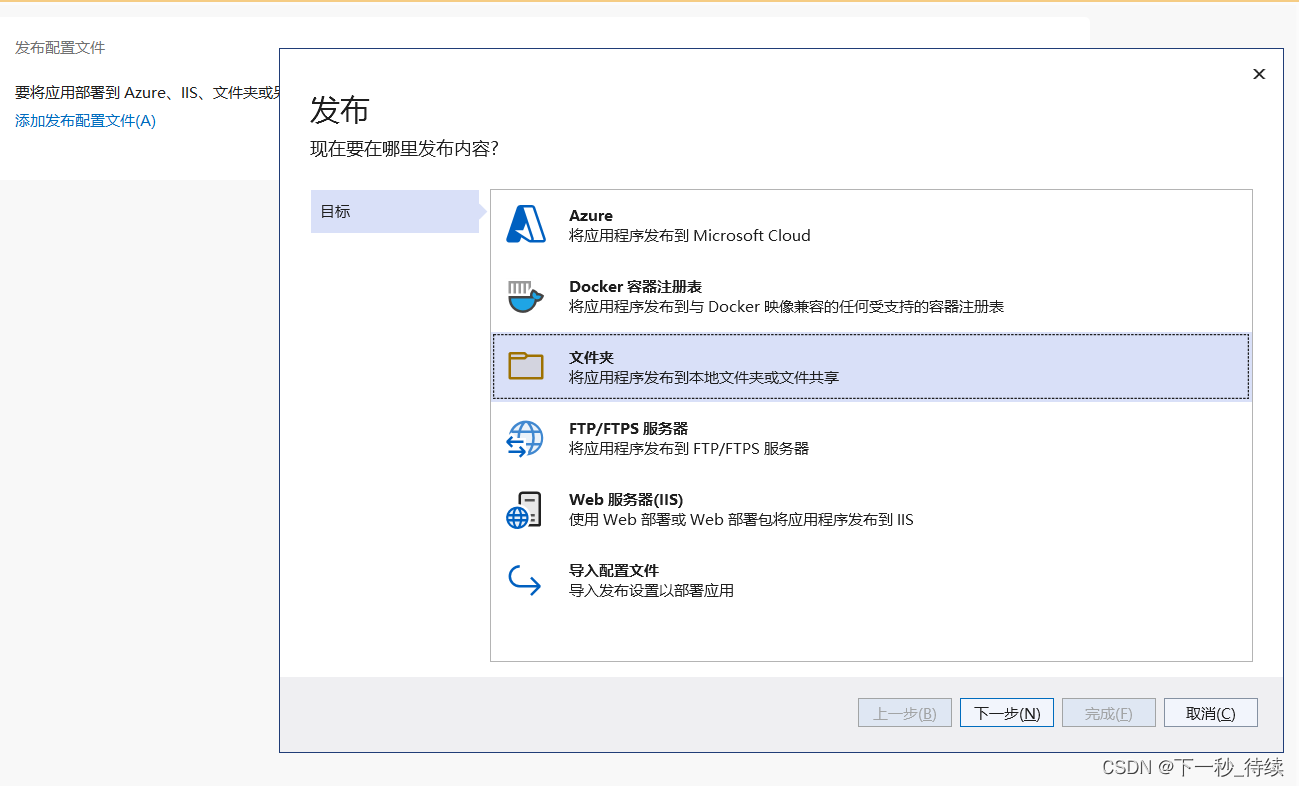
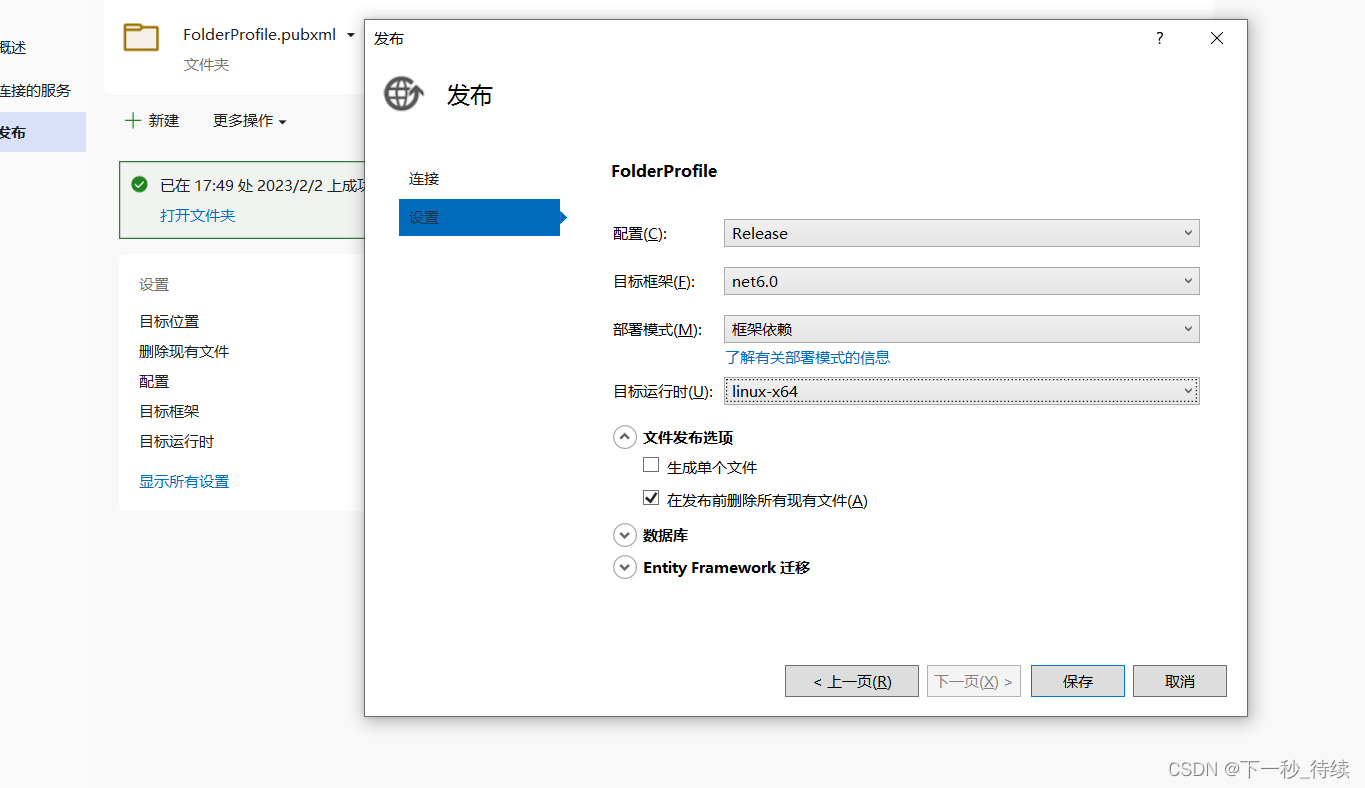
一、发布项目
1、以文件夹形式
2、目标运行时选对应的平台(Linux-x64)
3、文件夹选项:在发布前删除所有现有文件
二、部署项目(安装.net6环境:参考Linux安装 dotnet sdk 6.0)
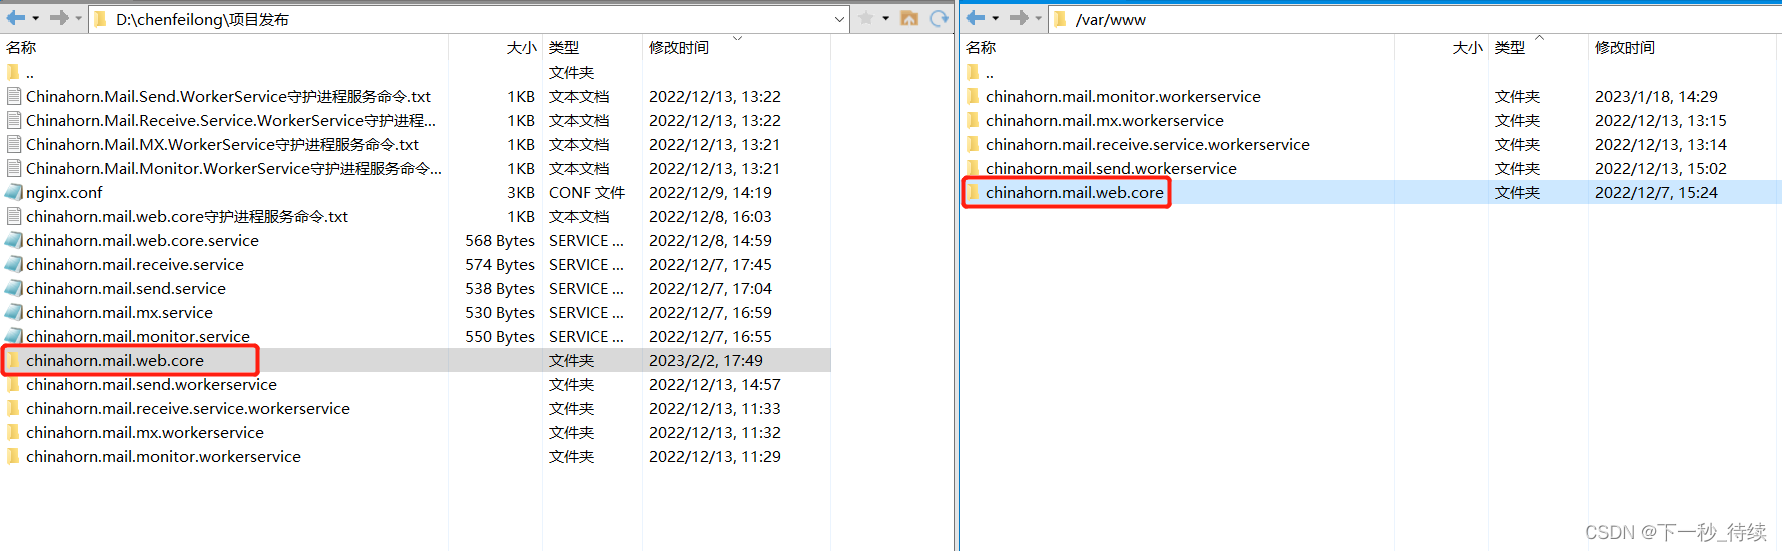
(1)使用Xftp将项目发布文件上传到Linux服务器上的指定目录,如:/var/www
(2)为应用程序分配可执行权限
# chmod +x /var/www/chinahorn.mail.web.core/Chinahorn.Mail.Web

(3)新建chinahorn.mail.web.core.service守护进程文件,移动至 /etc/systemd/system/
1、 ExecStart:设置项目路径、端口
2、使用systemctl命令重新加载新的配置文件 # systemctl daemon-reload
[Unit]
Description=Running ASP.NET Core on Ubuntu 20.04 Webserver APACHE

[Service]
Type=simple
ExecStart=/root/dotnet/dotnet /var/www/chinahorn.mail.web.core/Chinahorn.Mail.Web.dll --urls=http://localhost:5003
Restart=always
# Restart service after 10 seconds if the dotnet service crashes:
RestartSec=10
KillSignal=SIGINT
SyslogIdentifier=chinahornmailweb
User=root
Environment=ASPNETCORE_ENVIRONMENT=Production
Environment=DOTNET_PRINT_TELEMETRY_MESSAGE=false

[Install]
WantedBy=multi-user.target

(4)重新加载配置文件,启动服务
1、使用systemctl命令重新加载新的配置文件
# systemctl daemon-reload
2、启动服务
# systemctl start chinahorn.mail.web.core
3、停止服务
# systemctl stop chinahorn.mail.web.core
4、重启服务
# systemctl restart chinahorn.mail.web.core
5、重新查看服务状态
# systemctl status chinahorn.mail.web.core
6、设置服务开机自启
# systemctl enable chinahorn.mail.web.core
7、禁用开机自启
# systemctl disable chinahorn.mail.web.core
(5)nginx实现转发
1、安装nginx
2、配置转发,location处理静态文件
 server {


        listen 80;
        listen  [::]:80;
        server_name chinahorn.mail.web.core;
        location / {


			proxy_pass http://localhost:5003/;
			proxy_http_version 1.1;
			proxy_set_header Upgrade $http_upgrade;
			proxy_set_header Connection keep-alive;
			proxy_set_header Host $host;
			proxy_cache_bypass $http_upgrade;
			proxy_set_header X-Real-IP $remote_addr;
            proxy_set_header REMOTE-HOST $remote_addr;
            proxy_set_header X-Forwarded-For $proxy_add_x_forwarded_for;
        }
		location /Content{


			alias '/var/www/chinahorn.mail.web.core/wwwroot/Content';
		}
    }
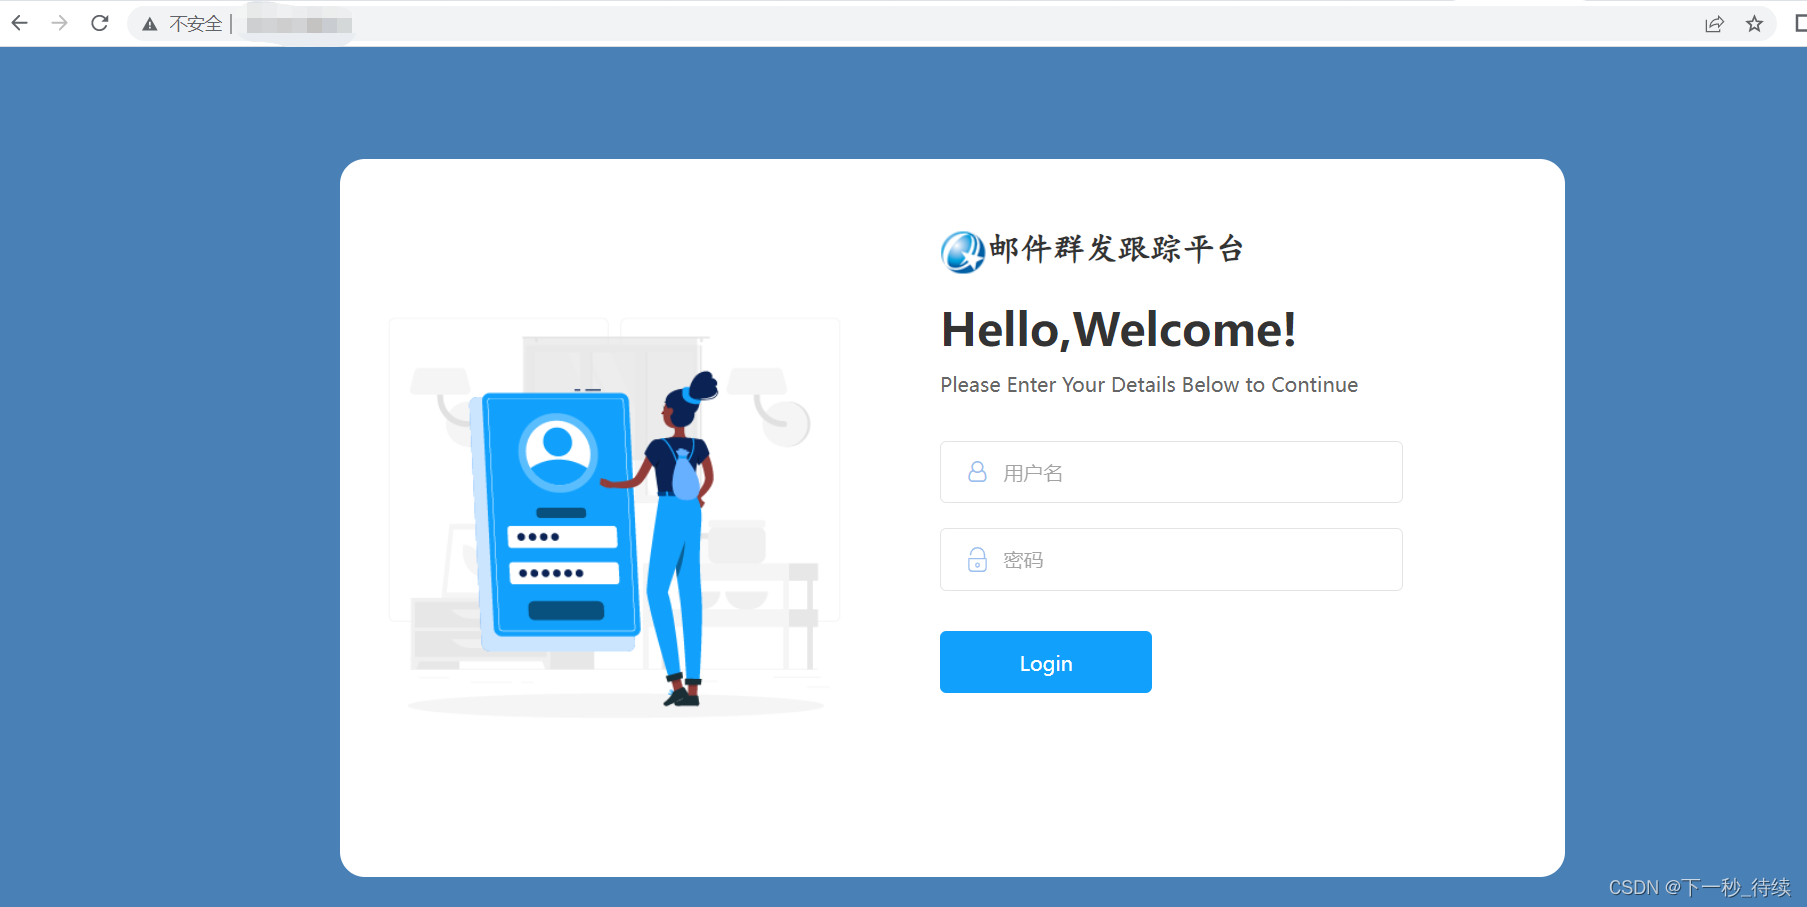
三、浏览器打开输入Linux ip,看成就