安装环境:Win10 64位 + Python3.6
labelImg下载链接:
https://github.com/tzutalin/labelImg
下载zip之后解压,记住解压路径
然后需要安装依赖 lxml、PyQt5、PyQt5_tools:
打开cmd,依次输入以下命令:
pip install lxml -i https://pypi.tuna.tsinghua.edu.cn/simplepip install PyQt5 -i https://pypi.tuna.tsinghua.edu.cn/simplepip install PyQt5_tools -i https://pypi.tuna.tsinghua.edu.cn/simple每次执行完命令后,出现 Successfully字样,即安装成功!
接下来需要进入labelImg.py文件所在位置,若labelImg安装路径和cmd默认路径盘符不一样,需要切换盘符。
切换盘符第一步:退回根目录
cd \第二步:切换盘符,以切换到D盘为例
C:\>d:然后找到labelImg.py 所在路径, 然后在cmd中cd 该路径
如图所示:

D:\>cd D:\labelimg-master\labelimg-master若此时输入以下命令直接启动labelImg会出现报错:
D:\labelimg-master\labelimg-master>python labelImg.py报错如下:

查找资料称需要把resources.py拷贝至libs中,但文件夹中并没有此文件,resources.py是生成出来的,并不是源码中自带的。需执行以下命令将resources.qrc文件转换为resources.py:
Pyrcc5 -o resources.py resources.qrc再将resources.py拷贝至libs文件中,执行以下命令即可成功启动labelImg。
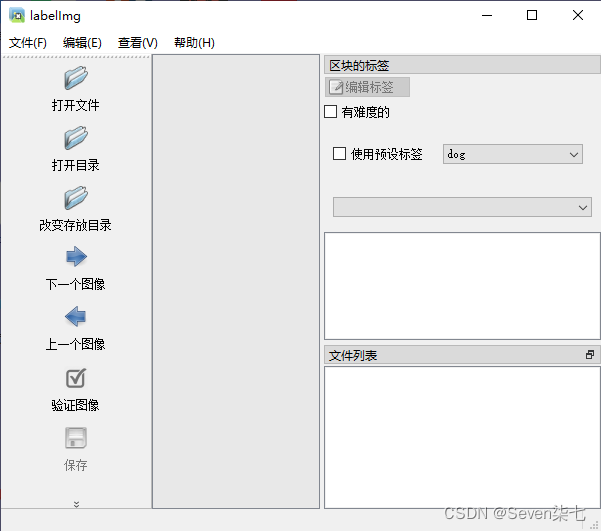
D:\labelimg-master\labelimg-master>python labelImg.py
参考文章: