目录
2.PUCUDA FRROR: The context stack was not emoty upon module cleanup

3.TypeError: _open() got an unexpected keyword argument 'plugin'
4.TypeError: The keyword 'fps' is no longer supported. Use 'duration' (in ms) instead
注:本次复现仅仅运行了测试,我感觉point-nerf给的代码有些繁冗,不容易去读,而且在配置运行环境的过程中出现了很多问题,在运行训练的时候cuda出现了错误,但是在运行测试的时候可以运行,并且渲染出了图片、视频以及gif动图,效果还是可以的。本文就是以我复现point-nerf的测试为基础,从环境的配置以及代码的修改和最后的渲染所出现的一些坑做了一些记录,也希望有复现过point-nerf的大佬能够给一些指点。
参考安装步骤:
https://github.com/Xharlie/pointnerf
一、系统环境
1.操作系统:ubuntu20.04
2.cuda:11.3
3.pytorch:1.12.0
4.python3.6+(我是python3.8)
代码项目下载地址:
git clone https://github.com/Xharlie/pointnerf.git二、环境配置
1.安装步骤
conda install pytorch==1.12.0 torchvision==0.13.0 torchaudio==0.12.0 cudatoolkit=11.3 -c pytorch
pip install imageio scikit-image
conda install -c conda-forge pycuda
conda install pytorch-scatter -c pyg
pip install kornia
pip install warmup_scheduler
pip install inplace-abn
#如果后⾯报inplace-abn相关的cuda错误按下⾯操作重新安装
# 卸载这个库
pip uninstall inplace-abn
# 清除 pip 缓存
rm -r ~/.cache/pip
# 设置 CUDA_HOME
export CUDA_HOME=/usr/local/cuda-11.3(不同的cuda版本要对应自己的路径进行修改)
# 重新安装
pip install inplace-abn
pip install lpips
pip install plyfile

安装open3d:
python -m pip install open3d严格按照上面的环境配置来,尤其时pycuda,我按照他们给的pycuda安装一直不成功。
2.数据准备
数据集要放置好:(按照下面方式在文件夹中放置数据集)
数据集下载链接:https://drive.google.com/drive/folders/1kqbbdbbN1bQnwYglRe4iV8dKnyCvoOFS
pointnerf
├── data_src
│   ├── dtu
    │   │   │──Cameras
    │   │   │──Depths
    │   │   │──Depths_raw
    │   │   │──Rectified
    ├── nerf
    │   │   │──nerf_synthetic
    │   │   │──nerf_synthetic_colmap
    ├── TanksAndTemple
    ├── scannet
    │   │   │──scans
    |   │   │   │──scene0101_04
    |   │   │   │──scene0241_01
3.每场景优化
可以跳过训练并在此处的google drive下载“nerfsynth”、“tanksntemples”和“scannet”的文件夹,并将它们放在“checkpoints/”中。
pointnerf
├── checkpoints
│   ├── init
    ├── MVSNet
    ├── nerfsynth
    ├── col_nerfsynth
    ├── scannet
    ├── tanksntemples
一定不要忘了创建checkpoints文件夹,这个文件夹里面一定不要少init、MVSNet、nerfsynth这几个文件夹。
4.运行测试
最后运行代码就可以进行测试:
bash dev_scripts/w_n360/chair_test.sh三、遇到的一些bug
1.ValueError: setting an array element with a sequence. The requested array has an inhomogeneous shape after 1 dimensions. The detected shape was (2,) + inhomogeneous part.
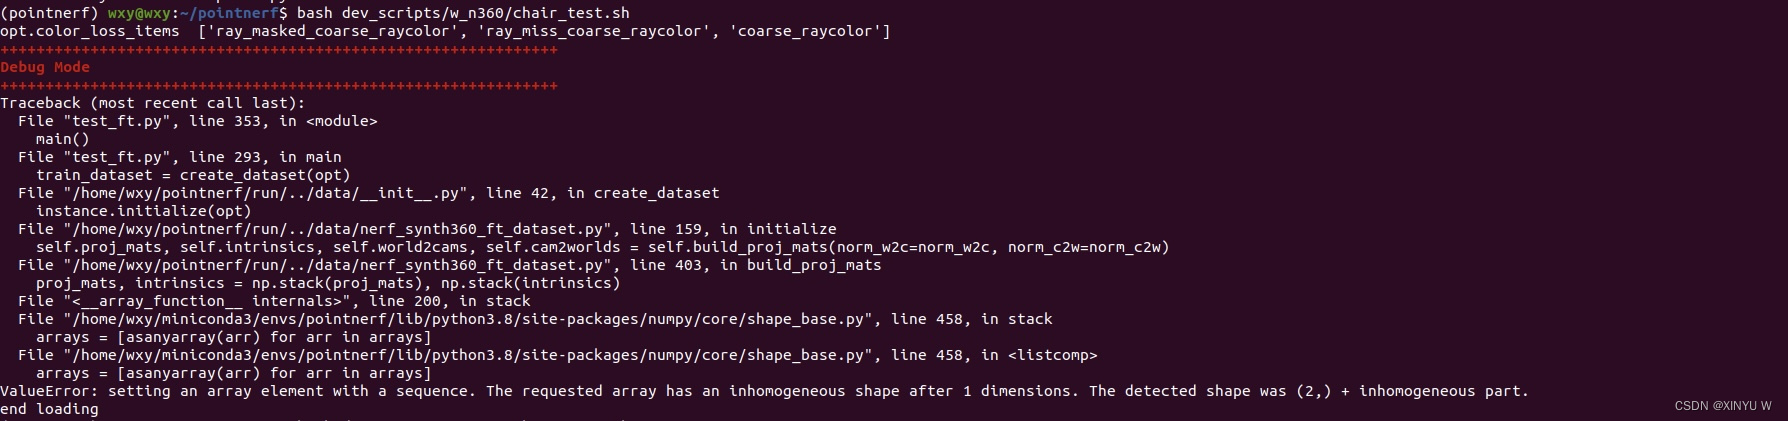
如果遇到了这个问题,请参考inhomogeneous shape · Issue #79 · Xharlie/pointnerf · GitHub
解决方法:
对nerf_synth360_tf_dataset.py这个文件进行修改:
* 删除第 384 行
* 将401 行更改为
* proj_mats += [proj_mat_l]
* 将第 495 行更改为
proj_mat_ls, near_far = self.proj_mats[vid], np.array([2.0, 6.0])
* 将第 563 行更改为
proj_mat_ls, near_far = self.proj_mats[id], np.array([2.0, 6.0])
2.PUCUDA FRROR: The context stack was not emoty upon module cleanup
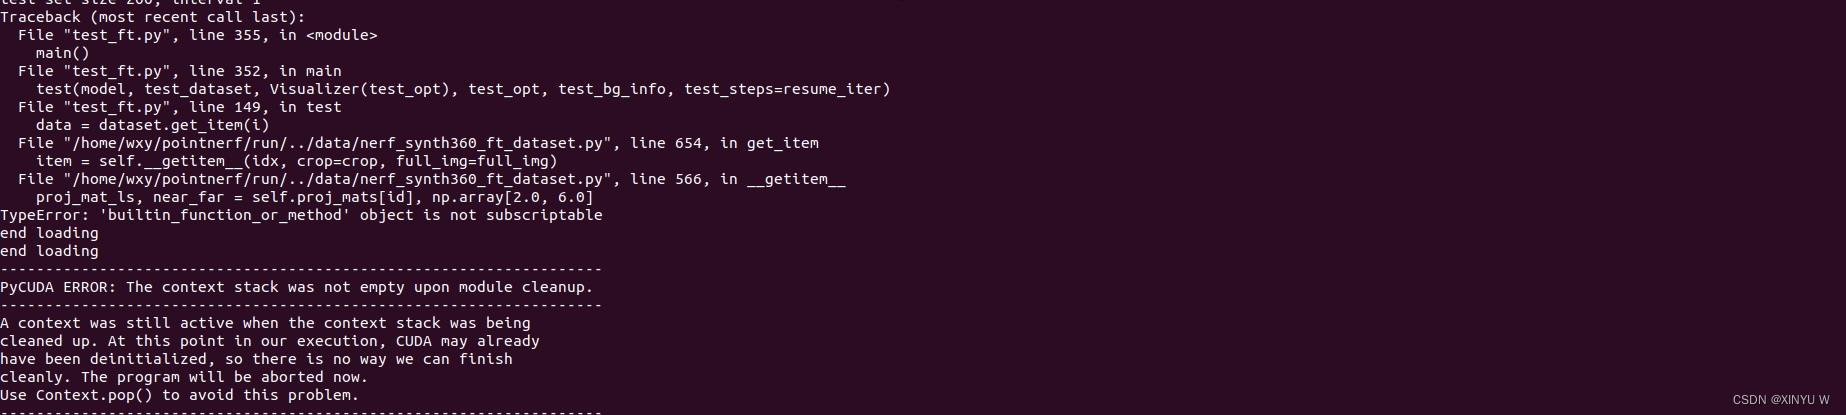
如果遇到pycuda的错误请参考:(在test_ft.py最后的main函数中添加以下代码)
# 清除 CUDA context 栈
    import pycuda.driver as cuda
    import pycuda.autoinit

    cuda.Context.pop()
3.TypeError: _open() got an unexpected keyword argument 'plugin'
Traceback (most recent call last):
  File "test_ft.py", line 359, in <module>
    main()
  File "test_ft.py", line 352, in main
    test(model, test_dataset, Visualizer(test_opt), test_opt, test_bg_info, test_steps=resume_iter)
  File "test_ft.py", line 266, in test
    visualizer.gen_video("coarse_raycolor", range(0, total_num, opt.test_num_step), test_steps)
  File "/home/wxy/pointnerf/run/../utils/visualizer.py", line 97, in gen_video
    imageio.mimwrite(os.path.join(self.vid_dir, filename), stacked_imgs, fps=20, quality=10, plugin='ffmpeg')
  File "/home/wxy/miniconda3/envs/pointnerf/lib/python3.8/site-packages/imageio/v2.py", line 484, in mimwrite
    return file.write(ims, is_batch=True, **kwargs)
  File "/home/wxy/miniconda3/envs/pointnerf/lib/python3.8/site-packages/imageio/core/legacy_plugin_wrapper.py", line 237, in write
    with self.legacy_get_writer(**kwargs) as writer:
  File "/home/wxy/miniconda3/envs/pointnerf/lib/python3.8/site-packages/imageio/core/legacy_plugin_wrapper.py", line 165, in legacy_get_writer
    return self._format.get_writer(self._request)
  File "/home/wxy/miniconda3/envs/pointnerf/lib/python3.8/site-packages/imageio/core/format.py", line 235, in get_writer
    return self.Writer(self, request)
  File "/home/wxy/miniconda3/envs/pointnerf/lib/python3.8/site-packages/imageio/core/format.py", line 312, in __init__
    self._open(**self.request.kwargs.copy())
TypeError: _open() got an unexpected keyword argument 'plugin'
end loading
end loading
如果遇到了渲染不出来视频的问题可以参考以下步骤:
首先安装 imageio_ffmpeg 模块:
pip install imageio[ffmpeg]在visualizer.py这个文件中进行修改。尝试删除 `plugin='ffmpeg'` 参数并重新运行代码。`imageio` 应该能够自动检测并使用 `ffmpeg` 插件来生成视频文件。例如,可以将以下代码:
```python
imageio.mimwrite(os.path.join(self.vid_dir, filename), stacked_imgs, fps=20, quality=10, plugin='ffmpeg')
```
修改为:
```python
imageio.mimwrite(os.path.join(self.vid_dir, filename), stacked_imgs, fps=20, quality=10)
```
这样应该可以解决 `TypeError: _open() got an unexpected keyword argument 'plugin'` 错误。
4.TypeError: The keyword 'fps' is no longer supported. Use 'duration' (in ms) instead
这个错误是渲染gif时出现了问题,可以参考以下步骤:
将以下代码:
```python
filename = 'video_{:04d}_{}.gif'.format(int(total_step), str(name))
imageio.mimwrite(os.path.join(self.vid_dir, filename), stacked_imgs, fps=5, format='GIF')
```
修改为:
```python
filename = 'video_{:04d}_{}.gif'.format(int(total_step), str(name))
imageio.mimwrite(os.path.join(self.vid_dir, filename), stacked_imgs, duration=200, format='GIF')
```
这样应该可以解决 `TypeError: The keyword 'fps' is no longer supported. Use 'duration' (in ms) instead` 错误。请注意,`duration` 参数指定的是每个帧的持续时间,以毫秒为单位。在这个例子中,将 `duration` 设置为 200 毫秒,相当于每秒 5 帧。如果需要不同的帧率,请相应地调整 `duration` 的值。
注:
如果改官方的代码存在问题的话,可以试试我改过的代码,可以运行测试,但是还需要下载nerf_synthetic数据集,具体的操作步骤这个资源上面已经进行阐述了。(ps:我改了很多关于官方的代码,具体我也记不清楚了,可以直接用我修改过的代码运行测试)(2条消息) point-nerf复现代码资源-CSDN文库
四、运行测试
bash dev_scripts/w_n360/chair_test.sh运行这个代码进行进行chair测试,最主要的一点是数据集的放置,我上面放的代码链接里面已经放了一些数据集。由于上传代码的容量问题,我完整的代码项目没法上传,在此基础上只需要自己下载nerf_synthetic数据集放置到point-nerf/data_src/nerf/即可。
运行测试的终端大致如下:
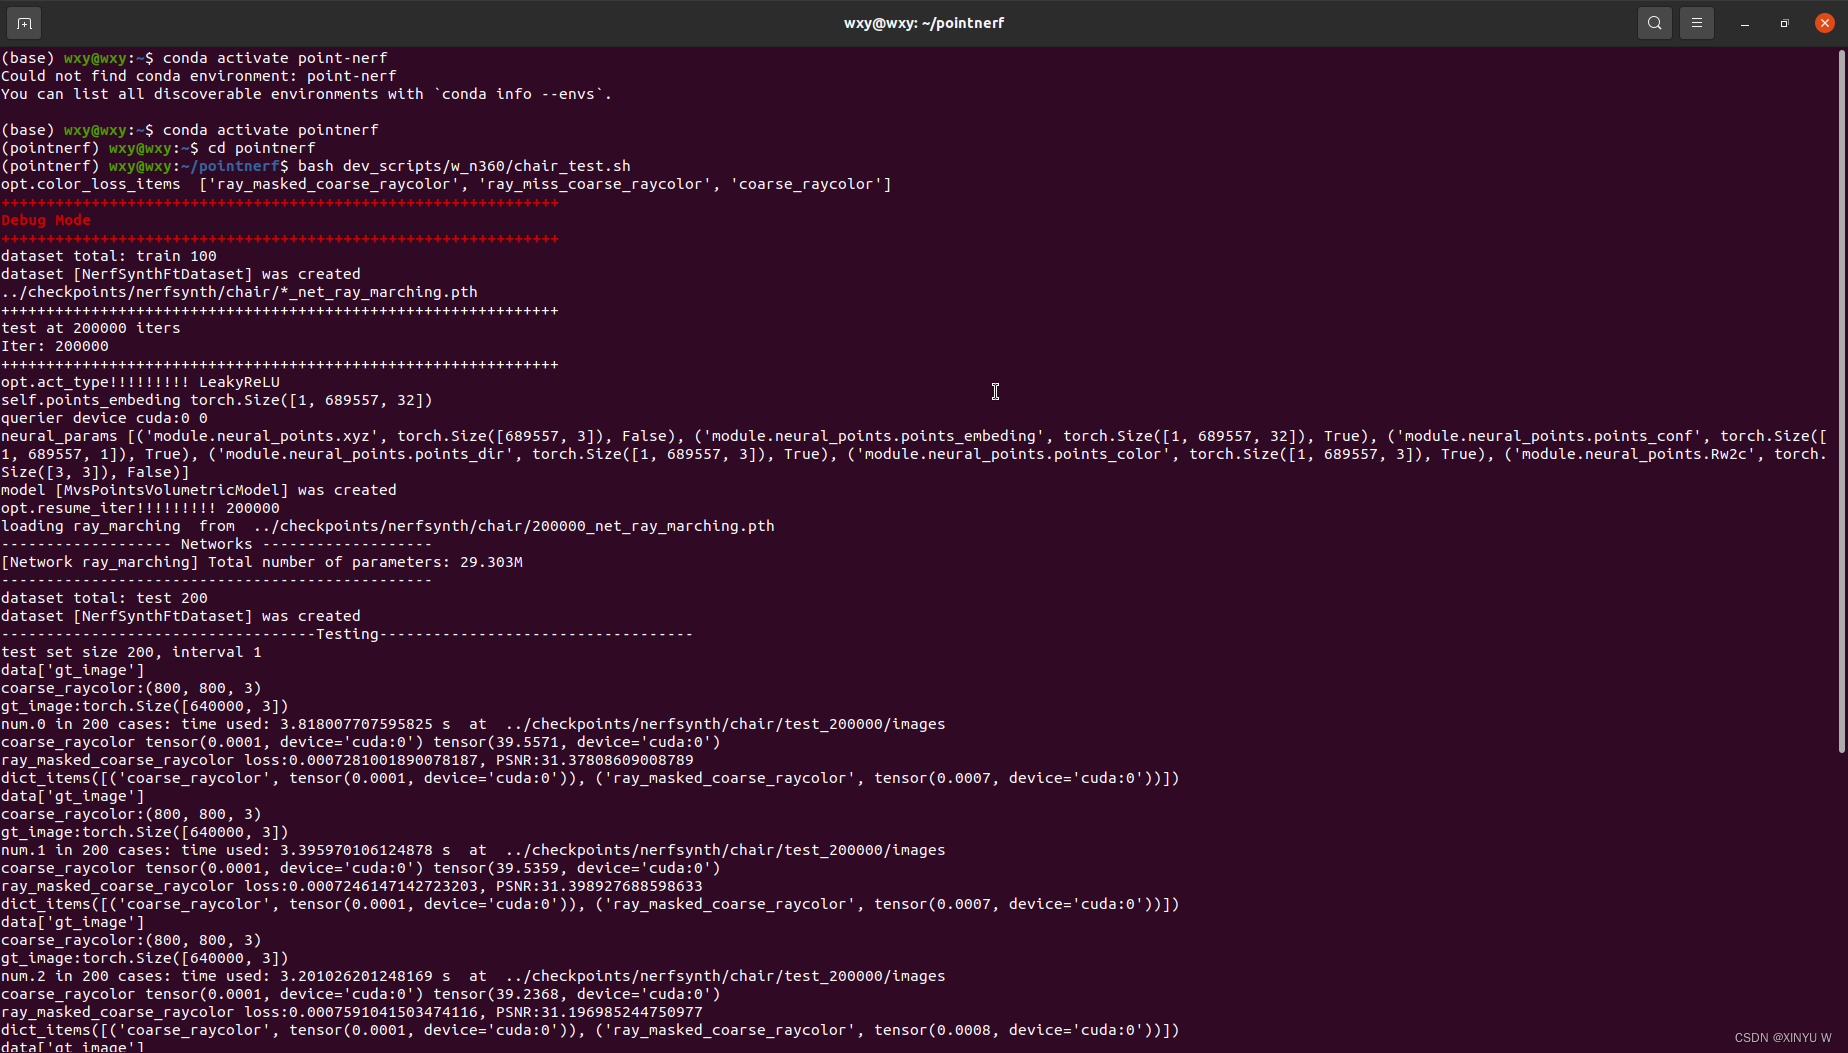
一共200个轮次,我用rtx3090每一个轮次大概所用时间为3秒,时间还是比较快的,毕竟是测试,每一个轮次都会渲染图片,图片的质量还是比较好的和gt几乎是一样的,毕竟pointnerf的输入是神经3d点,输出是图像,我感觉这个效果还是可以的,而且速度也是比较快的。
1.渲染的图片

2.渲染出的视频
point-nerf测试结果