Window 系统
PS C:\Users\liuxing> npm install -g n
npm ERR! code EBADPLATFORM
npm ERR! notsup Unsupported platform for [email protected]: wanted {

    "os":"!win32","arch":"any"} (current: {

    "os":"win32","arch":"x64"})
npm ERR! notsup Valid OS:    !win32
npm ERR! notsup Valid Arch:  any
npm ERR! notsup Actual OS:   win32
npm ERR! notsup Actual Arch: x64

npm ERR! A complete log of this run can be found in:
npm ERR!     C:\Users\liuxing\AppData\Roaming\npm-cache\_logs\2022-11-03T09_24_21_102Z-debug.log
Mac 或 Linux系统
- 升级方法:以下命令如果提示没权限,请在命令的前面加上
sudo,如sudo npm install n -g
- 先清除npm缓存:
npm cache clean -f
- 安装node版本管理工具
n;
npm install n -g
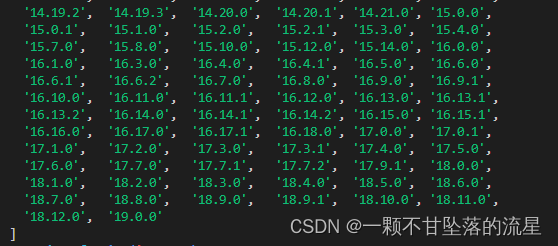
- 查看node 所有版本
npm view node versions
- 升级node版本
n 16.0.0
n stable
n latest
- 使用node -v查看node版本,如果版本号改变为你想要的则升级成功。
node -v
16.0.0
- 查看通过n安装的node的位置
which node
/usr/local/n/versions/node/16.0.0
- 进入该位置
cd /usr/local/n/versions/node
- 编辑
/etc/profile
vim /etc/profile
- 将node安装的路径,添加到文件末尾;
export NODE_HOME=/usr/local/n/versions/node/16.0.0
export PATH=$NODE_HOME/bin:$PATH
- 输入
wq退出保存文件,再编译/etc/profile;
source /etc/profile
- 重新查看版本号
node -v
16.0.0